15 Inspiring Kitchen Makeover Ideas That Transform Your Space Without Overspending
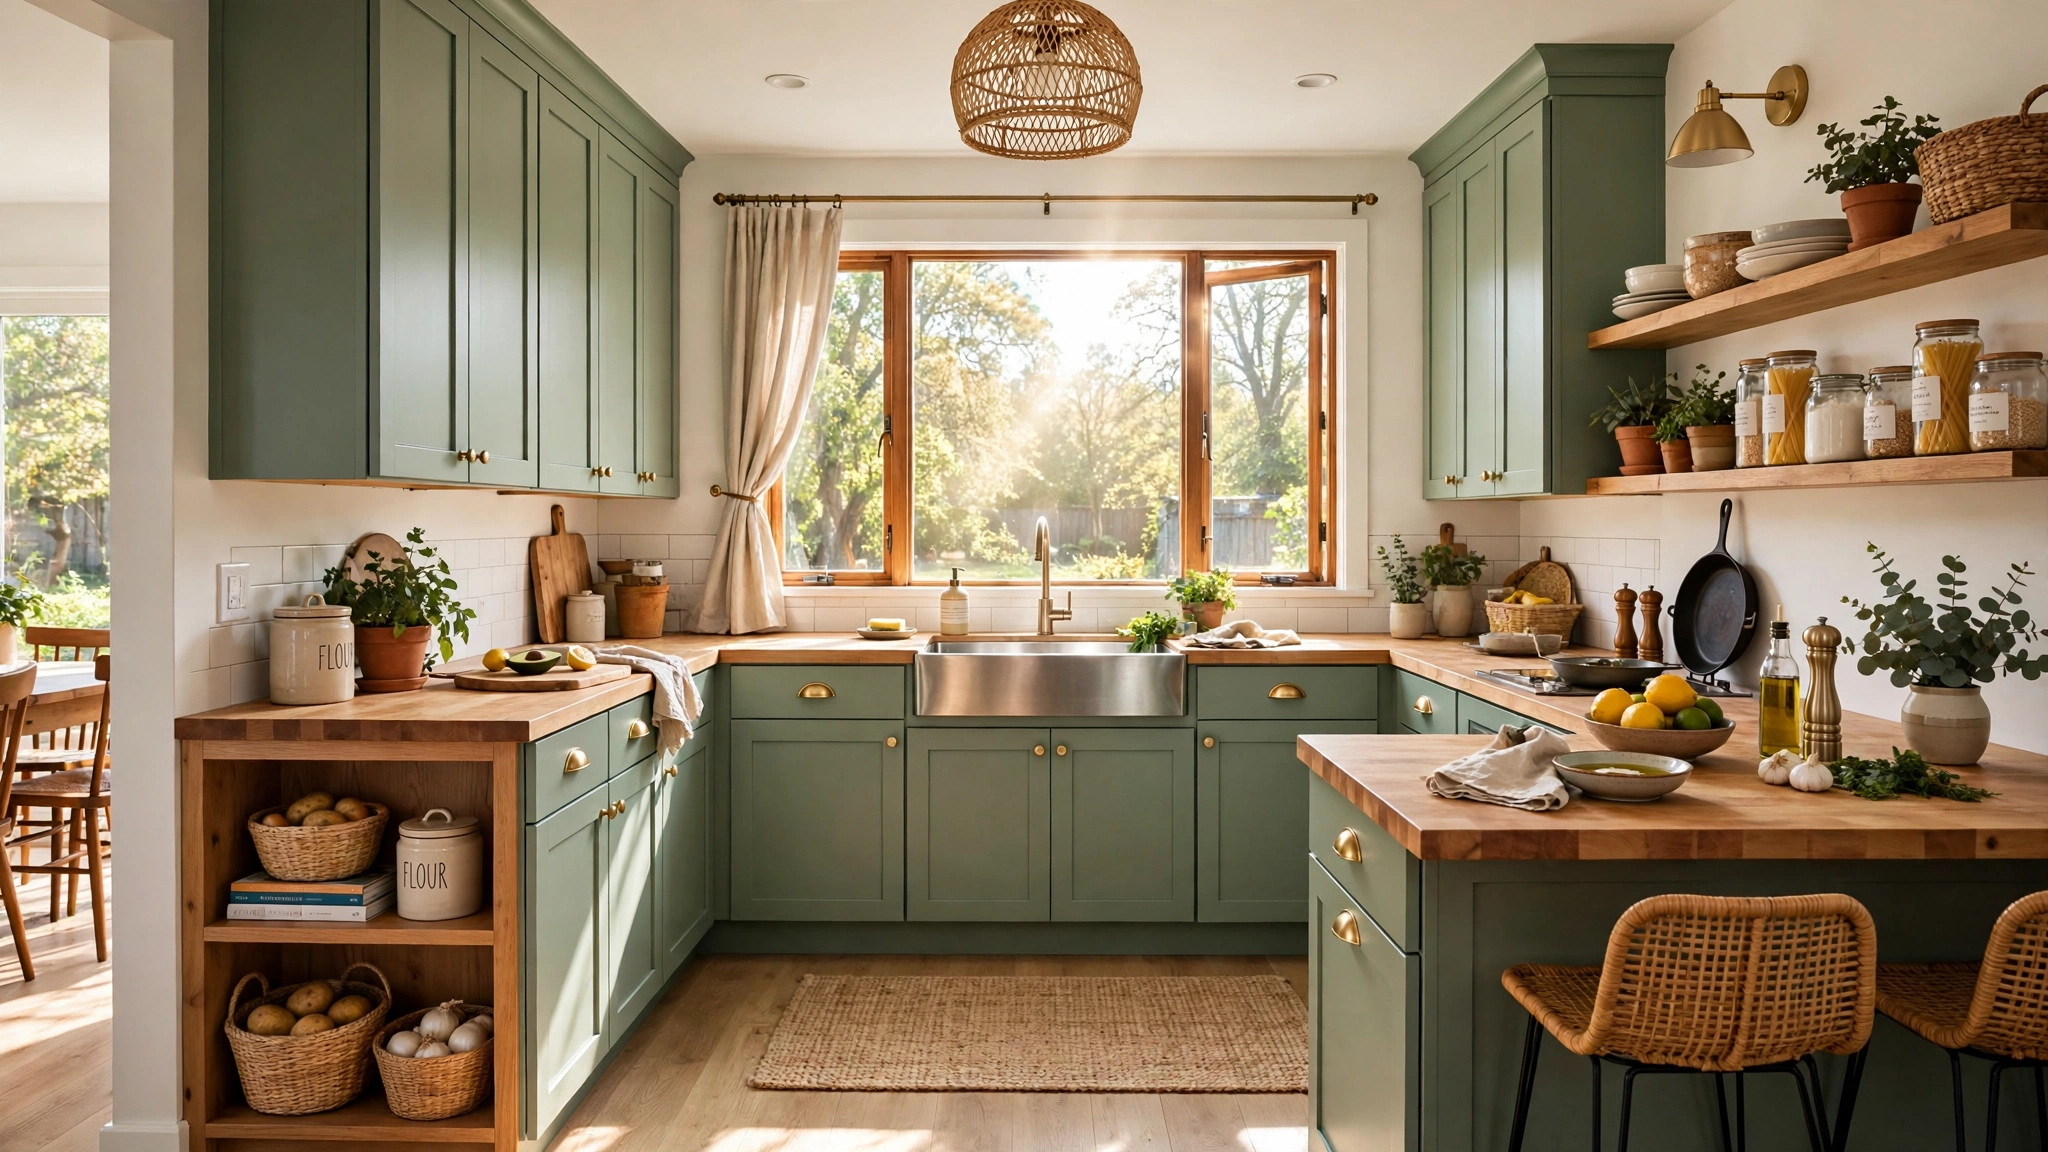
A kitchen makeover does not have to mean a full renovation, a contractor, and a five-figure bill. Some of the most dramatic transformations come from small, smart changes that refresh the surfaces, light, and layout you already have.
The ideas below are all budget-friendly, most of them weekend-sized, and every one of them is proven to make a kitchen look more expensive than it actually was. Ready to see how little it takes to make your kitchen feel brand new?
1. Paint the Cabinets for Instant Impact
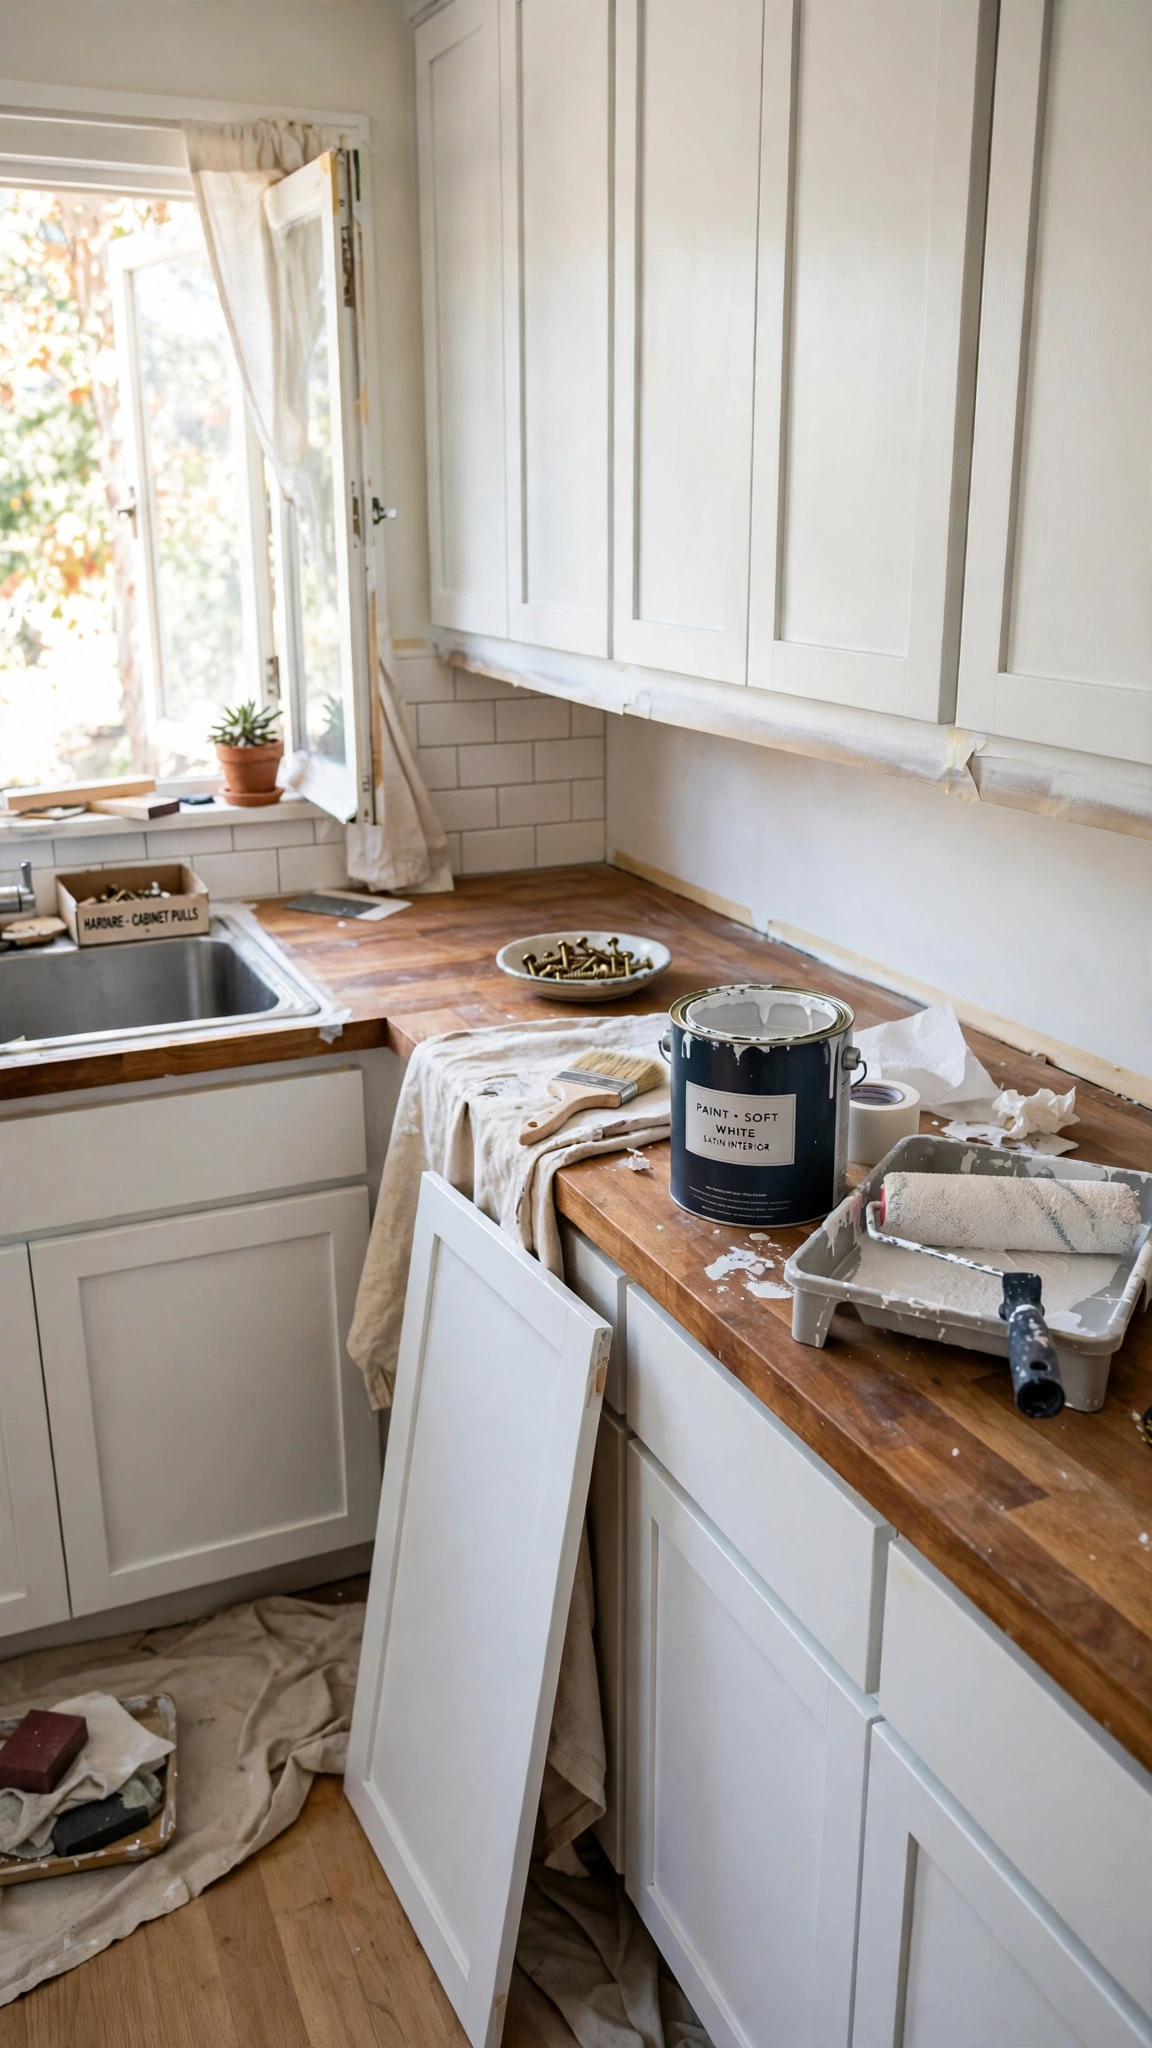
Nothing changes a kitchen faster than a fresh coat of paint on the cabinets. Dated oak or tired dark finishes disappear under a clean coat of white, sage, or deep navy, and the whole room instantly reads as new.
The trick is in the prep: clean the doors thoroughly, scuff-sand lightly, and use a primer made for cabinetry so the finish stays smooth and chip-free. A good brush and a small foam roller give you a near-sprayed look without renting equipment.
Most kitchens need only two to three gallons of paint, keeping the total cost well under a hundred dollars. Work one section at a time and you can keep cooking while you transform the room.
Tip: Pair your new cabinet color with fresh window dressing, and browse these kitchen bay window ideas to make the whole room feel brighter.
2. Swap the Hardware for Jewelry
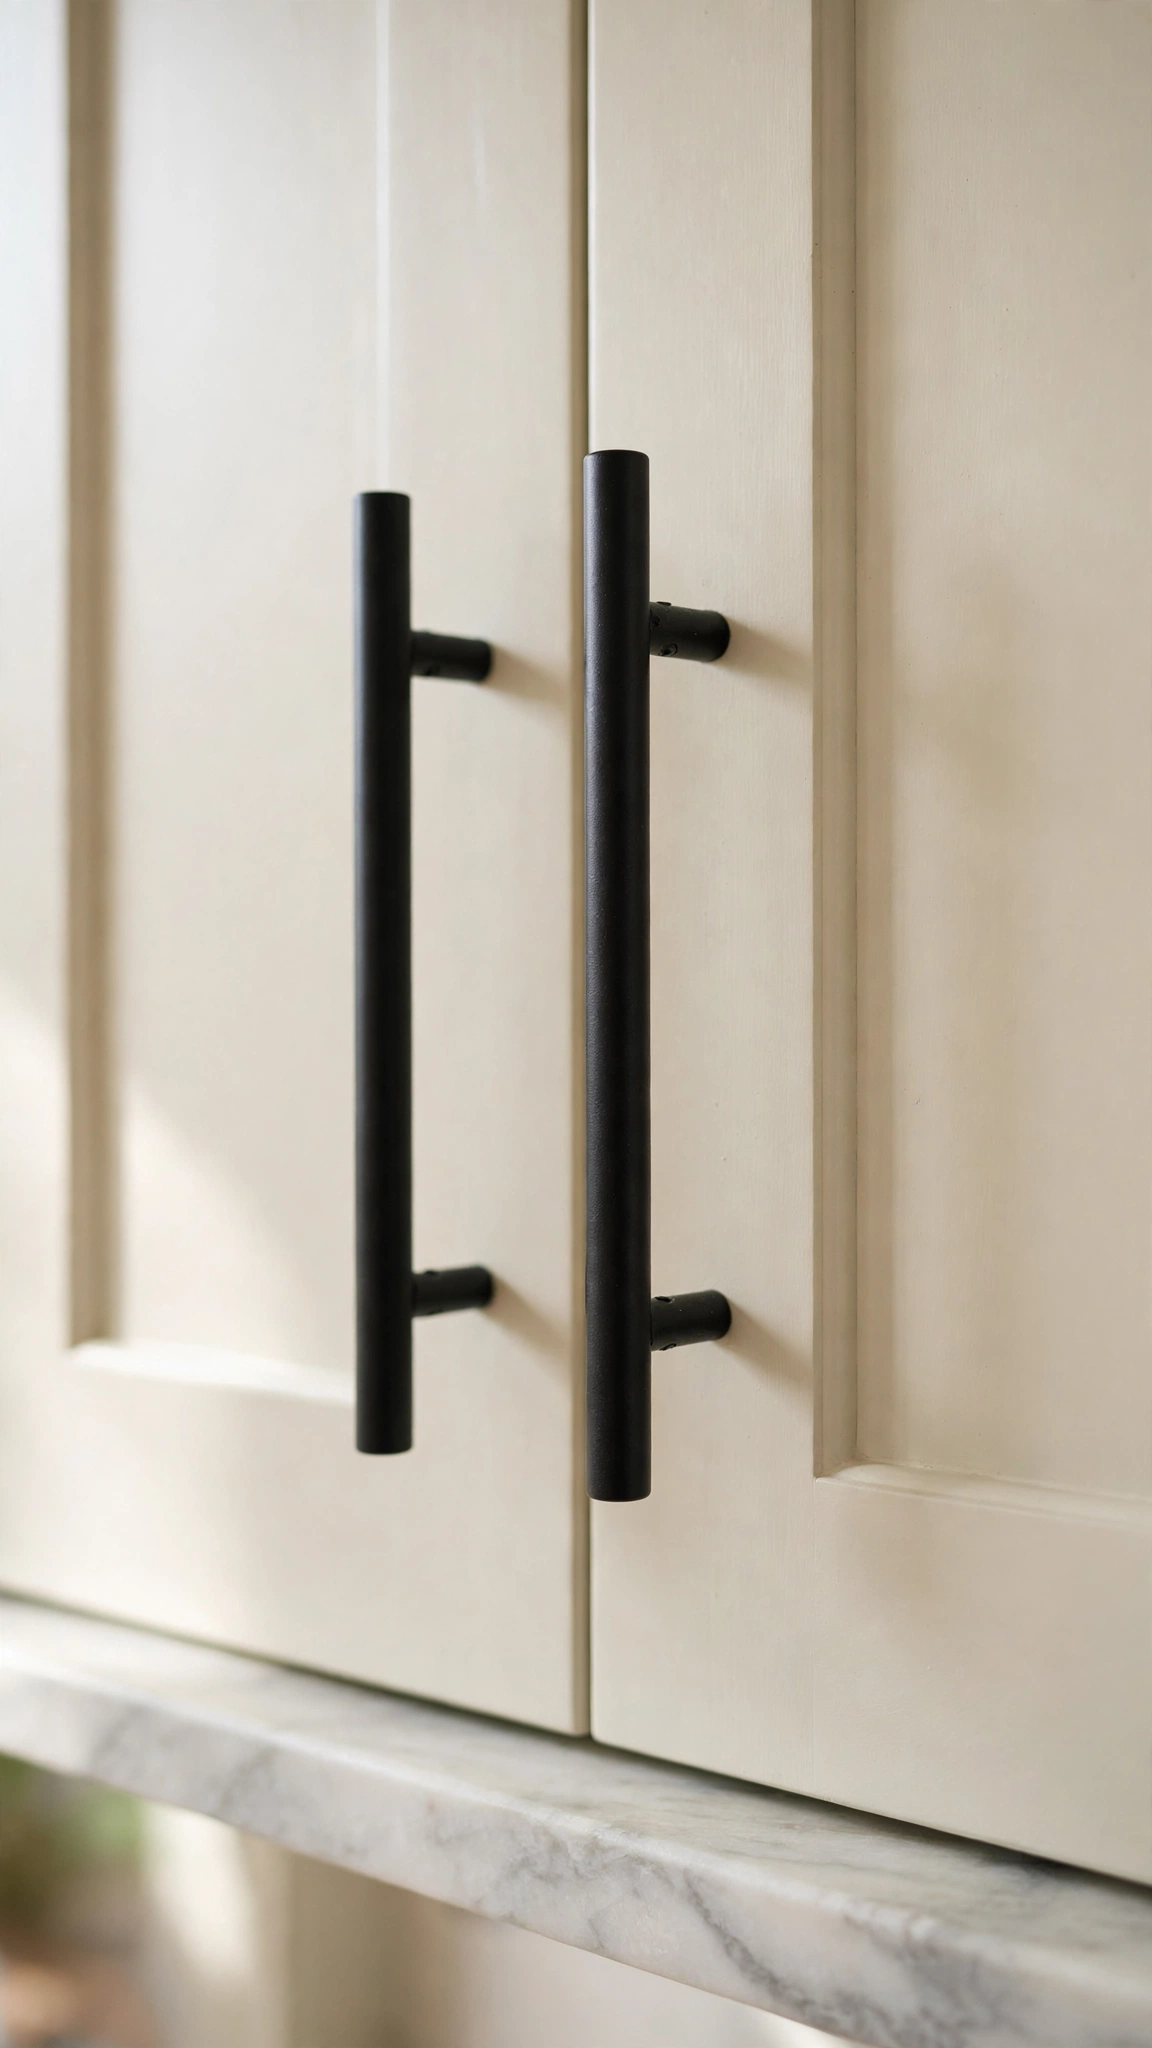
Cabinet hardware is the jewelry of the kitchen, and swapping it out is one of the cheapest upgrades with the biggest visual payoff. New pulls and knobs in brass, matte black, or brushed nickel instantly modernize even older cabinet boxes.
Measure your existing hole spacing before you shop so the new pulls fit without drilling. If you want a longer, more modern pull, a simple drill template makes adding a second hole quick and clean.
Budget about two to four dollars per piece and you can redo an entire kitchen for less than a single dinner out. The change takes an afternoon with nothing more than a screwdriver.
Tip: Choose hardware that matches your faucet finish for a designer look, and steal the cozy layering trick from cozy kitchen window curtain ideas to soften the space around it.
3. Add a Peel-and-Stick Backsplash
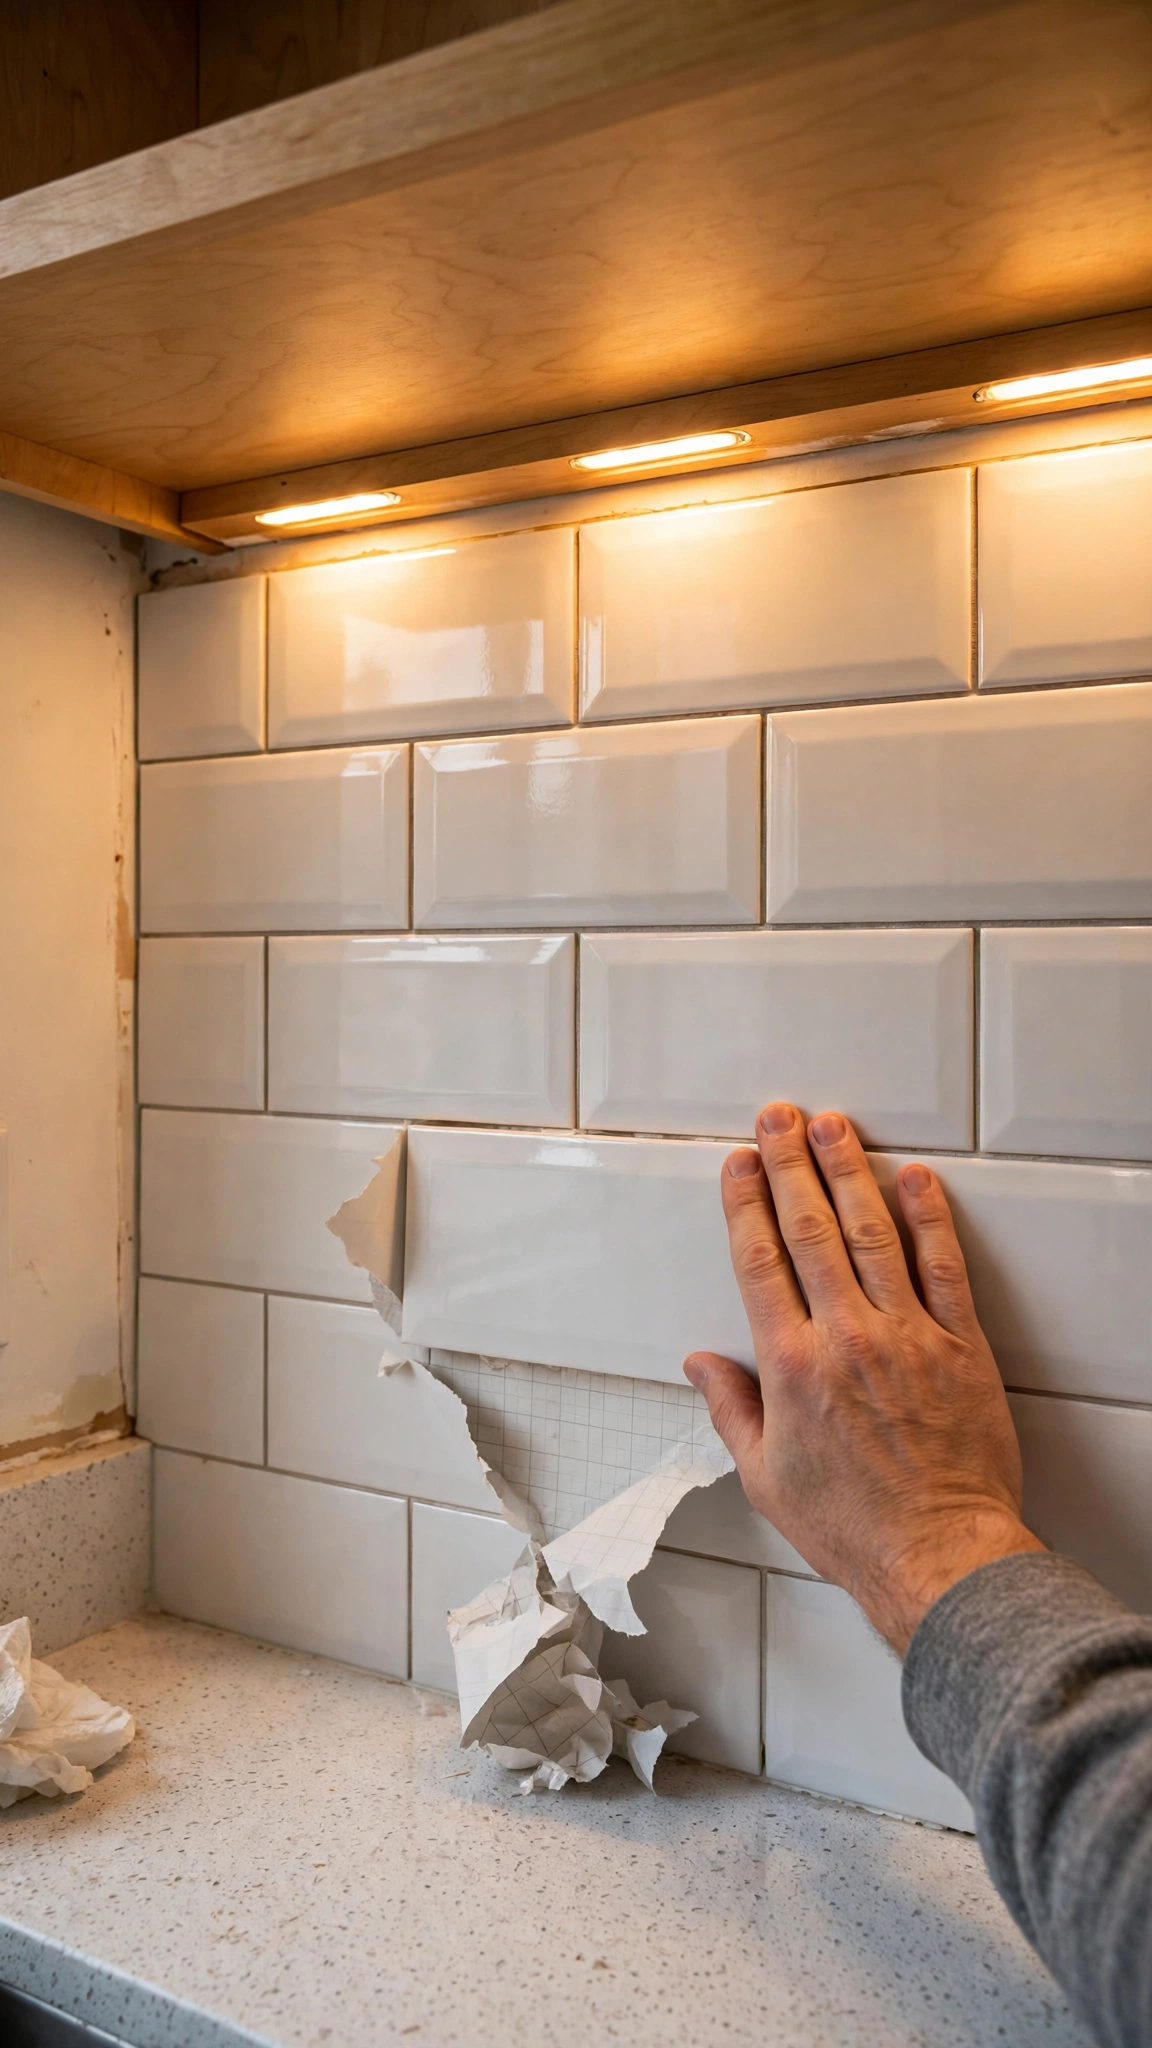
A tired backsplash drags down the whole kitchen, but real tile work is messy and expensive. Peel-and-stick tiles give you the same glossy, finished look for a fraction of the price and none of the grout dust.
Today’s options look genuinely convincing: subway tile, marble, mosaic, and even terracotta patterns, all with realistic texture and sheen. They stick to clean, smooth surfaces and come off cleanly if you rent.
A standard kitchen backsplash usually needs only a few packs, and the whole job takes a couple of hours. Wipe the wall down first and the tiles will hold beautifully for years.
Tip: Pick a backsplash that bounces light around the room, and pair it with elegant kitchen window treatment ideas for a polished, private feel.
4. Upgrade the Lighting Layers
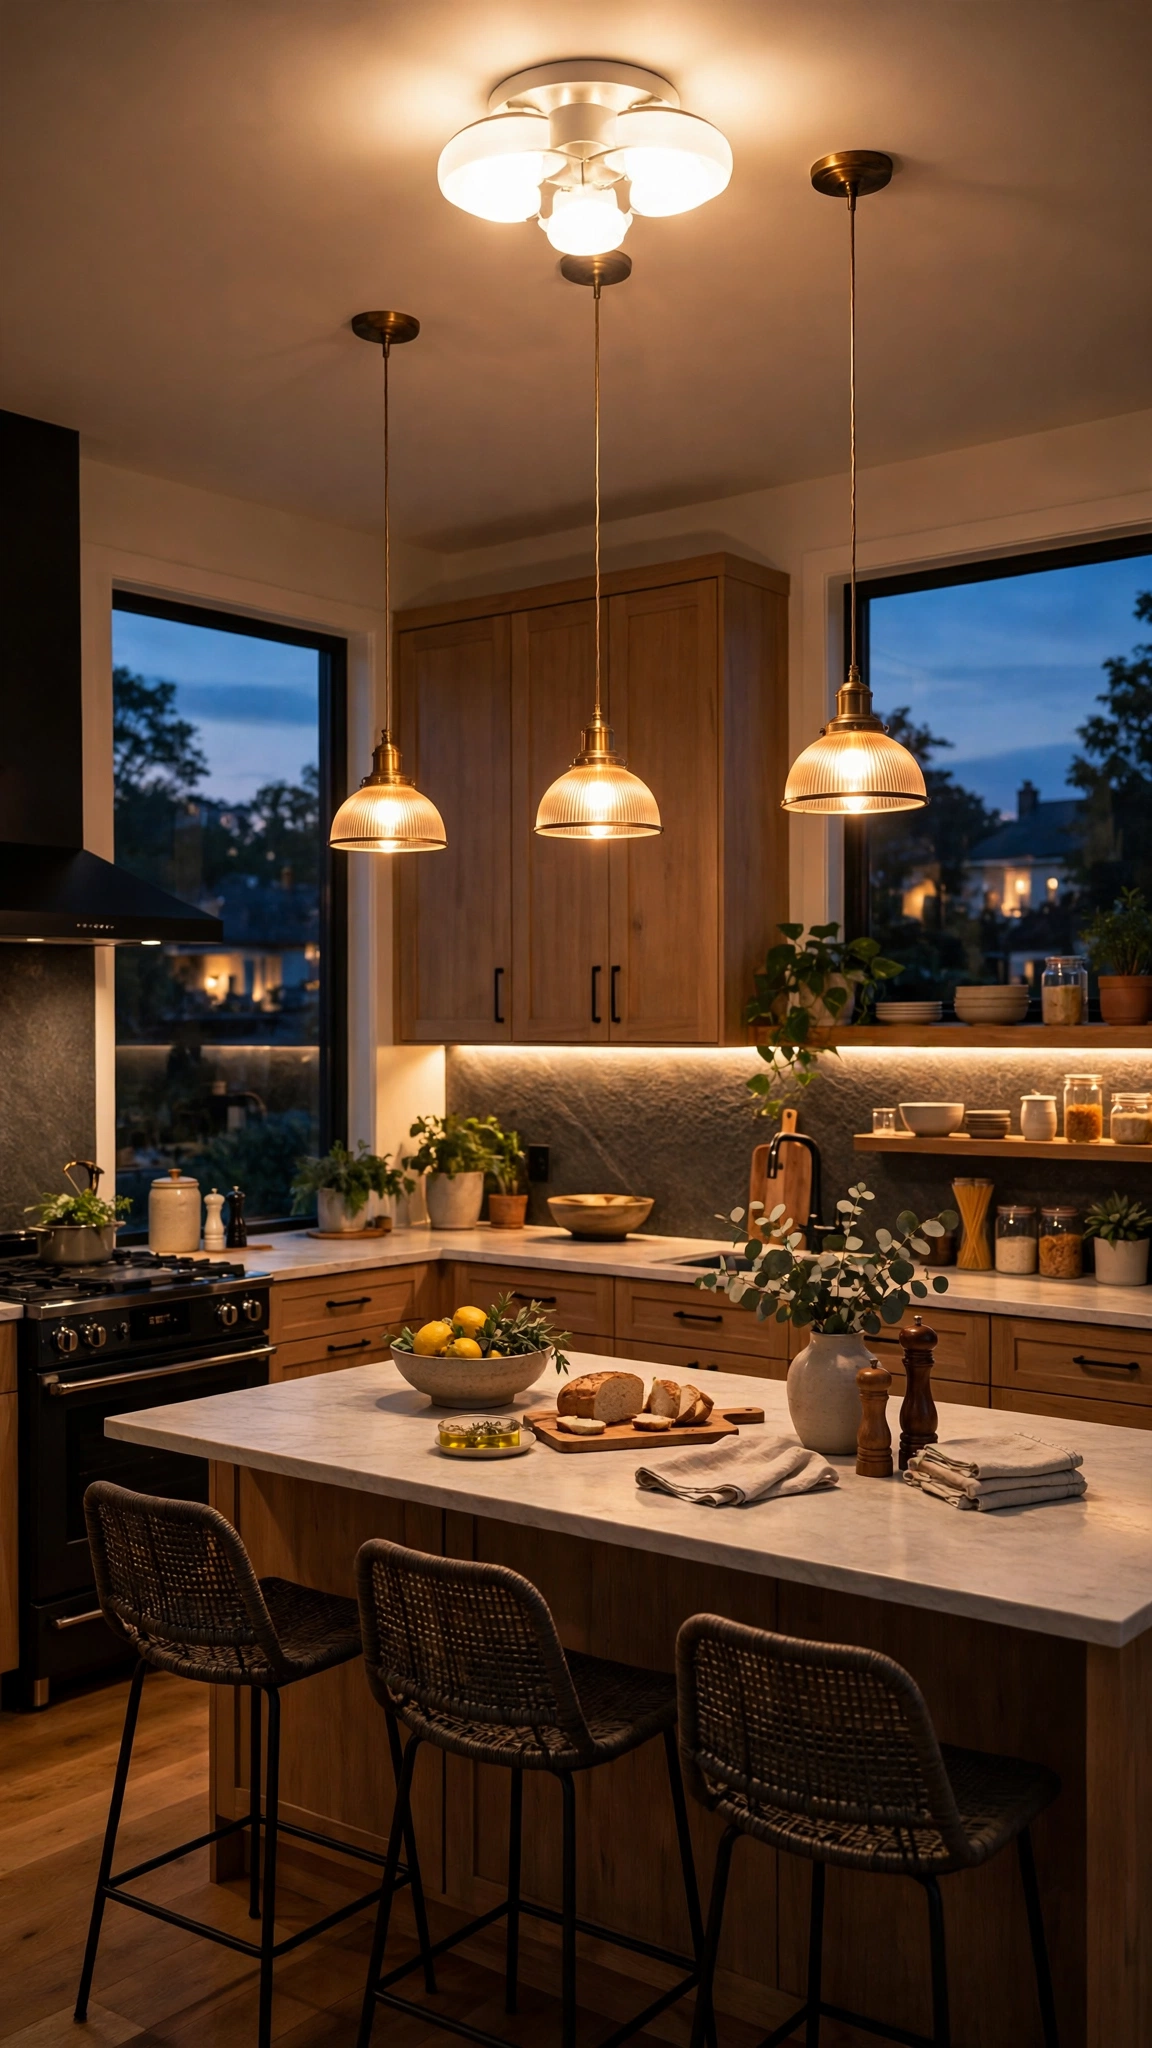
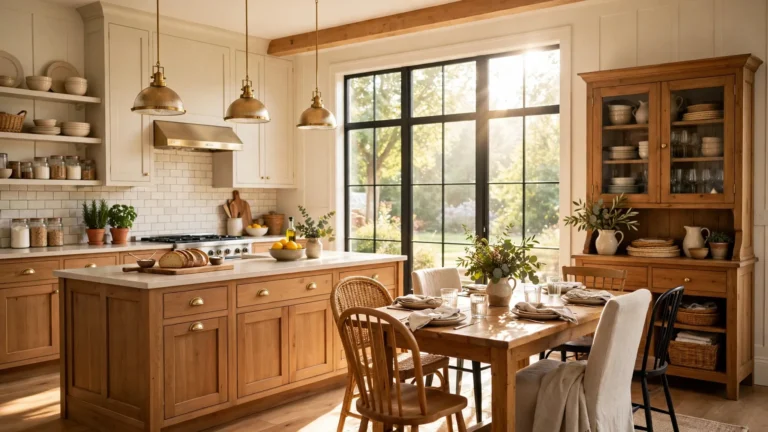
Bad lighting makes even a nice kitchen feel flat, while layered lighting makes everything look intentional. Swap a single harsh overhead for pendants over the island, under-cabinet strips, and a dimmer switch.
Pendant lights are surprisingly affordable, and many plug into existing ceiling boxes with no new wiring. Battery-powered LED strips tuck under upper cabinets and transform your countertops into a warm, working glow.
Warm-white bulbs around 2700K flatter food, wood, and skin tones far better than cold daylight bulbs. This one change alone can make the whole room feel like a remodel.
Tip: Layer your new lighting with daylight by studying creative small kitchen window ideas that maximize style and light.
5. Refresh the Faucet
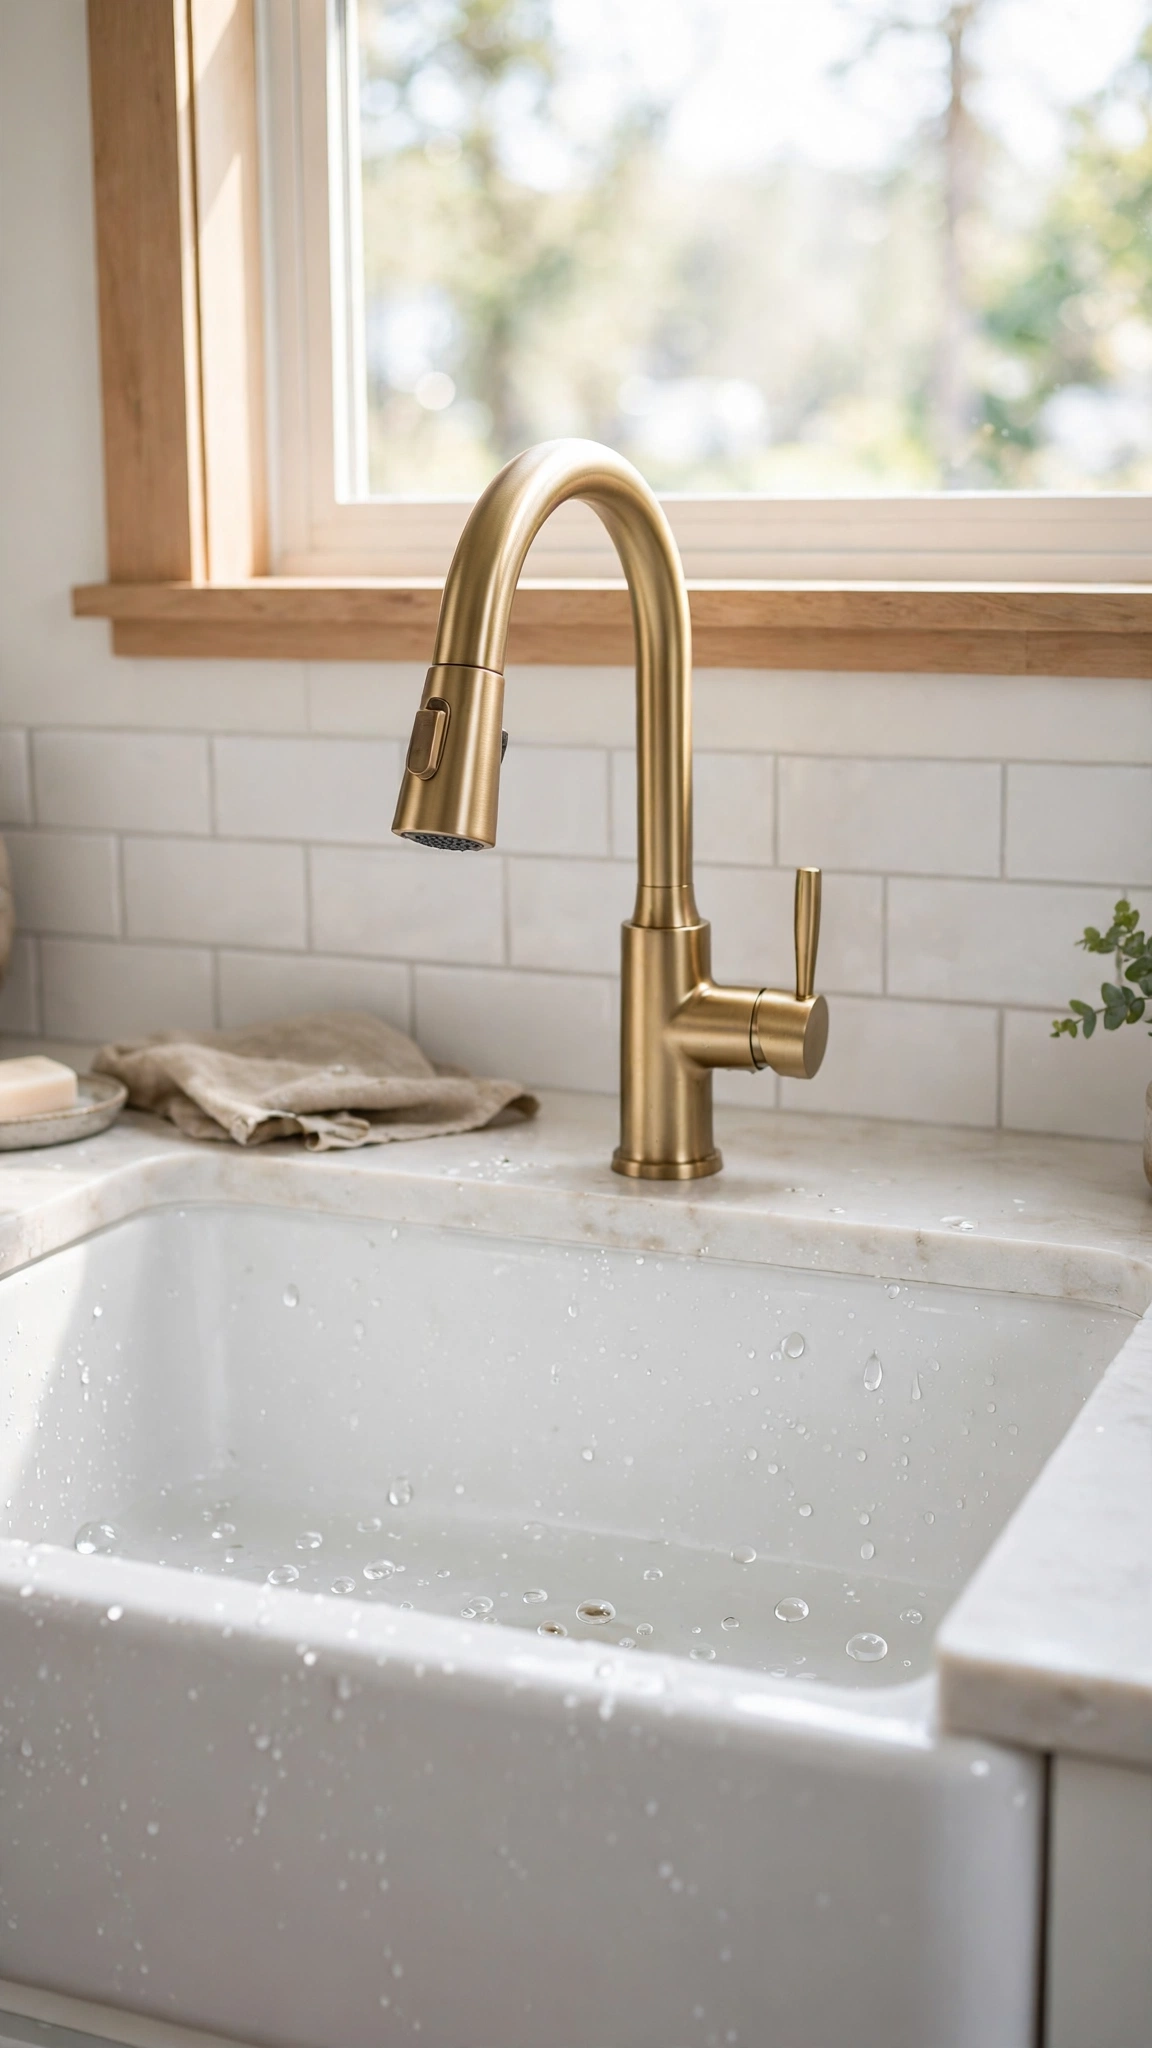
The faucet is the most-touched object in the kitchen, and a dated one dates the whole sink area. A new faucet in a modern finish instantly signals that the kitchen has been cared for and updated.
Most replacements are a straightforward swap: two supply lines and a mounting nut, all accessible from under the sink. Budget an hour and a basic wrench set, and watch a tutorial first if you have never done it.
Pull-down sprayers add real function, and finishes like brushed gold or matte black add instant style. It is a small purchase that punches far above its price.
Tip: Frame your new faucet with a beautiful view by exploring genius kitchen window over sink ideas that upgrade your view.
6. Open Up a Few Shelves
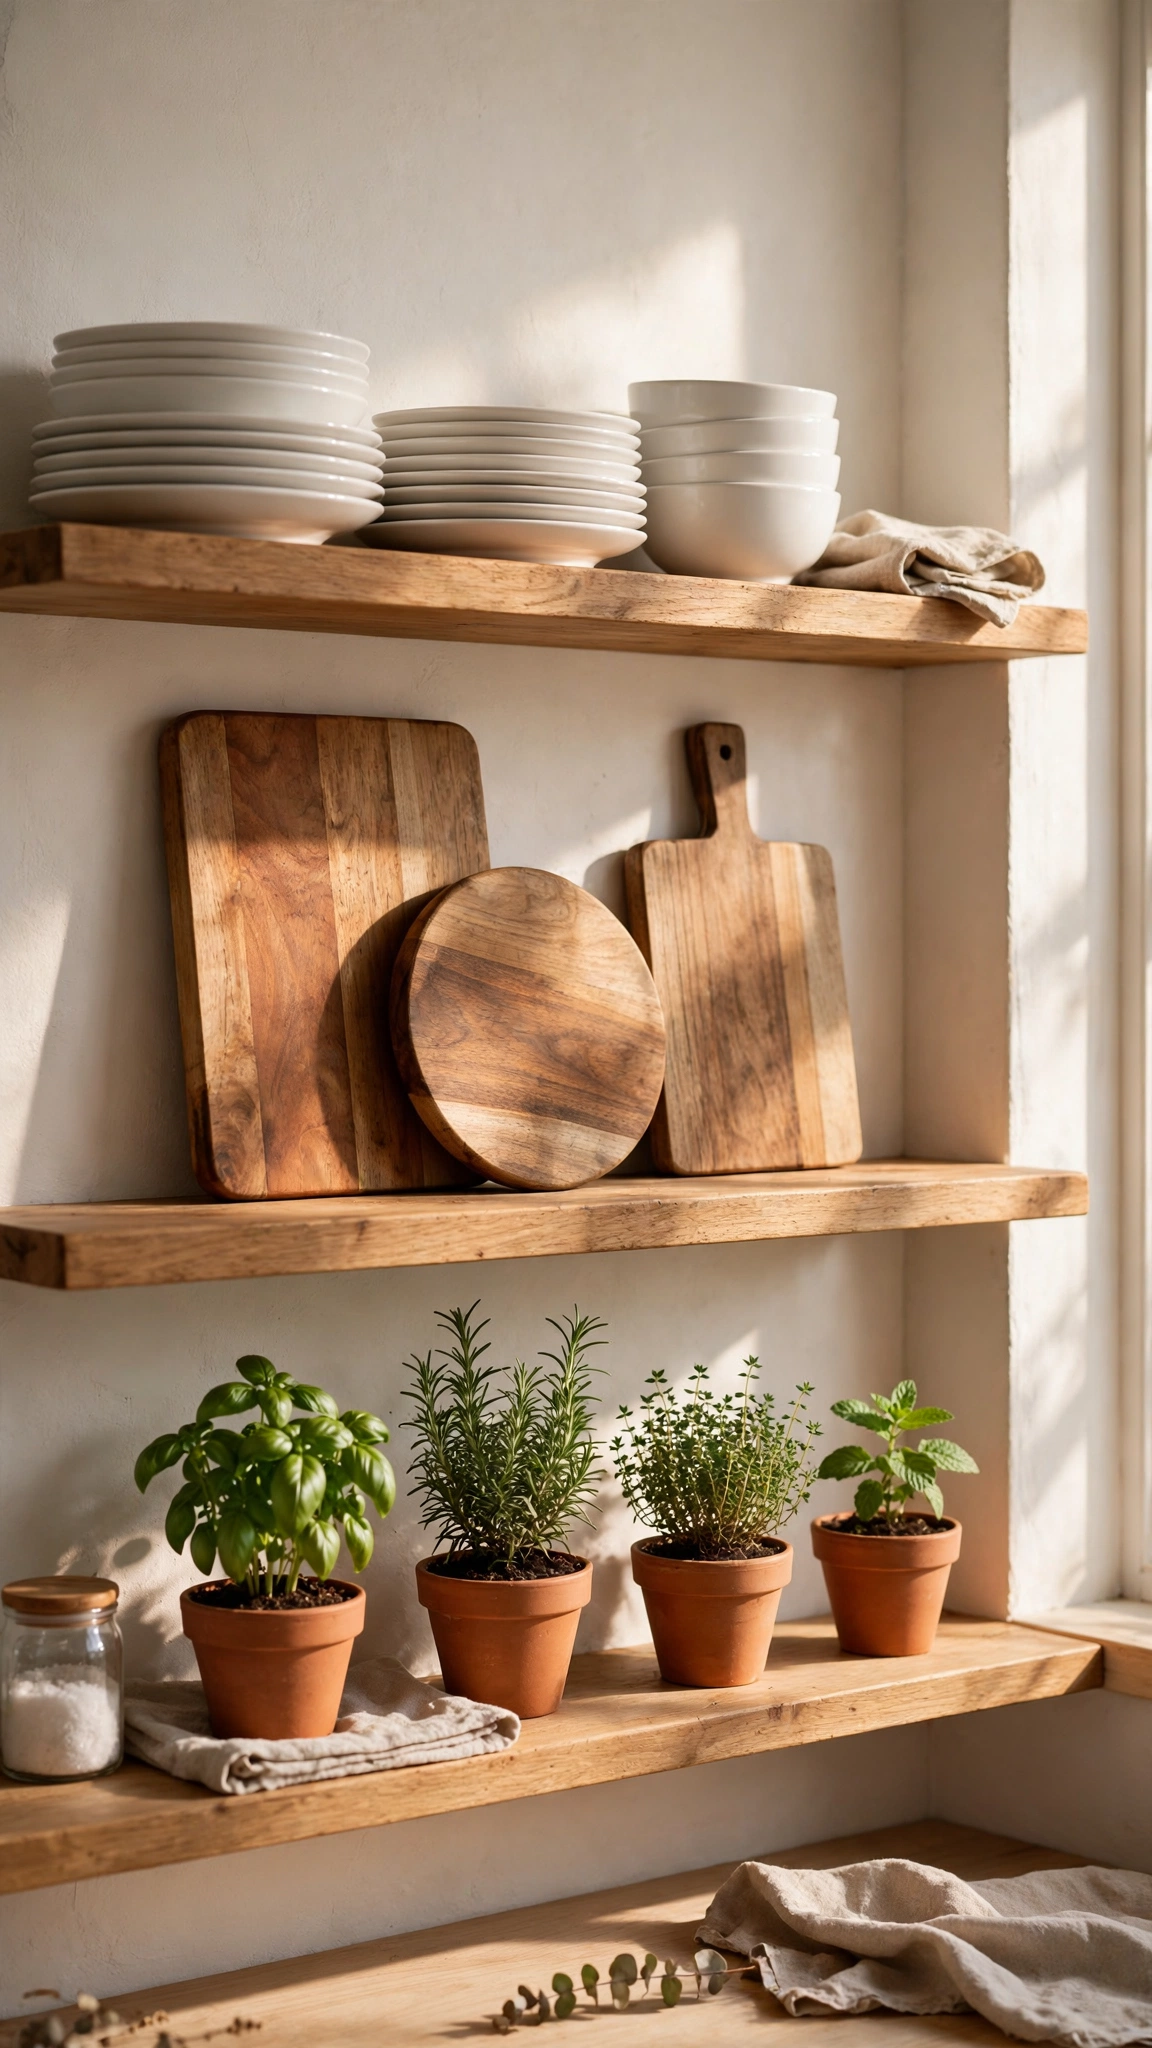
Removing the doors from one or two upper cabinets creates open shelving for free, and it makes a small kitchen feel instantly larger and airier. It is the fastest way to get that designer, curated look.
Style the shelves simply: everyday dishes stacked neatly, a few wooden boards, and one or two plants. Keep the prettiest pieces out and the mismatched mugs behind closed doors.
If you are nervous about committing, start with a single cabinet near the stove or sink. You can always put the doors back, but most people never do.
Tip: Keep open shelves looking intentional with the same editing eye used in gorgeous modern kitchen window ideas for a fresh updated look.
7. Dress the Windows
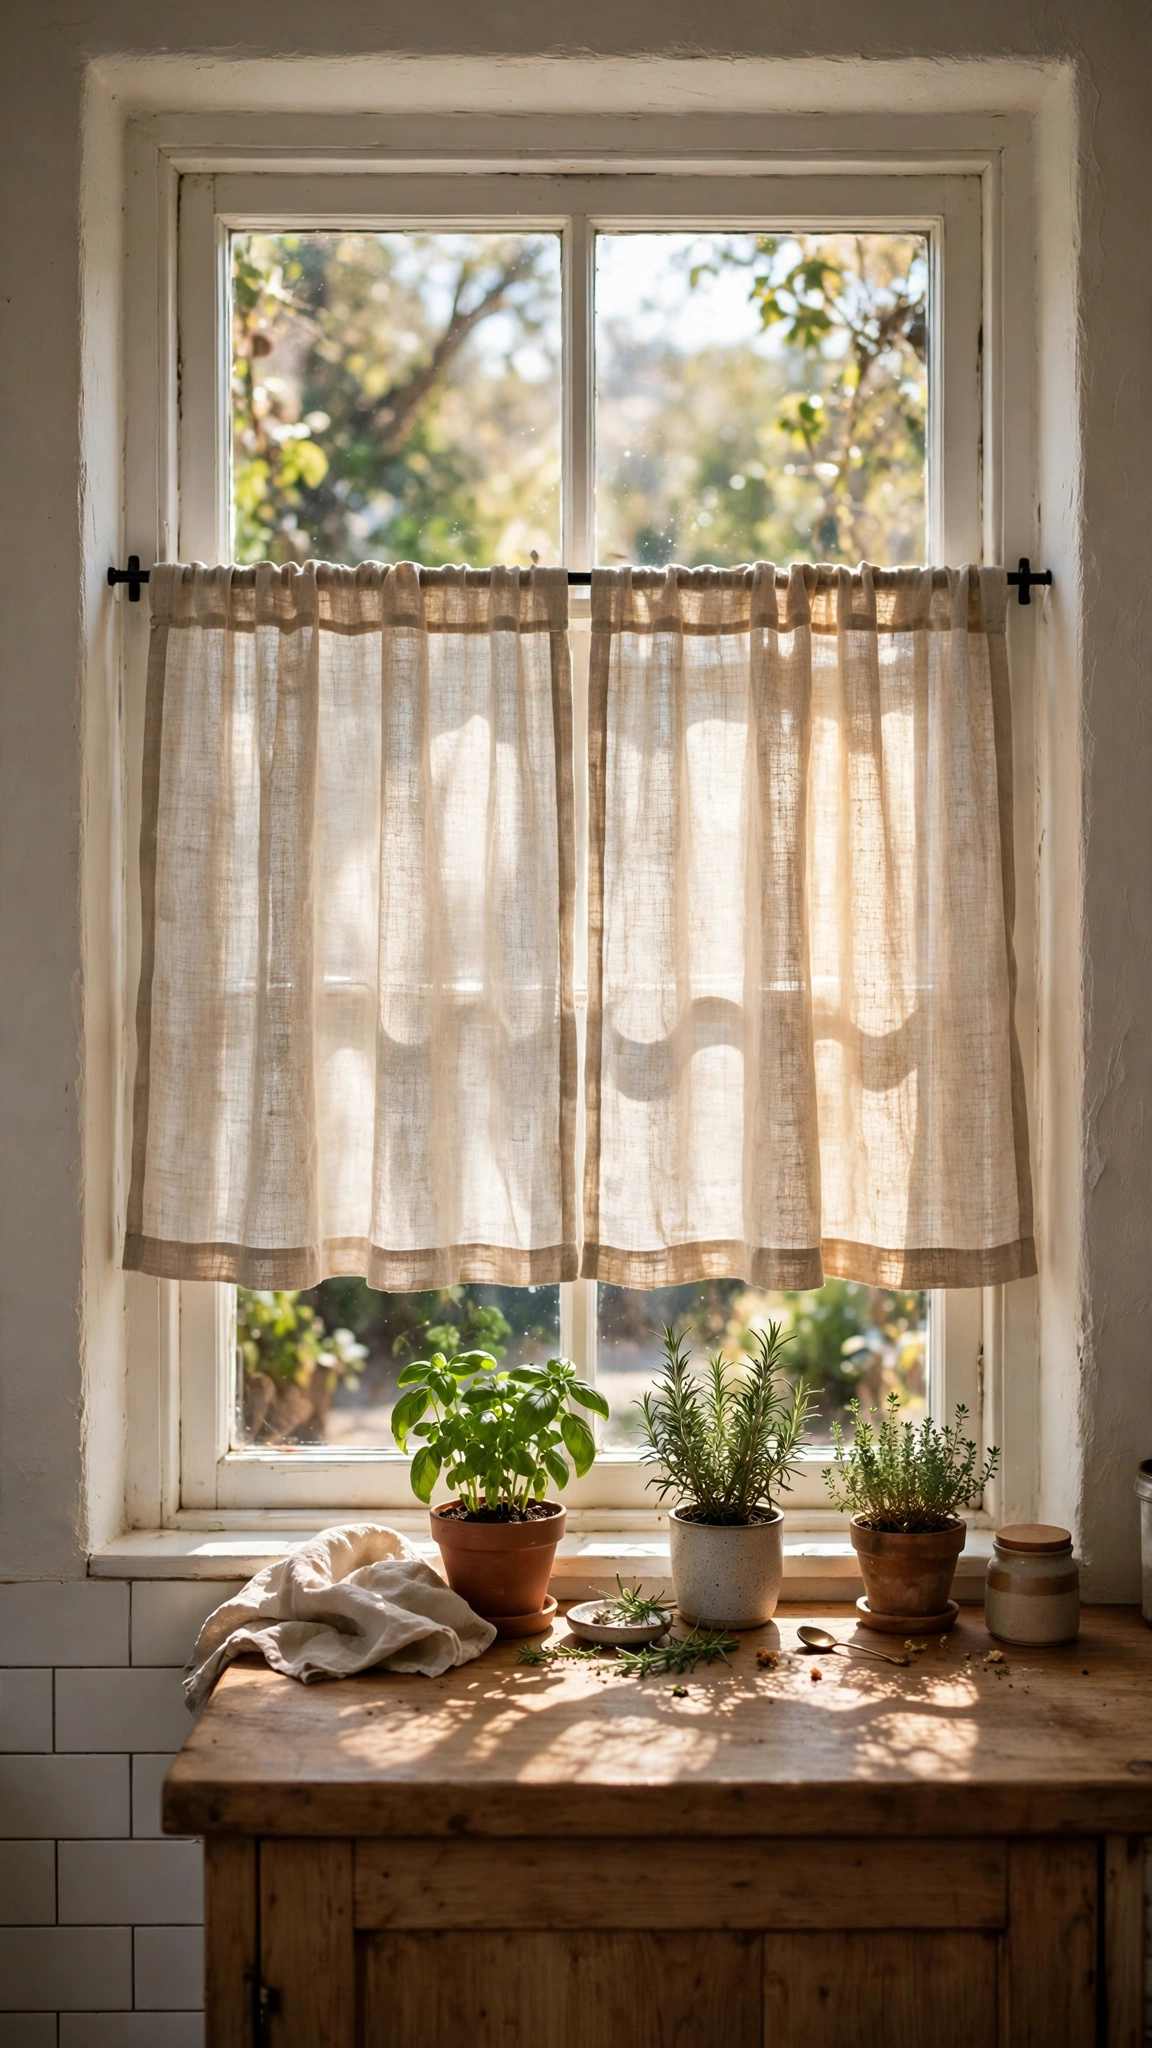
Kitchen windows are often left bare, which wastes a huge styling opportunity. A simple cafe curtain, a woven shade, or a linen panel adds softness, color, and privacy in one move.
Cafe curtains are ideal because they cover the lower half for privacy while leaving the top open for light. Woven wood shades add warmth and texture that pairs beautifully with wood countertops.
Measure carefully and hang the rod a few inches above the frame to make the window look taller. It is a thirty-dollar change that makes the room feel finished.
Tip: Match your window dressing to your kitchen palette with stunning kitchen window ideas that brighten your cooking space.
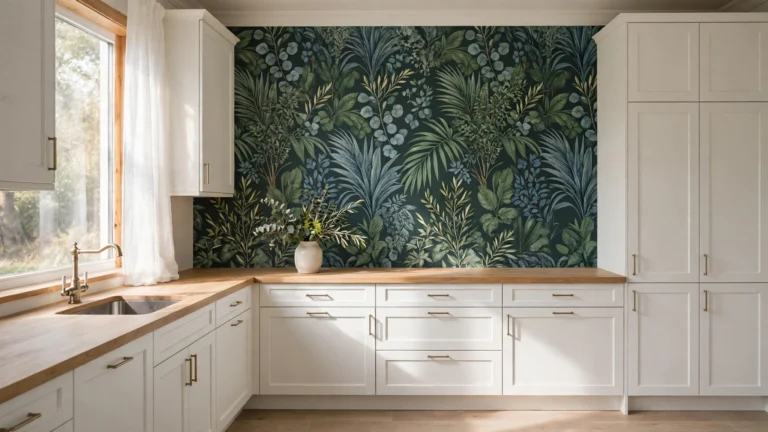
8. Paint an Accent Wall
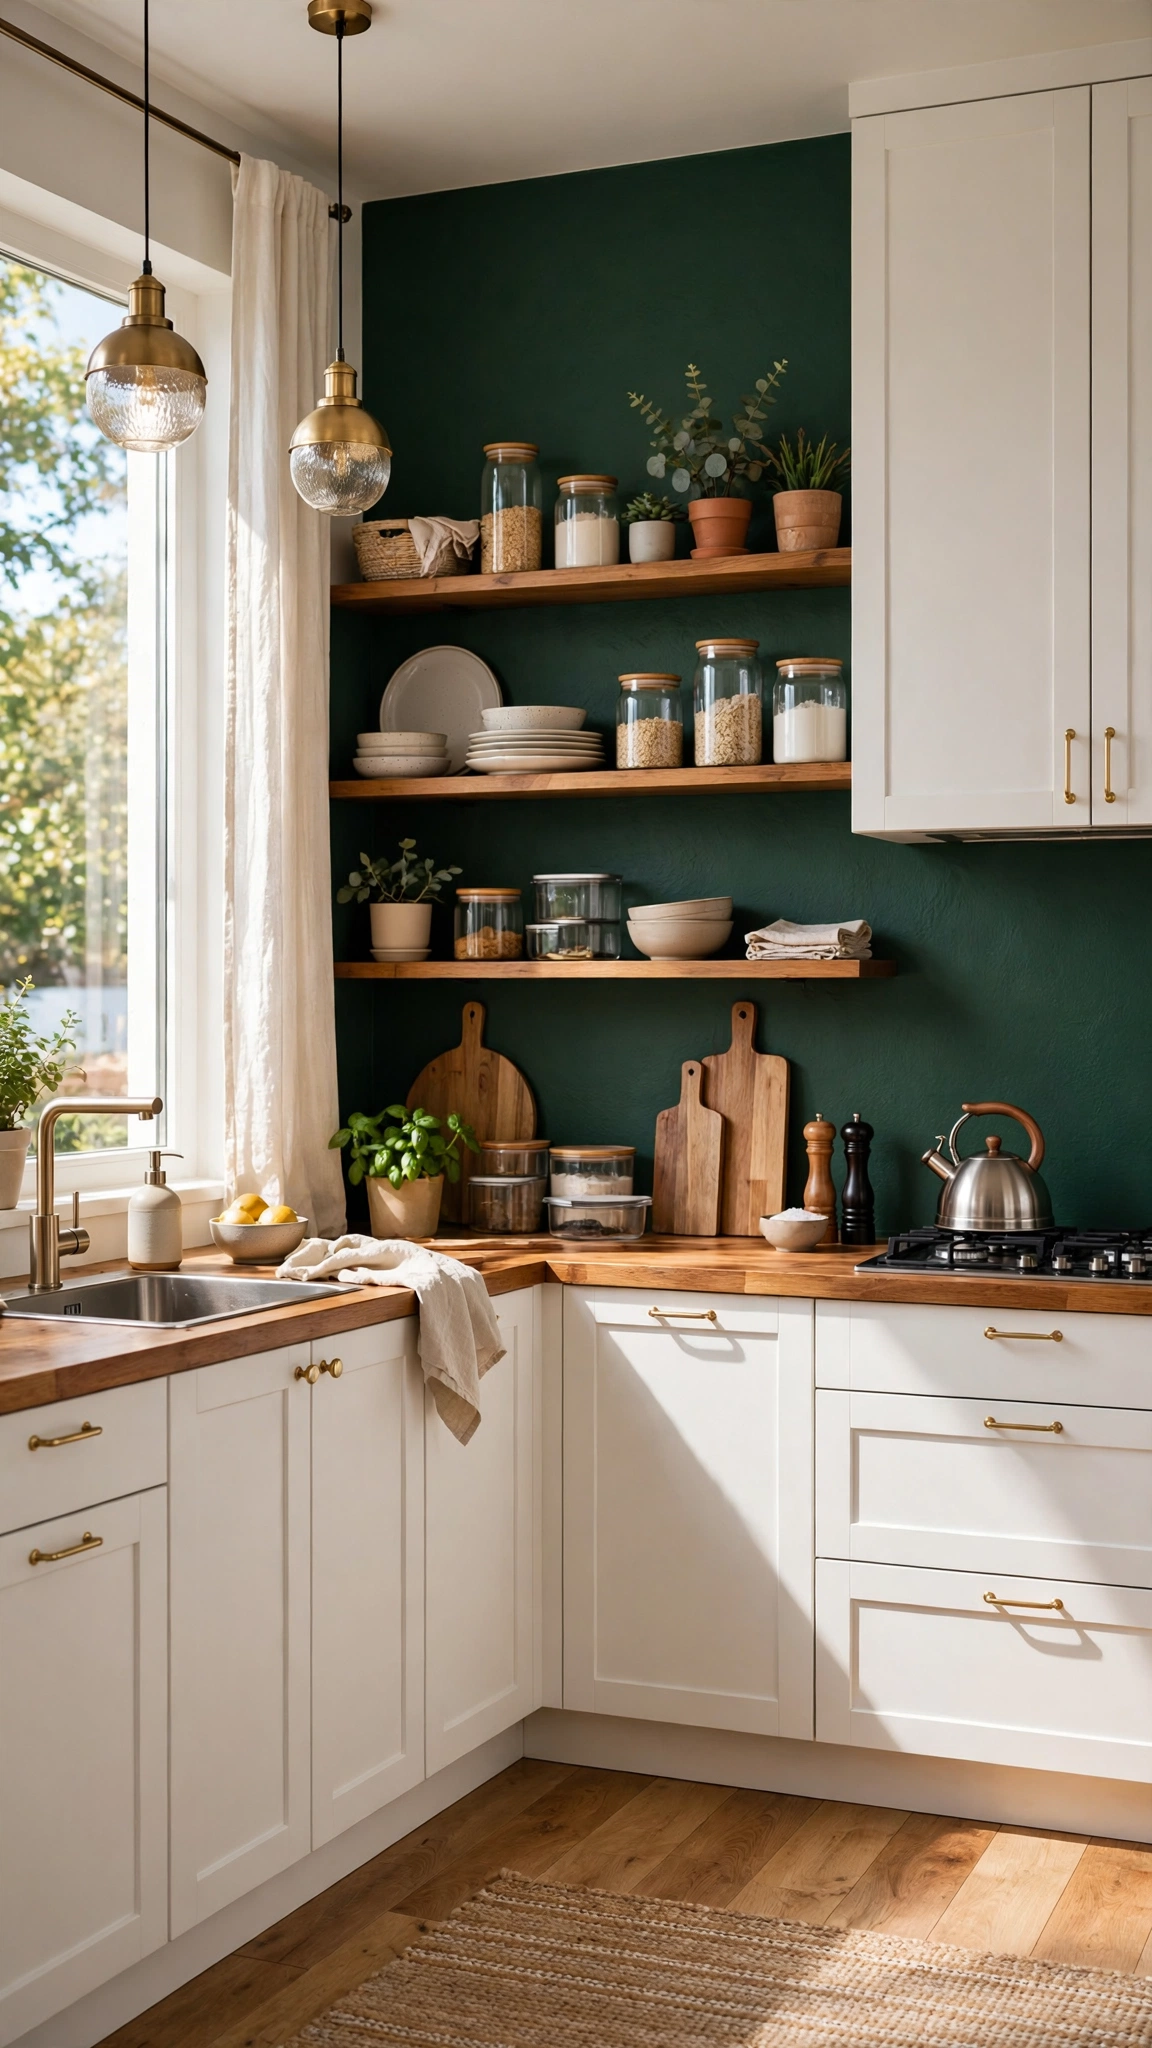
One bold wall of color gives a kitchen personality without the commitment of repainting everything. Deep green, warm terracotta, or moody navy all make white cabinets and wood tones pop.
Pick the wall that frames the room best, usually the one behind the dining area or the longest uninterrupted stretch. A single gallon of paint covers it easily.
Keep the rest of the walls neutral so the accent stays a feature, not a fight. Add one piece of art or a small shelf display and the wall looks designed, not just painted.
Tip: Use the same bold-but-budget approach from decorating a teen bedroom on a budget without sacrificing style to prove that a little paint goes a long way.
9. Lay Down a New Rug

A rug is the fastest way to add color, pattern, and warmth to a hard kitchen floor. A washable runner in front of the sink or stove instantly makes the room feel homier and more expensive.
Choose a low-pile, machine-washable rug so spills are no drama. Runners work best in galley layouts, while a larger flat-weave rug grounds an open kitchen dining area.
Pattern hides crumbs and stains far better than solid colors, which is a practical bonus in a working kitchen. Swap it seasonally for an instant refresh.
Tip: Treat the rug like a room anchor, the way styling a modern teen bedroom like a designer uses one bold piece to pull a whole room together.
10. Declutter and Restyle the Counters

The cheapest makeover of all costs nothing: clear the counters. A kitchen with breathing room on its surfaces looks bigger, cleaner, and far more expensive than one crowded with gadgets.
Keep out only what you use daily and what looks beautiful: a cutting board, a good knife block, a jar of utensils, and one plant or vase. Everything else earns a home inside a cabinet.
Group the remaining pieces into small vignettes rather than scattering them. One styled corner reads as intentional; ten scattered items read as clutter.
Tip: Apply the same ruthless editing from maximizing storage in a teen bedroom with clever solutions to give every item a proper home.
11. Add Crown Molding or Trim
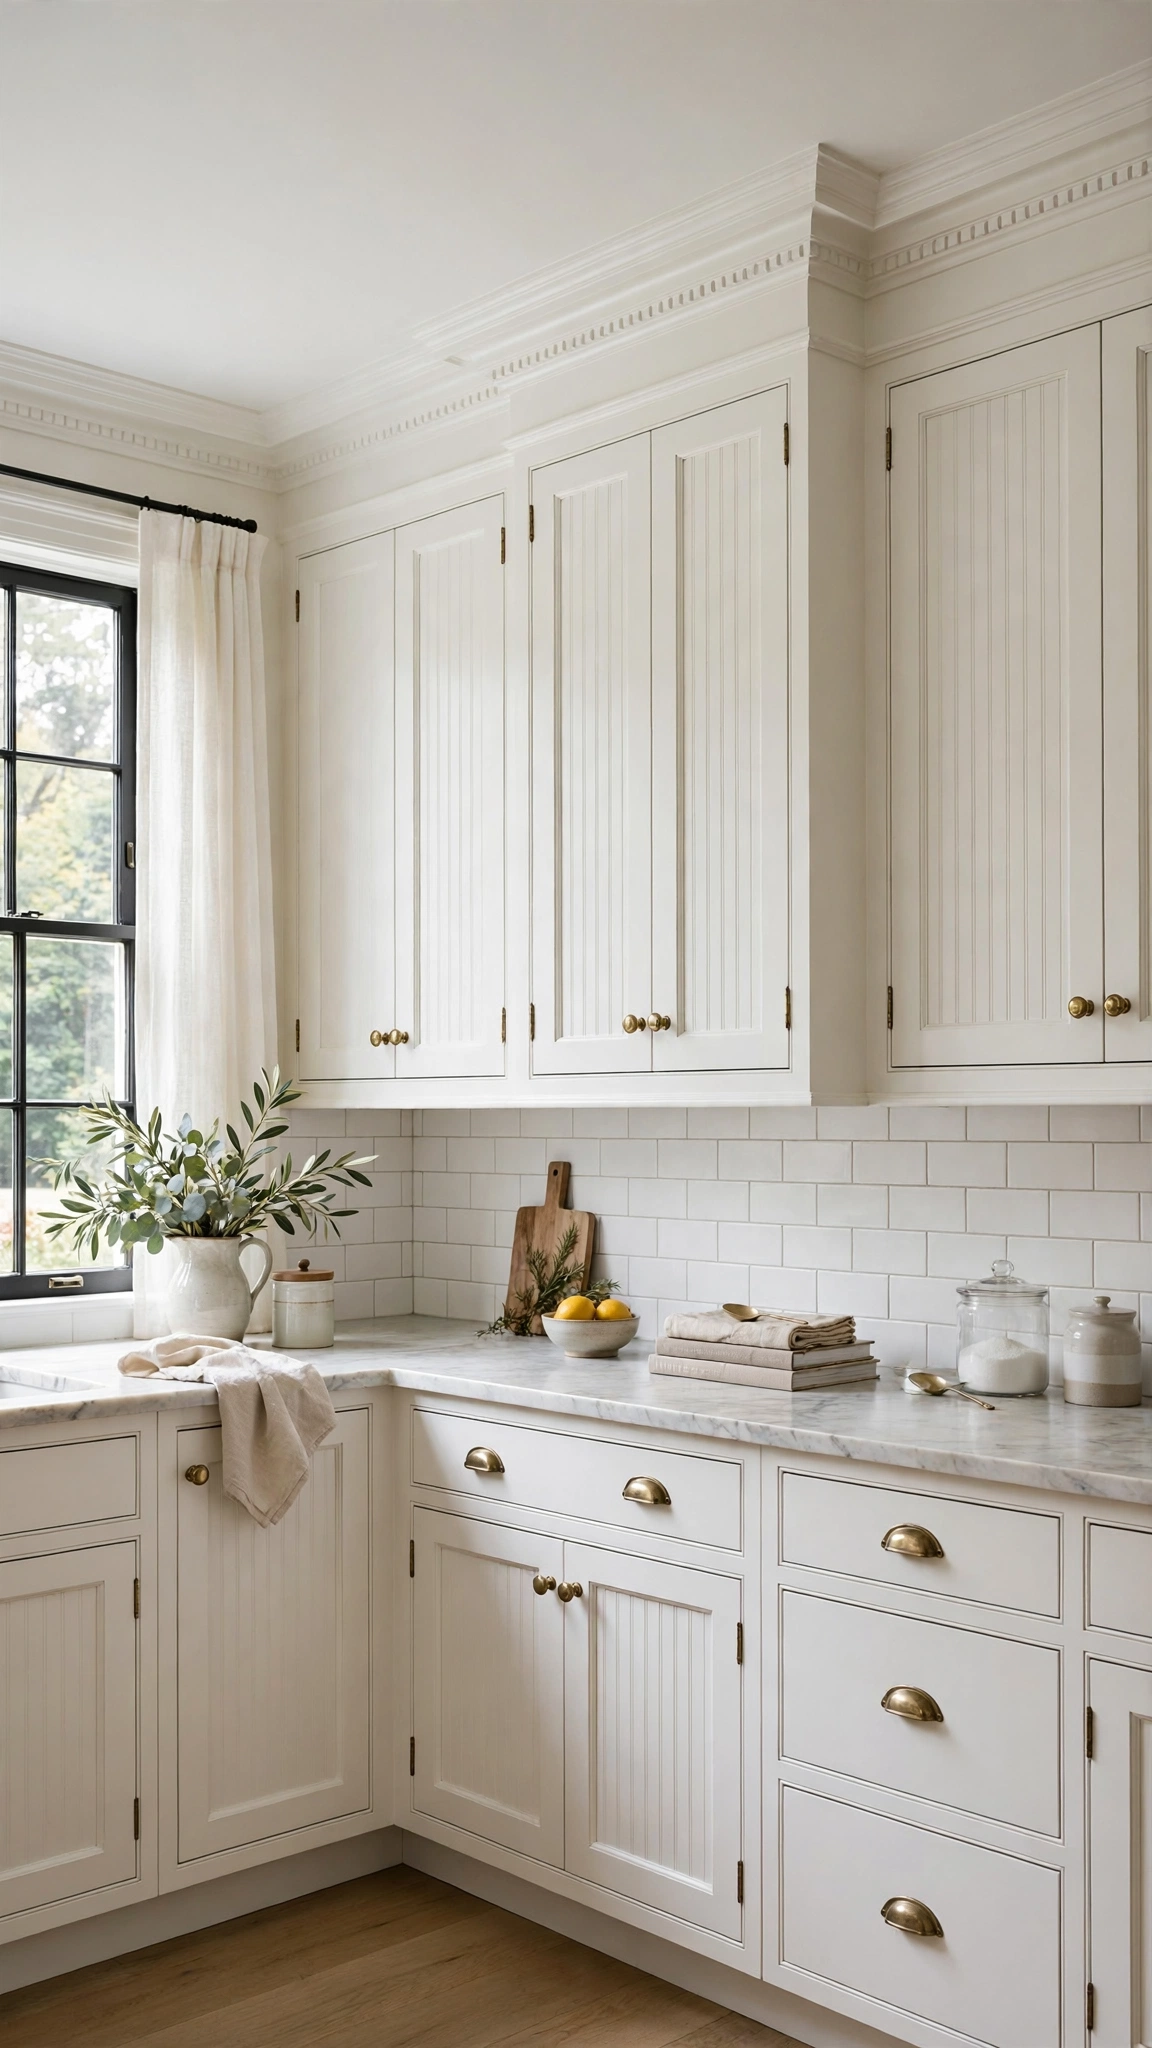
A strip of crown molding on top of upper cabinets closes the dusty gap to the ceiling and makes stock cabinets look custom-built. It is a classic designer trick at a hardware-store price.
Lightweight foam or MDF molding cuts easily with a handsaw and installs with construction adhesive and a few brad nails. Paint it the same color as the cabinets for a seamless built-in look.
The same trick works on the bottom of cabinets as a furniture-style toe kick trim. Small trim details are exactly what separate a basic kitchen from a polished one.
Tip: Finish the look with cozy, layered styling inspired by creating a cozy teen bedroom with simple decor ideas for warmth without clutter.
12. Upgrade the Sink Area
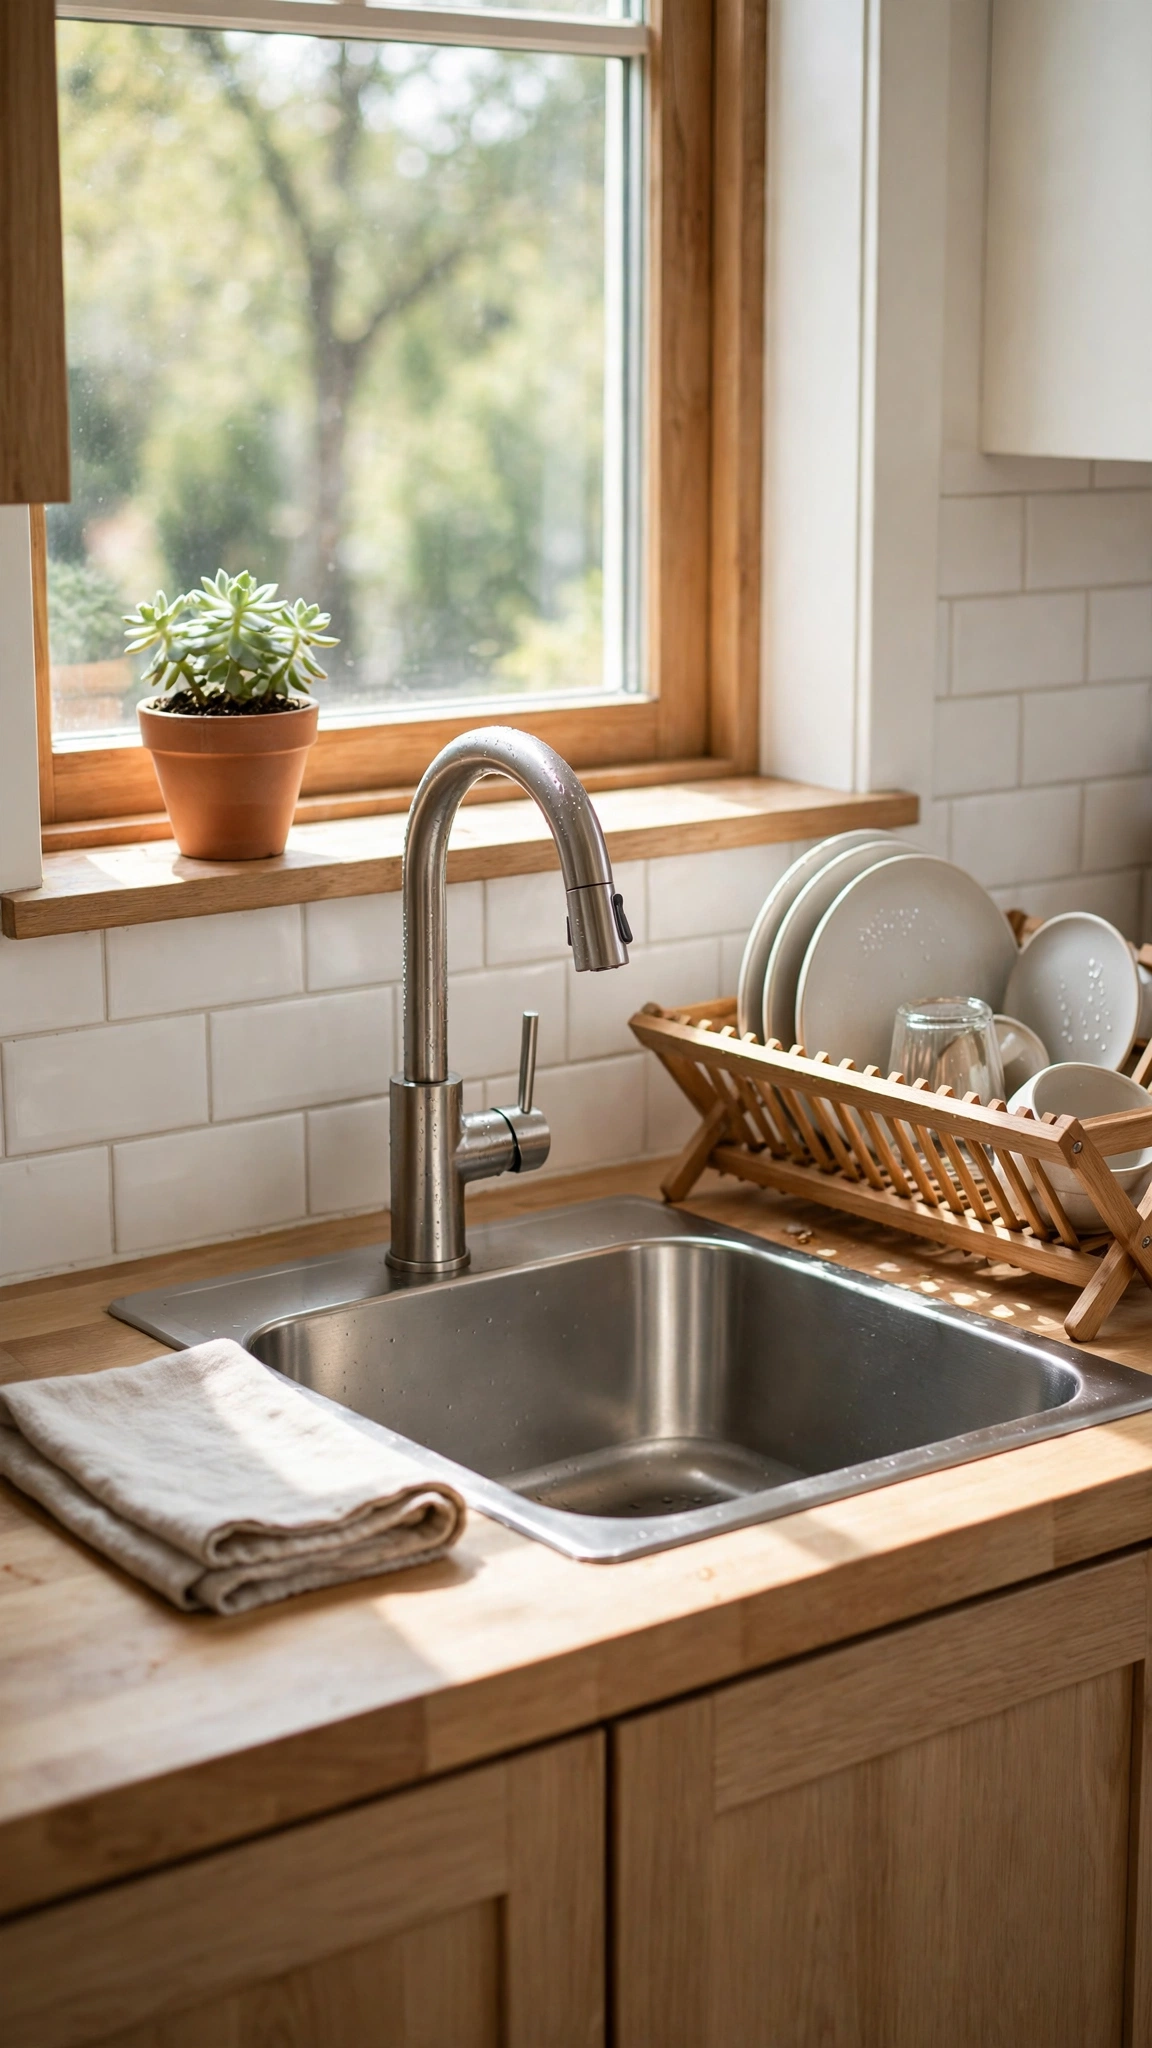
The sink is the visual center of most kitchens, so refreshing it transforms the room. A new sink mat, a pretty soap dispenser, a wooden dish rack, and a folded linen towel turn a work zone into a styled one.
If the budget allows, a replacement sink itself is one of the best mid-range upgrades. A deep single bowl in stainless steel or fireclay changes how the whole kitchen functions and looks.
Even without replacing it, a good deep clean and a new drain cover make an old sink look years younger. Small details at the sink get noticed every single day.
Tip: Make a small sink zone feel bigger with the same tricks from designing a small teen bedroom that feels bigger, like light colors and clear sightlines.
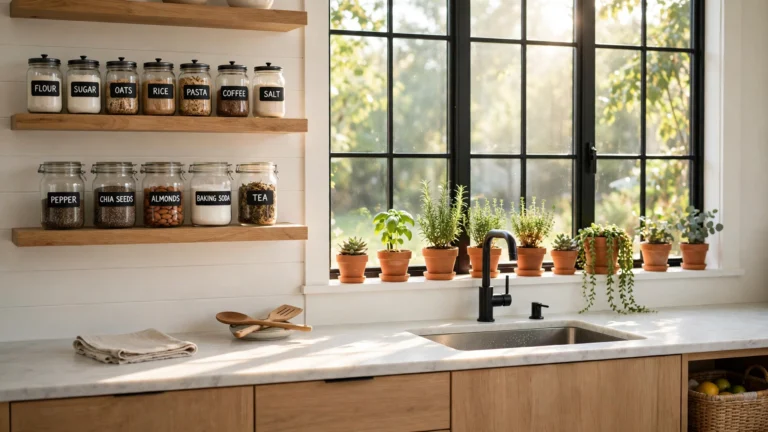
13. Bring in Greenery

Plants are the cheapest luxury a kitchen can have. A few pots of herbs on the sill, a trailing pothos on top of the cabinets, and one larger plant in a corner add life, color, and freshness instantly.
Herbs pull double duty as decor and ingredients, and they thrive in the bright, humid kitchen environment. Basil, mint, and rosemary are nearly impossible to kill with regular watering.
Use terracotta or ceramic pots that match your palette rather than plastic nursery pots. The pot is half the styling, and it costs almost nothing to upgrade.
Tip: Let plants do the decorating the way making a teen bedroom look aesthetic on any budget uses greenery and texture for instant charm.
14. Reface with Contact Paper

Adhesive contact paper is the renter’s secret weapon and the budget renovator’s best friend. Realistic wood grain, marble, and matte finishes can reface cabinet doors, drawer fronts, and even countertops.
Work slowly with a smoothing tool to push out bubbles, and use a sharp blade for clean edges around handles. The result from a normal distance is genuinely convincing.
A full kitchen reface costs less than a single gallon of quality cabinet paint in many cases. It is also fully reversible, which makes it perfect for rentals or for testing a bold look.
Tip: Keep the rest of the room clutter-free using the principles in organizing a teen bedroom for a clutter-free space so the new finish stays the star.
15. Style a Coffee or Breakfast Station
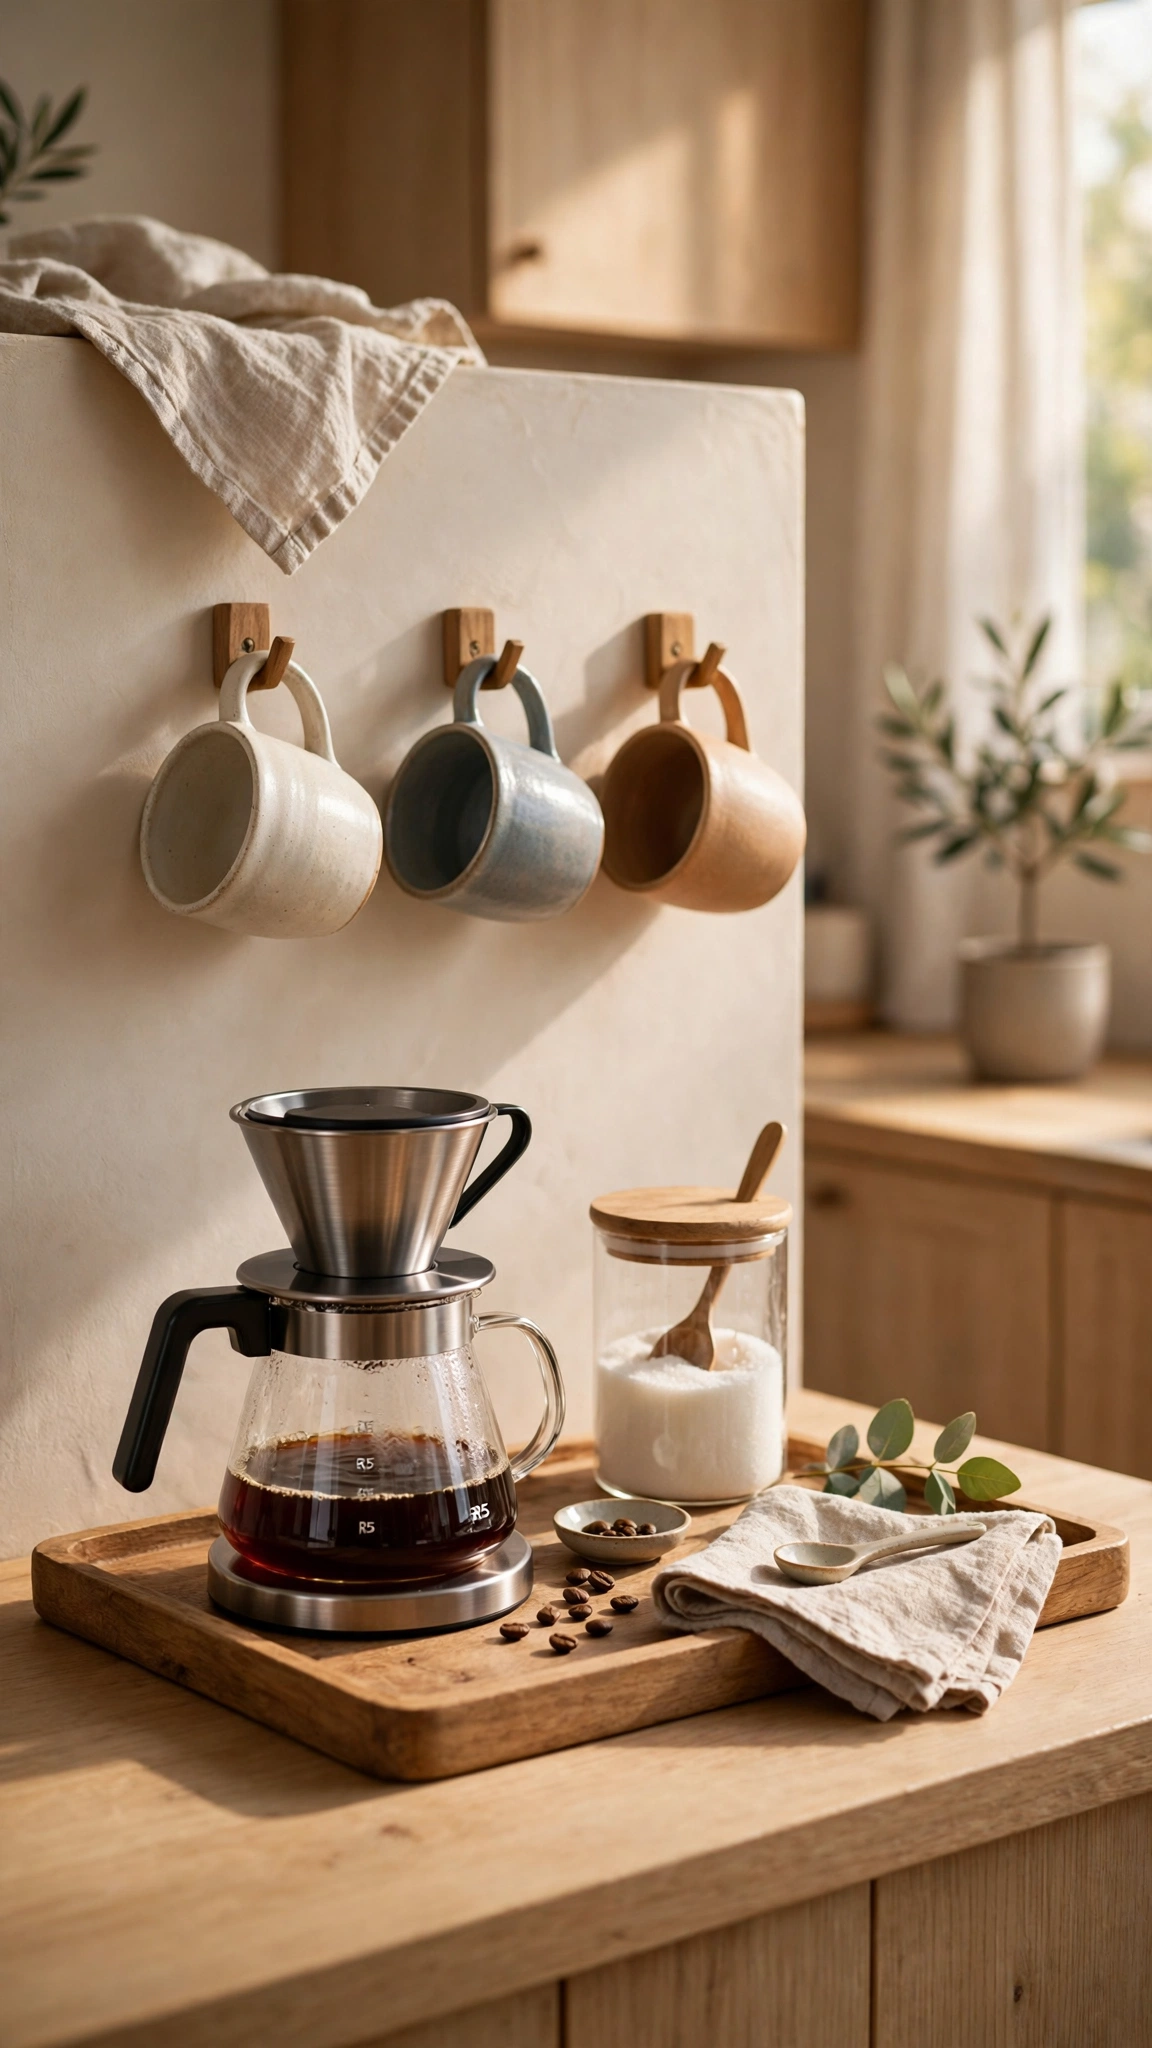
A dedicated coffee or breakfast station turns an ordinary corner into a feature. A tray, a coffee maker, a few mugs on hooks, and a jar of sugar suddenly make the kitchen feel like a boutique cafe.
Contain everything on one tray or a small section of counter so it reads as a station, not sprawl. A tiny shelf above holds mugs and keeps the counter clear for actual work.
This is also a great way to use an awkward corner or a shallow stretch of counter that never worked well for prep. It adds daily joy for almost no money.
Tip: Give the station personality the way decorating a teen bedroom that reflects their personality uses personal touches to make a space feel truly yours.
Conclusion
A kitchen makeover without overspending is really about choosing the changes people actually notice: color, light, hardware, and a little styling. Pick two or three ideas from this list, start this weekend, and watch your kitchen transform one smart, affordable step at a time.