19 Stunning Kitchen Decor Inspirations That Make Your Kitchen Look More Expensive
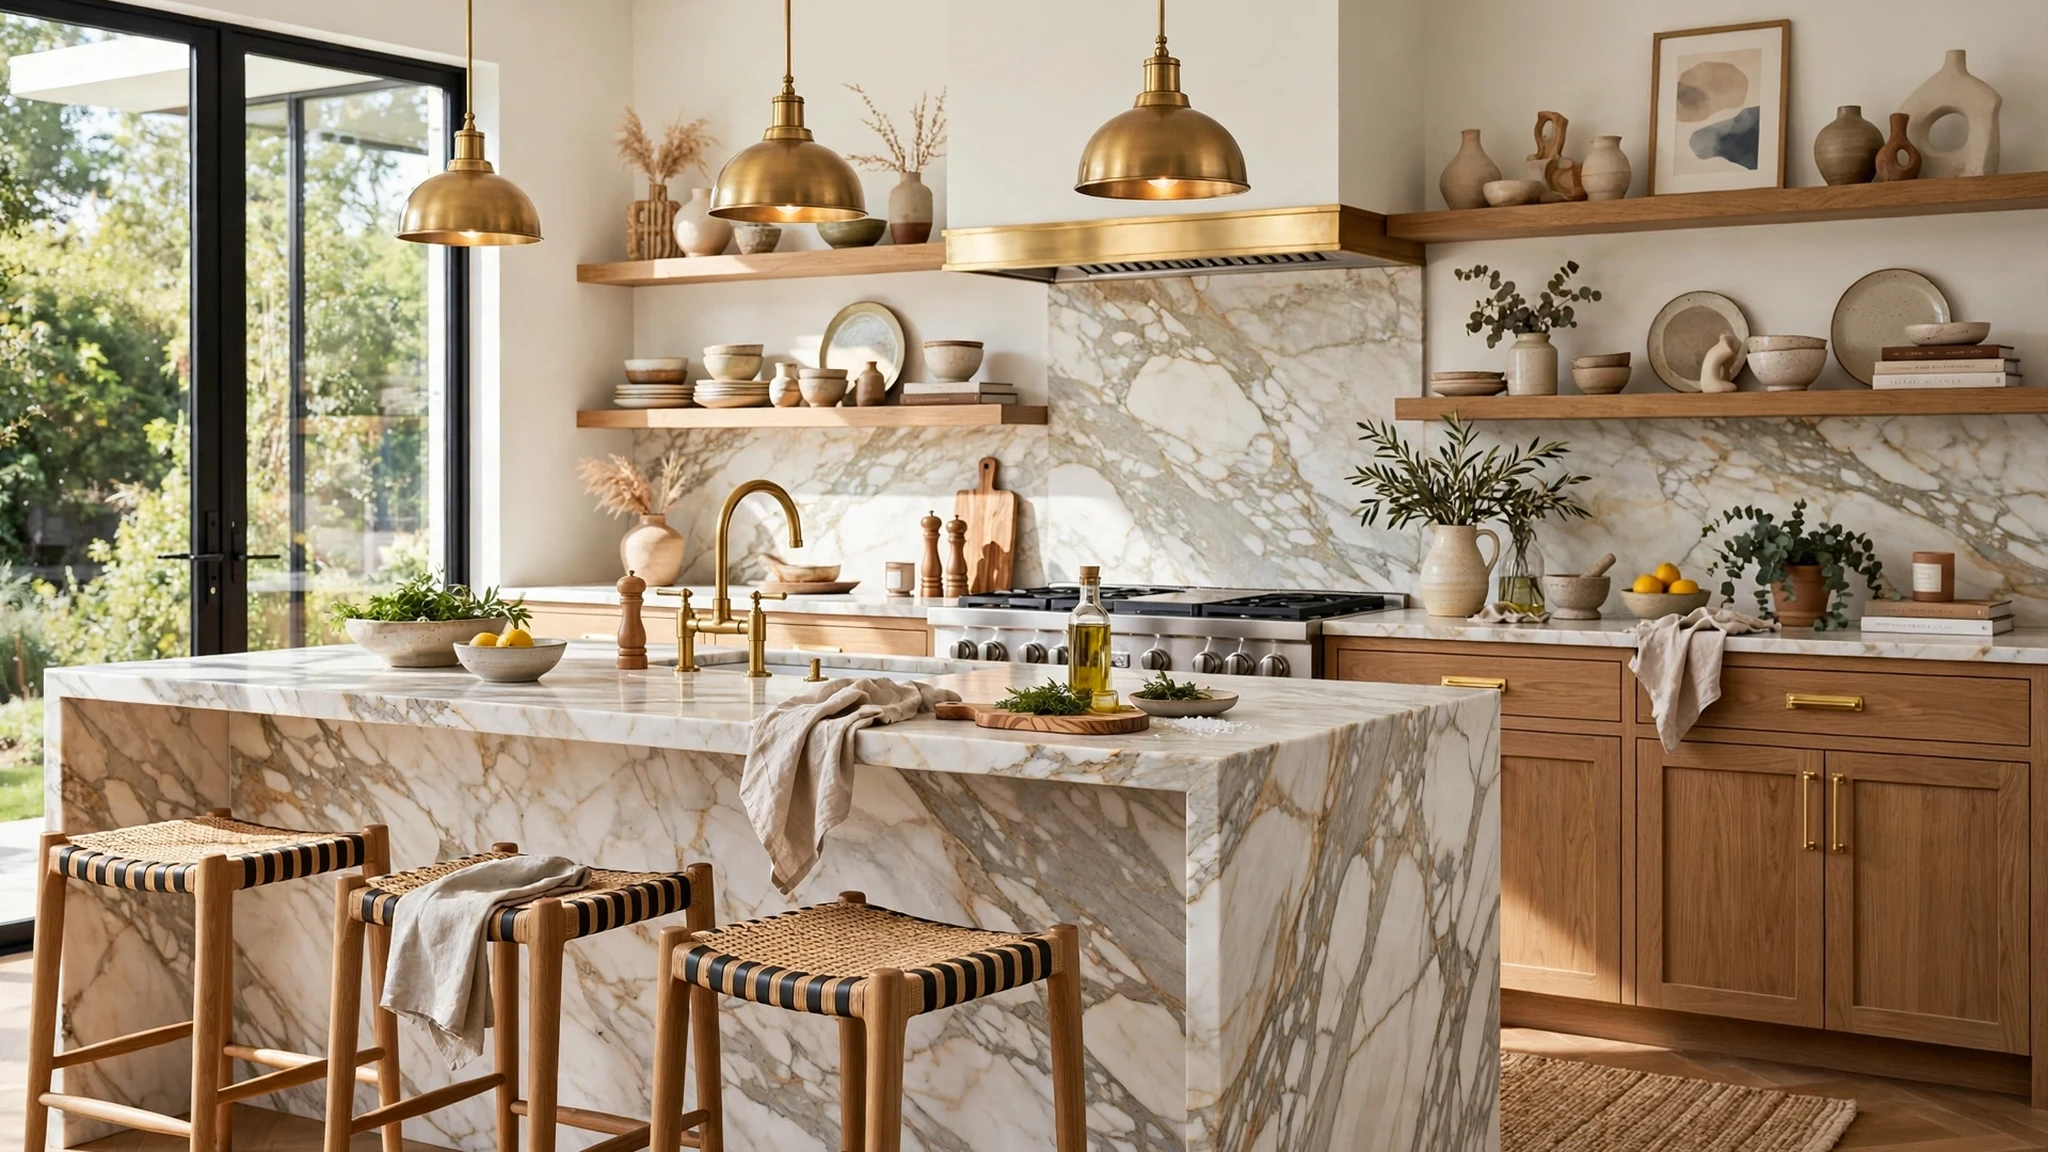
A kitchen that looks expensive rarely depends on a full renovation. More often, it’s the quiet details — layered art, sculptural objects, warm lighting, and carefully edited surfaces — that give a space that polished, designer feel. The good news is that most of these touches cost far less than new cabinetry or stone counters.
In this guide, you’ll find nineteen stunning kitchen decor inspirations that work in rentals and forever homes alike, from five-minute styling tricks to weekend upgrades. Ready to make your kitchen look like it came straight out of a design magazine?
1. Layer Art and Objects Like a Gallery
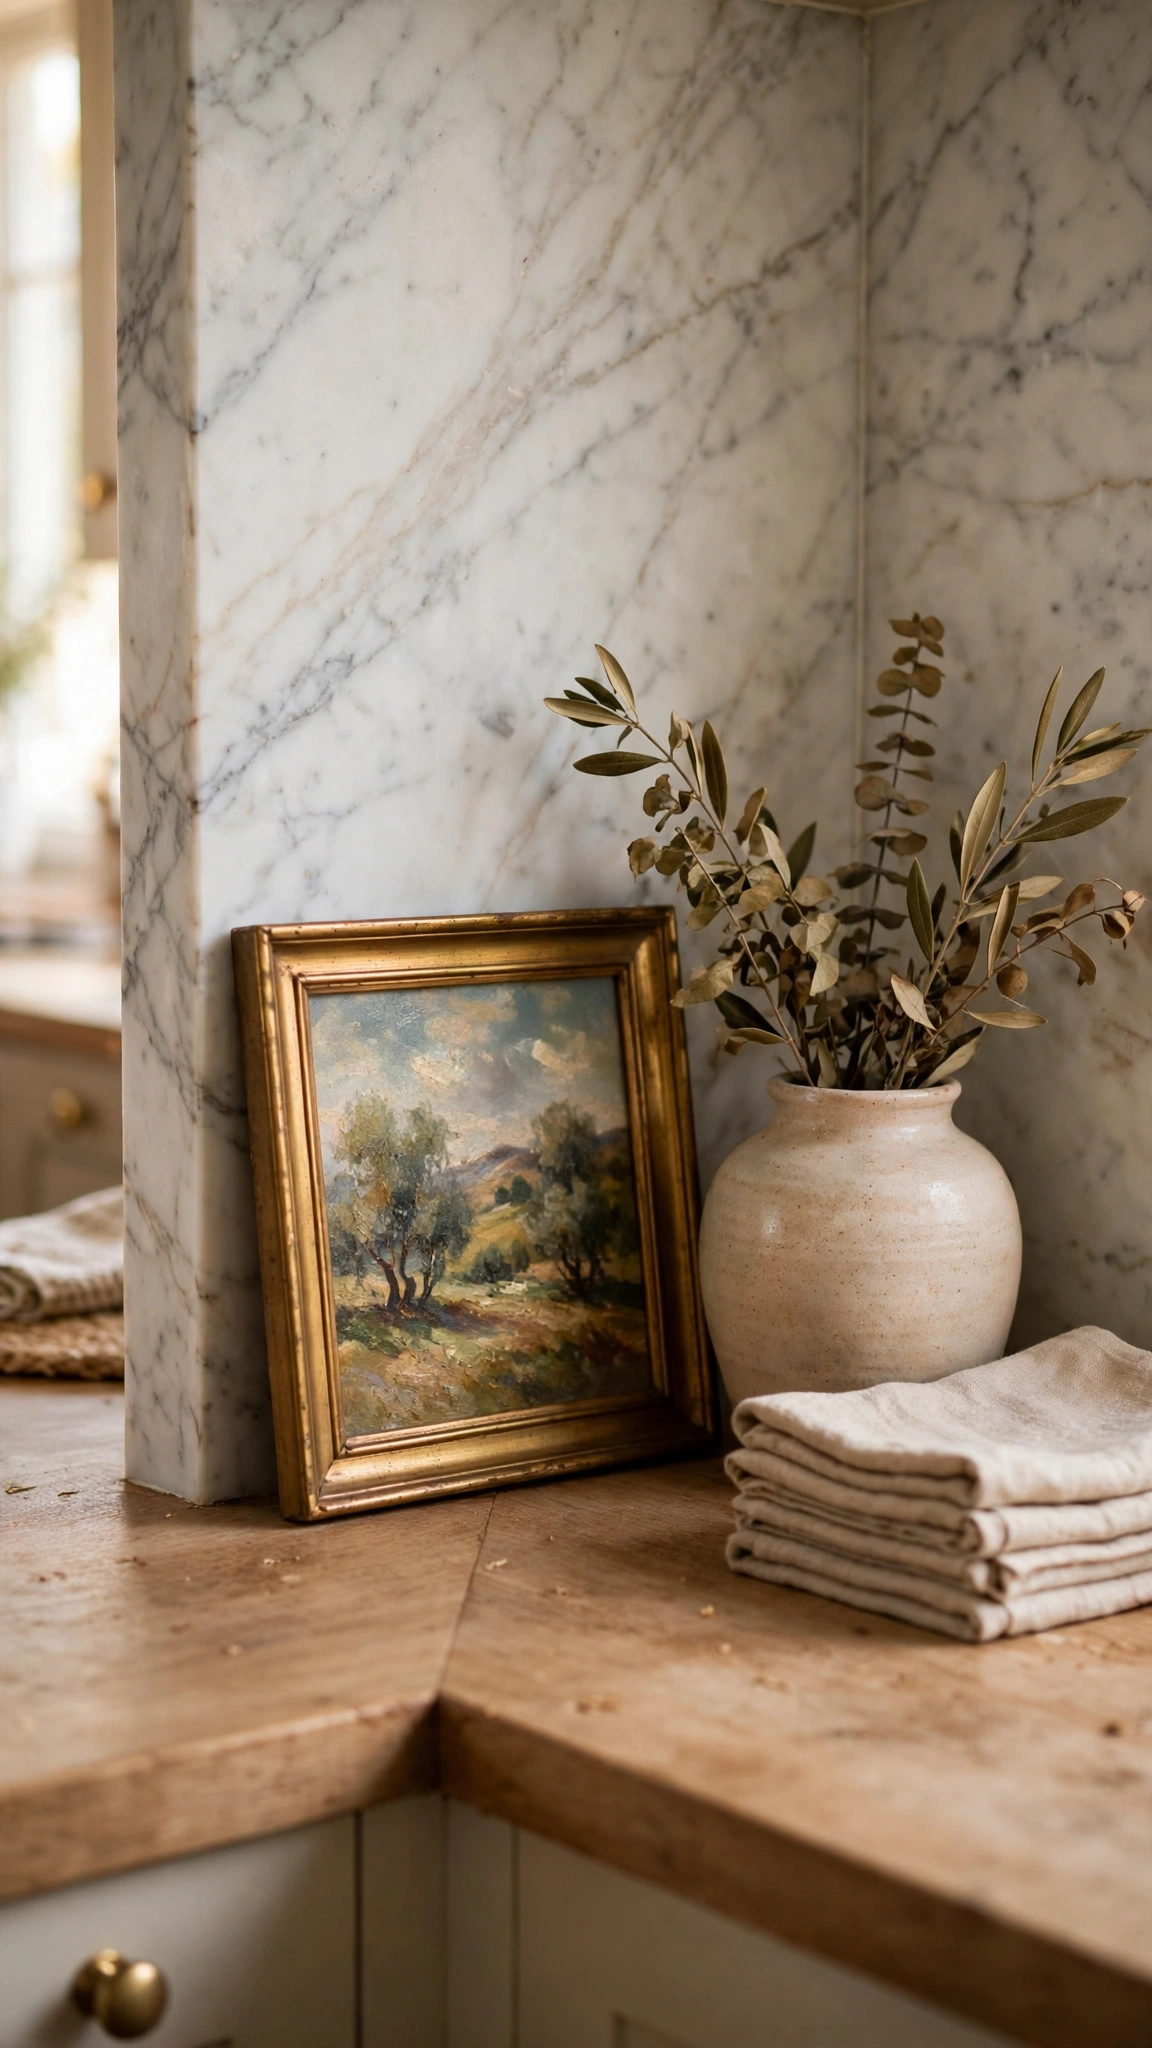
Designers treat the kitchen like any other room in the house, which means art belongs there too. A small framed painting leaning against the backsplash, a vintage print propped on a shelf, or a sculptural object beside the stove instantly signals that this space was styled, not just built.
Layering works because it creates depth. Instead of lining objects up in a row, overlap them — a taller frame behind a shorter vase, a stack of books beneath a bowl. The eye reads these layers as richness, the same way a gallery wall feels more luxurious than a single poster.
Start with what you own: thrifted frames, a cutting board with beautiful grain, or a ceramic piece you love. Keep the palette tight — two or three tones repeated across the vignette — so it looks curated rather than cluttered. Most gallery-style groupings come together for under $30 using secondhand finds.
Tip: Keep frames in one finish family, like aged brass or black wood, for a cohesive look — the same trick behind these gorgeous wall decor ideas works beautifully above a kitchen counter too.
2. Swap Cabinet Hardware for Statement Pieces
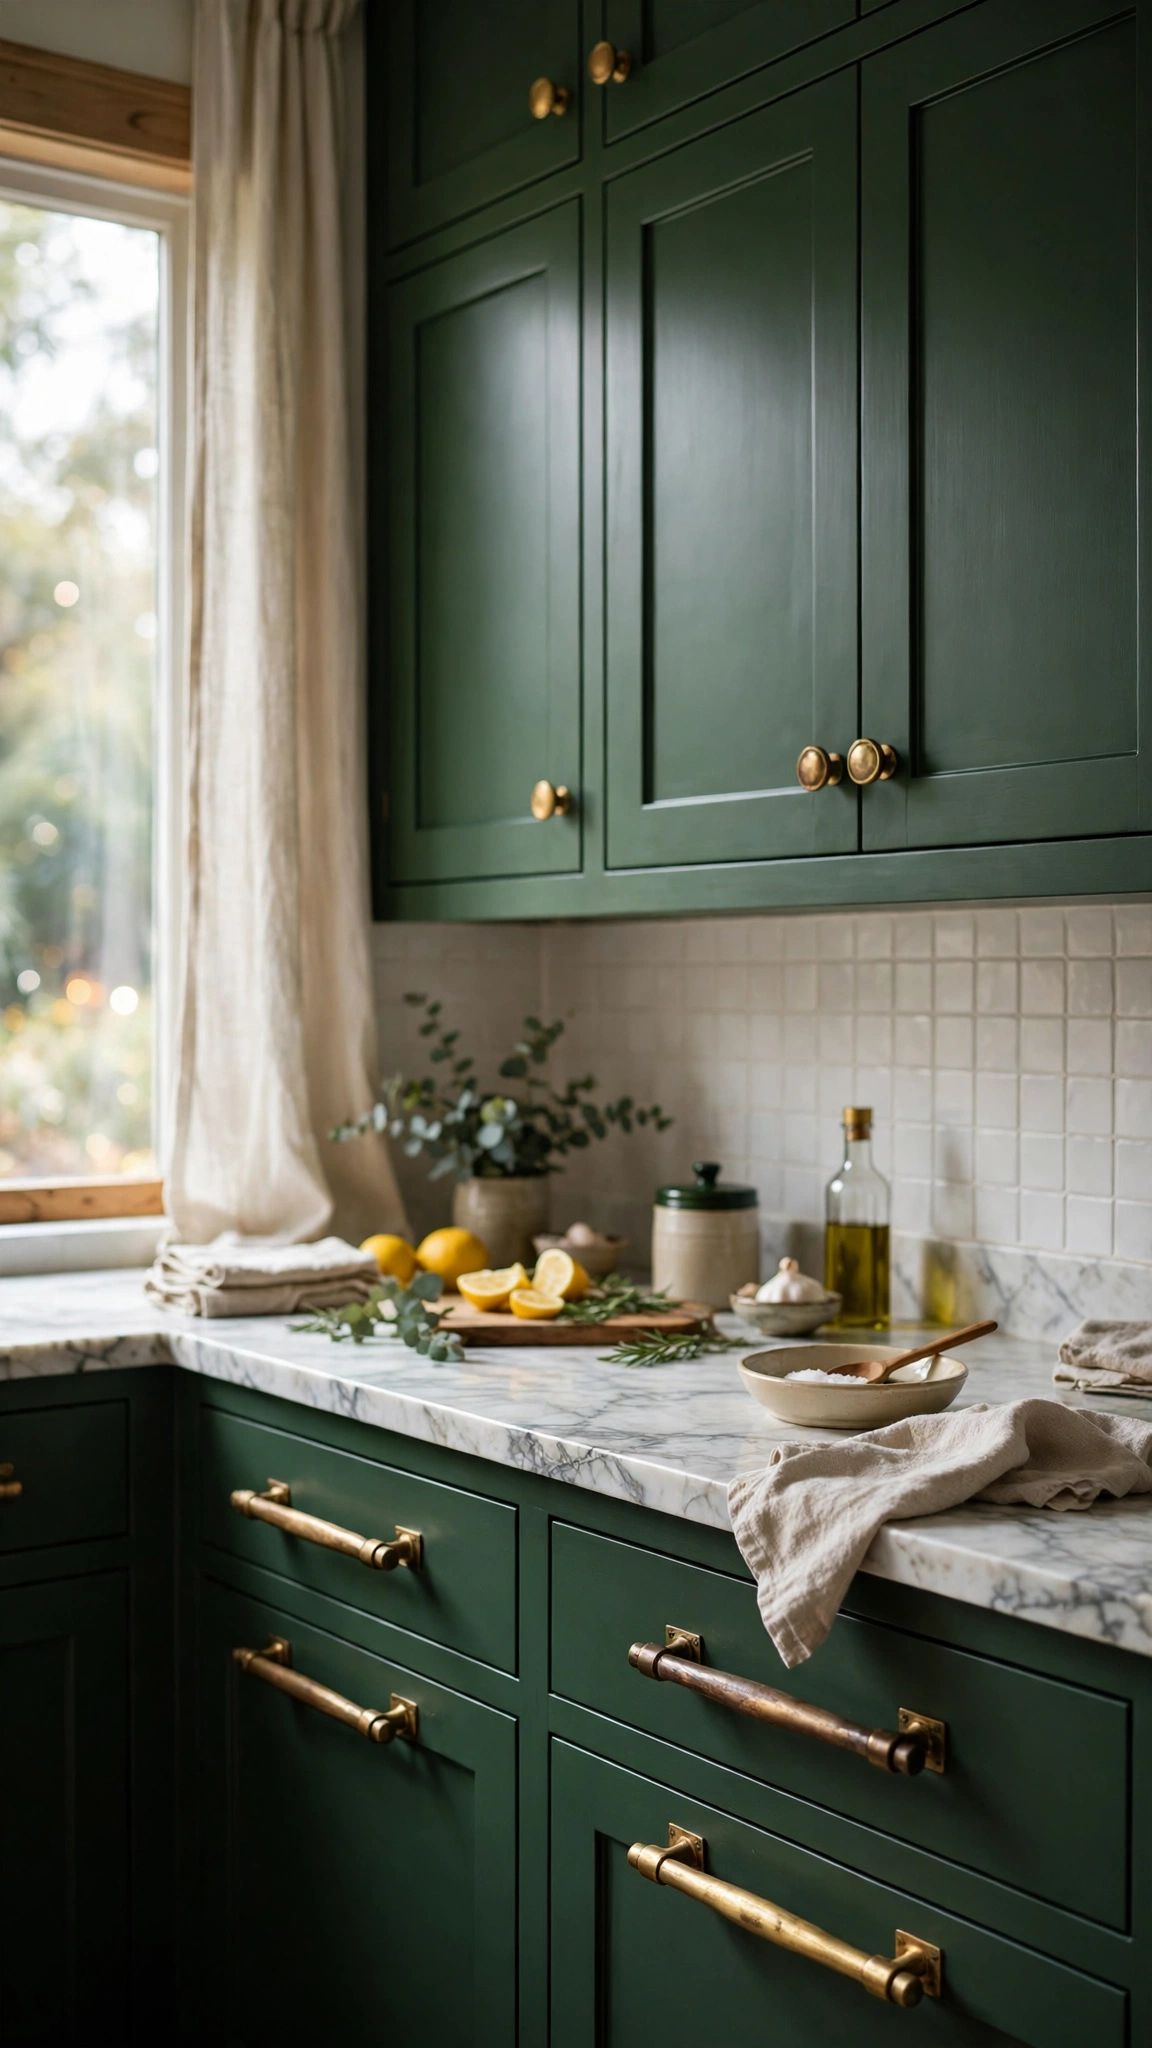
Hardware is the jewelry of the kitchen. Swapping basic builder-grade knobs for substantial brass, matte black, or leather-wrapped pulls is the fastest way to make stock cabinets look custom. The weight and finish of a pull are things you see and touch every day, so the upgrade registers constantly.
Scale matters more than price. Slightly oversized pulls — an inch or two longer than standard — read as bespoke, while mixed metals done deliberately (brass pulls with a black faucet, for example) mimic high-end designer kitchens.
Measure your existing hole spacing before ordering, and replace one cabinet first to test the look. A full kitchen’s worth of quality pulls typically runs $60–$150, and the whole swap takes an afternoon with a screwdriver.
Tip: Pair your new hardware with floors that pull their weight visually — this guide on how to make kitchen floors look expensive shows how the two upgrades multiply each other.
3. Style Open Shelves with Restraint

Open shelves only look expensive when they’re edited. Designers follow a loose rule: roughly two-thirds everyday pieces in a single color family, one-third accents, and plenty of breathing room between groups. White or cream dishware is the classic base because it reads calm and unified.
Restraint is what separates a styled shelf from storage. Group items in small clusters with gaps between them, stack plates horizontally for variety, and leave one stretch of shelf completely empty if you can. Negative space is a luxury signal.
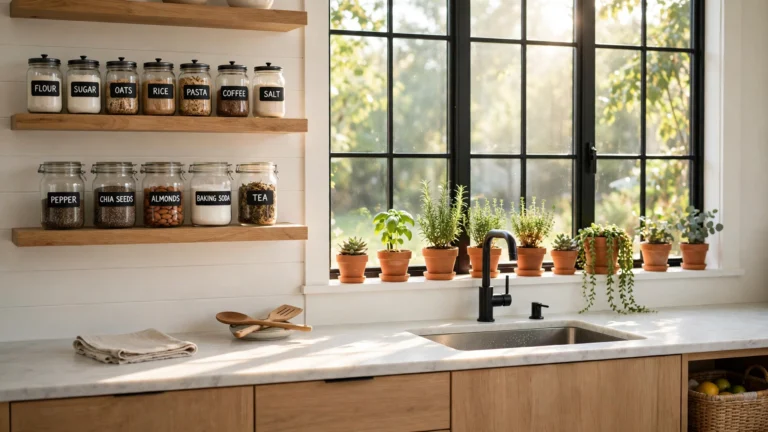
Decant dry goods into matching glass jars, corral utensils into one crock, and remove anything with loud packaging. The edit costs nothing; a few uniform jars run about $15 and pull the whole composition together.
Tip: If your shelves still feel crowded, borrow the small-space mindset from these genius ideas for maximizing every inch — every object should earn its spot.
4. Add a Statement Pendant Light
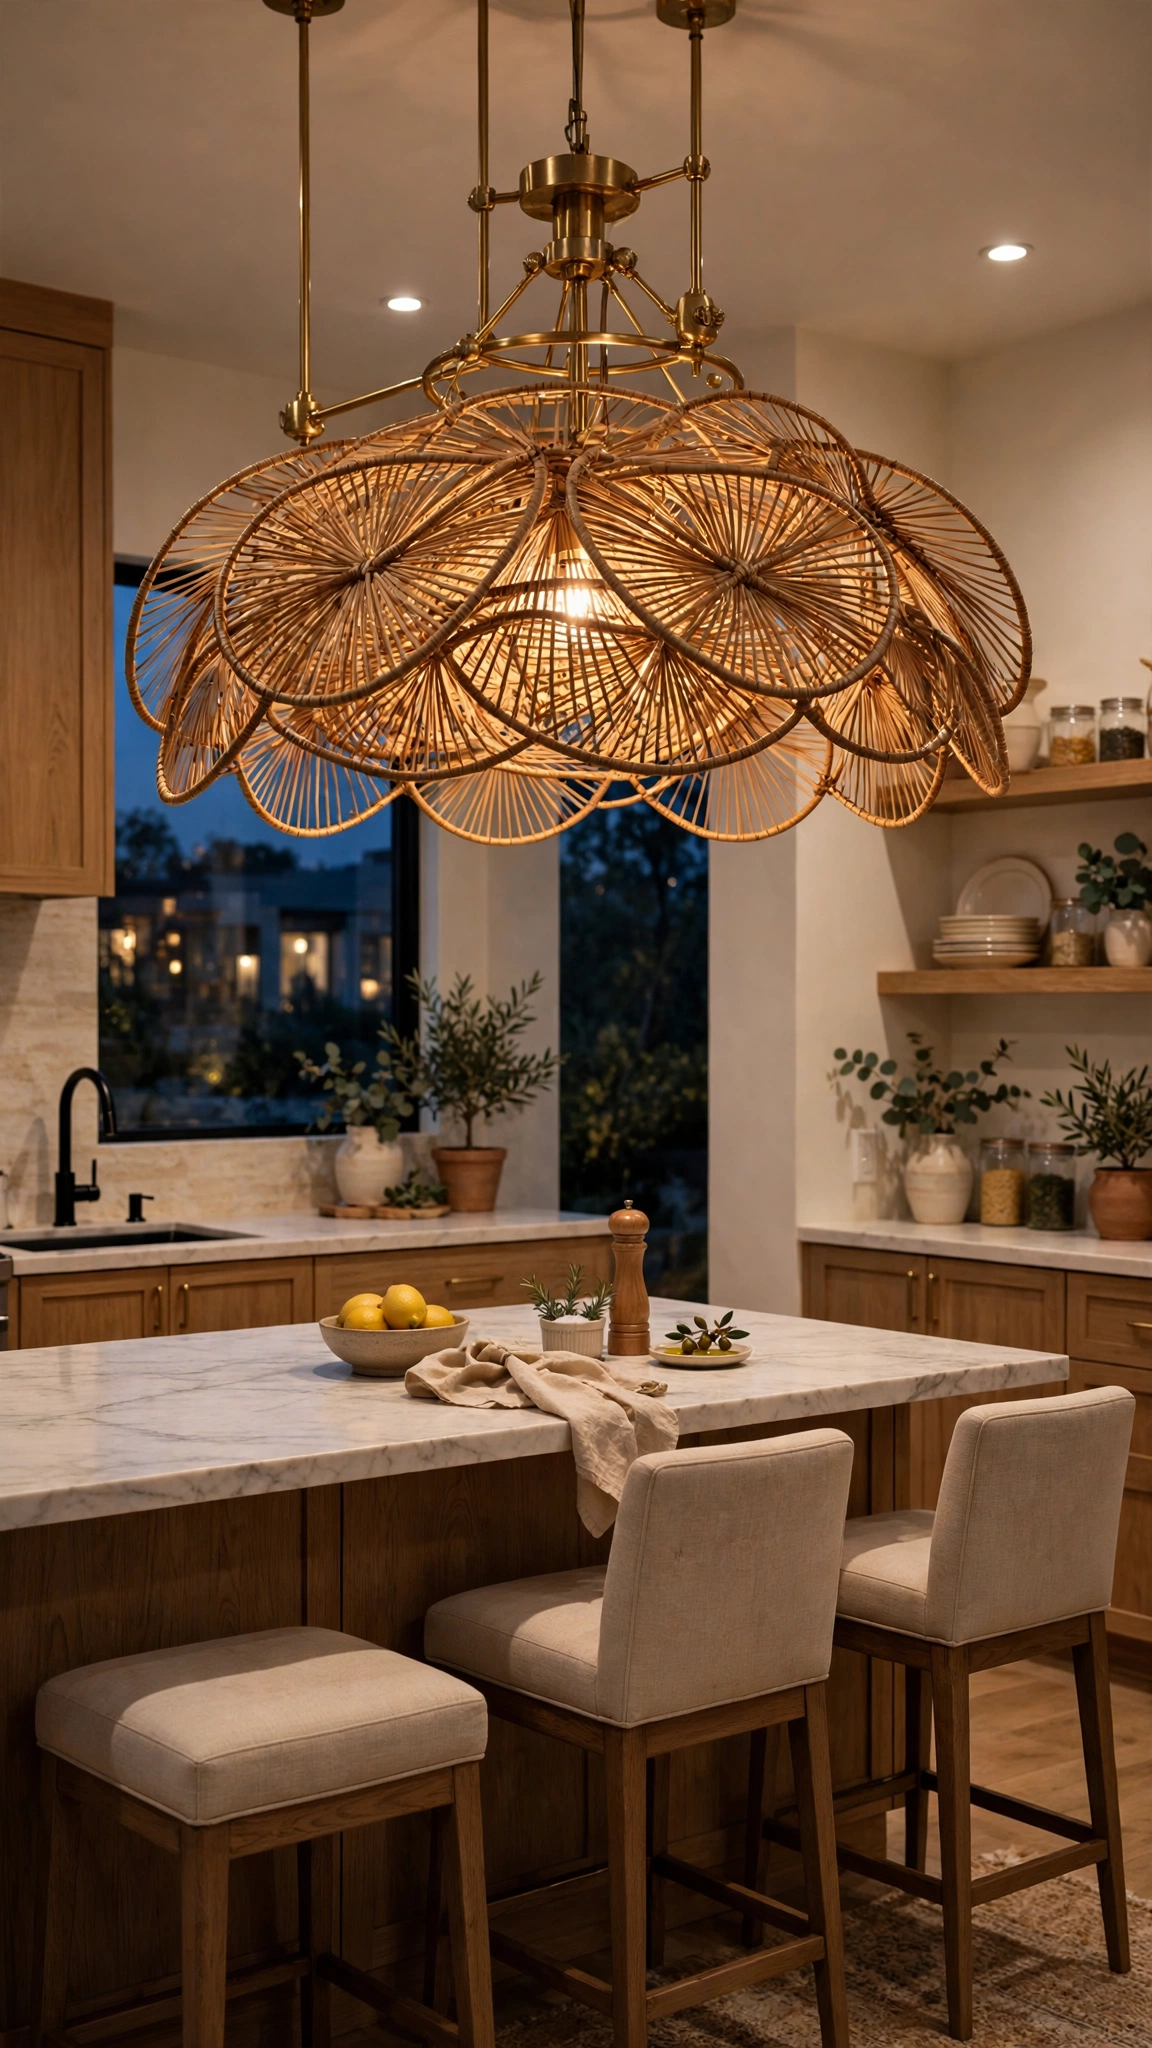
Lighting is the single most transformative decor layer in a kitchen. One oversized pendant — woven rattan, aged brass, fluted glass, or a linen drum — acts like a chandelier in a dining room, giving the whole space a focal point and a sense of occasion.
Scale up more than you think. A pendant that feels slightly too large usually looks right once installed, because generous proportions are a hallmark of designer spaces. Hang it so the bottom sits roughly 30–36 inches above the island surface.
Budget pendants with a high-end silhouette start around $60–$120. If wiring isn’t an option, a plug-in pendant with a cord cover or a battery-powered bulb in an existing fixture can fake the look for even less.
Tip: Choose a warm 2700K bulb for that expensive evening glow, and take cues from these elegant modern ideas for a sleek new look when coordinating finishes across rooms.
5. Roll Out a Vintage-Style Runner

A runner softens the hardest-working floor in the house and introduces color and pattern in one move. Vintage-style rugs — with their faded, timeworn patterns — are especially forgiving in kitchens because small spills and crumbs disappear into the design.
The rug also anchors the room the way it would in a living room, making the kitchen feel furnished rather than purely functional. Choose a length that leaves a border of floor visible on all sides, and center it on the sink or range run.
Washable vintage-look runners cost $40–$90 and survive pets, kids, and pasta night. Add a thin rug pad underneath to prevent slipping and give it that plush, expensive underfoot feel.
Tip: Let the runner’s palette echo your floor tone — and if the floor itself needs help, these creative patterned kitchen flooring ideas show how pattern underfoot elevates everything above it.
6. Display Wooden Boards as Sculpture
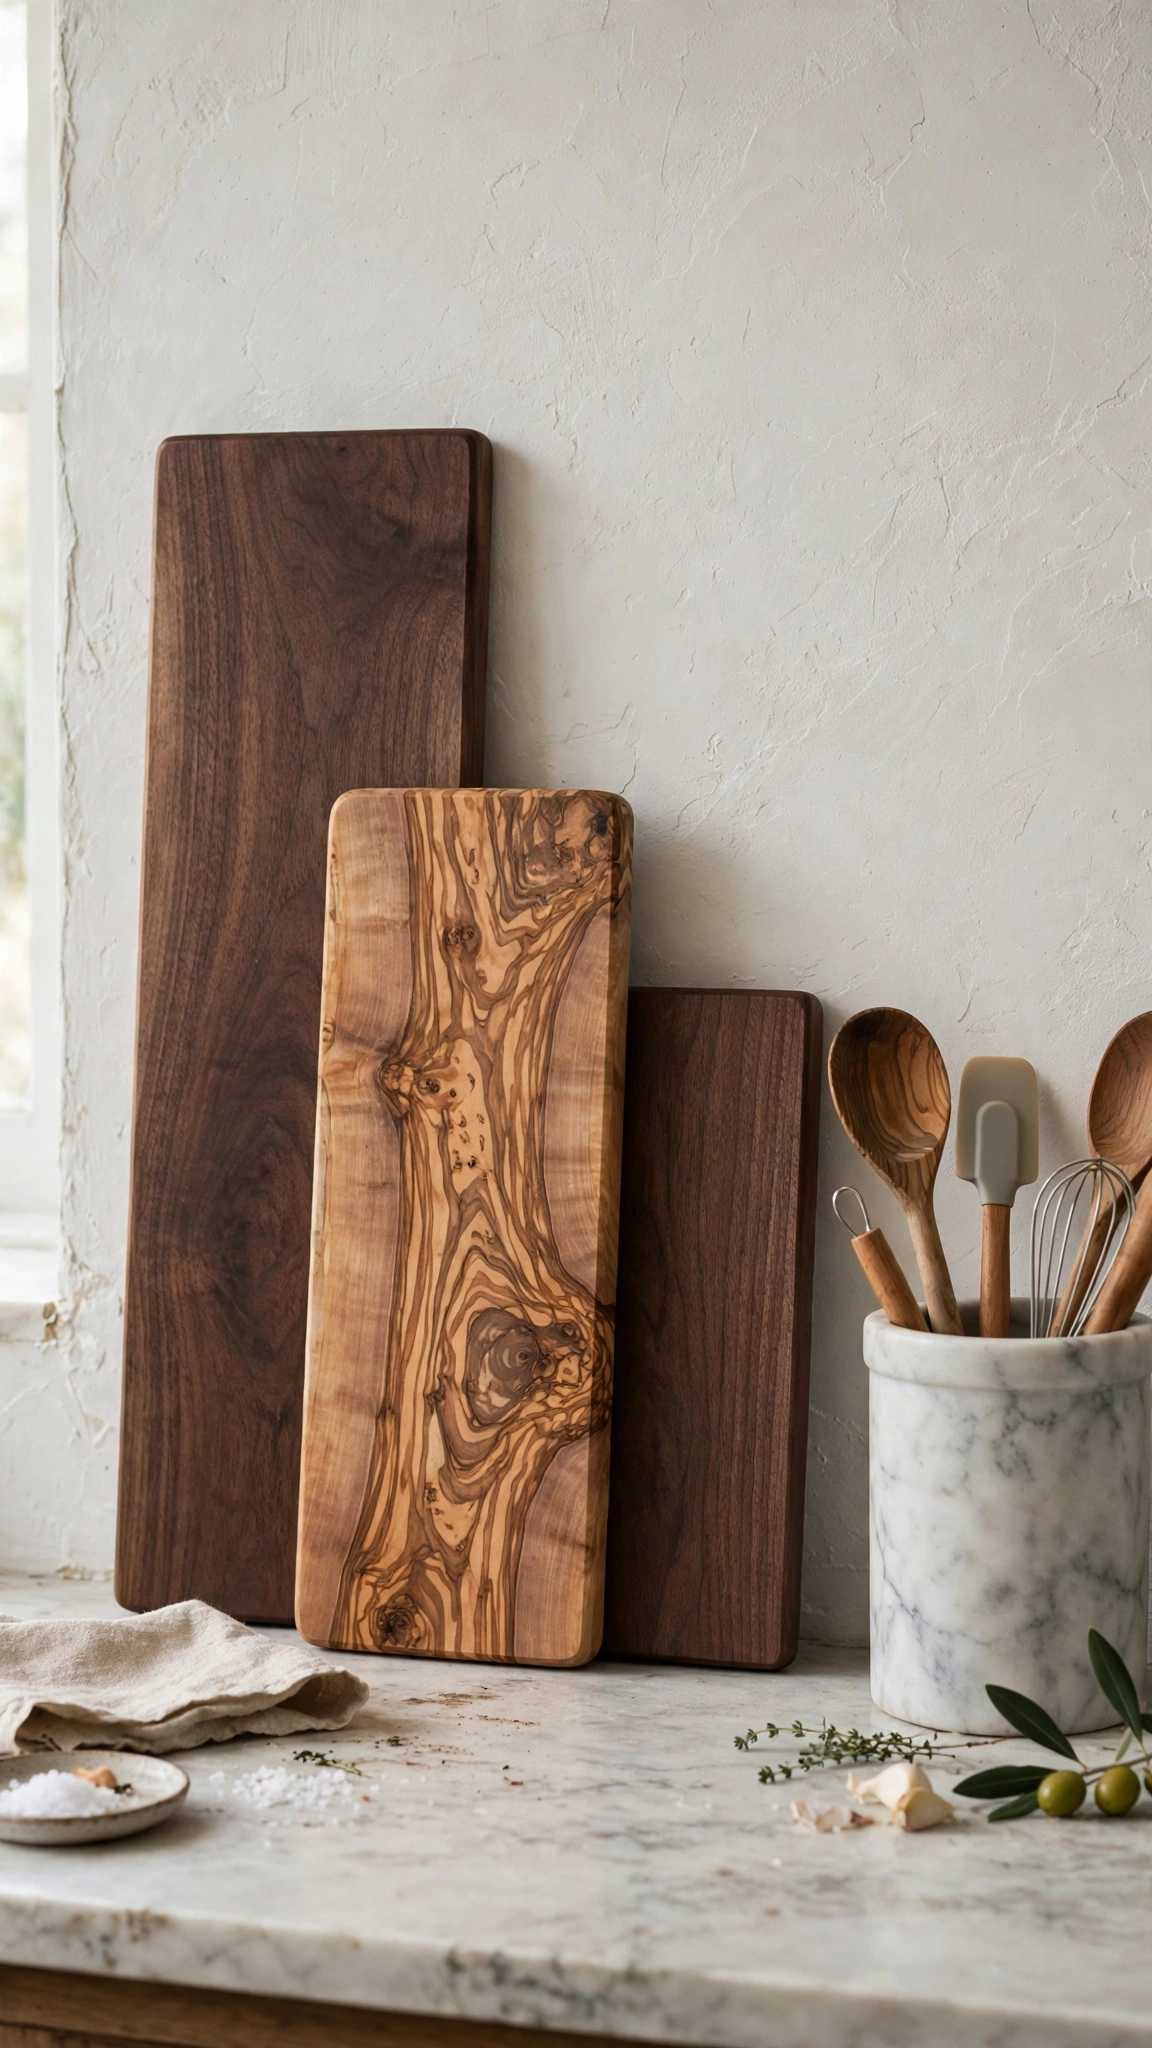
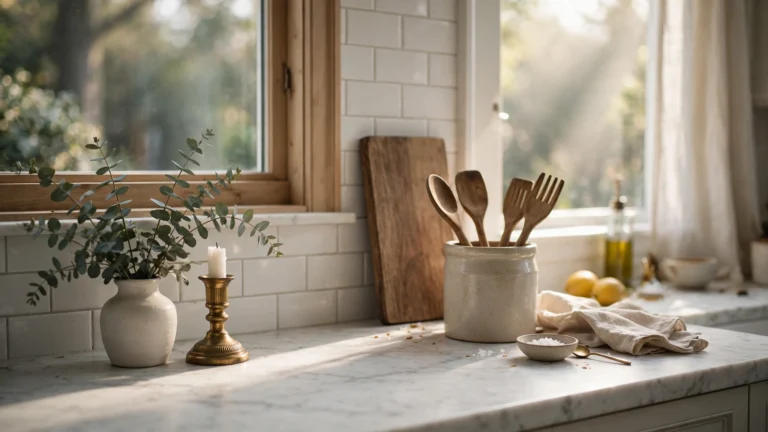
A cluster of beautiful cutting boards leaning against the backsplash is a designer staple for a reason: the organic shapes and warm grain break up all the hard, straight lines of cabinetry and appliances. Round, rectangular, and paddle shapes layered together look like a still life.
Wood adds warmth that stone and stainless steel can’t. Mixing two tones — pale olive wood with dark walnut, for instance — creates the collected-over-time feeling that expensive kitchens always have.
Boards are useful decor, so they earn their counter space. Pick up one quality board at a time from craft markets or kitchen sales; a trio typically costs $35–$70 and doubles as serving pieces when guests come over.
Tip: Oil your boards monthly so the grain stays rich and dark — small personal touches like this are what make creative decor ideas for a personalized space feel intentional rather than staged.
7. Bring in Oversized Greenery
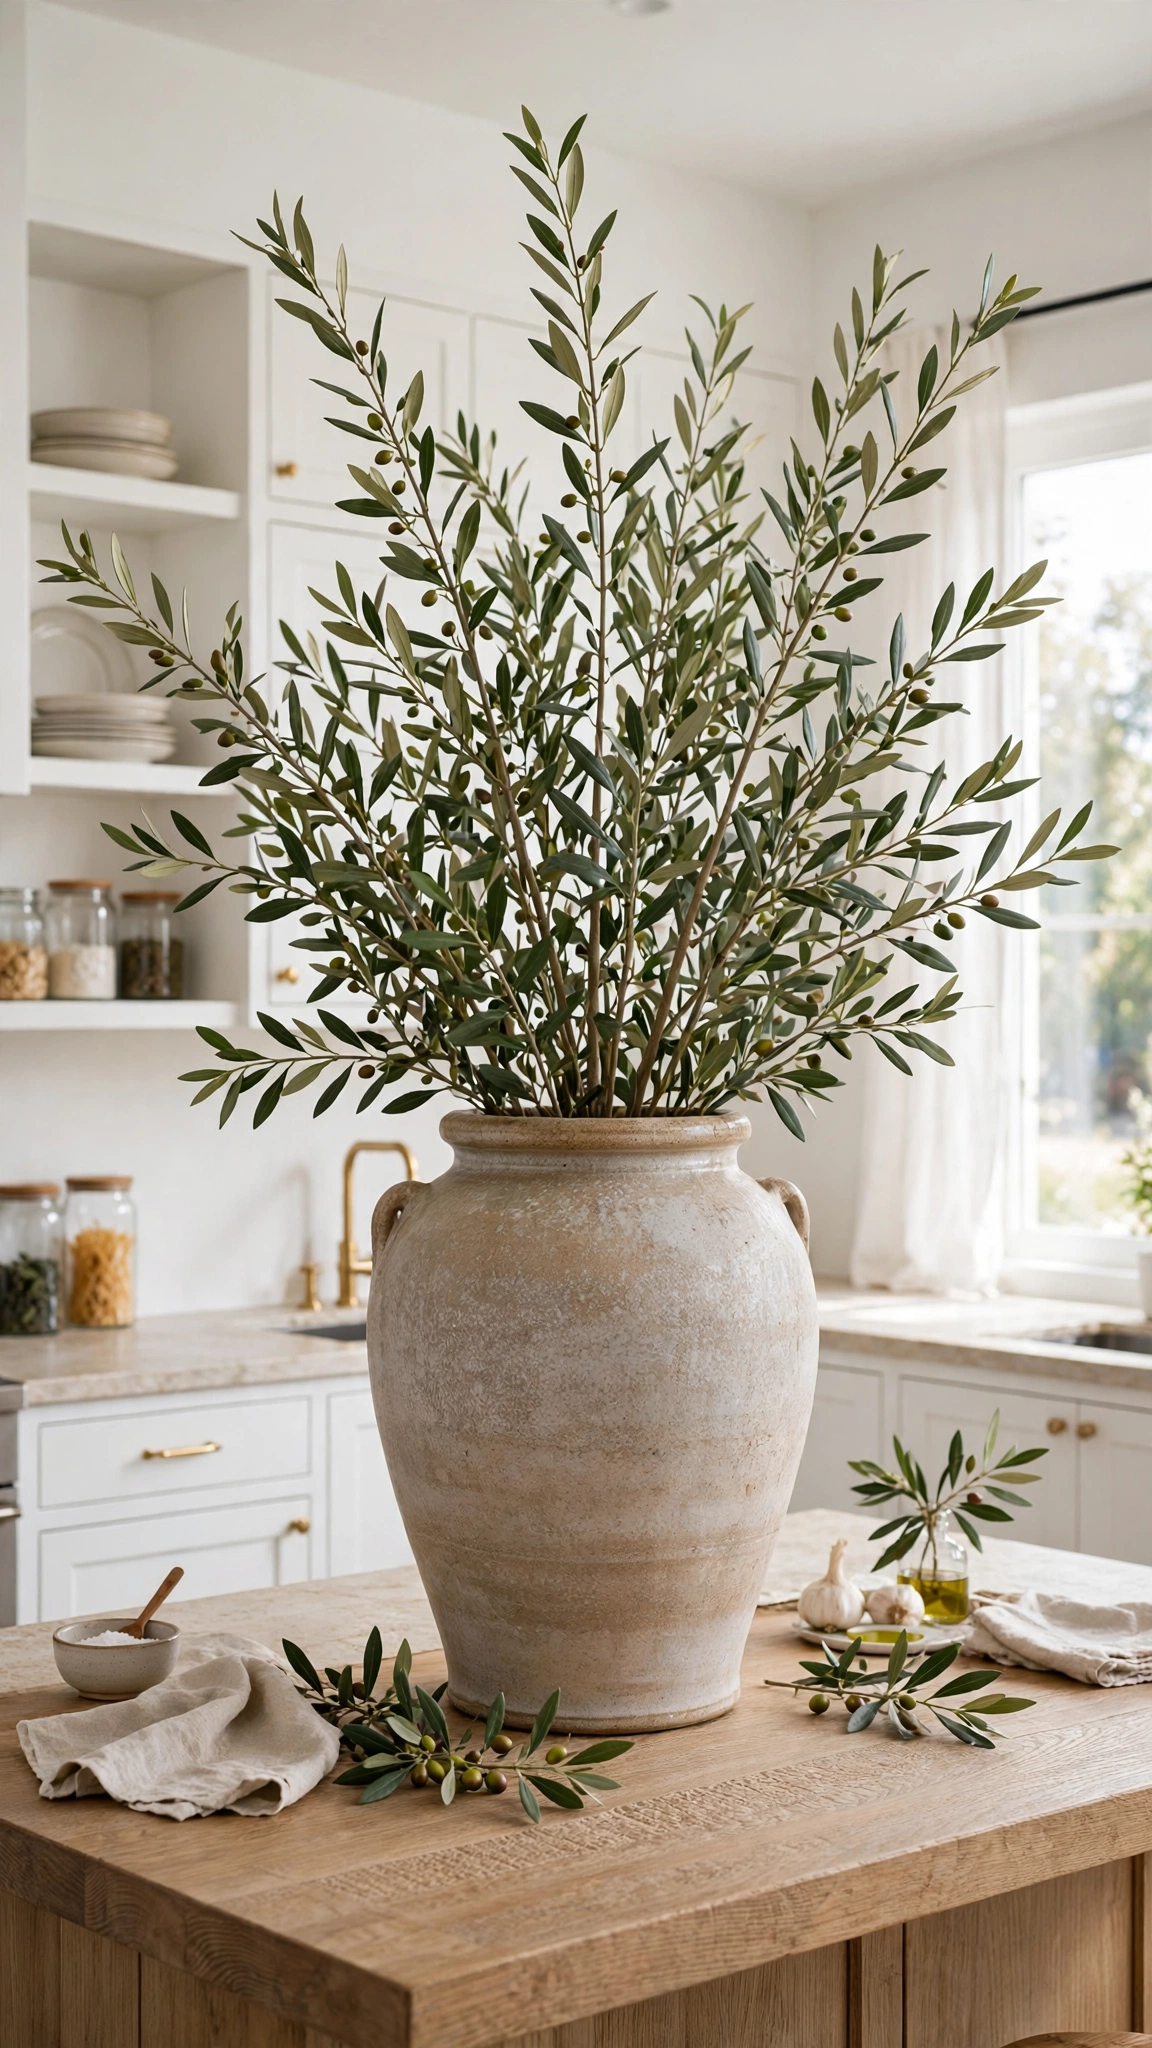
Nothing cheapens a kitchen faster than a tiny plant lost on a big counter — and nothing elevates it faster than one generous arrangement. A large urn of olive branches, eucalyptus, or a thriving potted herb tree brings height, movement, and life to the room.
Scale is the secret. Branches that rise well above the counter and spread wider than the vase read as a floral designer’s arrangement, not a grocery-store afterthought. The vessel matters too: aged ceramic, stone, or terracotta looks far pricier than glass.
Quality faux branches run $20–$40 and last for years with zero care, while a real olive tree starts around $50. Either way, one bold arrangement beats five small pots scattered around.
Tip: Place greenery where your eye lands first when entering the room — that first impression of calm is the same goal behind these simple decor ideas for a cozy feel in the rest of the home.
8. Upgrade Your Faucet to a Designer Finish
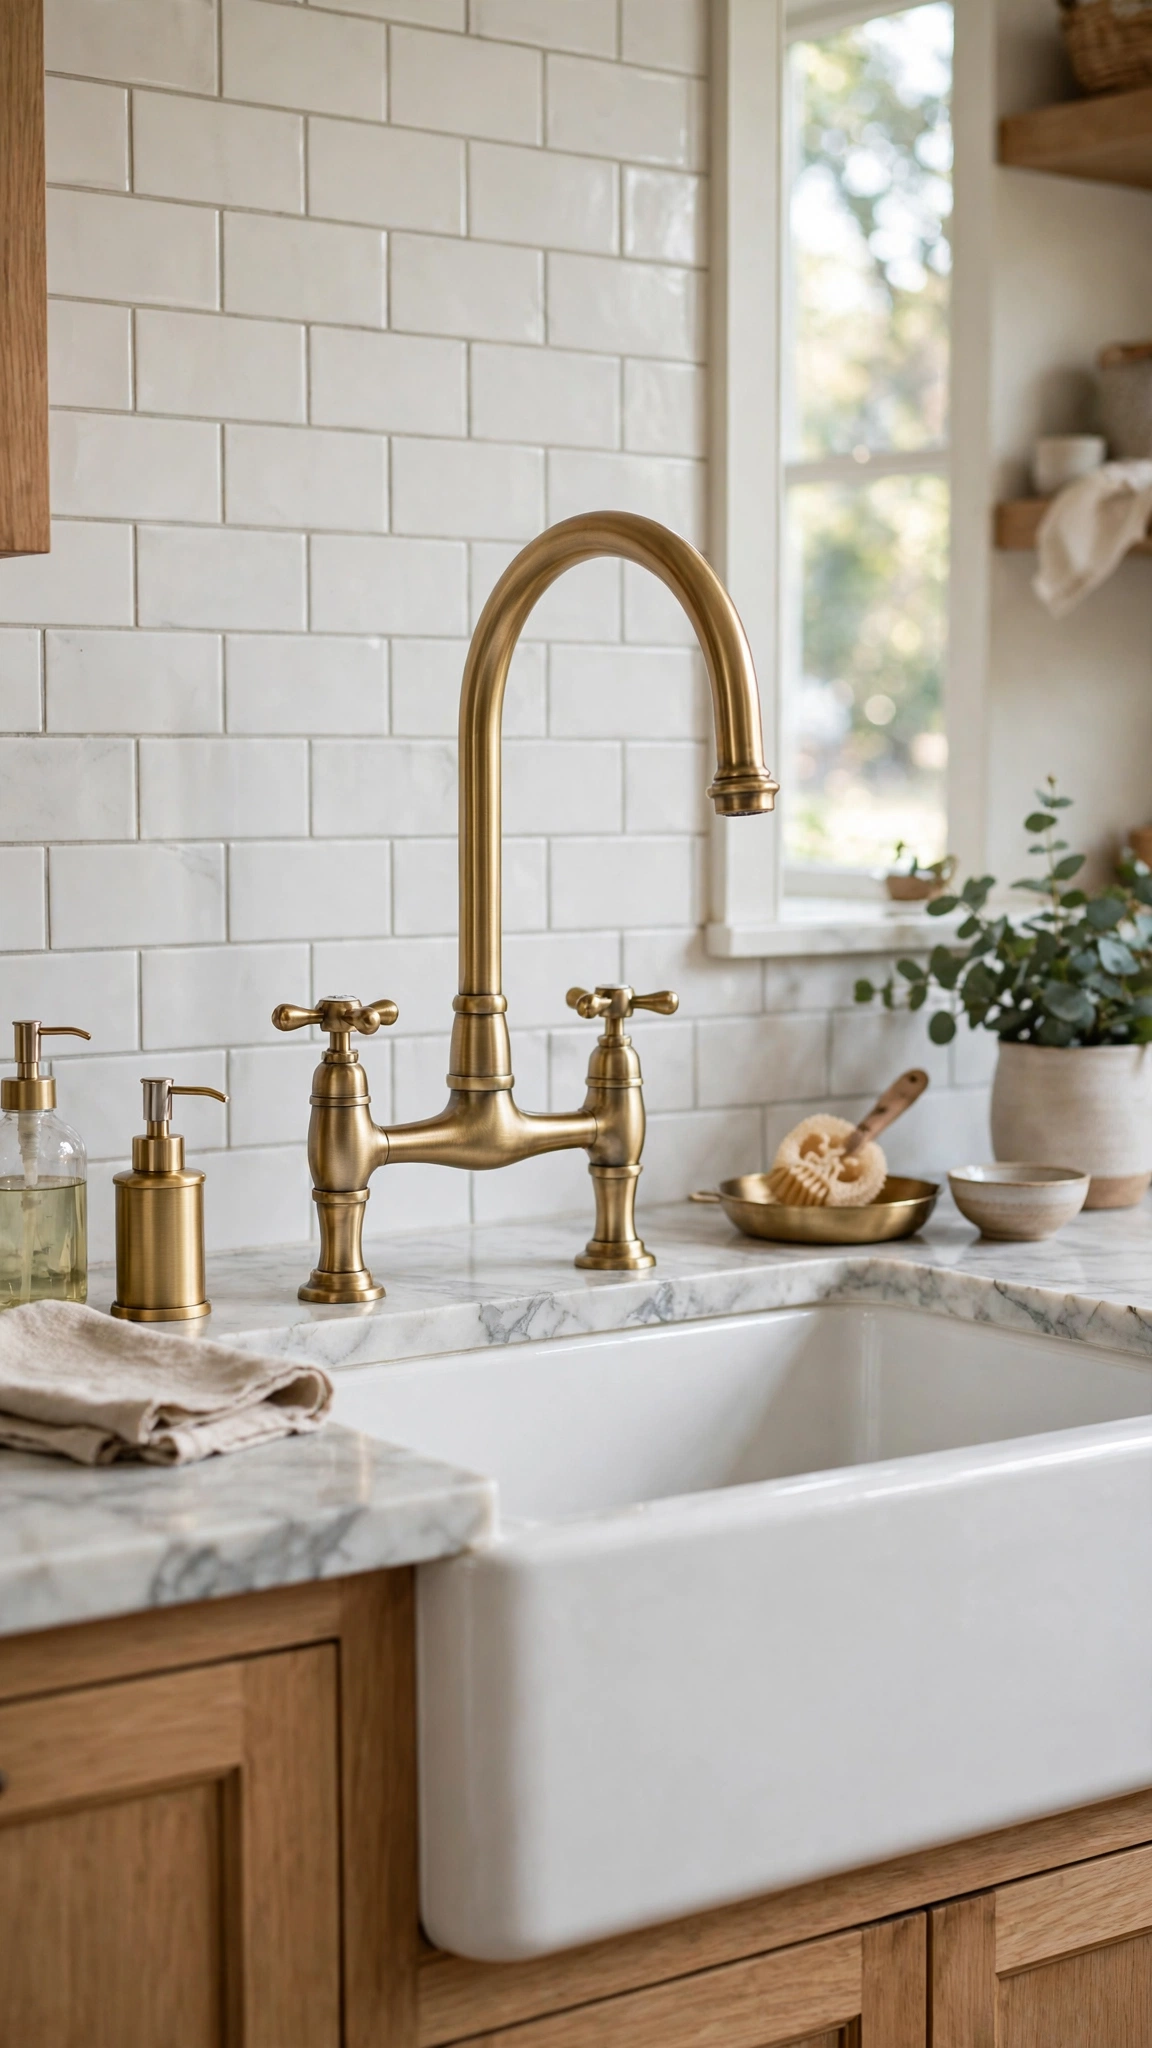
The faucet is the most-seen fixture in the kitchen, sitting at eye level in the center of the room. A bridge faucet, a pot-filler silhouette, or simply a richer finish — brushed brass, champagne bronze, matte black — makes the entire sink wall look renovated.
Finish carries the effect. Chrome reads builder-basic, while warm metals and matte finishes photograph like custom plumbing. Match the faucet to your new hardware, or deliberately contrast it as the single statement metal.
Mid-range designer-look faucets cost $120–$250, and most homeowners can install one in under an hour with basic tools. Renters can sometimes swap and store the original to reinstall later.
Tip: Budget the faucet alongside other hardworking surfaces — this walkthrough on installing vinyl flooring for a budget-friendly makeover proves big-impact upgrades don’t need big budgets.
9. Create a Coffee Station Vignette
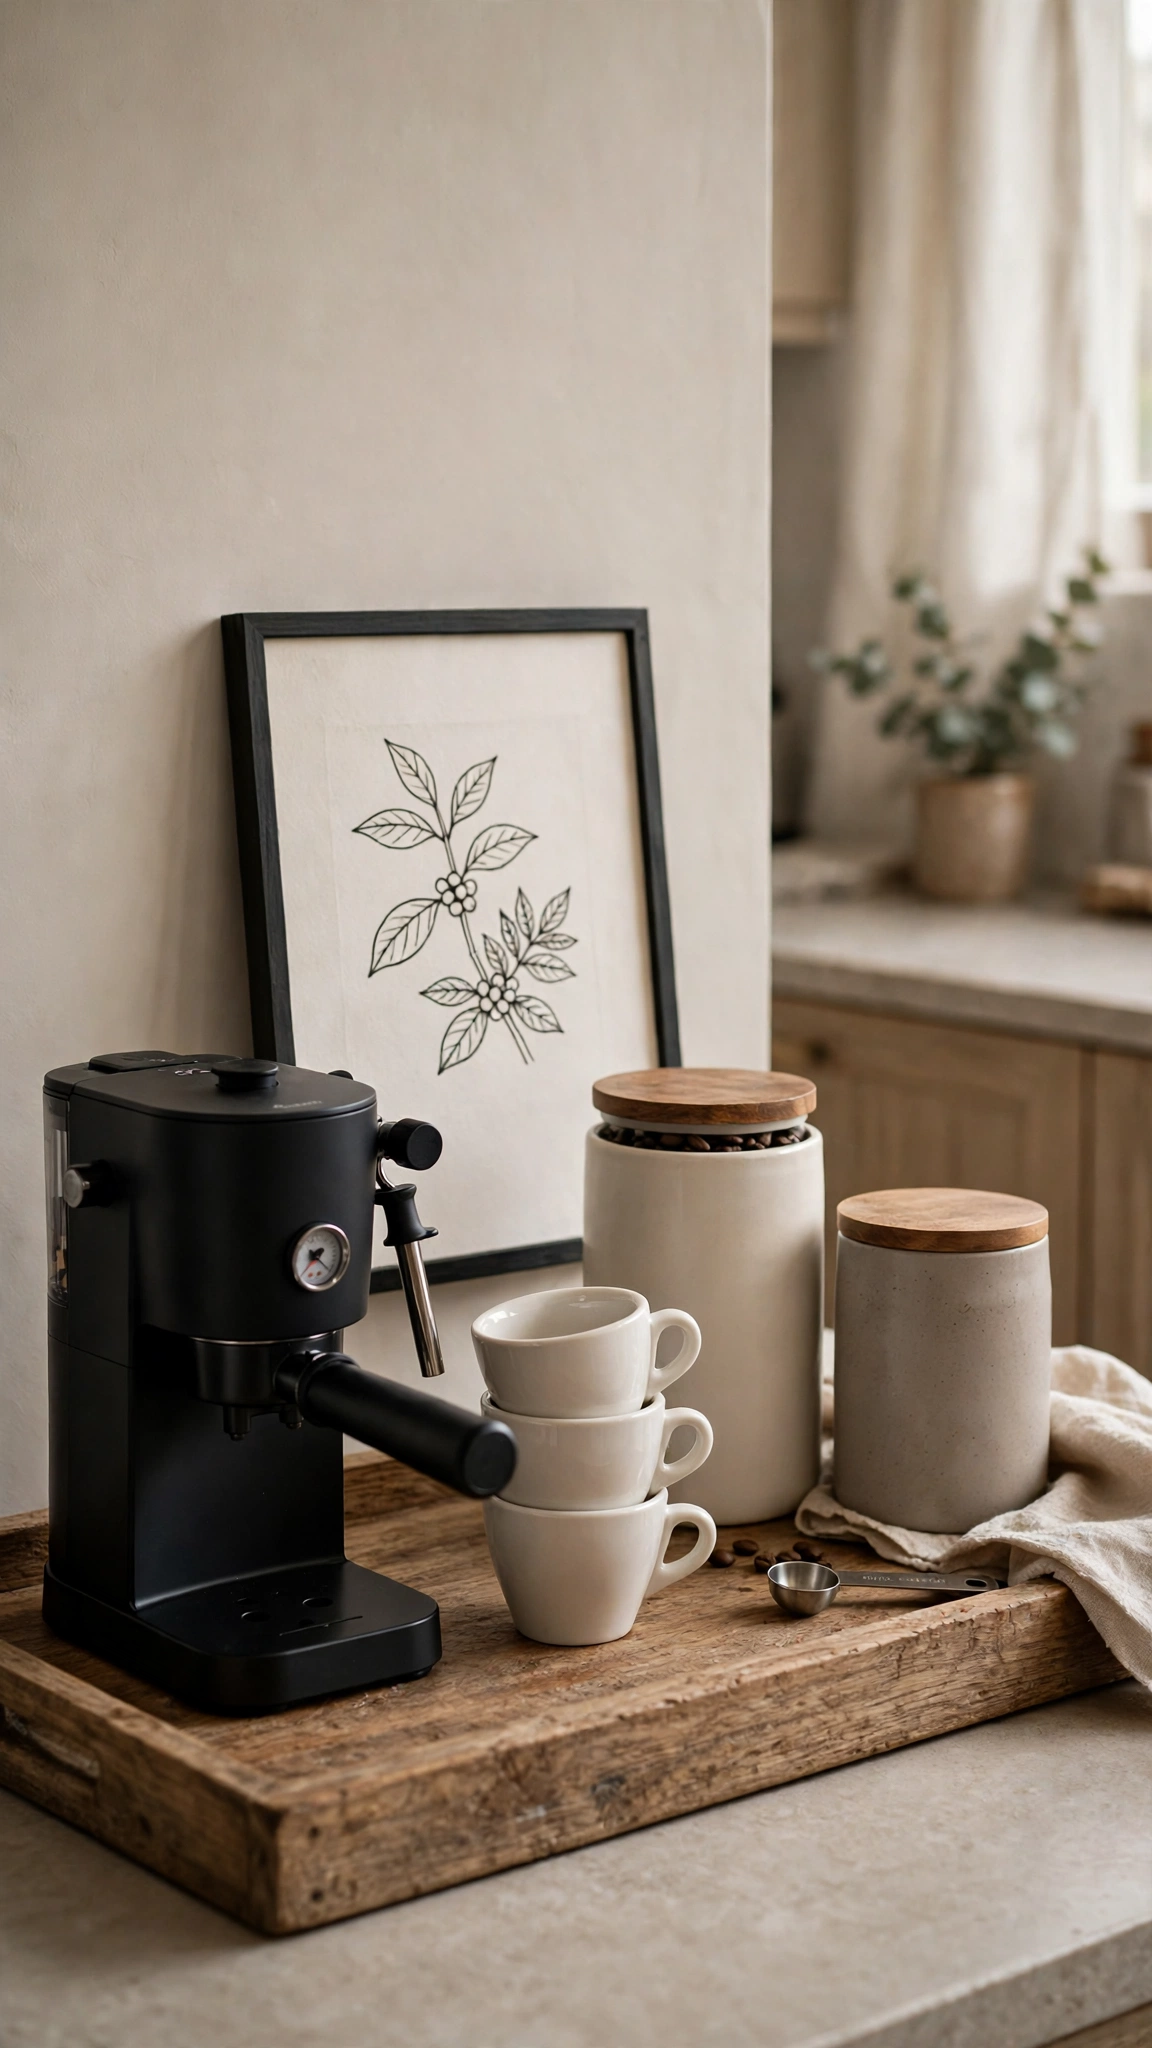
A dedicated coffee or tea station turns a daily habit into a boutique-hotel moment. The trick is containment: everything lives on one tray or in one defined stretch of counter, styled like a tiny café counter rather than scattered appliances.
Corral the machine, beans, cups, and sweeteners together, decant supplies into matching canisters, and add one purely pretty element — a small print, a plant, or a stack of linen napkins. That single decorative touch is what makes it a vignette instead of storage.
A wooden or marble tray costs $15–$30 and instantly organizes the zone. Hang two mugs on hooks beneath the cabinet above to free counter space and add café charm.
Tip: A clutter-free zone reads as luxury, so hide cords and extras in a nearby drawer — the same discipline behind these ideas for a clutter-free space anywhere in the house.
10. Hang a Large-Scale Piece of Art

One big piece of art does what a dozen small ones can’t: it gives the kitchen a gallery moment and a clear point of view. An oversized abstract, a moody landscape, or a vintage portrait in the eating area or on a blank wall instantly raises the room’s design IQ.
Large art works because it commits. It fills visual space confidently, anchors furniture beneath it, and introduces color you can echo in textiles and accessories. Thin metallic or natural wood frames keep it feeling current.
Printable downloads scaled up and framed in stock poster frames deliver the look for $30–$60. Aim for art that spans at least two-thirds the width of the furniture below it for proper designer proportions.
Tip: Pull one color from the artwork into your runner or stools for a pulled-together palette — a trick that also anchors these aesthetic ideas for a stylish makeover in any room.
11. Decant Pantry Staples into Matching Containers

Visible storage is decor whether you plan it or not. Rows of matching glass canisters with wooden or brass lids turn flour, pasta, and grains into a calm, rhythmic display — the look behind every expensive-looking pantry photo you’ve ever saved.
Uniform containers remove the visual noise of mismatched packaging, and repetition itself reads as luxury. Clear glass shows off the natural colors of ingredients; consistent lids tie everything together.
Buy containers gradually in one style so the set matches, or grab a coordinated set for $30–$60. A label maker or simple brass tags finish the look and keep the system usable.
Tip: Store backstock out of sight and keep only the pretty set on display — smart zoning like the systems in these clever solutions to maximize storage keeps beauty and function in balance.
12. Install Under-Cabinet Lighting
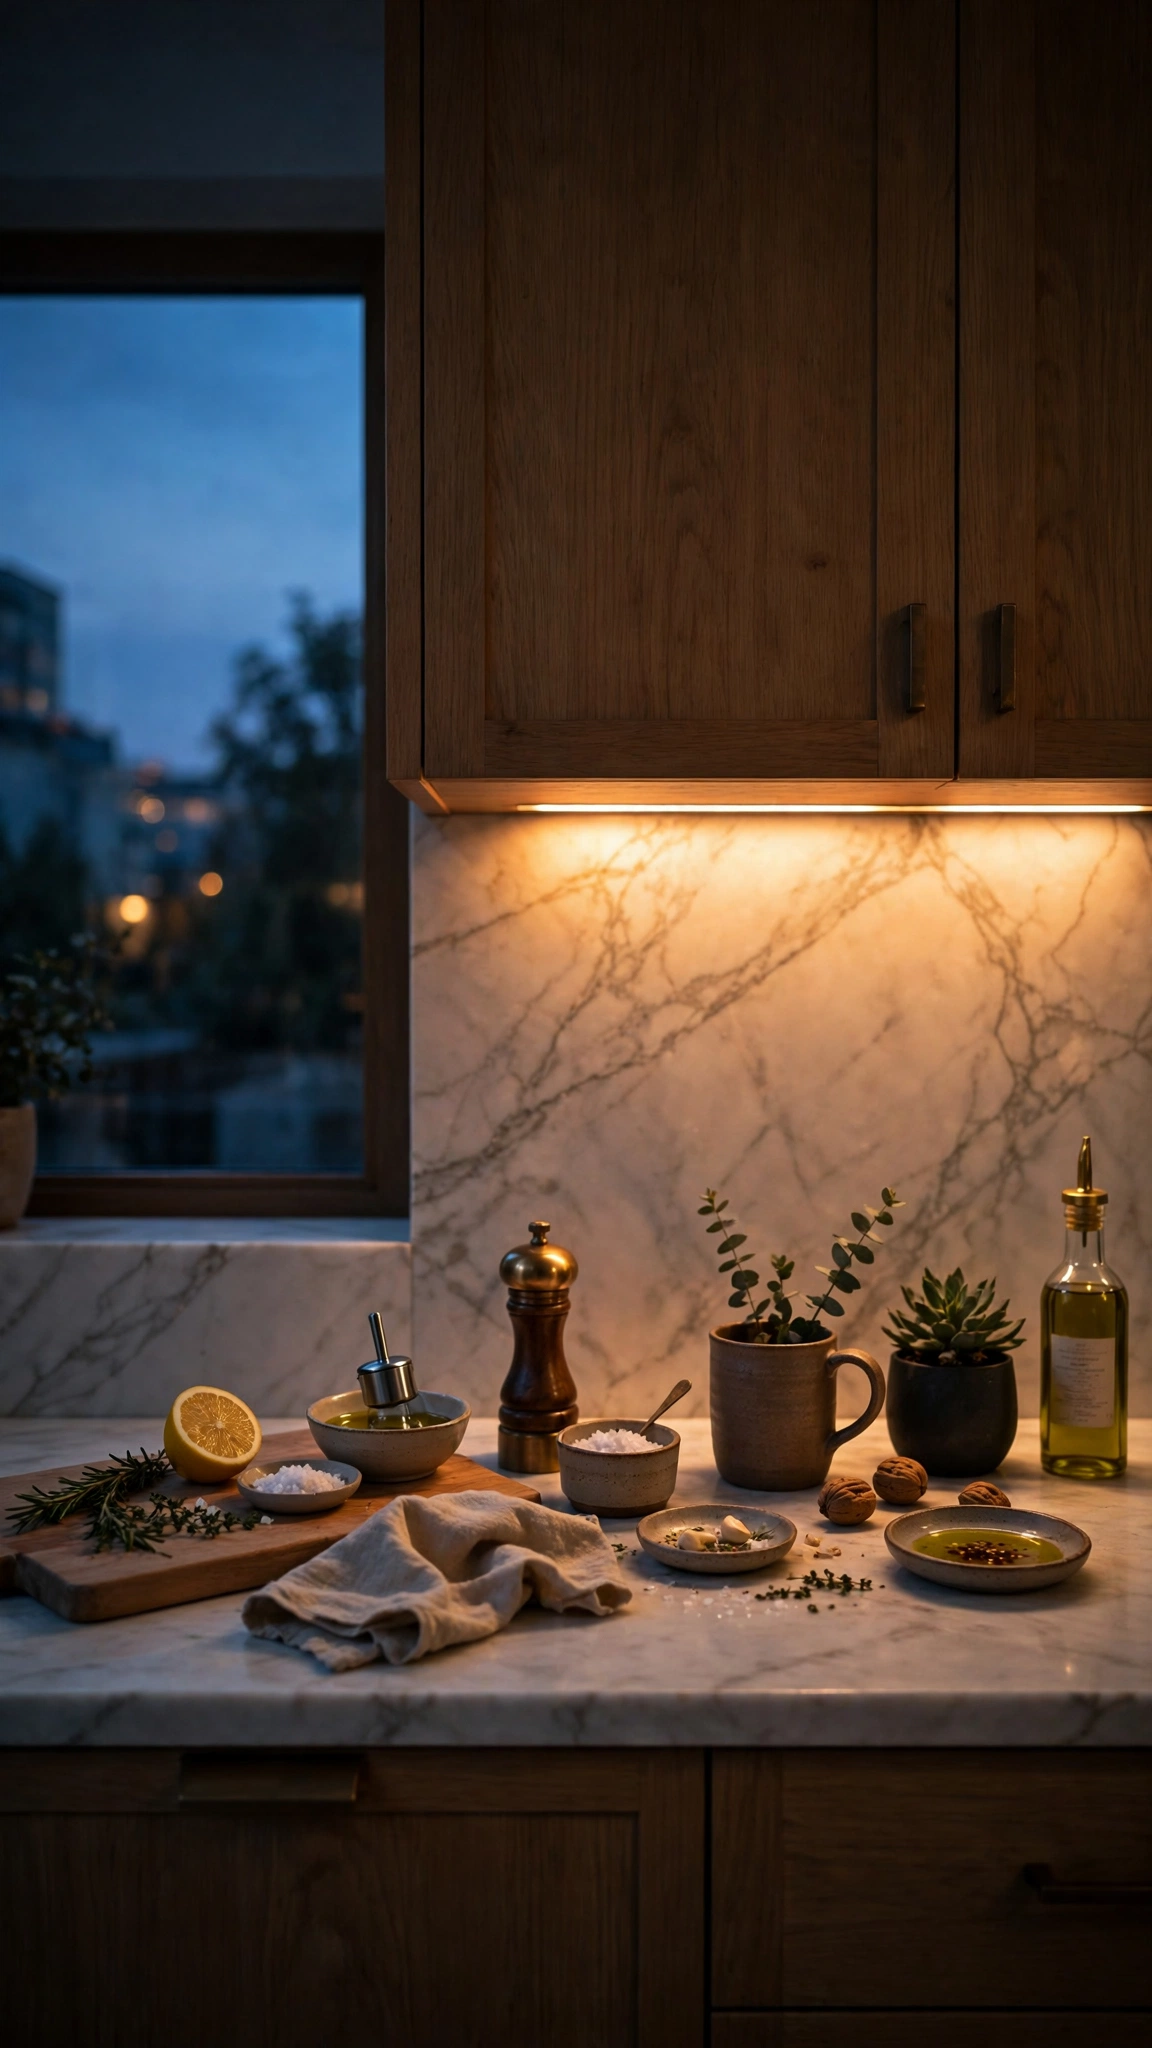
Under-cabinet lighting is the hidden layer in almost every high-end kitchen photo. A warm wash of light across the backsplash makes stone glow, creates evening ambiance, and turns countertop vignettes into little stage sets.
It also changes how the room feels at different hours. Overhead lights can switch off at night while the under-cabinet glow keeps the kitchen looking like a boutique hotel bar — layered lighting is a core designer move.
LED strip kits and puck lights with adhesive backing cost $20–$45 and install in under an hour, many with remotes and dimmers. Choose warm white (2700–3000K) and hide the strip behind the cabinet’s front lip so you see the light, never the source.
Tip: Dim the strips in the evening to let your styled counters shine — the calm, uncluttered mood mirrors these minimalist ideas for a clean and calm vibe applied to the kitchen.
13. Pick One Luxe Metal and Repeat It

Designer kitchens feel cohesive because one finish quietly repeats everywhere: pulls, faucet, pendants, even the rail the pans hang from. Choosing a single luxe metal — brushed brass is the current favorite — and echoing it three or four times makes the whole room look planned.
Repetition creates rhythm, and rhythm reads as intention, which is the essence of expensive design. The metal doesn’t need to match perfectly; staying in the same warmth family is enough for the eye to connect the dots.
Start with the biggest items (faucet or pendants), then fill in with affordable swaps: pulls, a utensil crock, a paper-towel holder, picture frames. Small metal accents start at just a few dollars each at home stores.
Tip: Carry the same finish into an adjoining room’s accents for whole-home flow, the way these stunning ideas for a dream space use repeated tones to tie a room together.
14. Style Counters in Odd-Number Groups

Professional stylists group objects in threes and fives because odd numbers hold the eye longer and feel naturally composed. A pitcher, a small stack of books, and a plant on one tray will always look more designed than the same items spread evenly along the counter.
Vary the heights within each group — tall, medium, small — so the arrangement forms a soft triangle. Then leave the counter stretches between groups empty; the contrast between styled moments and bare stone is what signals luxury.
This costs nothing but a reshuffle. Walk your counter, gather everything into two or three clusters near the walls, and remove whatever doesn’t fit a group. Most kitchens need to lose items, not gain them.
Tip: Let each group say something about you — a beloved bowl, a travel souvenir — because the most memorable rooms are the ones styled like these decor ideas that reflect their personality, not a showroom.
15. Add Trim and Molding Details

Architectural detail is what separates a custom kitchen from a flat-pack one. Picture-frame molding on an island front, trim along the hood, or crown molding atop the cabinets adds shadow lines and structure that read as craftsmanship.
The eye interprets paneling and trim as bespoke work because, historically, it was. Even applied with modern pre-primed trim and paint, the effect suggests the kitchen was built thoughtfully rather than assembled quickly.
An island molding project runs $40–$80 in trim and a weekend of measuring, cutting, and caulking. Paint the panels to match the island for a seamless, built-in finish.
Tip: Finish the room’s bones before layering decor on top — the same logic guides choosing the right base in this guide to choosing kitchen flooring for a stylish and practical space.
16. Display Cookbooks Like Decor

Cookbooks with beautiful covers are art you already own. A low stack beside the range, one volume open on a wooden stand, or a row corralled between bookends brings color, personality, and a lived-in sophistication that pure styling props can’t fake.
Books soften the kitchen’s hard surfaces and hint at the life of the home — designers call this the “collected” layer, and it’s what makes expensive kitchens feel warm instead of sterile. Choose covers in your room’s palette and remove torn dust jackets for a cleaner look.
Rotate two or three titles seasonally to keep the display fresh. A simple wooden cookbook stand costs about $15 and turns the open book into a rotating piece of art.
Tip: Keep the stack to three books so it stays sculptural, not storage — that cozy, curated balance is exactly what these cozy ideas for a warm and relaxing retreat achieve in restful rooms.
17. Anchor the Island with Statement Stools

Stools are furniture, and furniture is what makes a kitchen feel like a designed room. Sculptural seats — curved wood backs, woven cane, boucle upholstery, or aged leather — give the island a focal point at sitting height and invite people to linger.
Because stools line up in a row, their silhouette repeats, and repeated beautiful shapes read as intentional design. Even in a plain kitchen, a striking set of stools suggests the whole space was curated.
Quality-look stools start around $80–$150 each; buying two great ones beats four flimsy ones. Check that the seat height suits your counter (about 24 inches for standard counters) before committing.
Tip: Let the stools be the room’s one splurge silhouette and keep everything else quiet — the budget-balancing approach in these ideas to make a space look aesthetic on any budget works in the kitchen too.
18. Set a Stone Tray Moment by the Sink
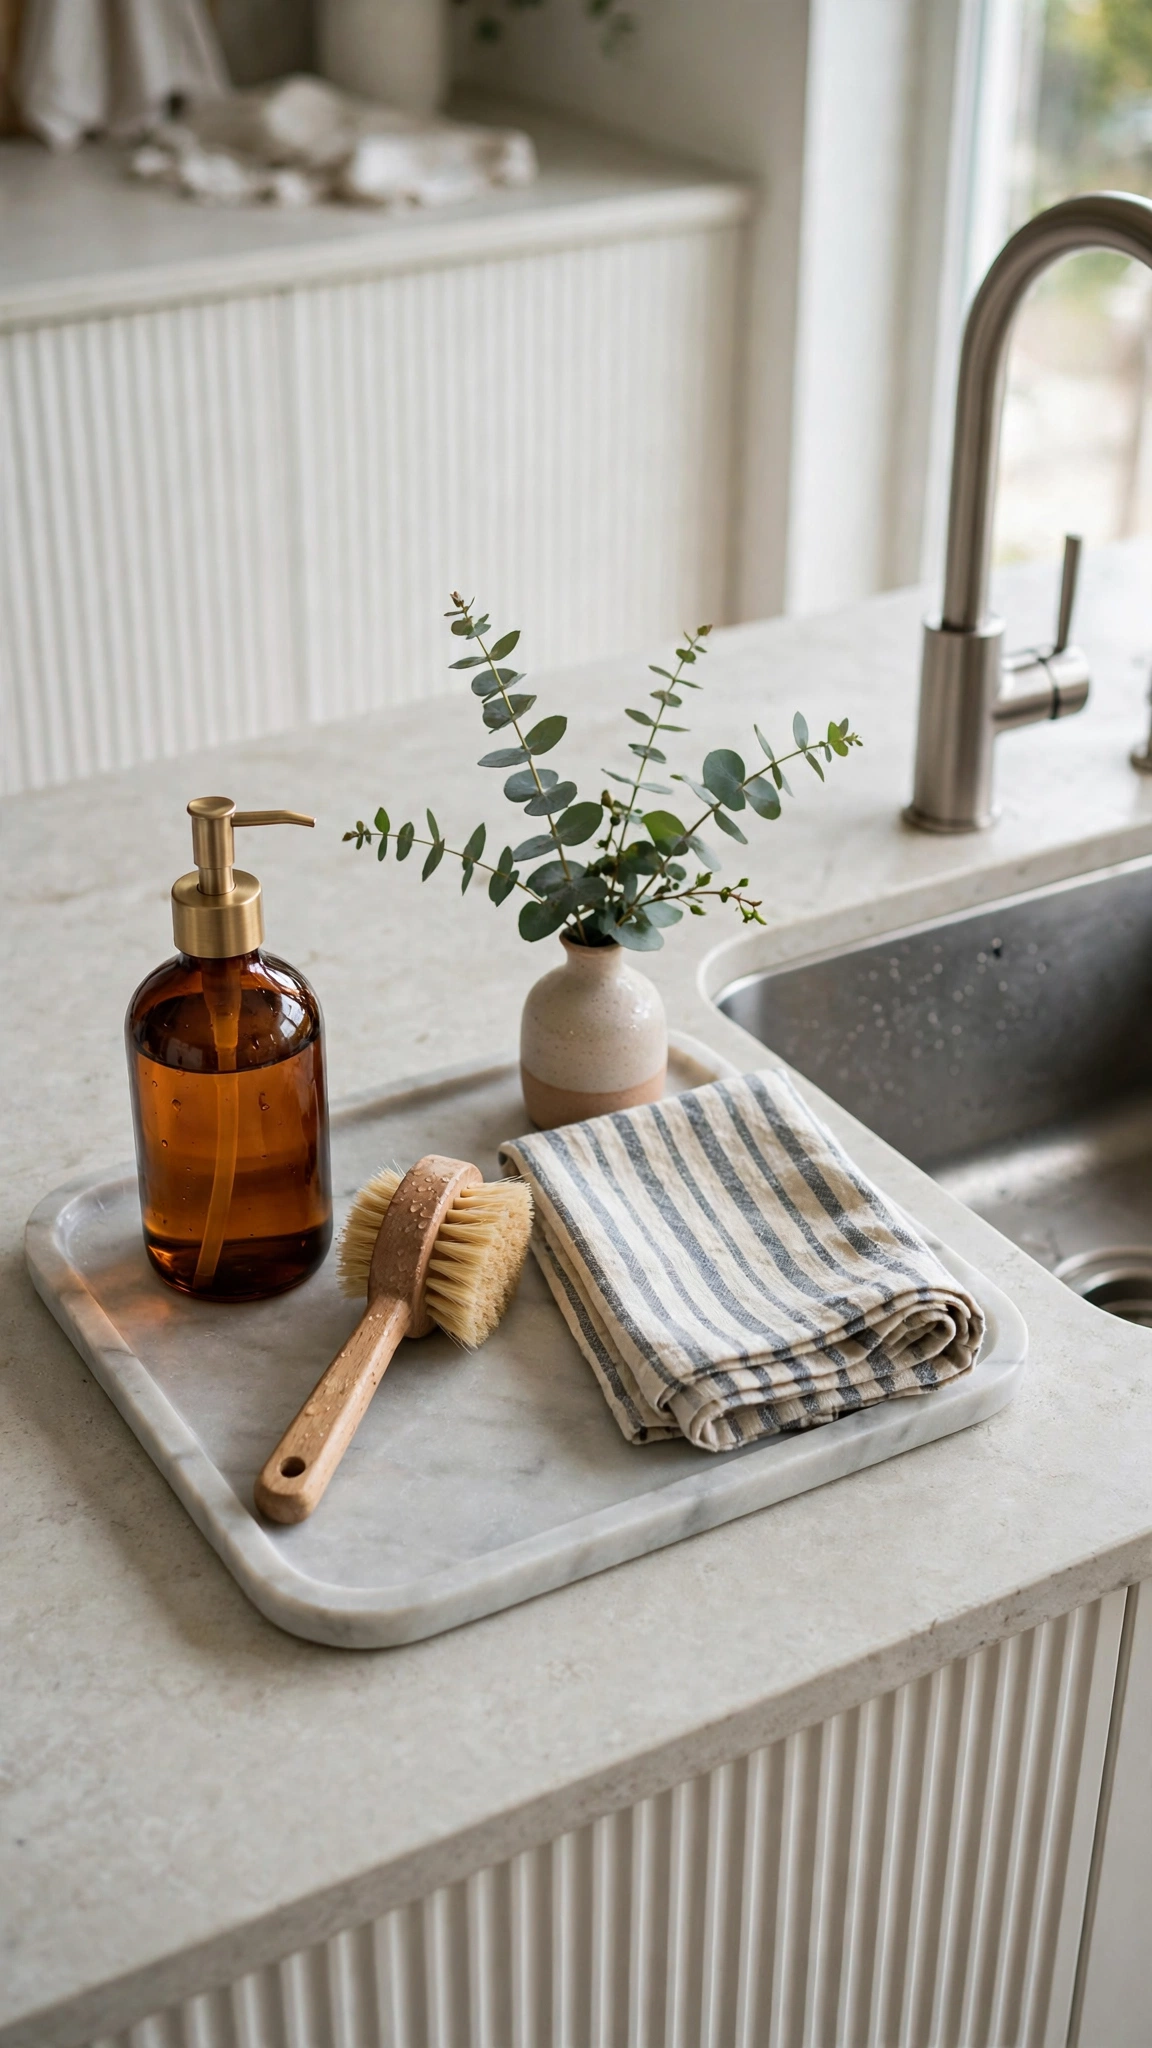
The sink zone is usually the least glamorous corner of the kitchen — which makes it the highest-impact place to style. A marble or travertine tray holding an amber-glass soap dispenser, a wooden brush, and a folded linen towel turns dish duty into a spa ritual.
Elevating everyday items on a tray instantly upgrades them; it’s the same reason hotel bathrooms feel luxurious. Matching dispensers replace three mismatched plastic bottles with one calm, unified scene.
A small stone tray costs $20–$35, refillable amber dispensers about $12 a pair. Add a tiny bud vase with a stem of greenery and the vignette is complete.
Tip: Keep the palette to stone, wood, and one glass tone for that serene, photo-ready finish — the same restrained styling behind these trendy aesthetic ideas for an Instagram-worthy room.
19. Refresh Cabinets with a Rich Paint Color

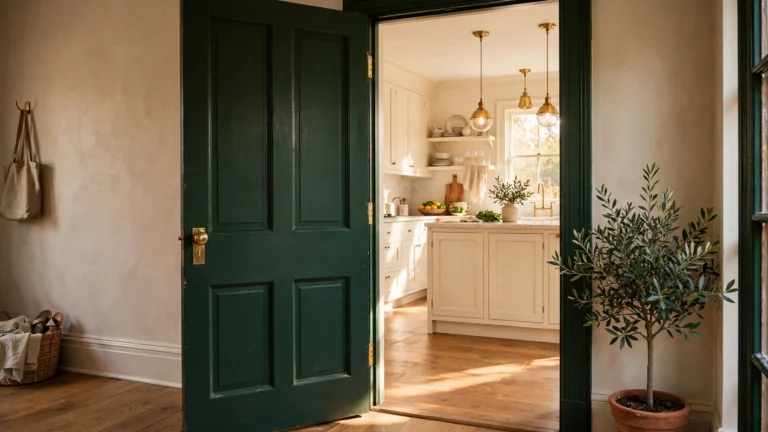
When decor alone isn’t enough, paint is the biggest transformation per dollar. Deep, saturated cabinet colors — forest green, ink navy, warm charcoal, or a greige with real depth — are the signature of today’s designer kitchens, and they make standard cabinets look custom-built.
Rich color works because it creates mood and contrast: pale counters and warm metals glow against a darker base, and the whole room gains the confidence of a deliberate design choice. Even painting only the island delivers most of the effect.
A cabinet paint job costs $100–$200 in quality primer and paint if you do it yourself over a long weekend. Degrease, sand lightly, prime, and use two thin coats for a smooth, professional finish.
Tip: Plan paint and floors as one scheme so the refresh feels complete — this guide on updating kitchen flooring on a budget pairs perfectly with a cabinet color change.
Conclusion
An expensive-looking kitchen is built layer by layer: art and objects with breathing room, one repeated luxe metal, warm layered lighting, and surfaces styled with restraint. Pick two or three inspirations from this list, live with them, then add the next layer — before long, your kitchen will carry that unmistakable designer polish without the designer price tag.