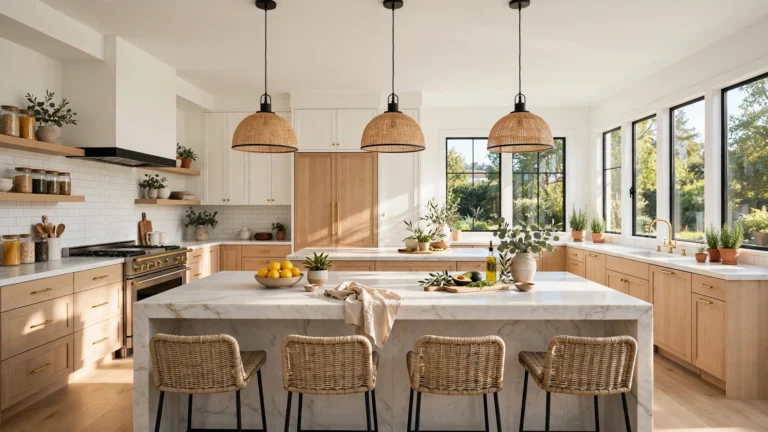
19 Gorgeous Kitchen and Bathroom Renovation Ideas That Deliver a Designer-Inspired Makeover
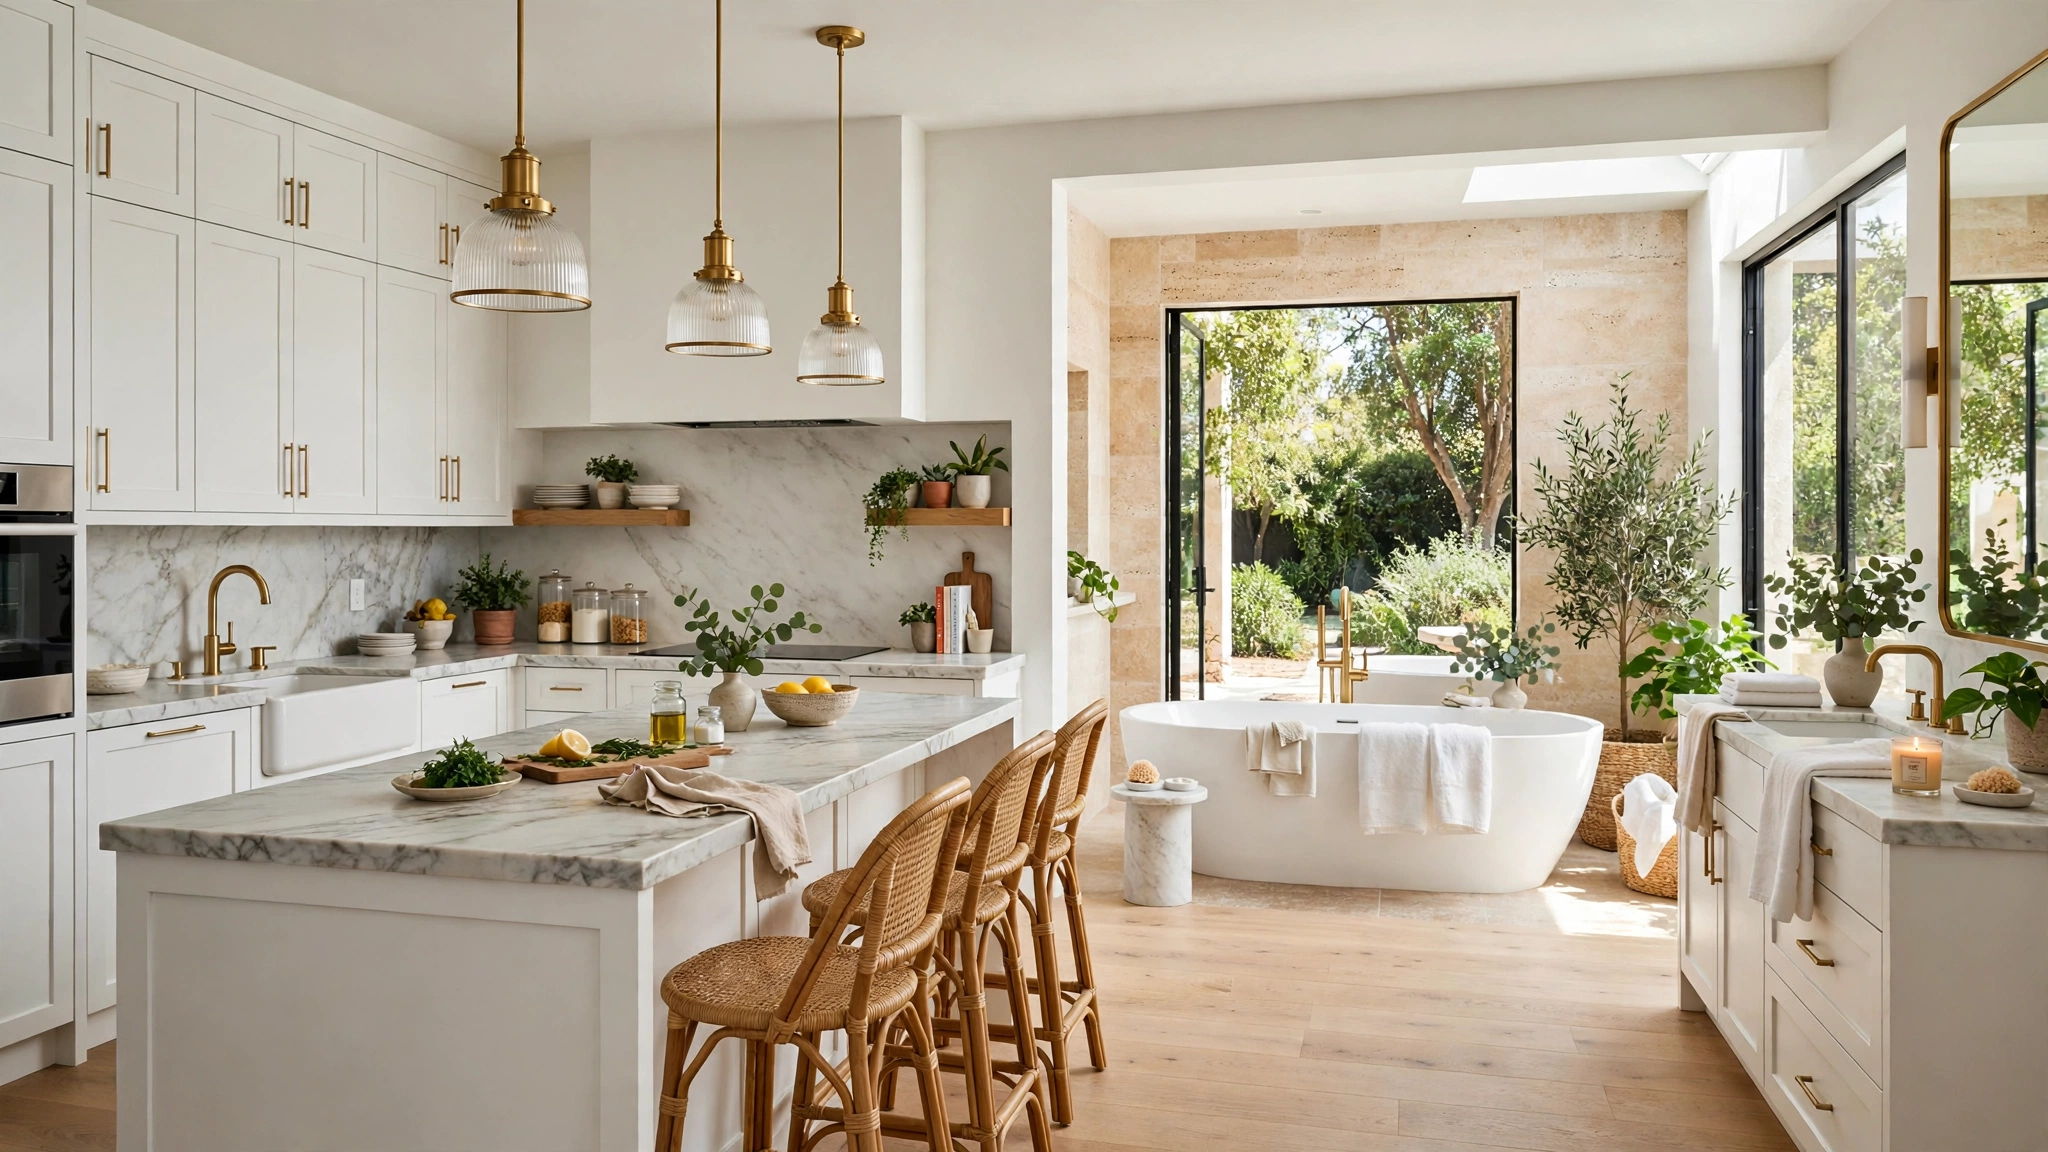
Kitchens and bathrooms do the hardest work in any home, yet they are often the last rooms to get real design attention. A dated kitchen with tired cabinets and a bathroom stuck in another decade can drag down the whole house, even when the living rooms look great.
The good news is that you do not need a full gut renovation to get a designer-inspired result. A shared palette, smarter lighting, and a few well-chosen upgrades can make both rooms feel brand new — so which changes actually deliver that high-end look for the least disruption?
1. Open the Layout with a Shared Palette

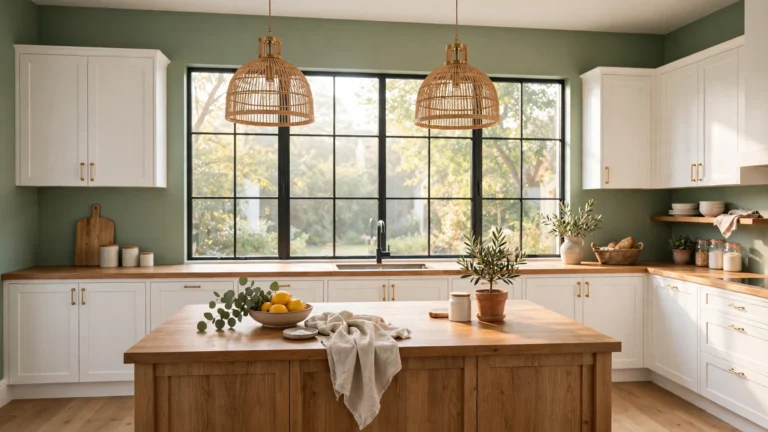
Designers rarely treat the kitchen and bathroom as strangers. When both rooms share a color palette — soft whites, warm woods, one metal finish — the whole home feels intentional and pulled together, even if the renovations happen months apart.
Start by choosing three colors: a dominant neutral, a wood tone, and one accent metal. Carry them through cabinet paint, tile grout, towels, and hardware so the eye travels smoothly from one room to the next.
This is one of the cheapest designer tricks available. Paint and hardware cost a fraction of new cabinetry, yet a unified palette can make a ten-year-old kitchen and bathroom read as a single thoughtful renovation.
Tip: Pick your palette from the room with the most natural light, then test it in the darker room before committing — a cohesive scheme works best when it flatters both spaces, much like the way a plant wall ties a small outdoor nook together with one repeated green.
2. Carry One Flooring Through Both Rooms
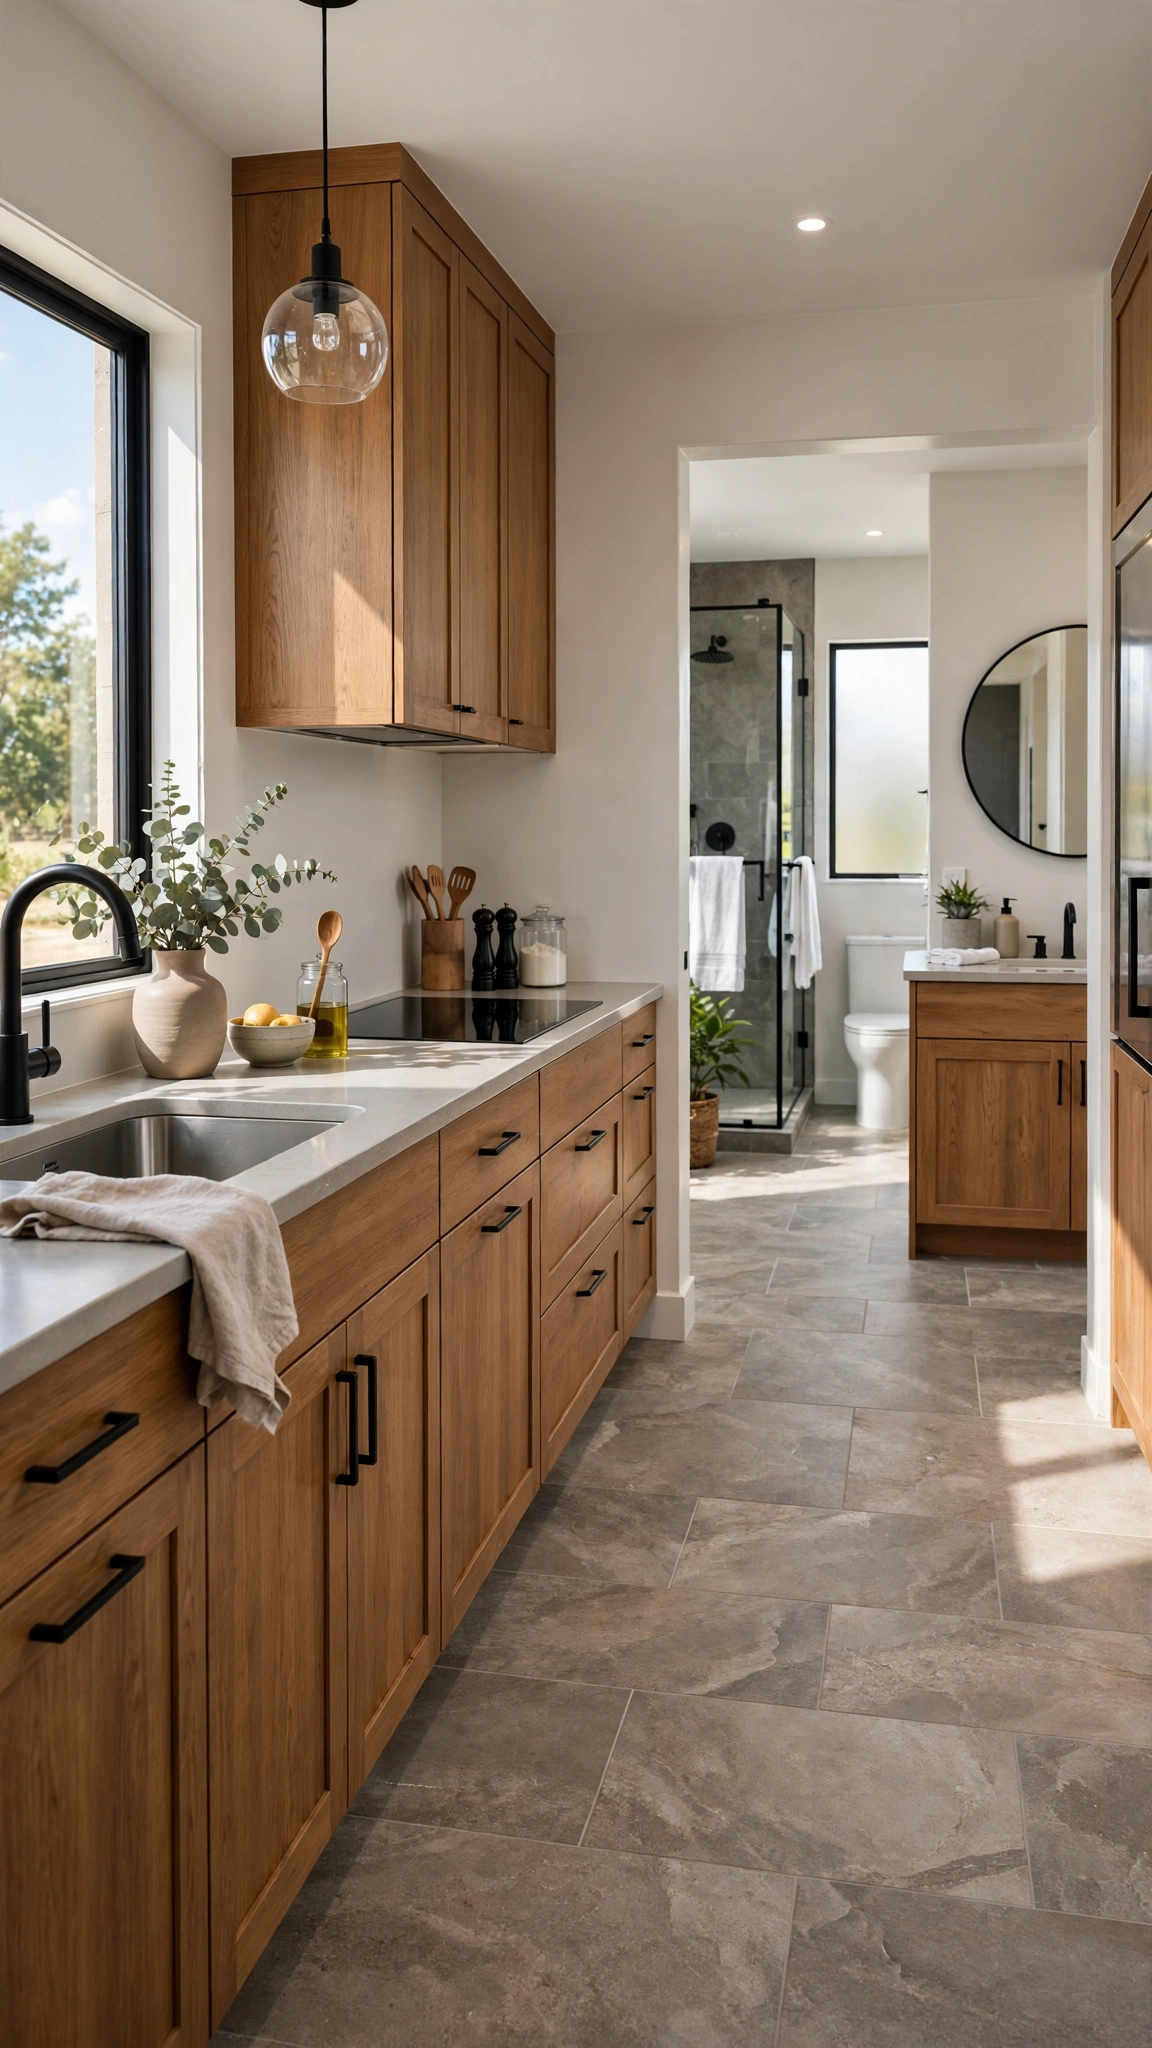
Nothing says “designer renovation” faster than continuous flooring. When the same tile or waterproof plank runs from the kitchen into the bathroom, the rooms feel larger and the transitions disappear.
Large-format porcelain tile is the workhorse here: it handles kitchen spills and bathroom steam equally well, and fewer grout lines mean a cleaner, more expensive look. Choose a warm neutral so it flatters both rooms.
Budget-wise, using one material for both rooms often saves money too, since you buy in bulk and your installer works with a single product instead of two.
Tip: Lay the tile in the same direction in both rooms and keep the grout color close to the tile — this seamless approach is the same visual trick behind balcony floor ideas that make a small outdoor space feel bigger and more inviting.
3. Upgrade to Statement Faucets in Both Spaces

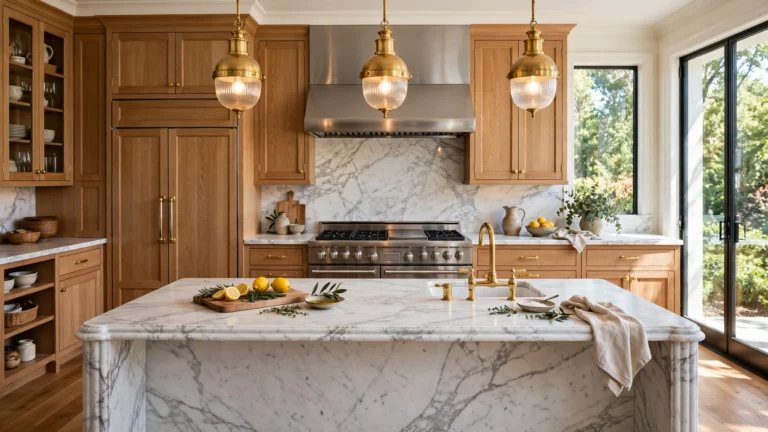
Faucets are the jewelry of a kitchen and bathroom. Swapping builder-grade chrome for a statement finish — brushed gold, matte black, or unlacquered brass — instantly lifts both rooms without touching a single wall.
The designer move is matching the finish across rooms. A gold kitchen faucet paired with a gold bathroom faucet and gold cabinet pulls reads as deliberate, while mixed finishes can look accidental.
Expect to spend a few hundred per faucet for quality fixtures, and plan on an afternoon of installation each. It is one of the highest-impact, lowest-mess upgrades you can make.
Tip: Buy all your faucets and hardware from one finish family in a single order so the tones match exactly — a coordinated set feels as intentional as a well-planned balcony set chosen as one complete look.
4. Layer Lighting Like a Designer
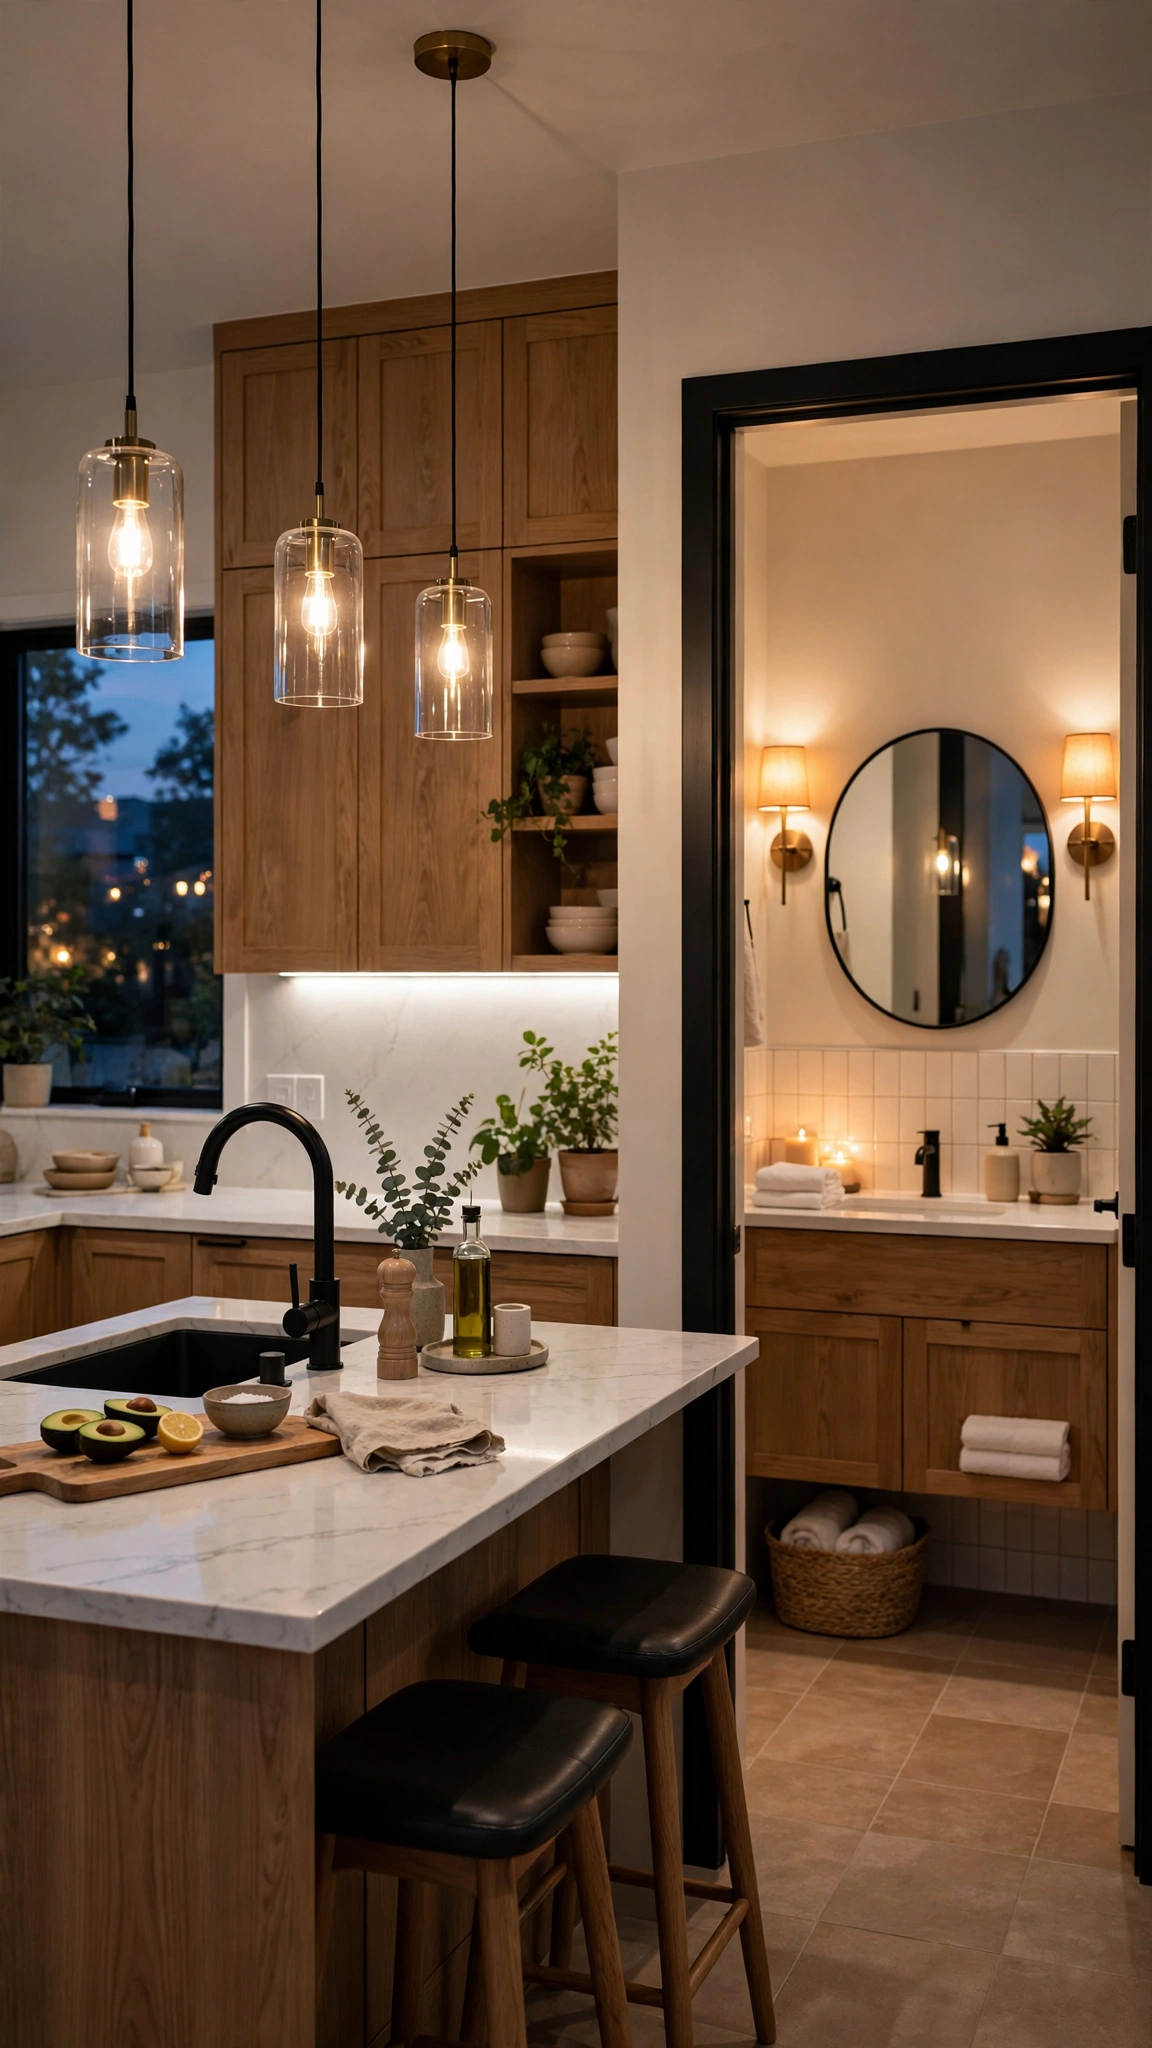
Most kitchens and bathrooms suffer from a single harsh ceiling light. Designers layer three types instead: ambient overhead light, task light where you work, and warm accent light for atmosphere.
In the kitchen, that means pendants over the island, under-cabinet strips over the counters, and dimmable overheads. In the bathroom, sconces at face height beside the mirror beat a single bar light above it every time.
Dimmer switches are the secret weapon. They cost very little, install quickly, and let the same room shift from bright morning prep to a relaxed evening mood.
Tip: Keep all bulbs at the same warm color temperature, around 2700K to 3000K, so both rooms glow consistently — and borrow the cozy, layered feel of balcony seat ideas that turn a small space into a beautiful escape with soft light and texture.
5. Swap Dated Hardware for Matching Finishes

Old knobs and pulls date a room faster than almost anything else. Replacing them is a weekend job that can make existing cabinets look custom, especially when the same finish runs through both the kitchen and the bathroom.
Choose one style — slim bar pulls, for example — and one finish, then carry it across kitchen cabinets, bathroom vanities, and even door levers if your budget allows. Consistency is what reads as designer.
Measure your existing hole spacing before ordering, and buy a few extras. Hardware is inexpensive per piece, but a full kitchen plus bathroom adds up, so watch for bulk pricing.
Tip: If your cabinet doors have two different hole spacings, use a backplate style that covers old holes — and keep the look unified the way balcony door ideas use one repeated detail to make a small space feel like a single escape.
6. Add a Freestanding Tub as a Focal Point

A freestanding tub is the bathroom equivalent of a kitchen island: one sculptural piece that anchors the whole room. It turns an ordinary bathroom into a spa-like retreat and photographs beautifully.
Before you buy, check your floor support, drain location, and clearance — you need room to walk around the tub and clean behind it. A freestanding filler faucet completes the look.
Acrylic tubs offer the sculptural shape at a friendlier price than cast iron, and many models fit standard tub footprints, so no major plumbing relocation is needed.
Tip: Style the tub area with a small stool, a folded towel, and one green sprig rather than clutter — a single living accent works the way hanging plants soften a small space without crowding it.
7. Build a Chef-Worthy Island with Seating
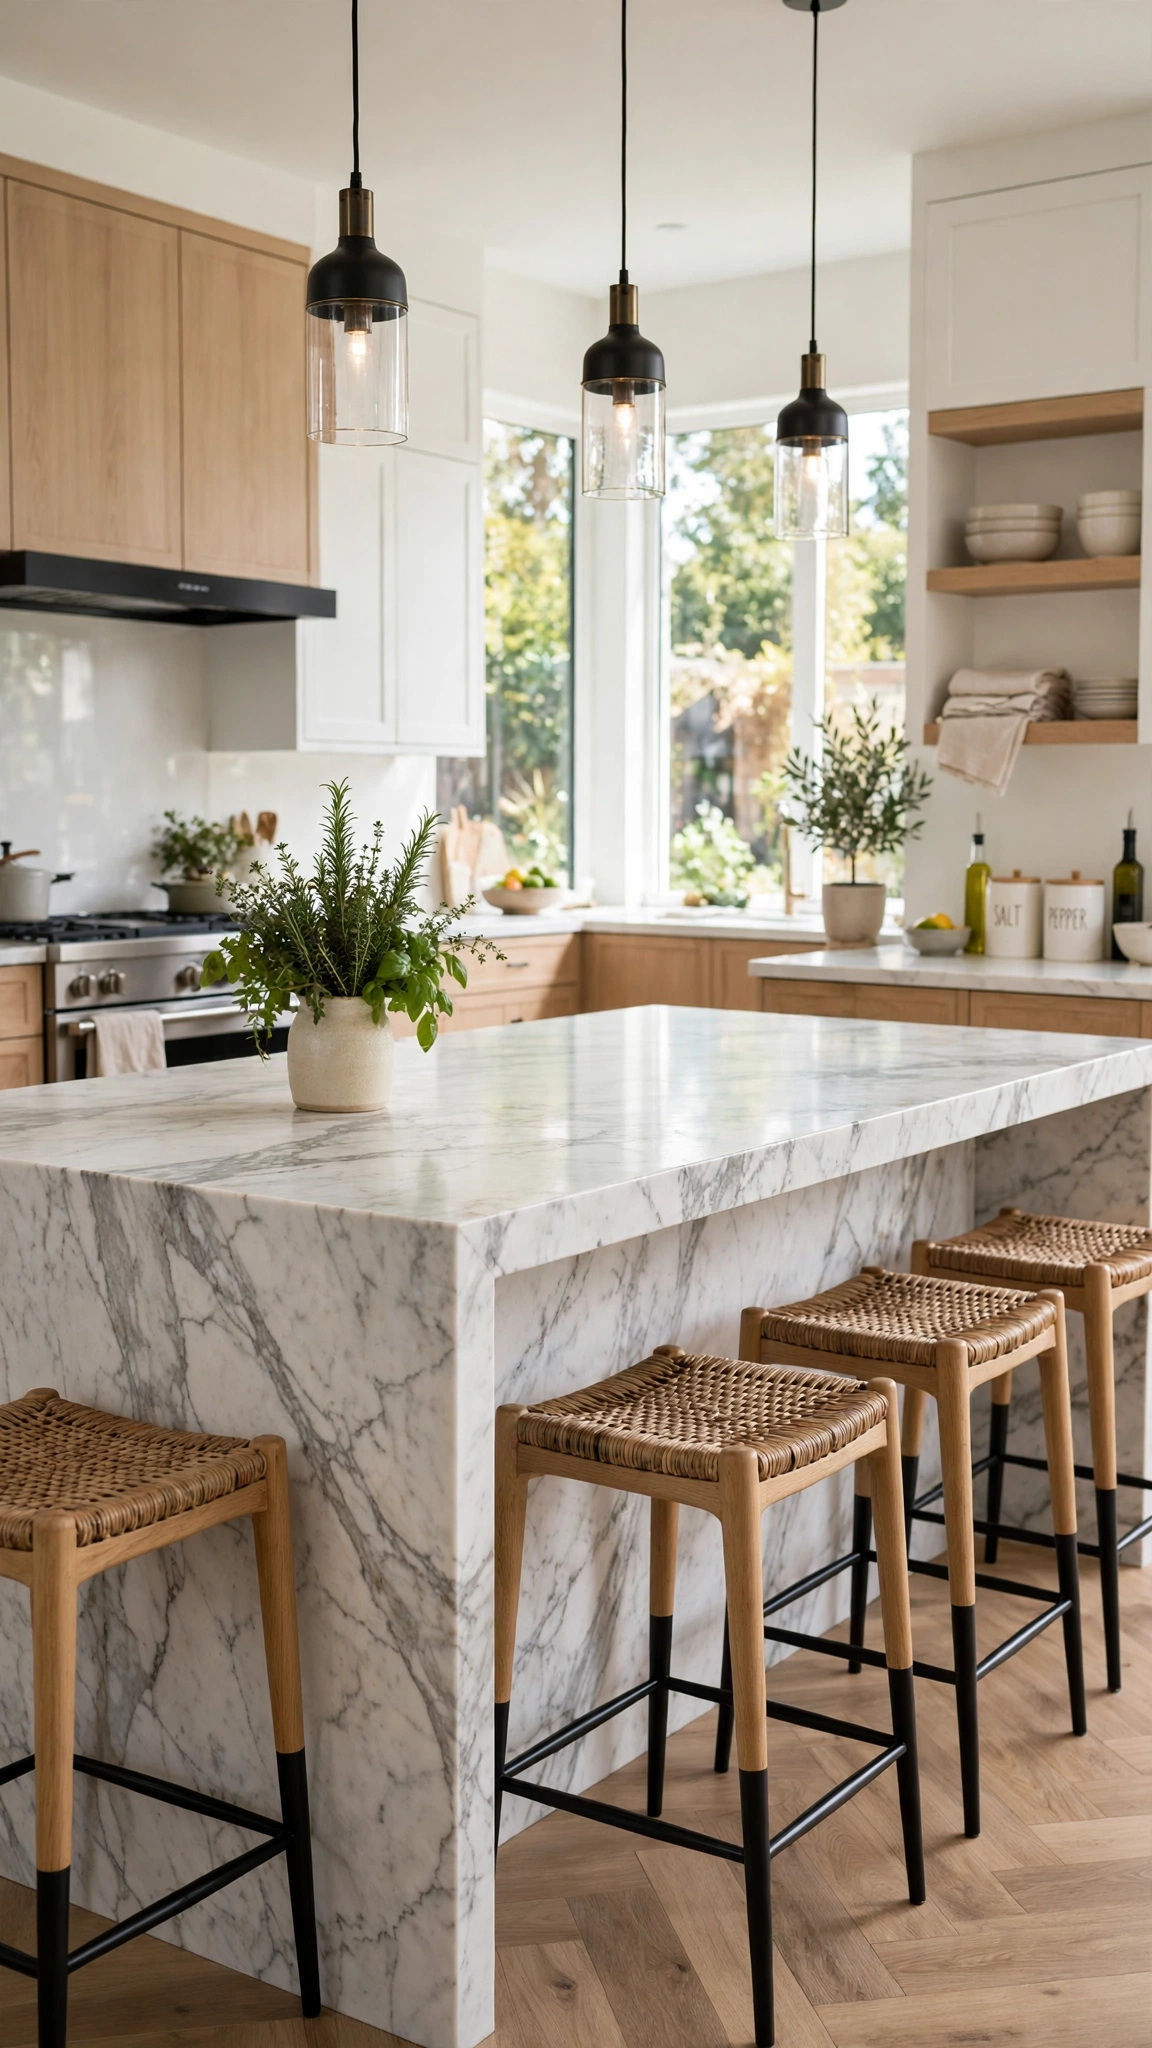
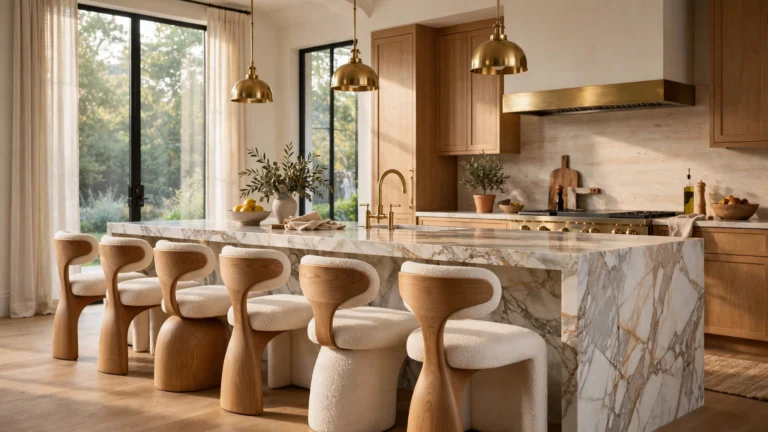
A well-planned island transforms how a kitchen works. It adds prep space, storage, and a natural gathering spot, and it gives the room the confident centerpiece designers always build around.
Plan for at least 36 inches of walkway on all sides and a 12-inch overhang for comfortable seating. Add drawers rather than cabinets on the working side, and keep the seating side clean for legs.
If a full island will not fit, a peninsula delivers most of the benefit at lower cost. Either way, choose a countertop that contrasts slightly with the perimeter counters for a custom, furniture-like feel.
Tip: Treat the island as a social zone, not just a work surface — comfortable seating and good light make it the room’s hub, just as small-space ideas prove that one well-chosen feature can make a compact area feel bigger and more inviting.
8. Tile a Feature Wall in the Bathroom
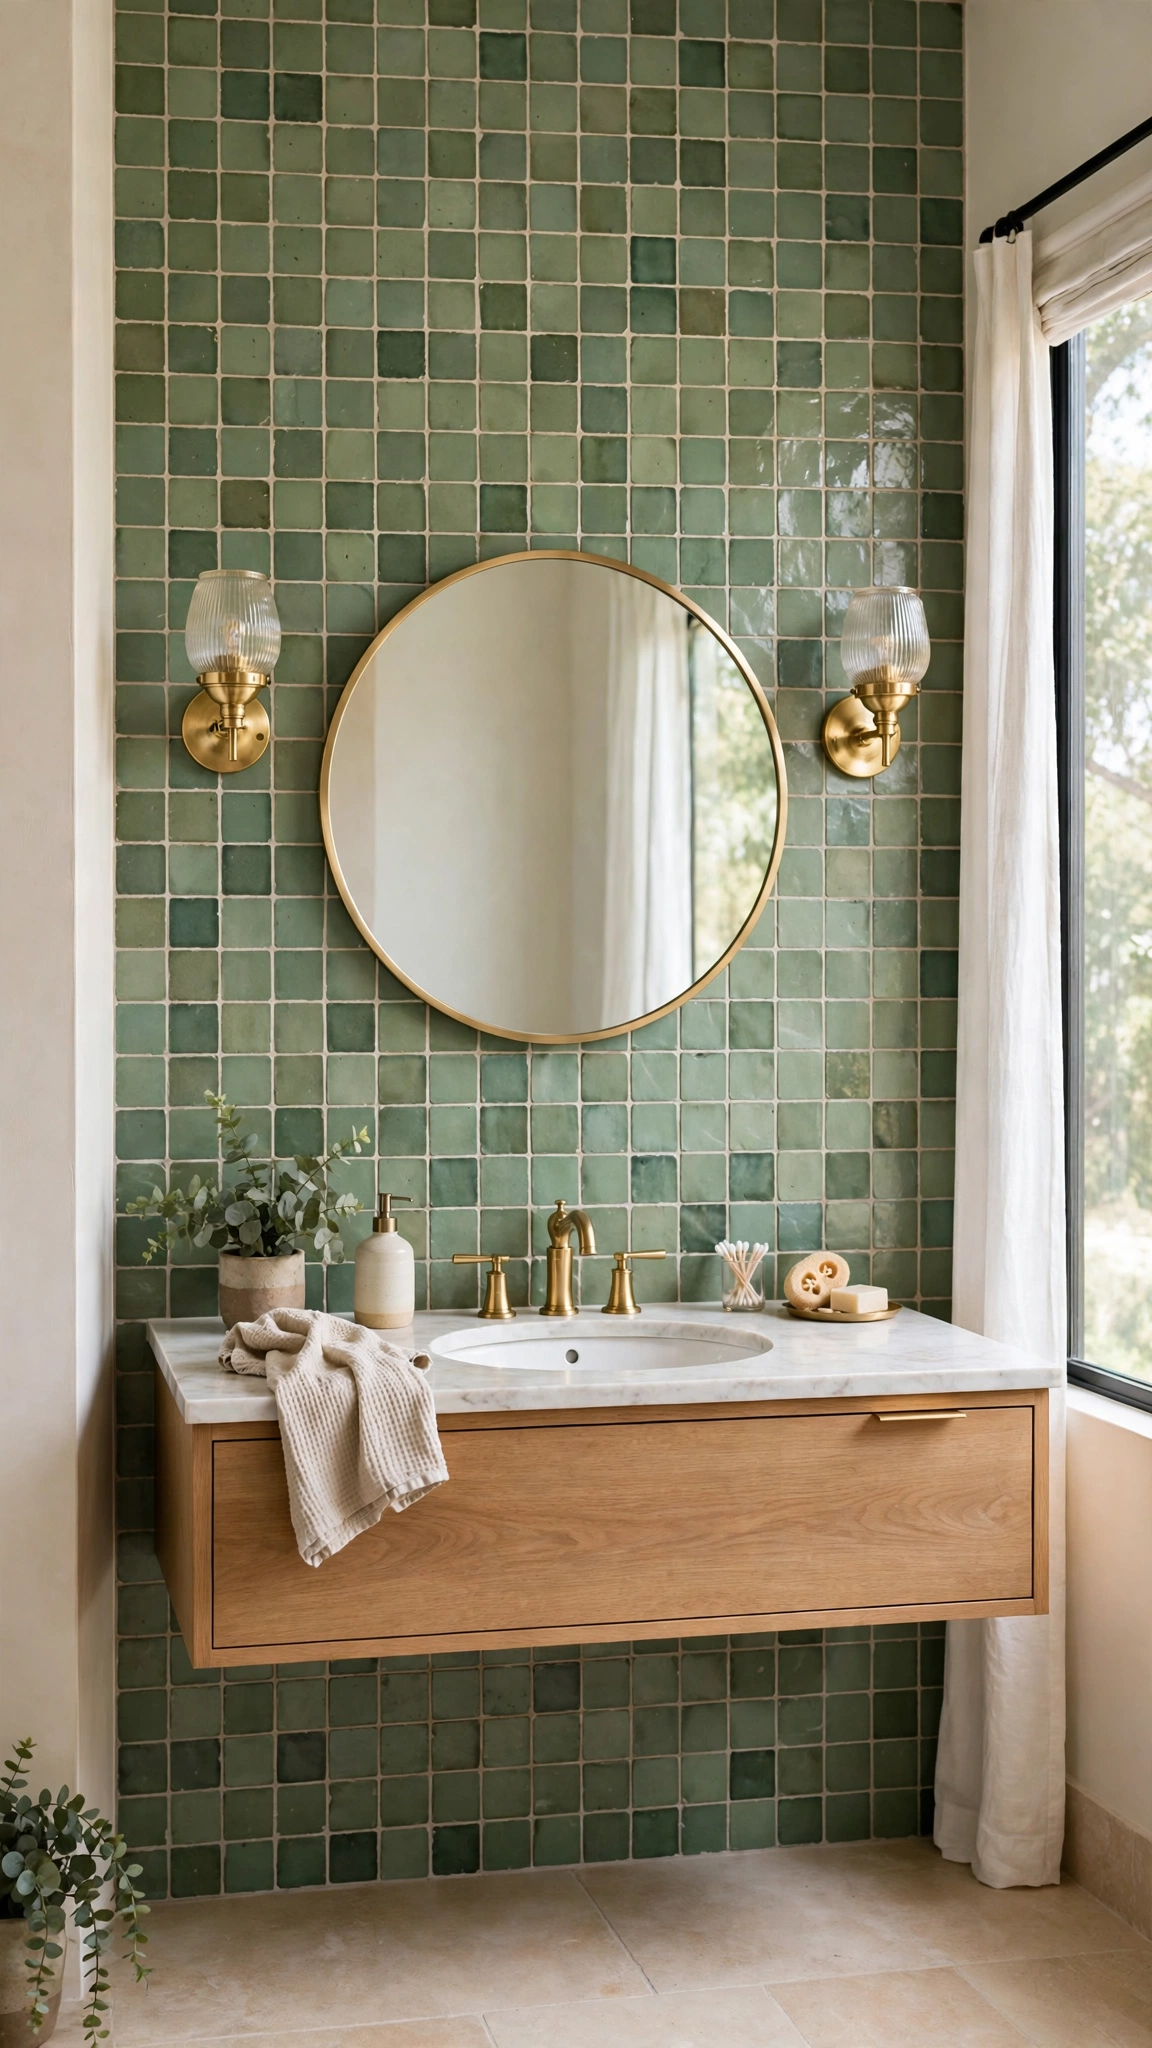
One tiled feature wall gives a bathroom instant personality. Whether it is handmade-look zellige, a bold pattern, or vertical subway tile, a single accent wall delivers the drama of a full retiling at a fraction of the cost.
Choose the wall your eye lands on first — usually behind the vanity or the tub — and keep the other walls quiet so the feature wall can shine. Handmade-look tiles add variation that reads as high-end.
Tile and labor for one wall is manageable for most budgets, and it is a project a confident DIYer can tackle over a long weekend with careful prep.
Tip: Run the feature tile floor-to-ceiling for the most designer effect, and let the rest of the room stay calm — the same restraint that makes privacy screens beautiful is what keeps a bold wall from overwhelming a small bathroom.
9. Paint Cabinets in Both Rooms for Cohesion
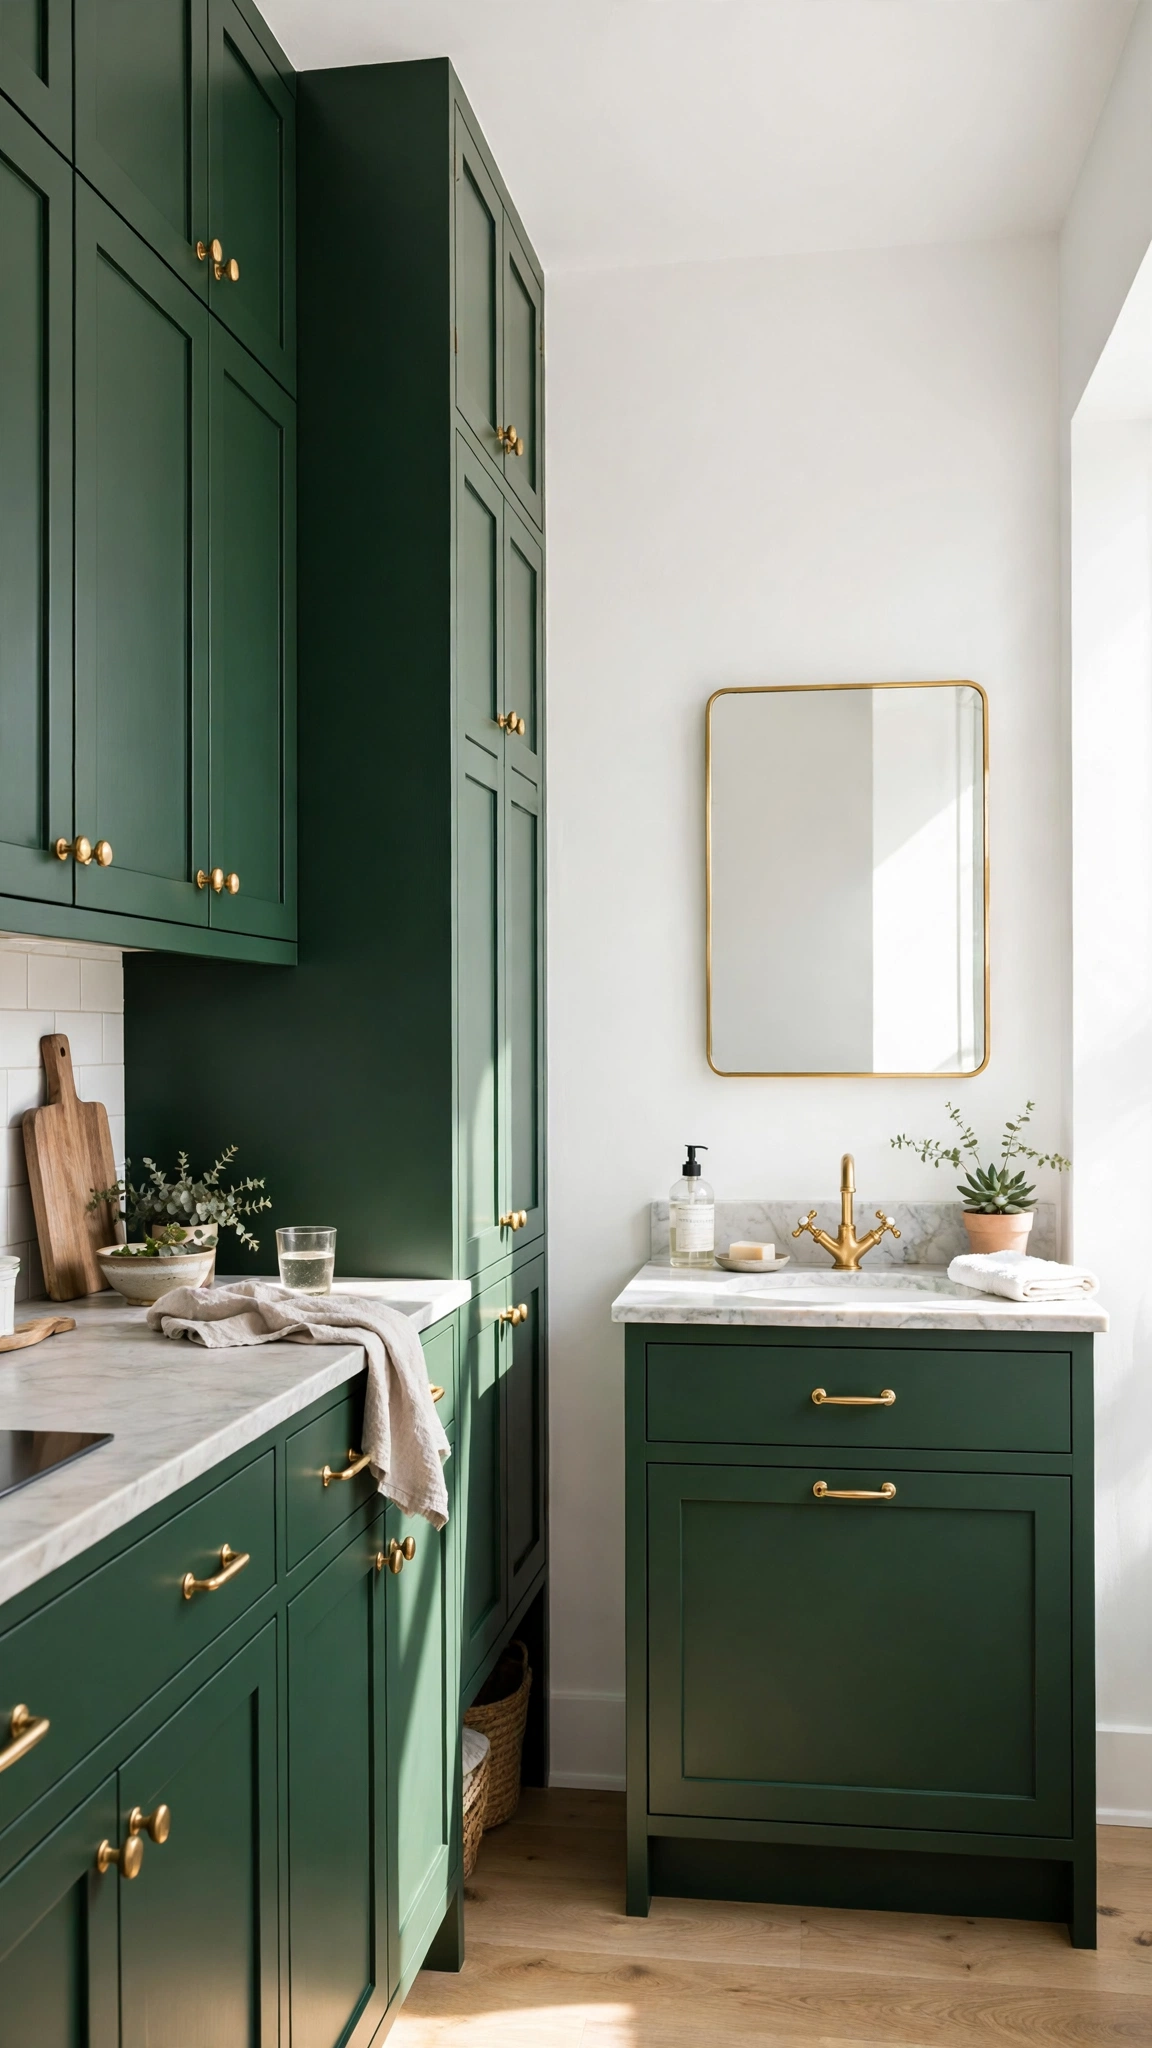
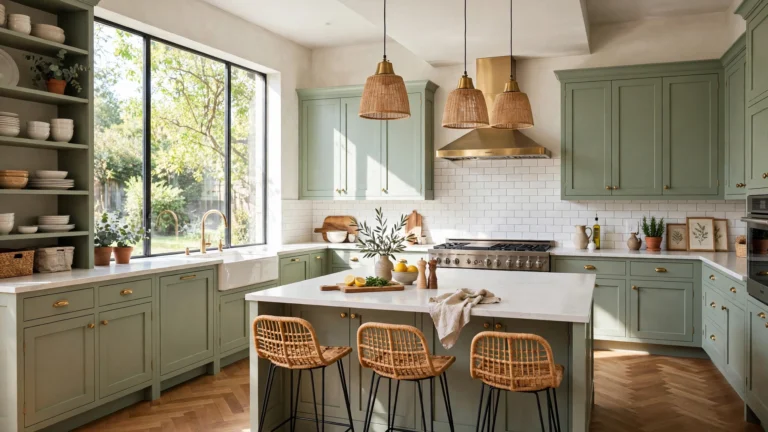
Cabinet painting is the single best value renovation in either room. A professional spray finish can make dated oak cabinets look factory-new, and painting the kitchen and bathroom vanity the same color ties the home together.
Prep is everything: clean, sand, prime, and spray in thin coats. If you hire it out, expect a week of downtime per room, but the cost is typically a quarter of replacement cabinetry.
Deep green, navy, and warm greige are designer favorites right now because they hide wear well and pair with both marble and wood tones.
Tip: Paint a test door first and live with it for a few days in different light — and take inspiration from how plant stands use one repeated green to make a space feel lush and intentional rather than random.
10. Install Glass Shower Doors for Openness

Replacing a shower curtain or frosted enclosure with frameless glass instantly doubles how large a bathroom feels. Light travels through the room, the tile work stays visible, and the whole space reads as renovated.
Measure carefully and choose 3/8-inch or 1/2-inch tempered glass for a solid, premium feel. A single fixed panel with a door is the most common and cost-effective configuration.
Keep a squeegee in the shower and the glass stays spotless with a thirty-second wipe after use — a small habit that protects the investment.
Tip: Pair clear glass with a beautiful tile inside the shower, since it becomes part of the room’s decor — the same idea behind terrace designs that blur the line between indoors and out by keeping sightlines open.
11. Add Open Shelving with Styled Greenery
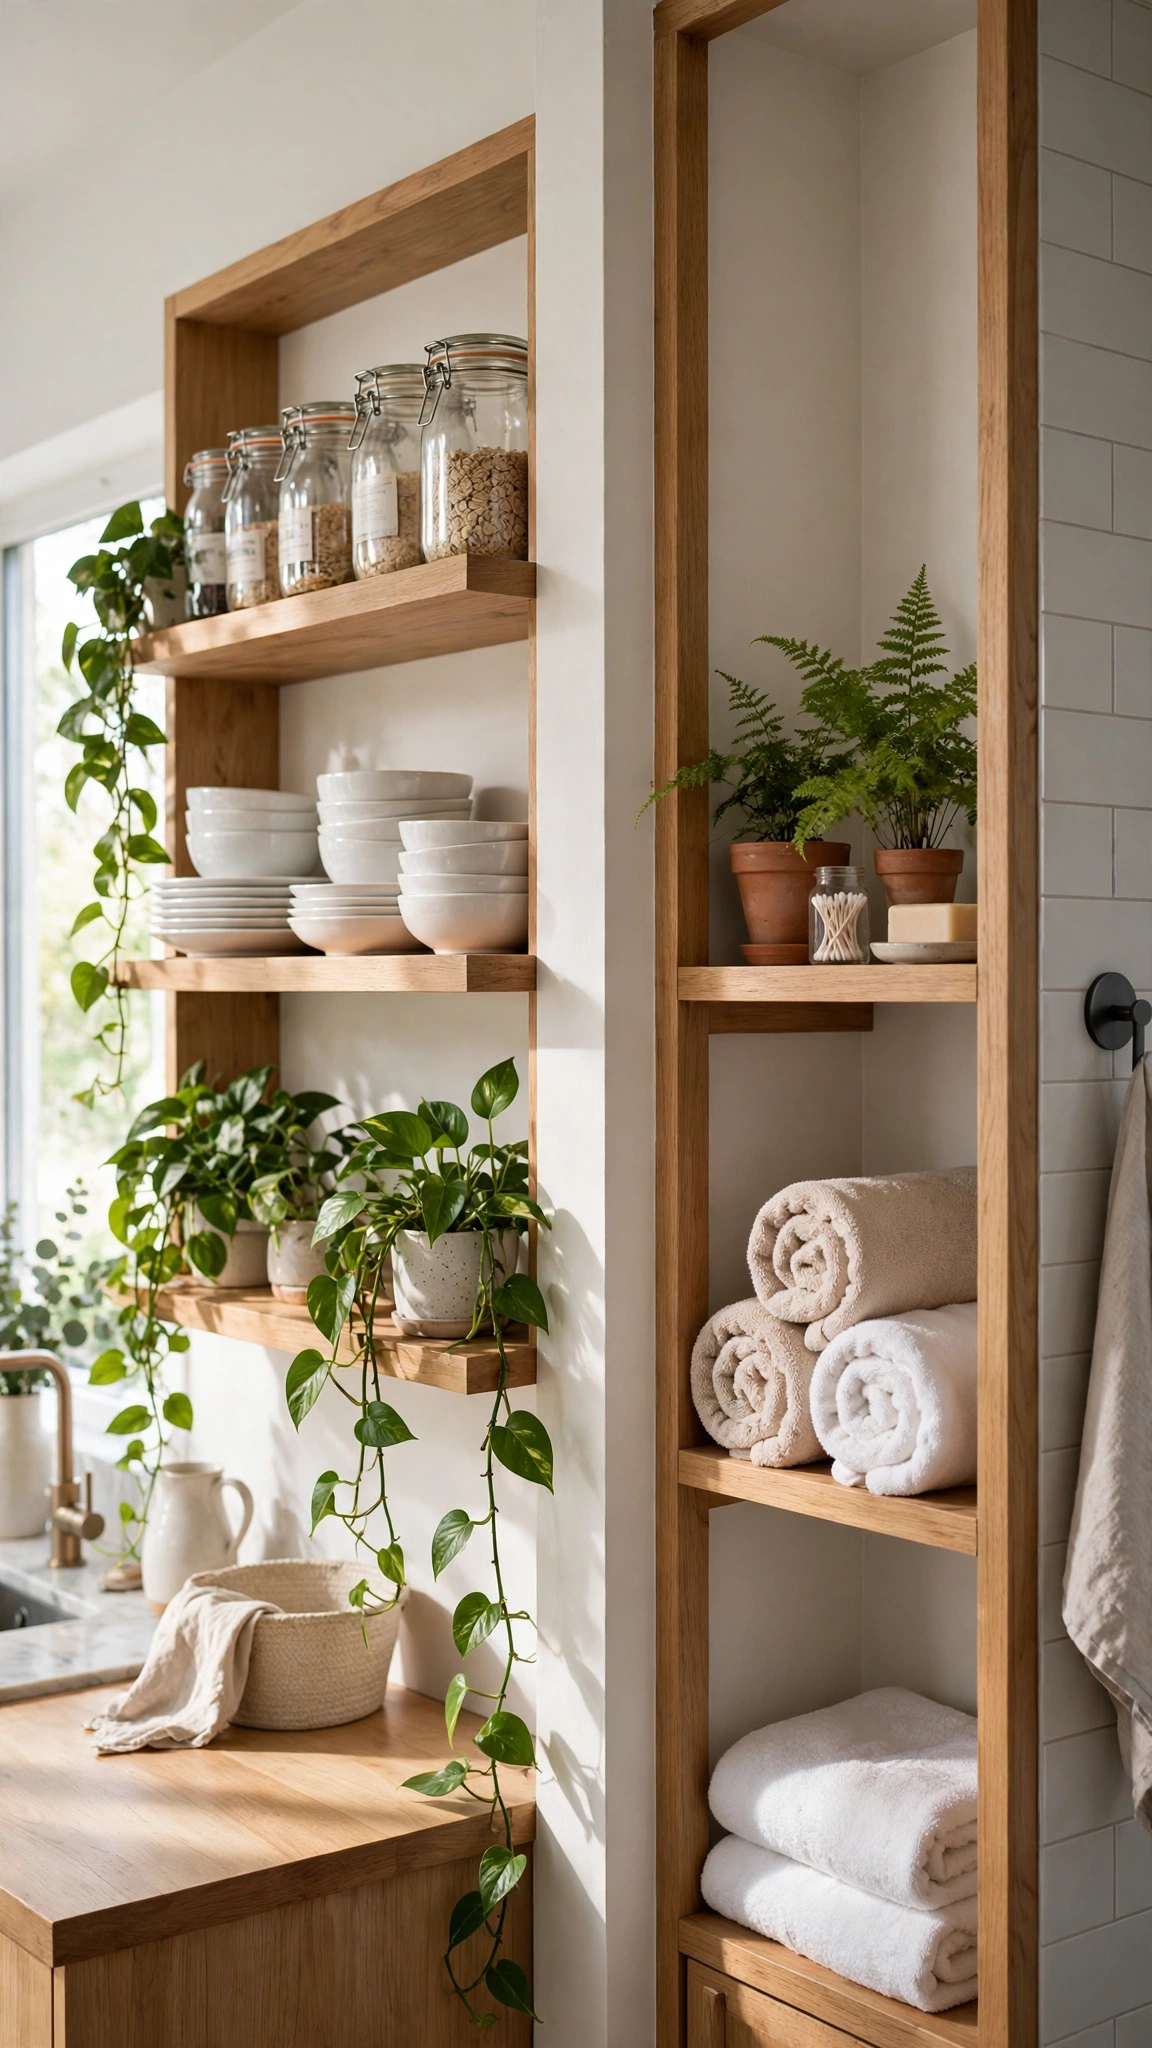
Open shelving warms up both rooms at once. In the kitchen it displays everyday dishes beautifully; in the bathroom it turns towels and toiletries into decor instead of clutter.
Keep shelves shallow — around 10 to 12 inches — and style them loosely: a stack of bowls, a jar, one trailing plant. Leave breathing room between objects so the shelves read as curated, not crowded.
Wood shelves with black brackets are inexpensive and suit almost any style, from farmhouse to modern. Install into studs for safety, especially above a tub or stove.
Tip: Add one trailing plant per shelf for instant life — greenery softens hard tile and cabinetry the way a vegetable garden turns a plain balcony into a cozy, living retreat.
12. Create a Vanity That Mirrors the Kitchen Island

Designers love echoing one room in another. When your bathroom vanity mirrors your kitchen island — same countertop material, same wood tone, same hardware — the home feels custom-designed rather than assembled room by room.
You do not need identical pieces. A shared stone, a repeated wood finish, or matching legs and panels is enough to create the echo without looking like a copy-paste job.
This trick works especially well when the kitchen and bathroom are renovated in the same phase, since you can order countertop offcuts for the vanity and save on material.
Tip: Ask your countertop fabricator about remnants for the vanity top — it is a budget-friendly way to match materials, and the same thrifty creativity shines in container gardening, where small, well-chosen pieces make a big impact.
13. Refresh Countertops Without Replacing Cabinets
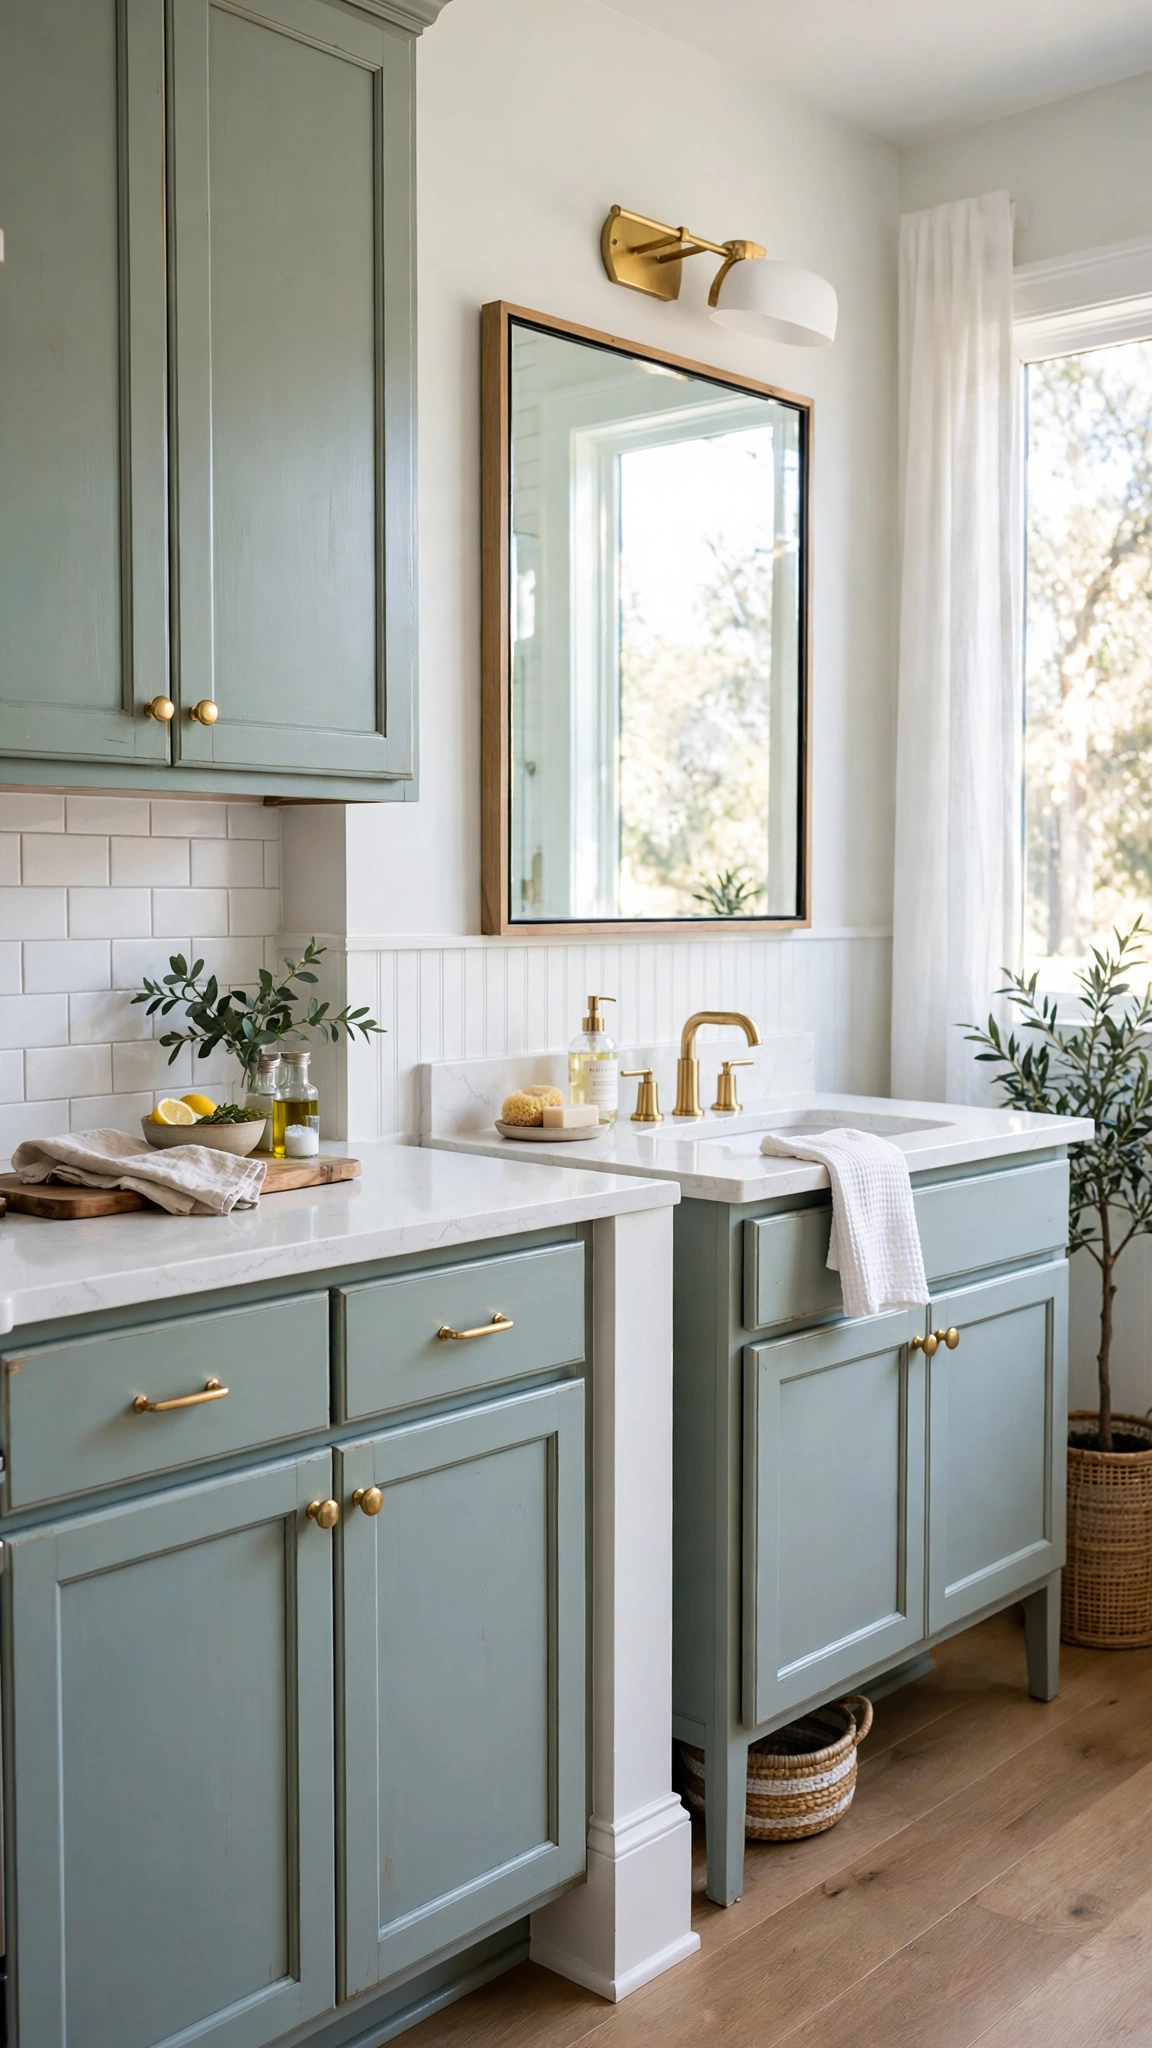
New countertops over existing cabinets deliver most of the look of a full renovation for a fraction of the price. Quartz is the popular choice: durable, low-maintenance, and available in convincing marble looks.
Measure twice, and check that your existing cabinets are level and sturdy before templating. A good fabricator will flag any issues before cutting.
Carrying the same quartz into the bathroom vanity strengthens the designer connection between rooms and often costs little extra if you use a remnant.
Tip: Choose a quartz with soft, subtle veining rather than a loud pattern — it ages gracefully and pairs with everything, much like the timeless appeal of classic decorative accents that elevate a space without overwhelming it.
14. Add Privacy Screening That Still Lets Light In
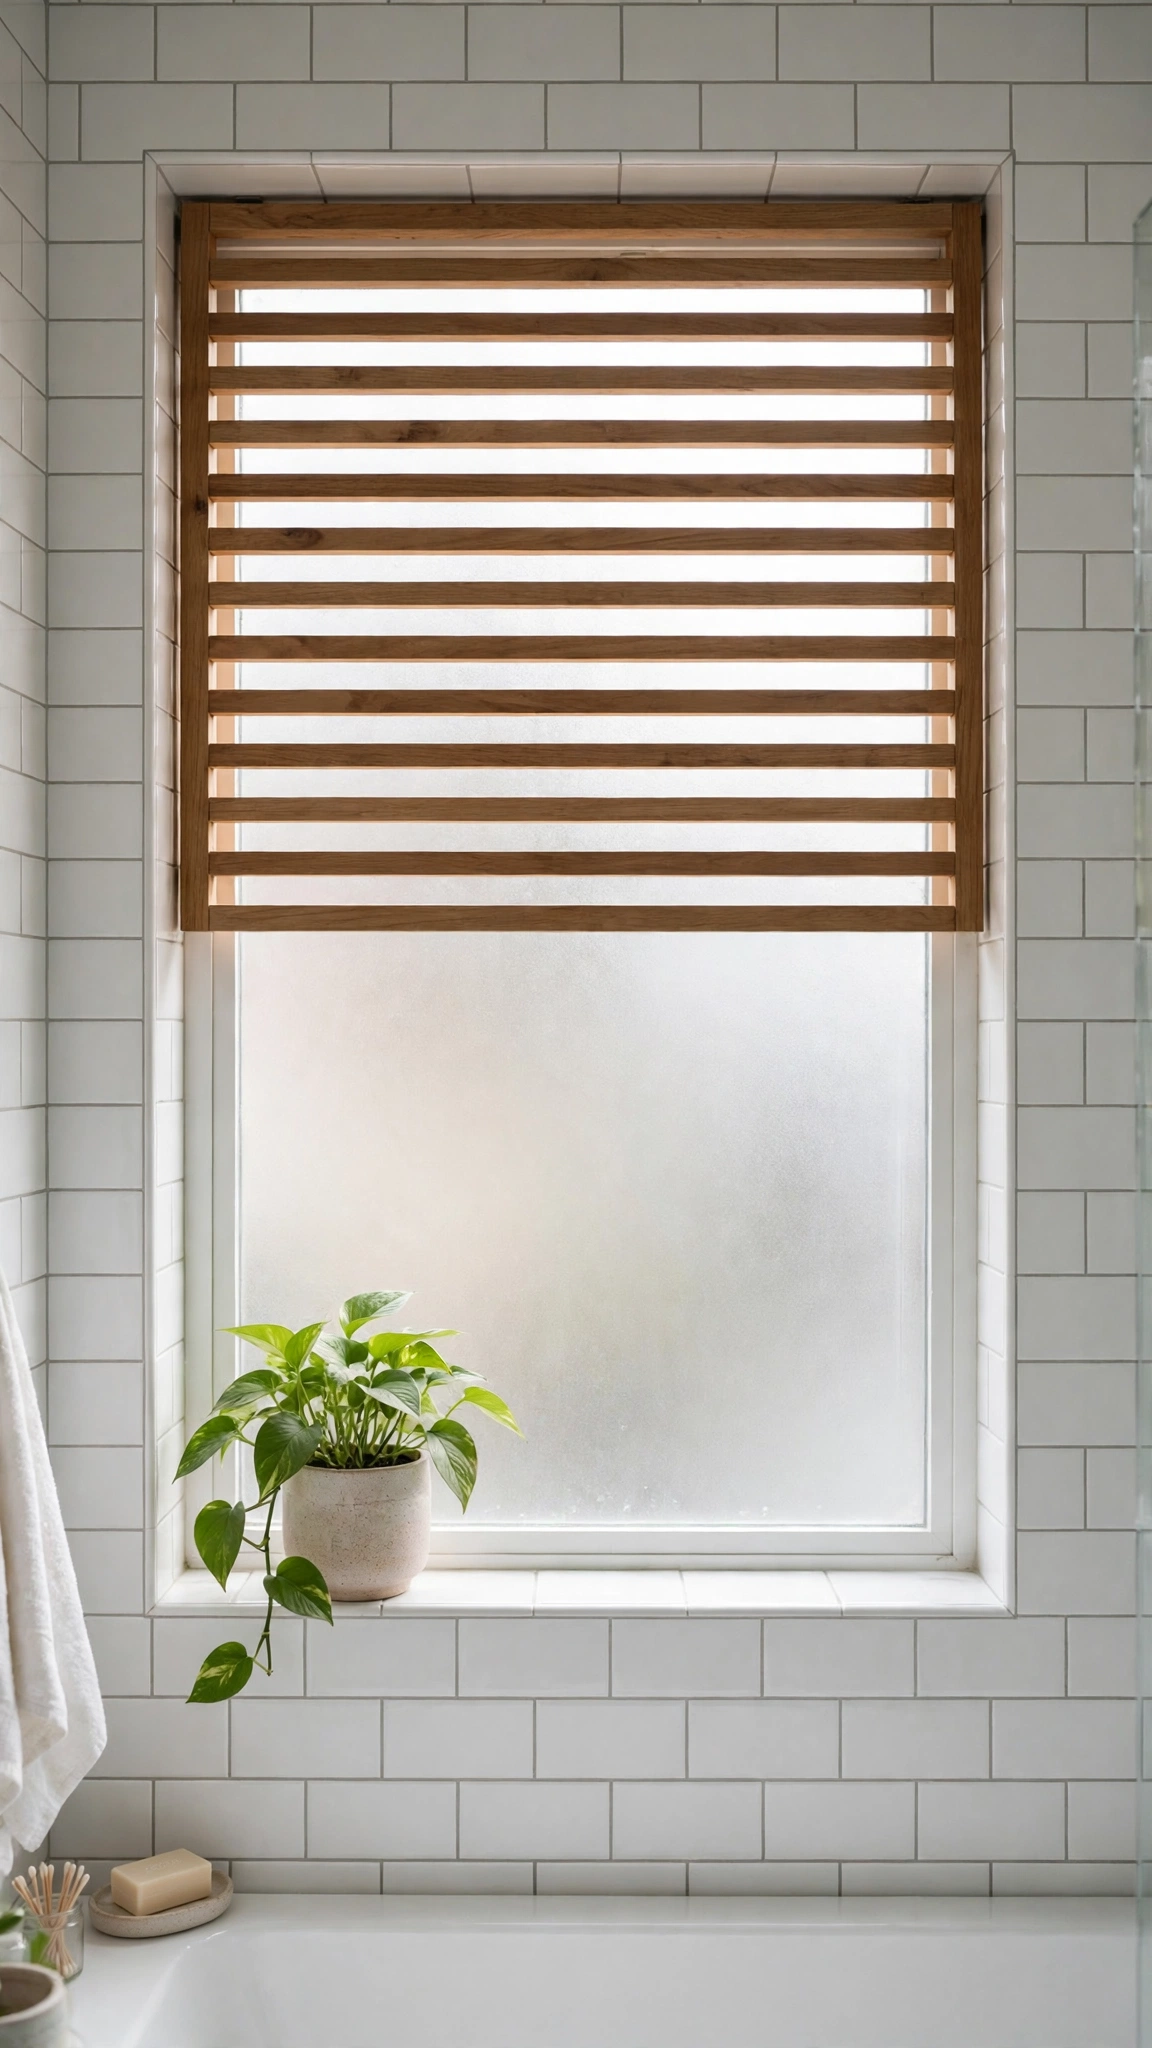
Bathroom windows face a tricky balance: you want daylight but not exposure. Frosted film, slatted wood screens, or bottom-up shades solve it beautifully while adding a designer detail.
Frosted window film is the fastest fix — inexpensive, removable, and available in patterns from simple frost to linen textures. For a more permanent look, a slatted wood screen adds warmth and shadow play.
In the kitchen, the same idea works on windows facing neighbors: a cafe curtain or sheer panel keeps light while softening the view.
Tip: Apply film to the lower half of the window only and leave the top clear for sky and light — this layered approach borrows from balcony flooring ideas that zone a small space without closing it off.
15. Style a Breakfast Nook and a Bath Tray Alike
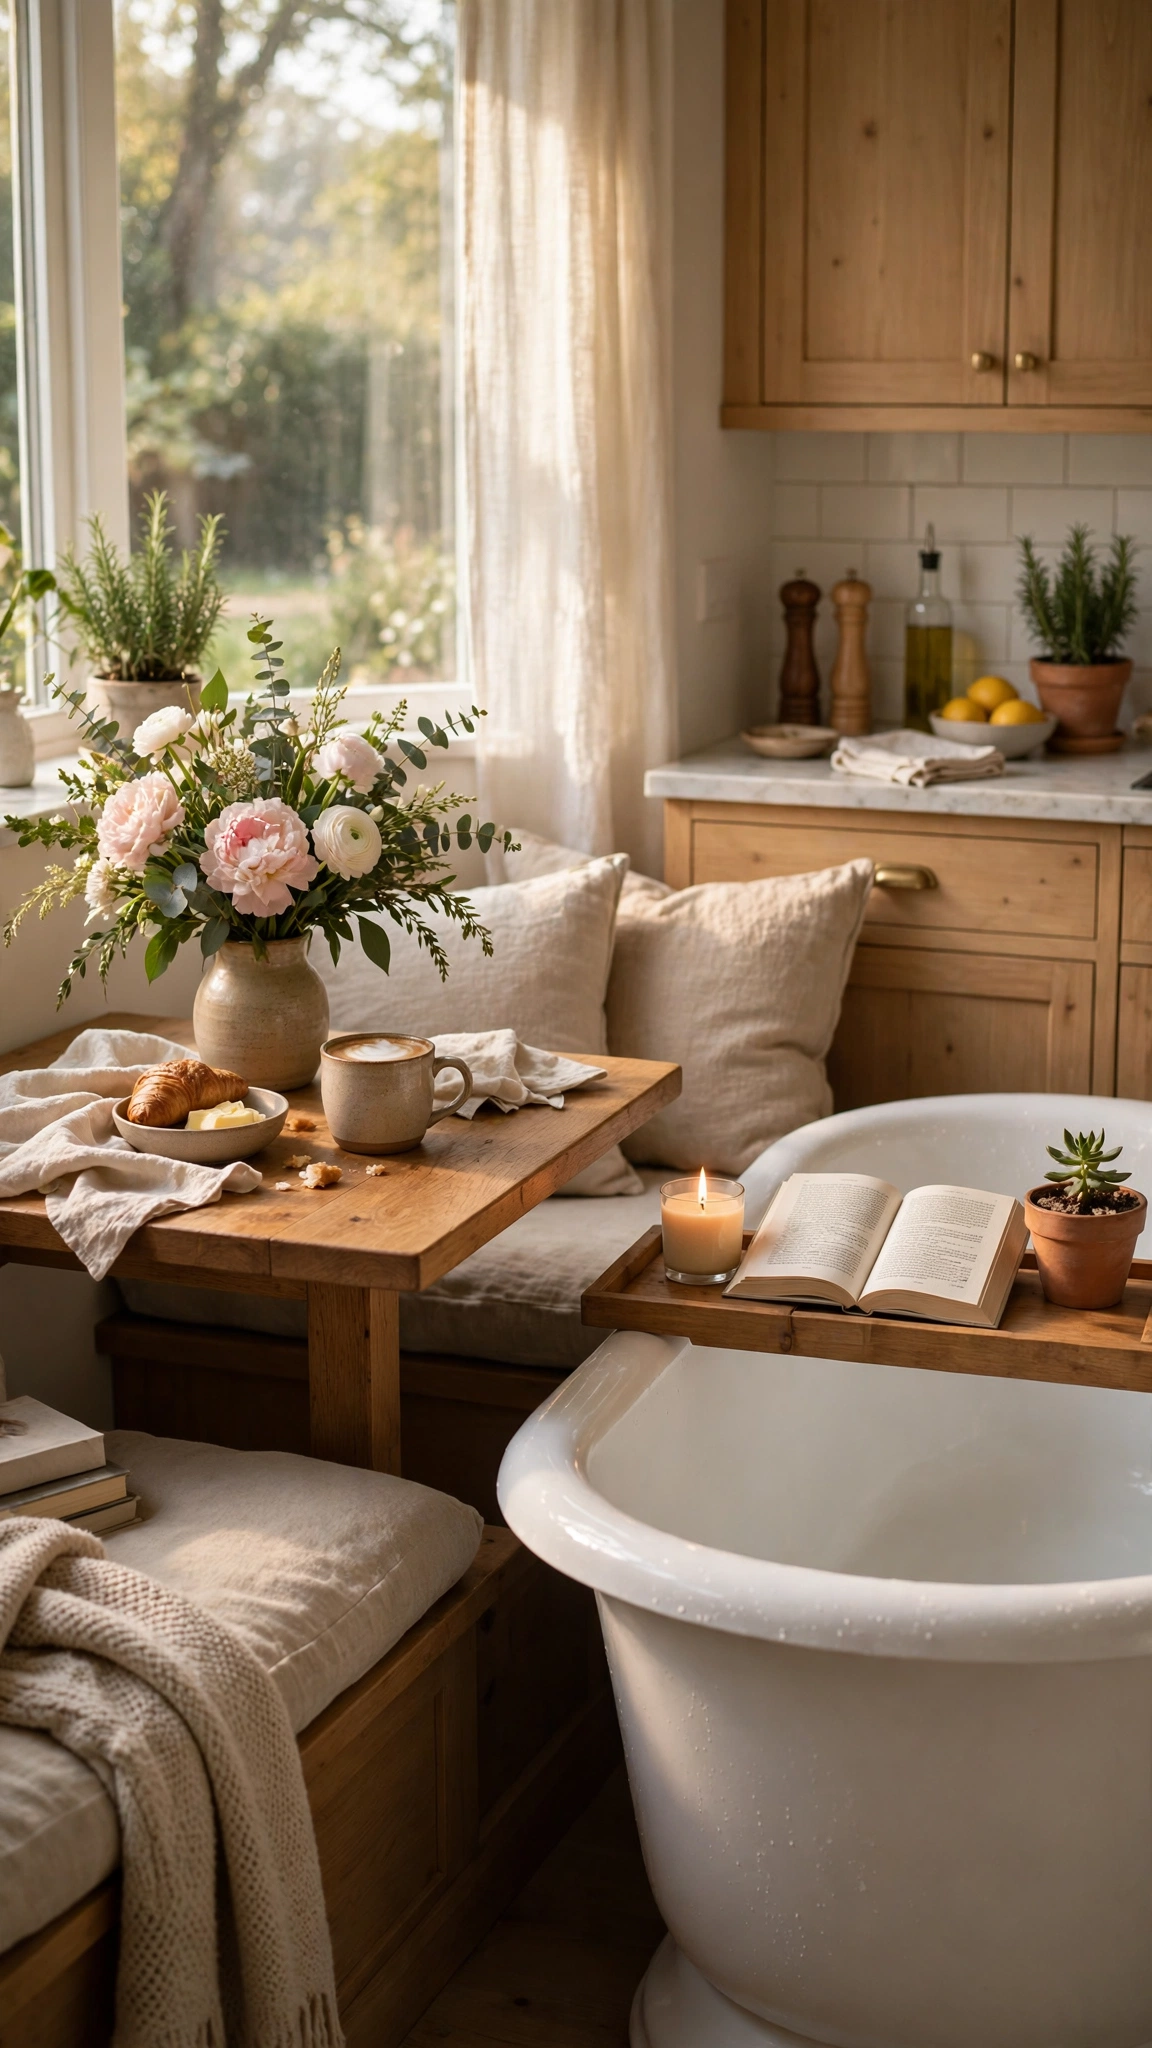
Small styling moments sell the renovation. A breakfast nook with linen cushions and a vase of flowers, echoed by a bath tray with a candle and a book, makes both rooms feel finished and lived-in.
Keep the styling language consistent: the same wood tone, the same linen texture, the same kind of greenery. These small repeats are what make a home feel designed rather than decorated room by room.
None of this costs much — a tray, a candle, a cushion cover — but it is the layer that turns a construction project into a home.
Tip: Style in odd numbers and leave one empty spot on every surface — breathing room is the difference between curated and cluttered, the same coordination that makes festive group outfits look intentional rather than thrown together.
16. Bring in Natural Texture with Wood and Stone
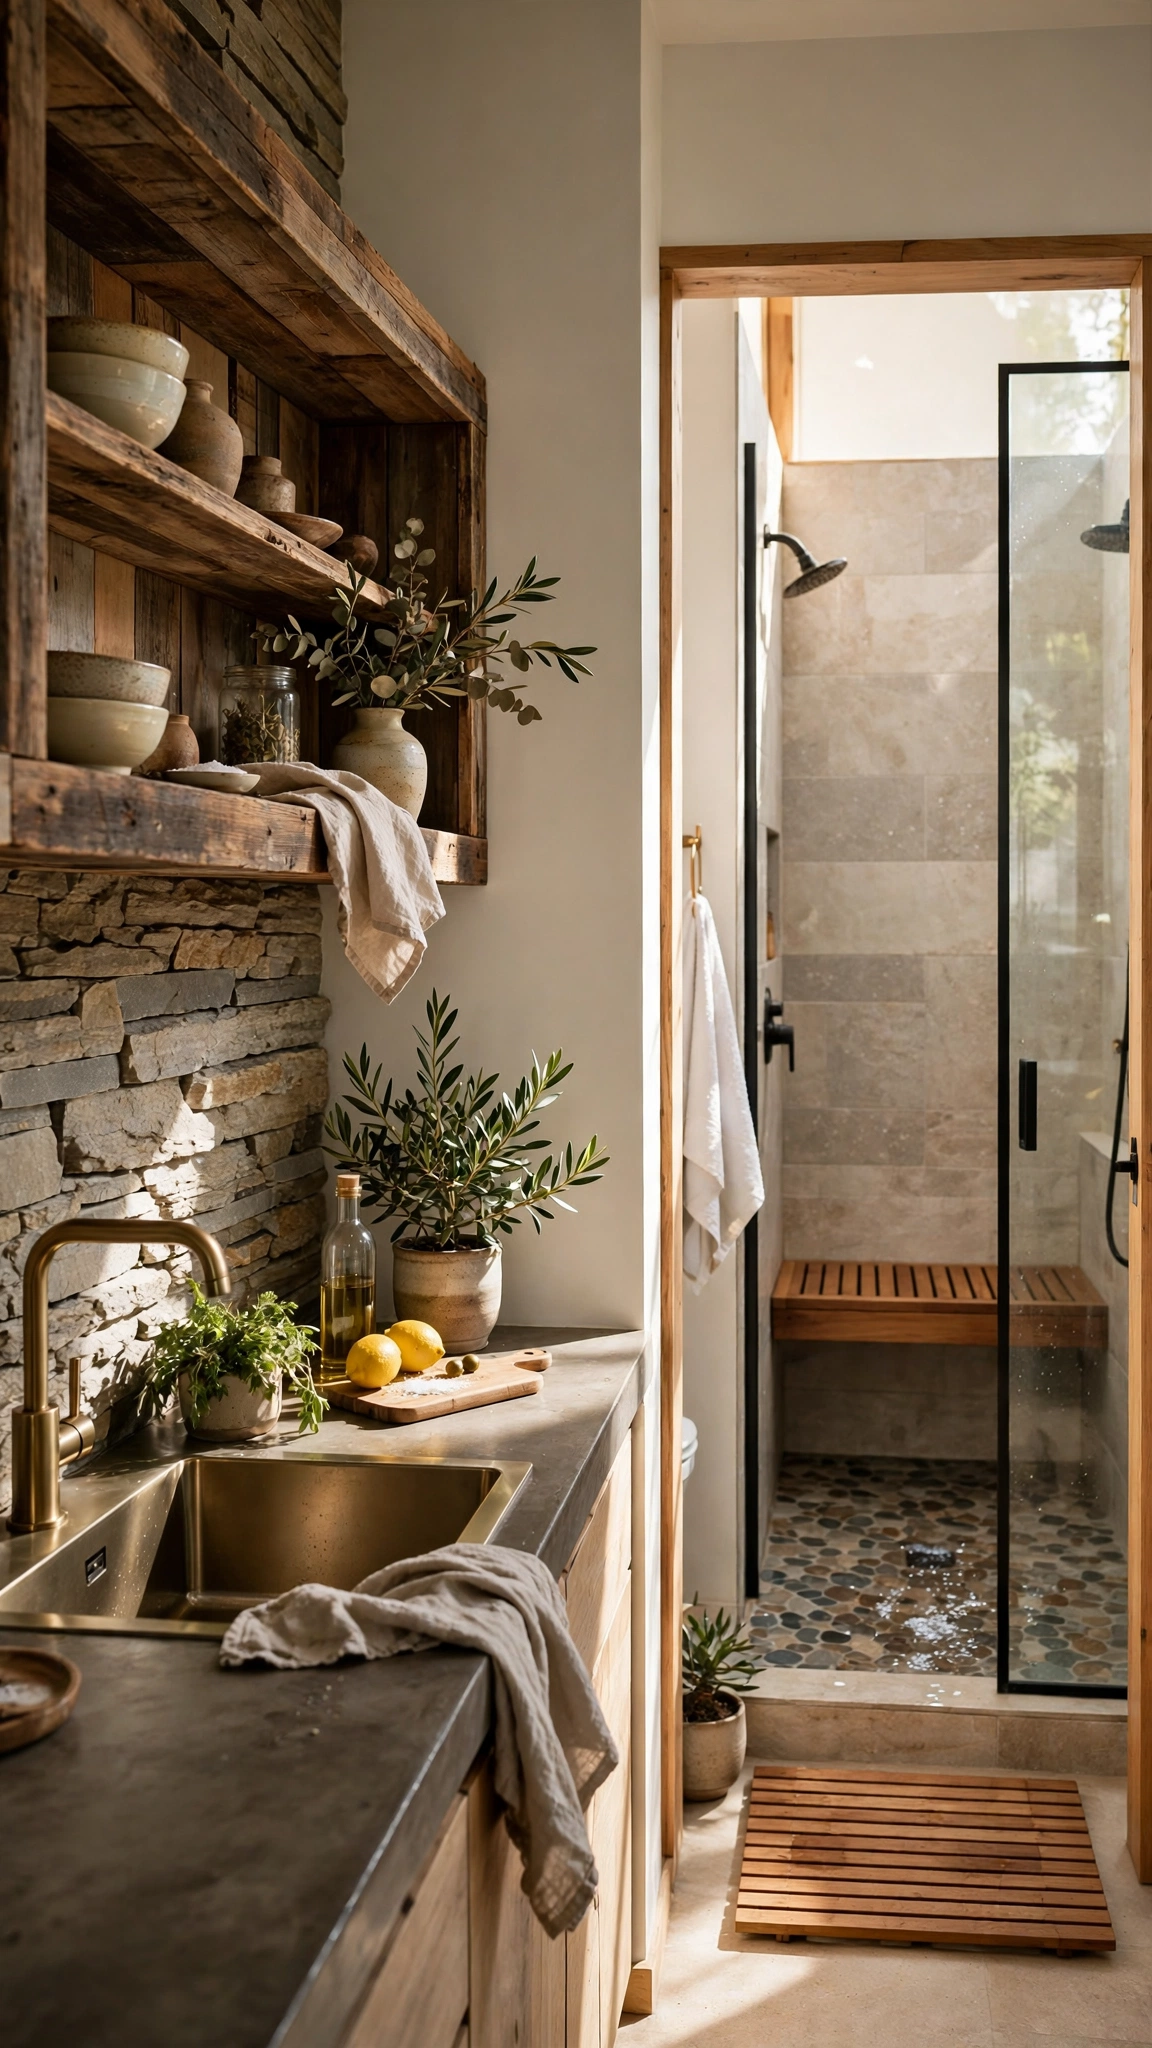
Flat, all-white renovations can feel cold. Natural texture — wood shelving, stone tile, a teak mat, woven baskets — adds the warmth that makes designer rooms feel inviting rather than showroom-sterile.
Add texture in small doses: one wood shelf in the kitchen, a pebble shower floor or teak stool in the bathroom, woven baskets for storage in both. Each piece should feel collected, not matched.
Natural materials also age gracefully, developing character instead of looking worn, which is exactly what you want from a renovation meant to last a decade.
Tip: Mix no more than three natural textures per room — wood, stone, and one woven fiber is plenty — and let the palette stay calm, the way a well-coordinated pair balances two strong looks without clashing.
17. Upgrade Mirrors and Backsplashes Together

Mirrors and backsplashes are the two surfaces your eye meets first in these rooms, and upgrading both at once multiplies the impact. An arched or brass-framed mirror and a handmade-look backsplash tile instantly signal a designer renovation.
In the bathroom, go larger than you think with the mirror — it bounces light and doubles the sense of space. In the kitchen, run the backsplash to the ceiling behind the range for a custom, high-end look.
Both upgrades are relatively affordable, especially compared to cabinetry, and they can often be installed in a single day each.
Tip: Match the mirror frame finish to your faucet finish for a polished, intentional look — and remember that a bold frame works like a perfectly paired duo: one strong element that defines the whole look, just as couple costumes prove that two coordinated pieces beat a room full of random ones.
18. Carve Out Smart Storage in Dead Corners

Every kitchen and bathroom has dead space: blind corners, the wall above the toilet, the gap beside the tub. Smart storage turns those spots into the features that make a renovation feel truly custom.
In the kitchen, pull-out corner organizers and drawer dividers beat deep, dark cabinets. In the bathroom, a recessed shower niche and a mirrored medicine cabinet add storage without stealing floor space.
Most of these solutions are retrofit-friendly. A niche needs wall work, but pull-outs and over-toilet shelving install in an afternoon.
Tip: Audit each room for one dead corner before you buy anything — targeted storage beats generic organizers, just as a well-planned family theme proves that the right fit matters more than the number of pieces you own.
19. Finish with Cohesive Decor and Scent
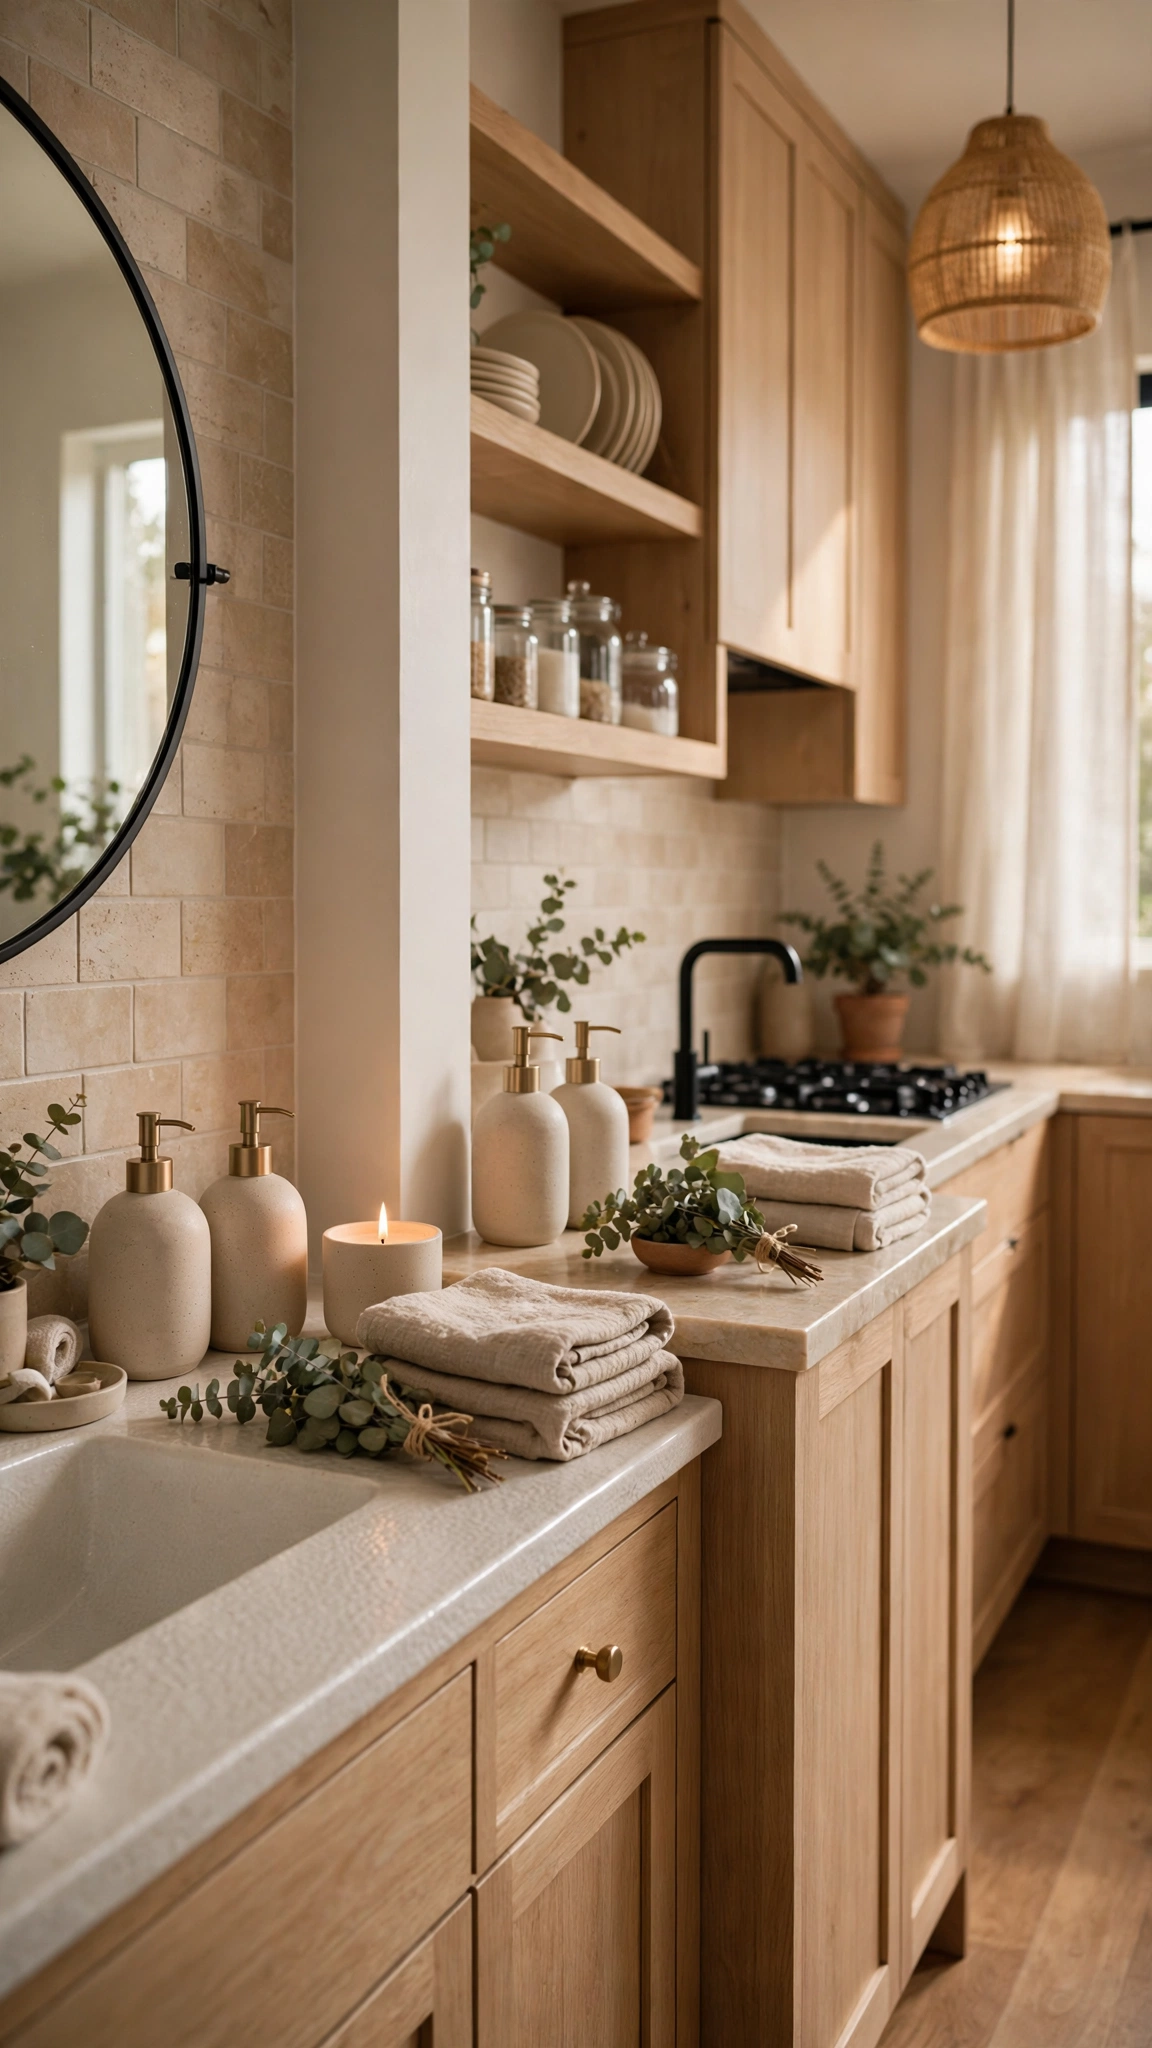
The final layer of any designer makeover is the one you feel more than see: matching dispensers, folded linen towels, a eucalyptus bundle in the shower, and one signature scent carried through both rooms.
Choose one scent family — eucalyptus, cedar, or citrus — and use it in the kitchen hand soap and the bathroom candle alike. Scent is the subconscious cue that tells guests the home was designed as a whole.
Keep counters mostly clear and let a few beautiful everyday objects do the talking. A renovation feels complete when the styling is as intentional as the construction.
Tip: Hang a eucalyptus bundle from the showerhead for a spa scent that costs almost nothing — a small, sensory finish in the spirit of a standout costume detail, which adds character to even the simplest look.
Conclusion
A designer-inspired kitchen and bathroom makeover does not require a full remodel or a designer budget. Shared palettes, continuous flooring, statement fixtures, layered lighting, and thoughtful storage add up to rooms that feel custom, cohesive, and calm. Start with the upgrade that bothers you most, carry one finish through both rooms, and let each small change build toward a home that finally feels finished.