
14 Creative Garage Renovation Ideas Without Overspending

Transforming your dusty parking zone into a functional extension of your living space does not require a massive bank account. Many homeowners dream of upgrading their concrete box, yet fear the high costs of professional contractors. Smart garage renovation projects rely on sweat equity and clever resourcefulness. You can turn wasted square footage into an organized workshop, a cozy home gym, or a relaxing hobby studio without draining your savings. The secret lies in using affordable materials, upcycling old furniture, and tackling tasks one weekend at a time. Let us explore twenty practical garage transformation concepts that cost very little money.
Paint the Concrete Floor
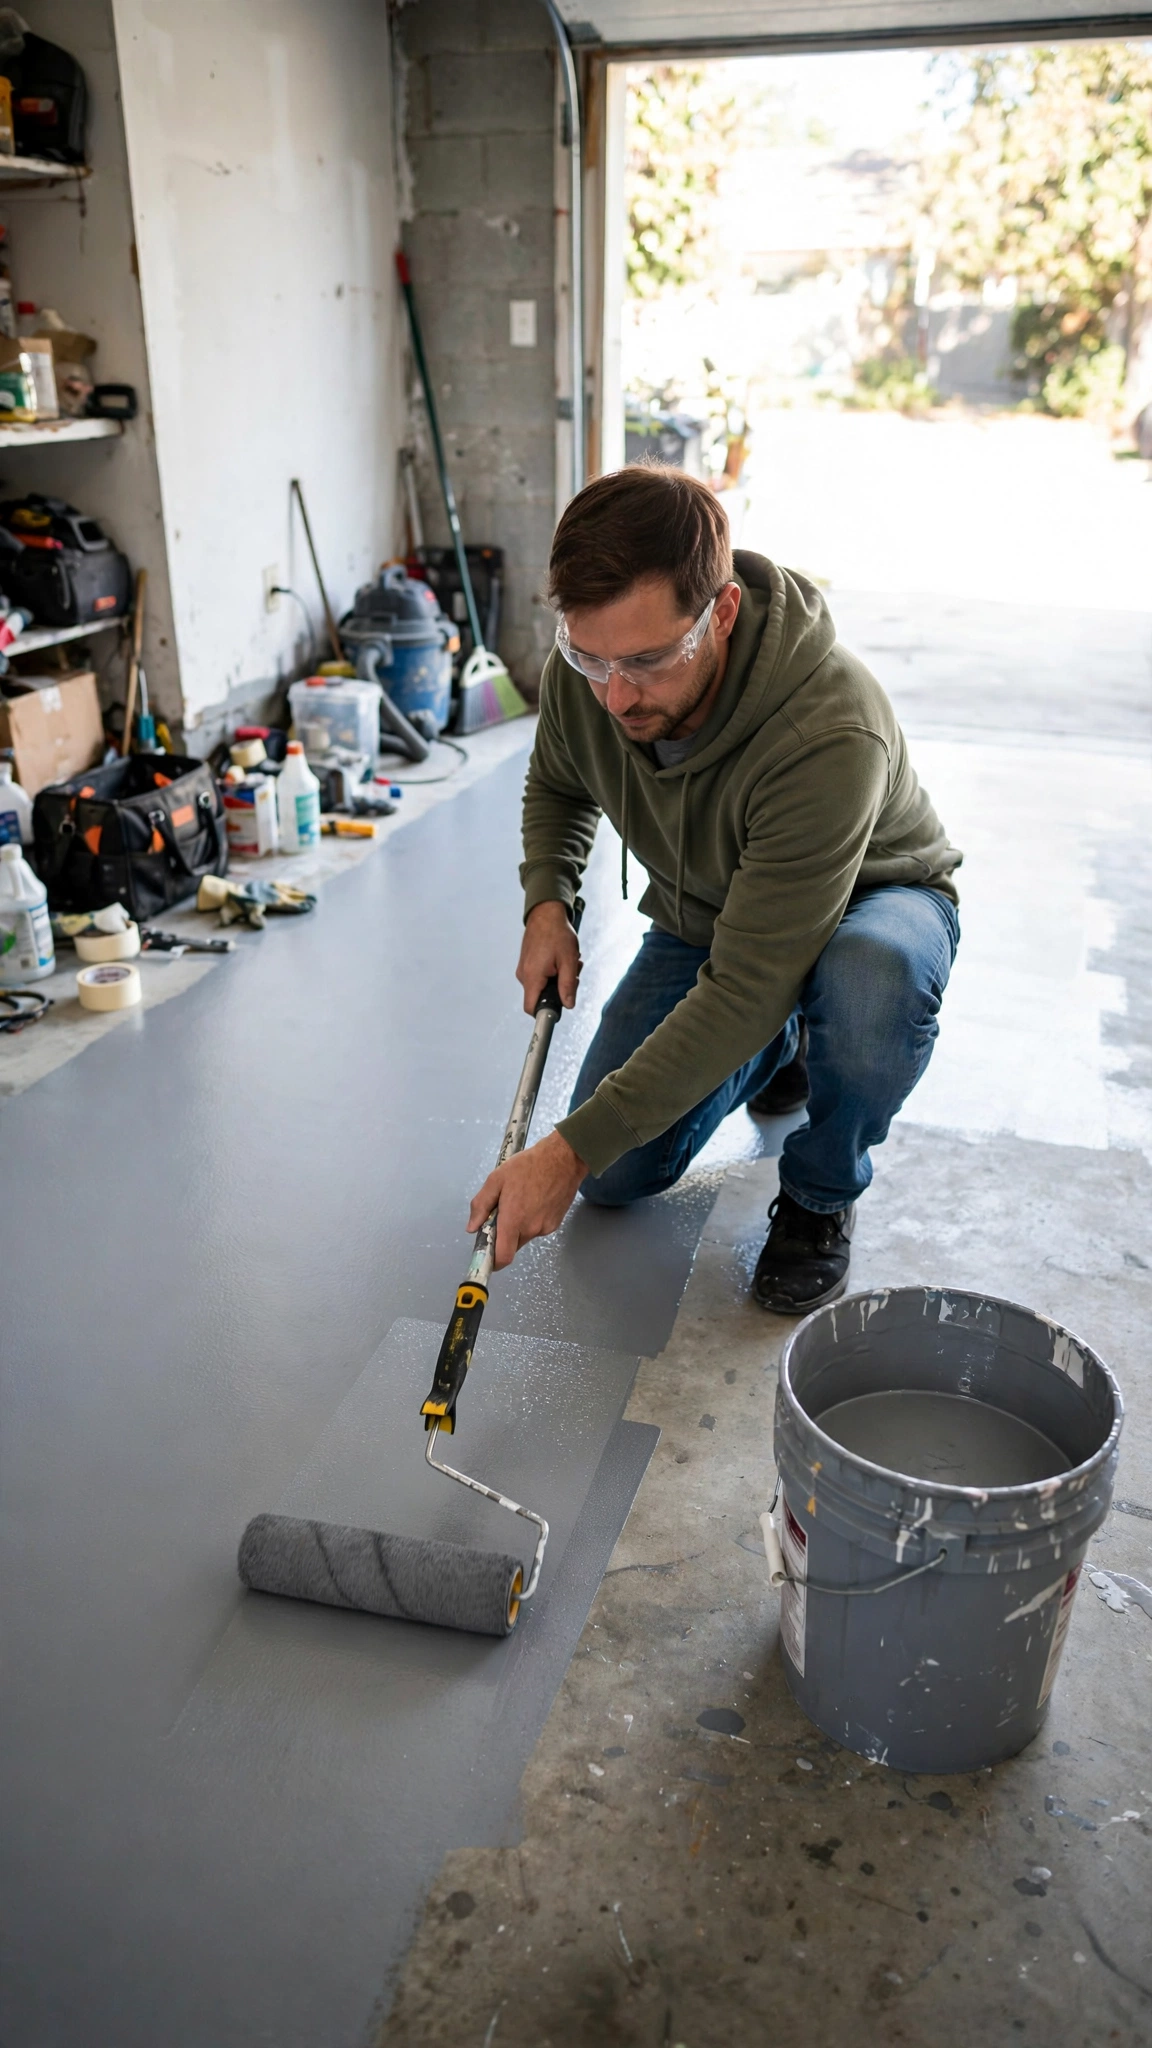
Concrete floors take a heavy beating from car tires, oil leaks, and dropped tools. Applying a fresh coat of porch and floor paint instantly changes the entire vibe of your space. You can also use a budget-friendly DIY epoxy kit for a glossy finish.
Start by sweeping away all the dirt and debris. Scrub oil stains with a degreaser and rinse the slab thoroughly. Let the concrete dry completely before opening your paint can.
Roll on a quality primer to help the color stick. Follow up with two thin coats of your chosen color. Gray or beige tones hide dust well and make the room feel much larger.
Sprinkle decorative paint chips into the wet paint if you want a custom look. Finish with a clear sealer to protect your hard work from future tire marks. This simple project costs under one hundred dollars and takes just one weekend.
Build a Plywood Workbench
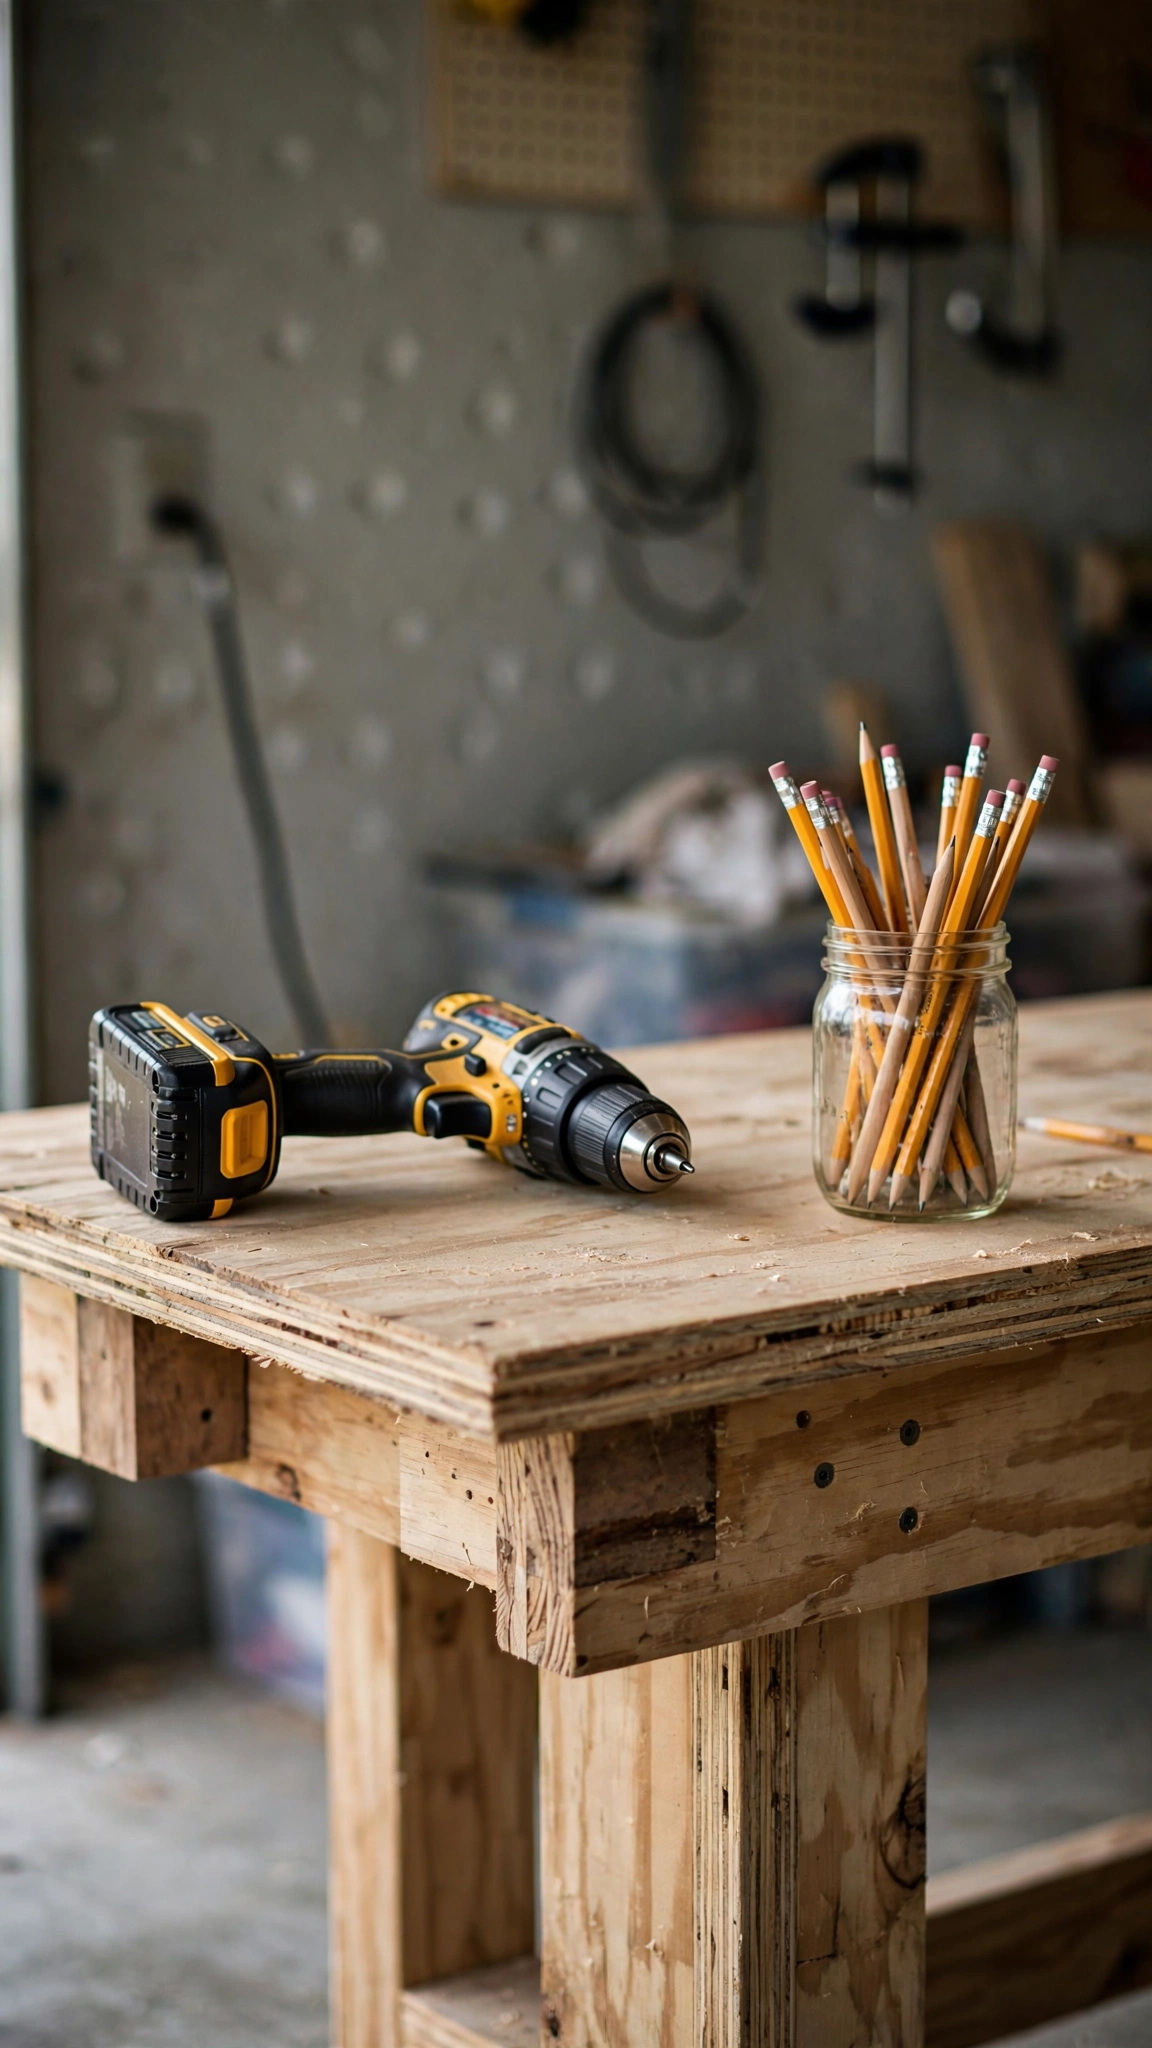
Every garage needs a solid station for fixing things and crafting projects. Buying a pre-made metal bench can cost hundreds of dollars. You can build a sturdier version using affordable sheets of plywood and two-by-fours.
Measure your available wall space to decide on the ideal length. Cut your lumber to size using a circular saw. Assemble the frame with heavy-duty wood screws.
Attach a thick piece of plywood for the top surface. Sand the edges until they feel smooth to the touch. Seal the wood with polyurethane to prevent stains from spills.
Add a bottom shelf for storing heavy toolboxes. Mount power strips along the side for easy access. This custom workstation costs a fraction of store-bought alternatives.
Install DIY French Cleat Tool Storage

Keeping your hand tools organized stops you from buying duplicates. A French cleat wall system offers incredible flexibility for hanging gear. You can make this system using a single sheet of plywood and a table saw.
Rip your plywood strips at a forty-five-degree angle. Mount one strip to the wall studs with the angle pointing upward. Attach the matching angled piece to the back of small tool racks or shelves.
Hang your tool holders onto the wall cleat. You can lift and rearrange them instantly without grabbing a screwdriver. Build custom holders for hammers, screwdrivers, and cordless drills.
This scrap-wood project keeps your walls clutter-free. It costs practically nothing if you use leftover lumber from past projects.
Hang Bikes with Pulley Systems
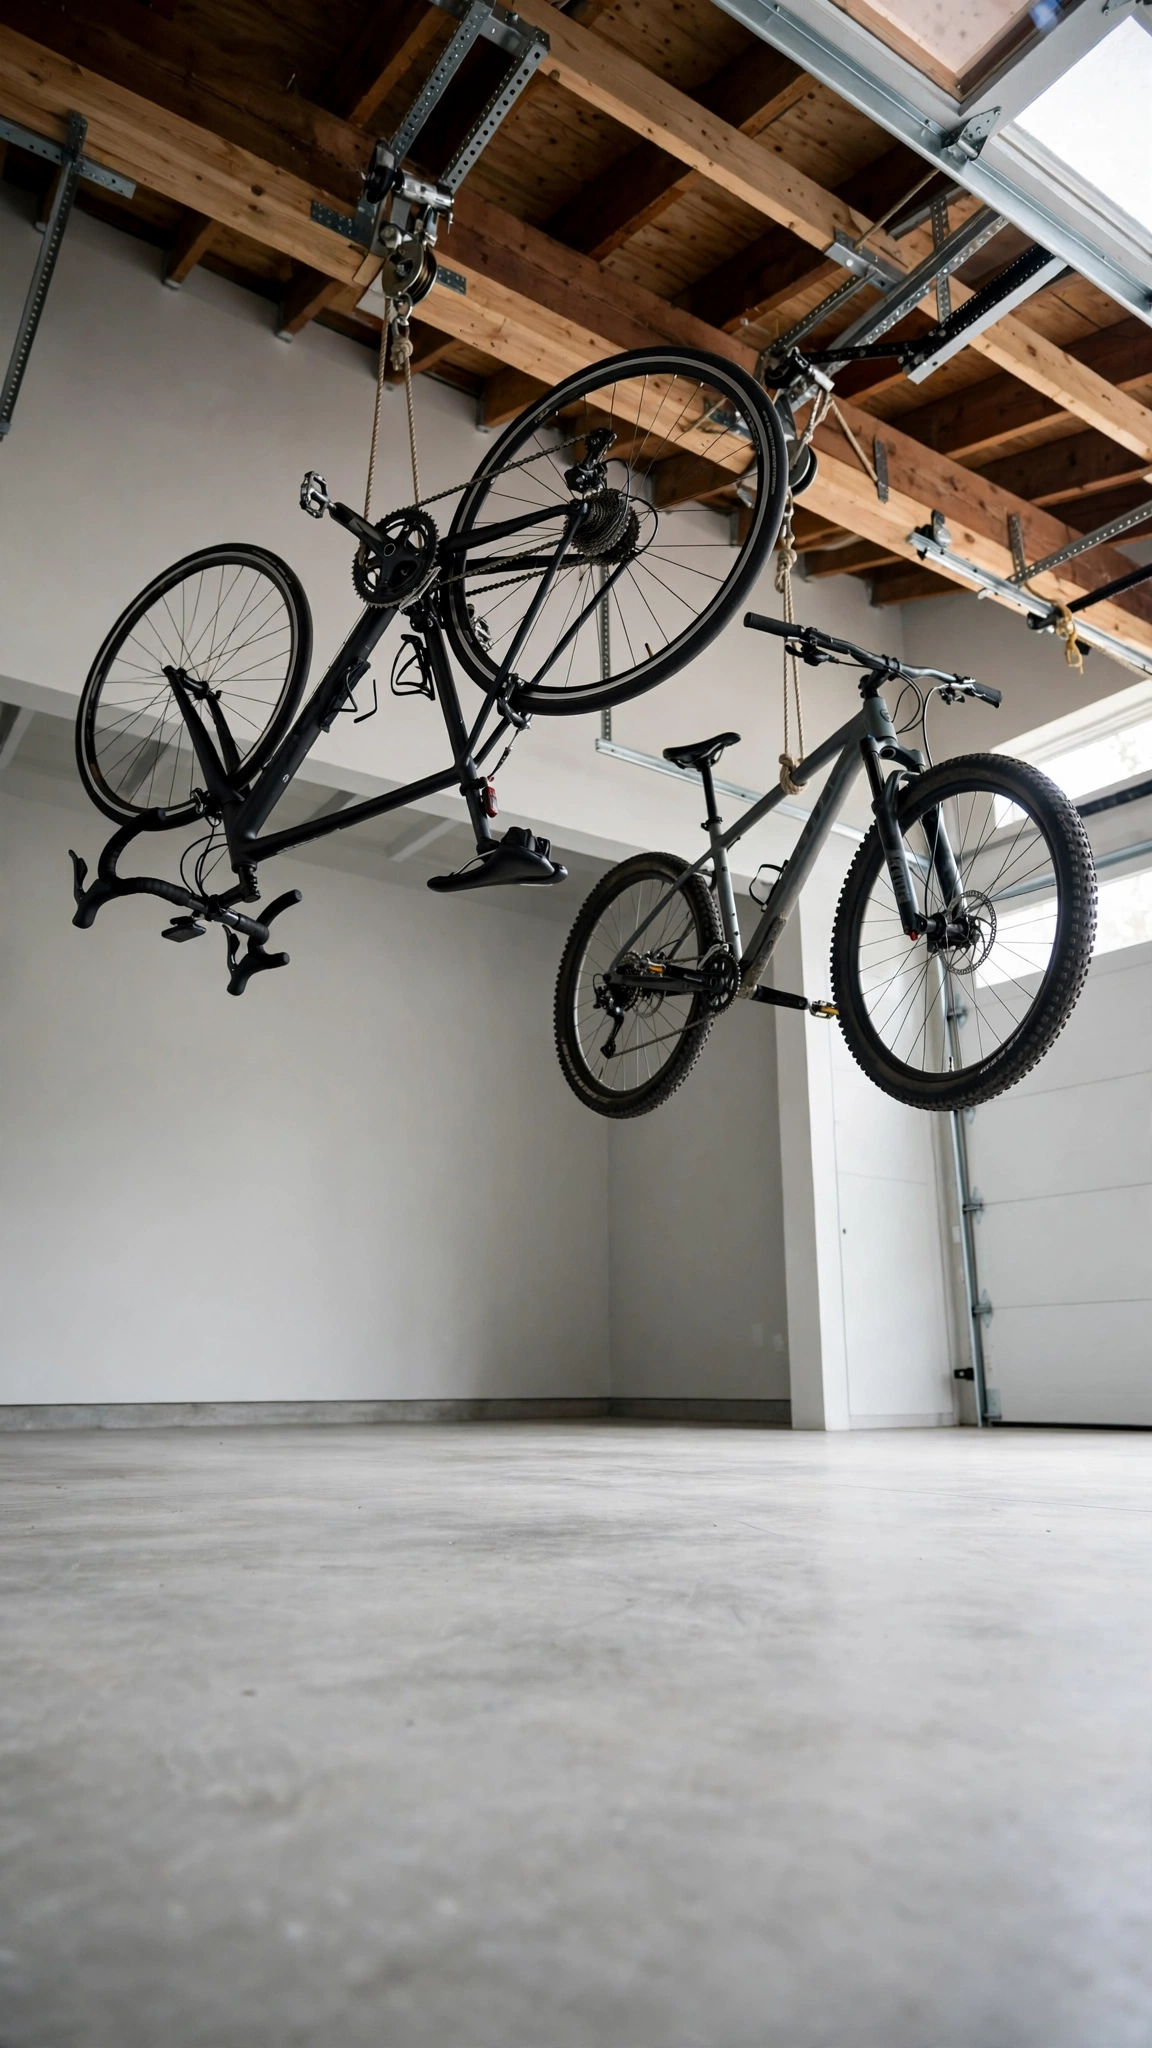
Bicycles take up valuable floor space. Stacking them against the wall makes getting your car inside difficult. Ceiling storage keeps bikes out of the way until your next weekend ride.
Buy an inexpensive ceiling pulley kit from a local hardware store. Locate your ceiling joists using an electronic stud finder. Screw the mounting brackets firmly into the wooden beams.
Thread the rope through the hooks and attach the clamps. Hook the straps securely around your bicycle handlebars and seat. Pull the rope to lift the bike toward the ceiling.
Lock the rope in the cleat to hold the bike safely overhead. Lowering the bicycle takes just a few seconds. This smart hack frees up your entire floor area.
Create a PVC Pipe Sports Rack
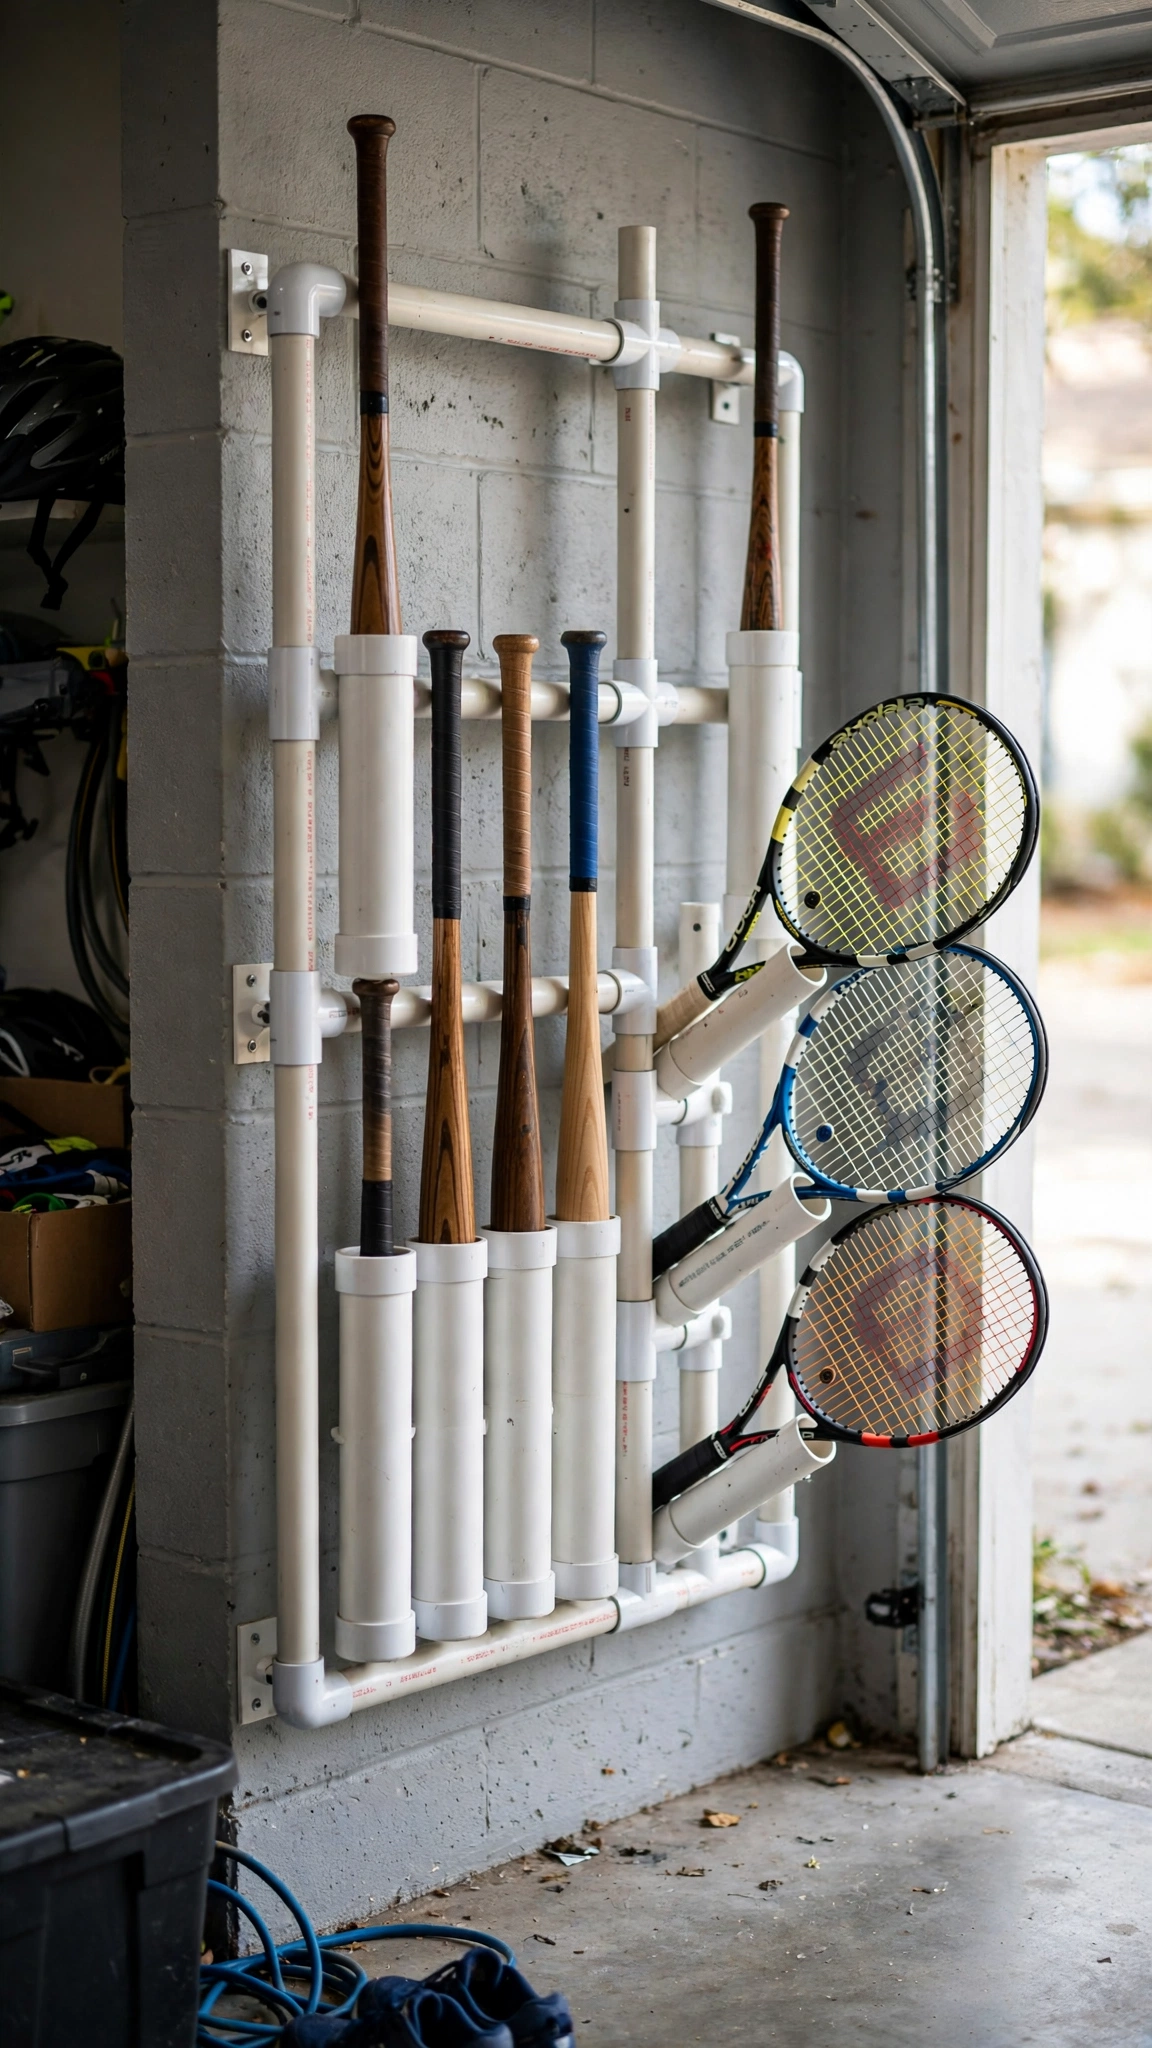
Balls, bats, and hockey sticks roll around and create messy piles. Cheap PVC pipes provide a brilliant solution for corralling sports gear. You only need a handsop and some basic mounting brackets.
Cut your PVC pipes into various lengths depending on the gear you store. Mount the pipes vertically to the wall studs using galvanized straps. Drop your baseball bats and tennis rackets right inside the tubes.
Build a separate rectangular bin using PVC connectors for loose basketballs and soccer balls. Leave the top open so kids can grab balls easily. Spray paint the white plastic matte black for a sleek look.
This organizational trick costs less than twenty dollars. It teaches children to put their sports equipment away after playing outside.
Hang Pegboard Panels on Open Studs
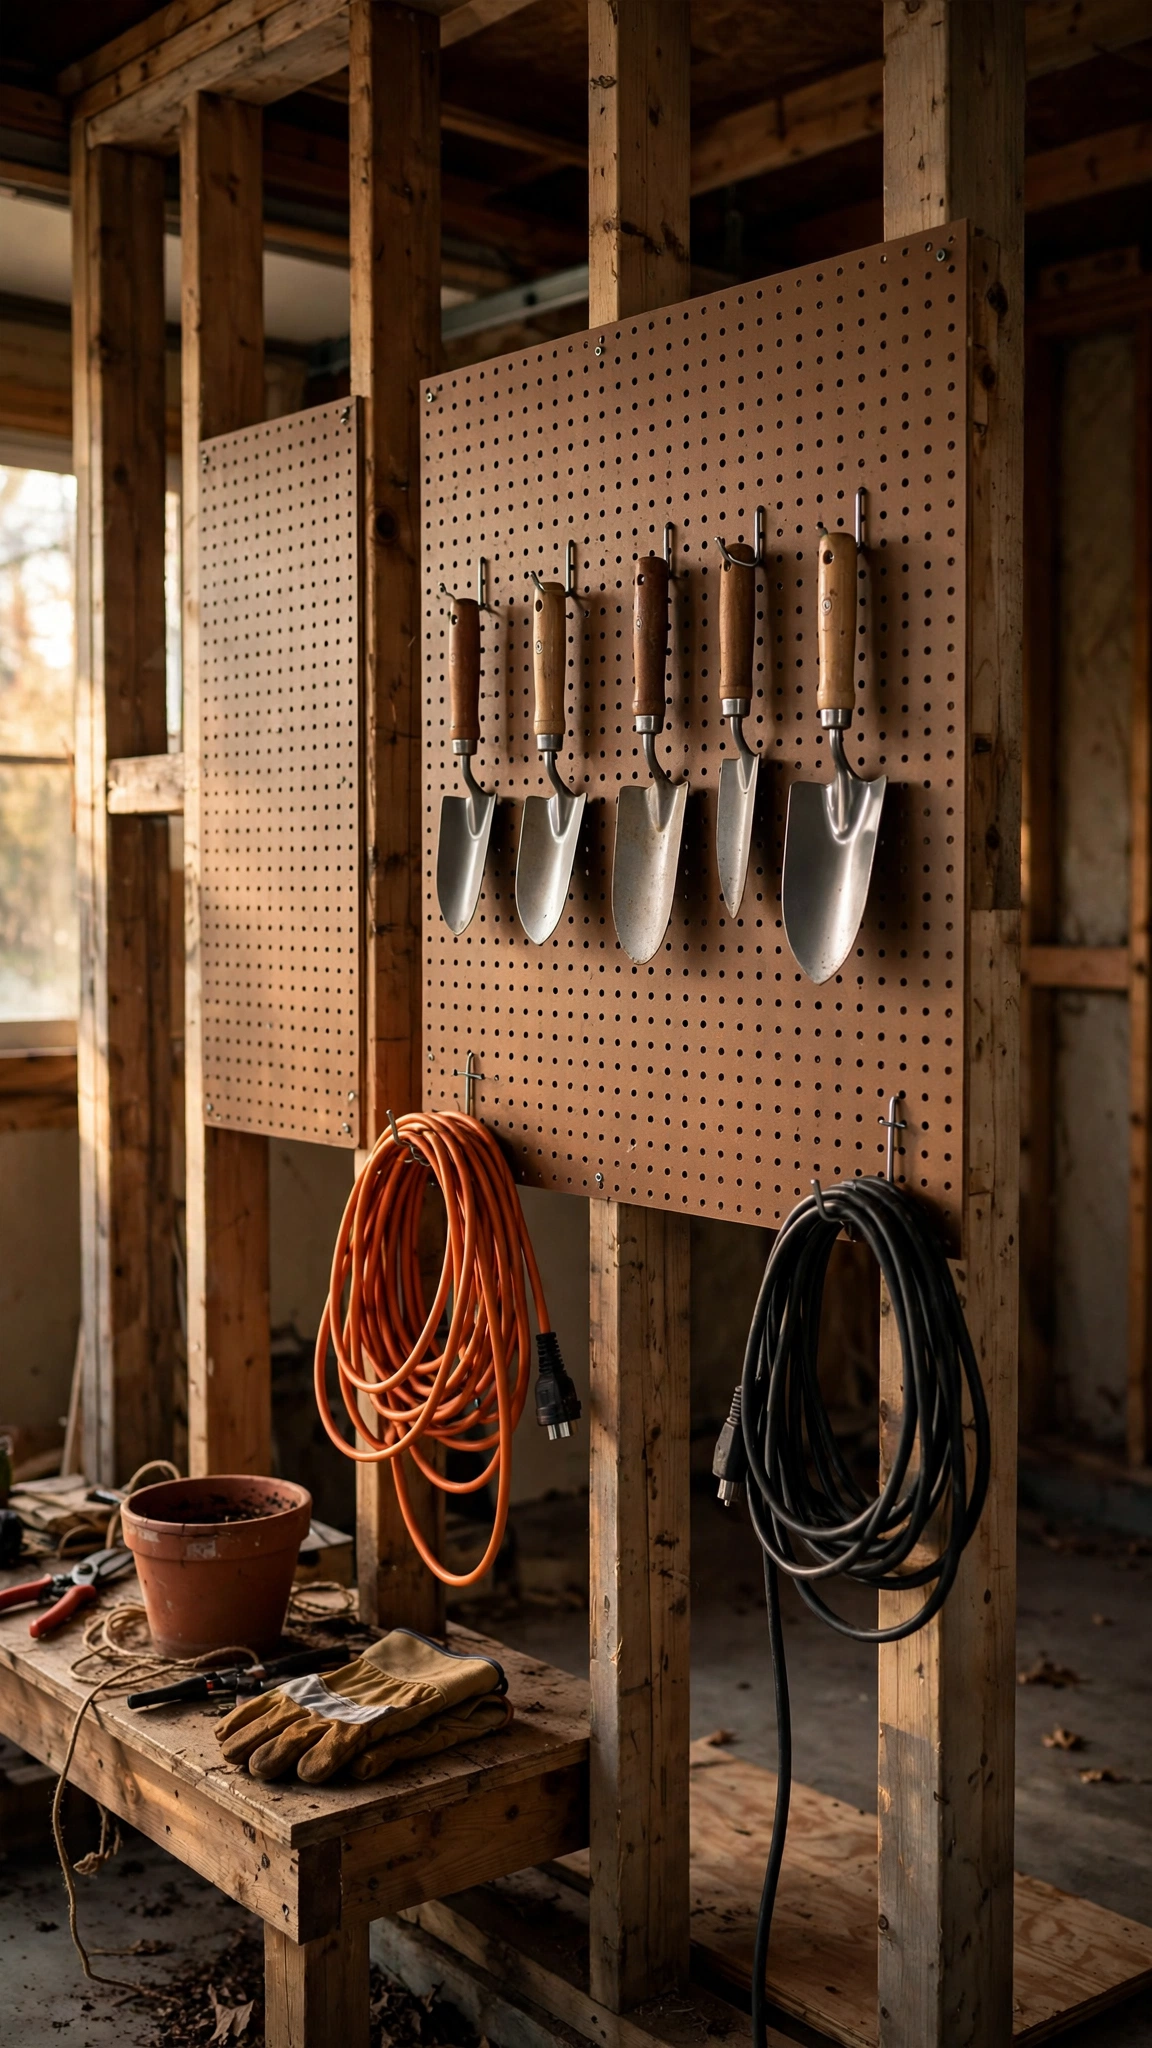
Bare drywall is not required for a functional garage. Standard pegboard panels attach straight to exposed wooden studs. This method saves you the cost and mess of hanging drywall.
Measure the distance between your wall studs. Buy standard four-by-eight-foot pegboard sheets from a home improvement store. Screw the boards directly into the wooden framework.
Use metal spacers behind the board so hooks can slide in freely. Buy an assorted pack of pegboard hooks and baskets. Hang your garden hoses, hand trowels, and safety goggles.
You can paint the pegboard a bright color to brighten up the room. Rearranging hooks takes seconds whenever your storage needs change.
Repurpose Old Kitchen Cabinets
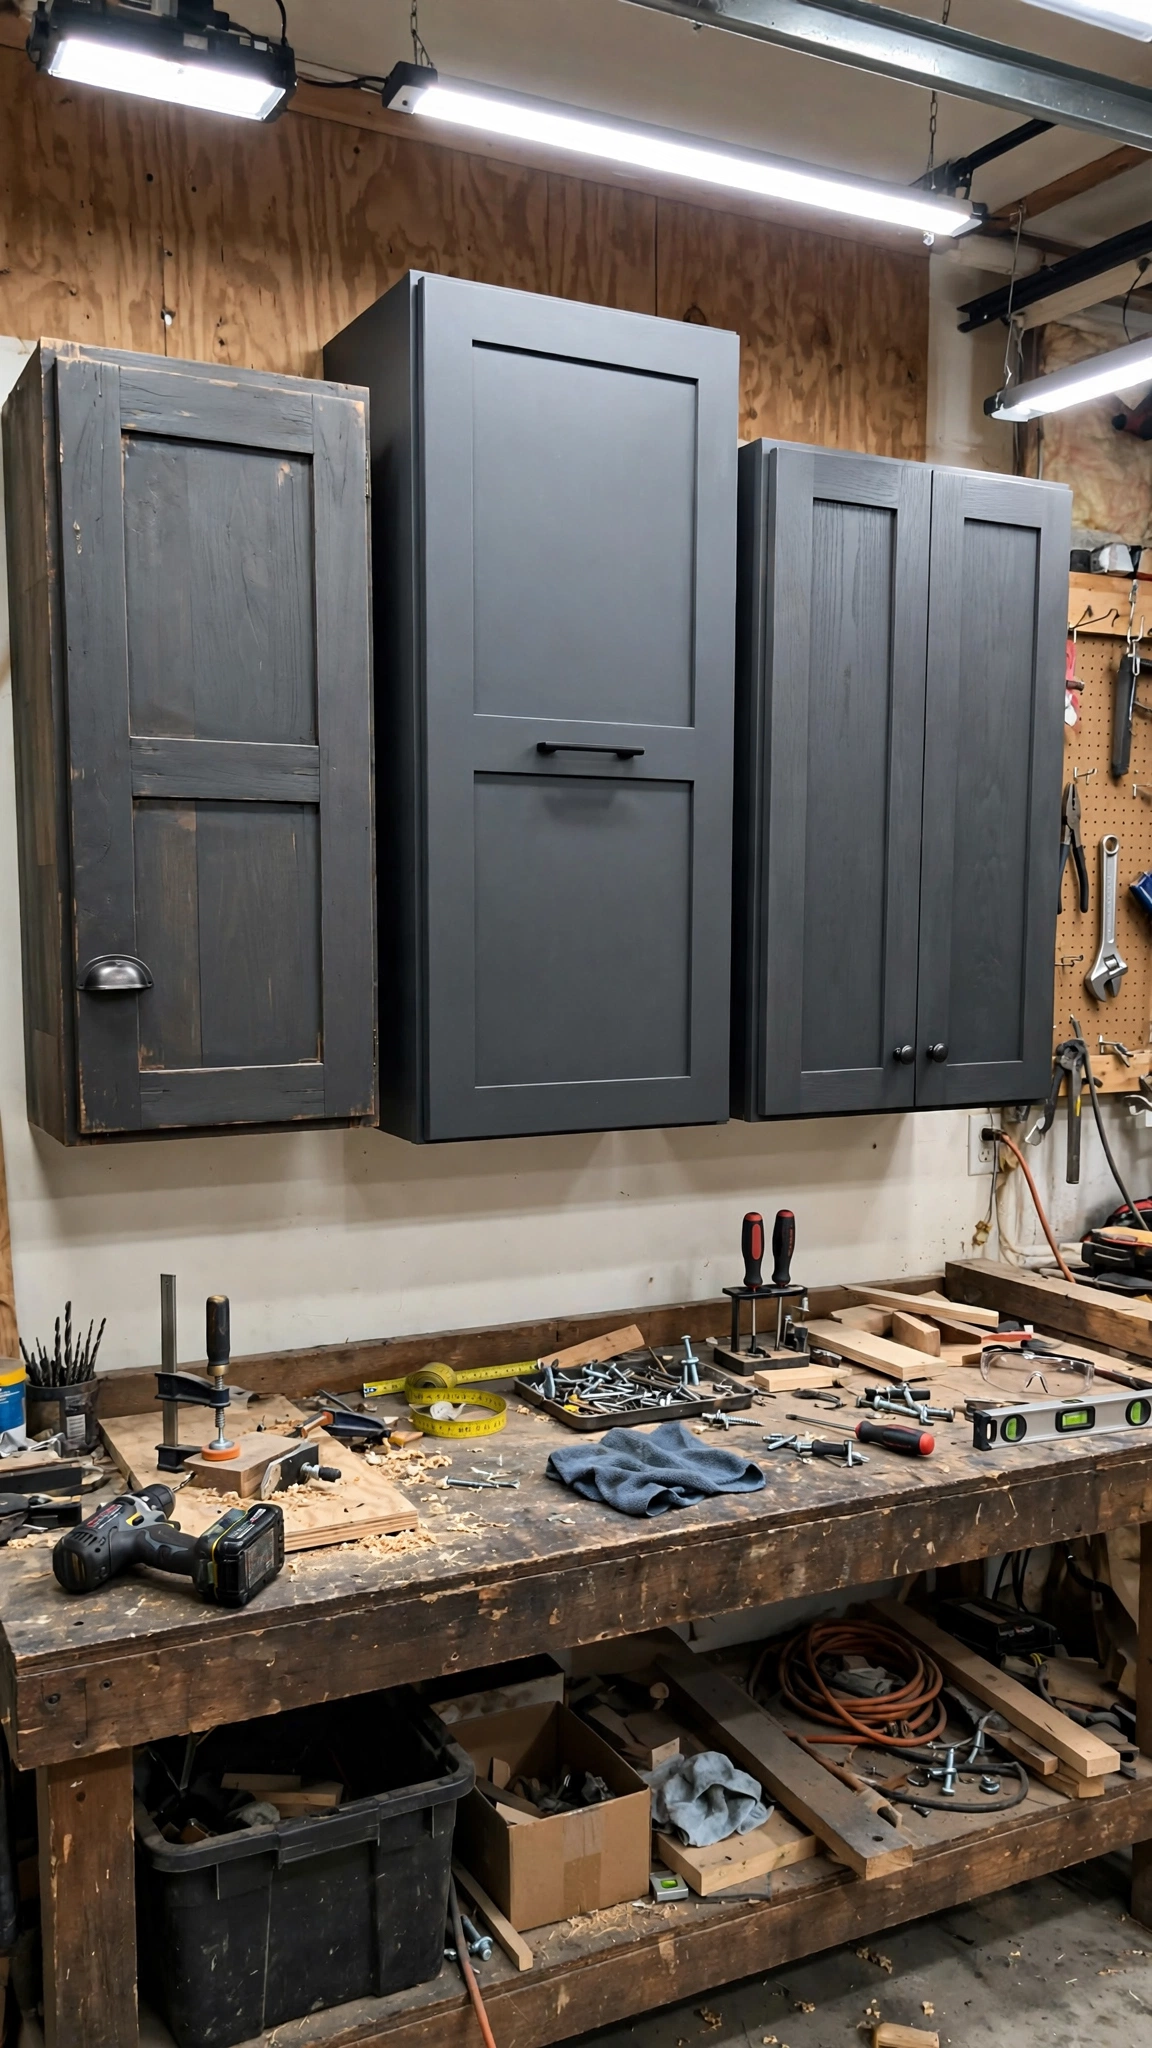
Kitchen remodels leave behind perfectly good cabinets that homeowners throw away. You can find these secondhand units online for free or very cheap. Mounting them in your garage hides messy clutter behind closed doors.
Clean the cabinet surfaces thoroughly with warm soapy water. Sand any chipped laminate or peeling wood veneer. Paint the doors and frames with durable semi-gloss paint.
Find your wall studs and screw a ledger board in place. Rest the upper cabinets on the board while securing them. Add sturdy lower cabinets for storing heavy paint cans and automotive supplies.
Add cheap cabinet pulls for a finished look. This recycling project hides unsightly items and creates instant counter space.
Build a Rolling Lumber Cart
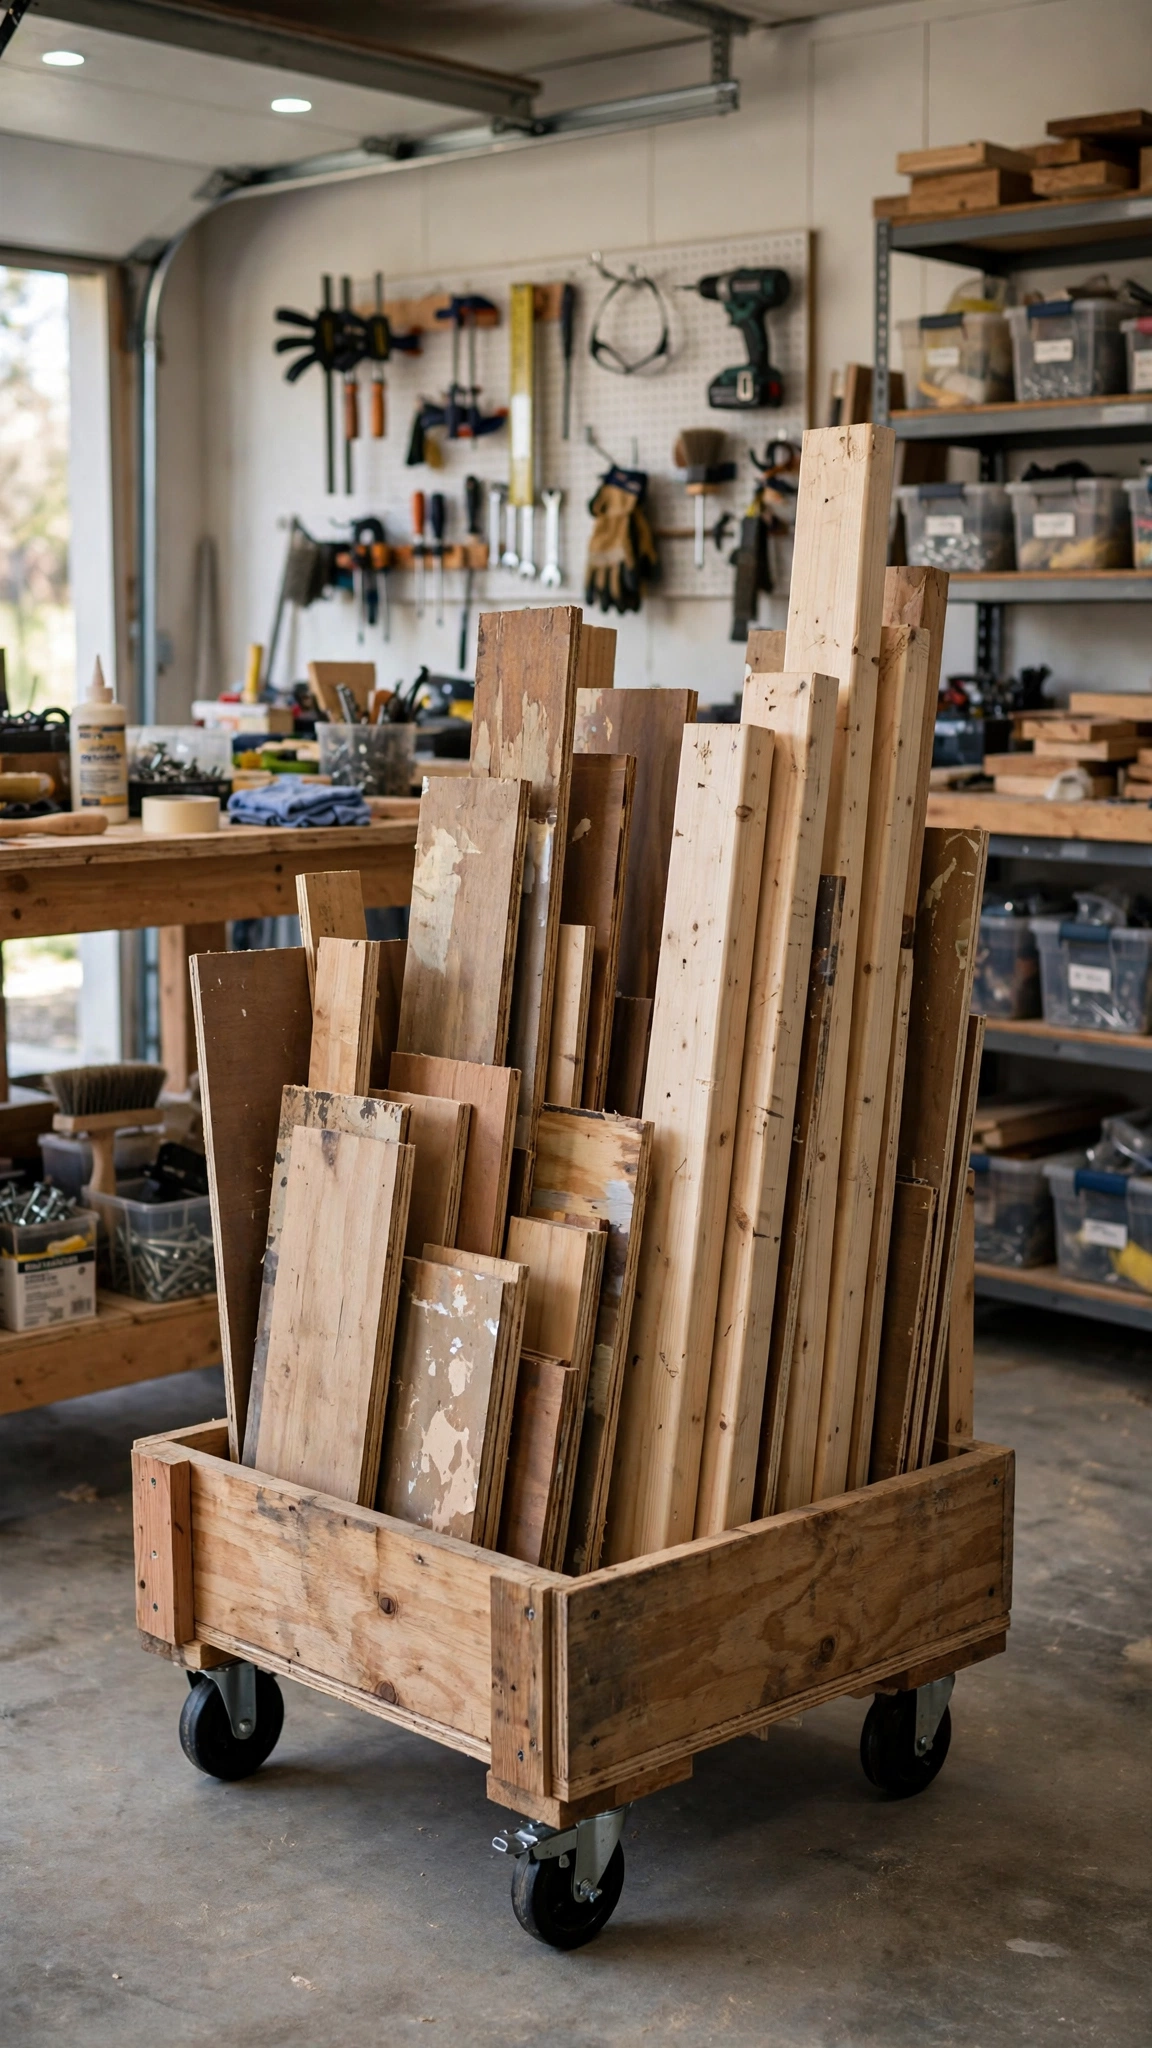
Leftover wood scraps pile up quickly in the corner of any workspace. A rolling cart keeps your lumber organized and easy to browse. You can build this cart using scrap plywood and heavy-duty caster wheels.
Cut a thick base board and attach four caster wheels to the bottom corners. Build a vertical divider frame using scrap two-by-fours. Separate the cart into different slots for plywood sheets and long boards.
Load your wood scraps into the vertical slots by size. Roll the cart out into the center of the room when you need a board. Push it back against the wall when you finish working.
This simple cart stops wood from falling over. It turns random clutter into an orderly mobile inventory.
Install Magnetic Tool Bars
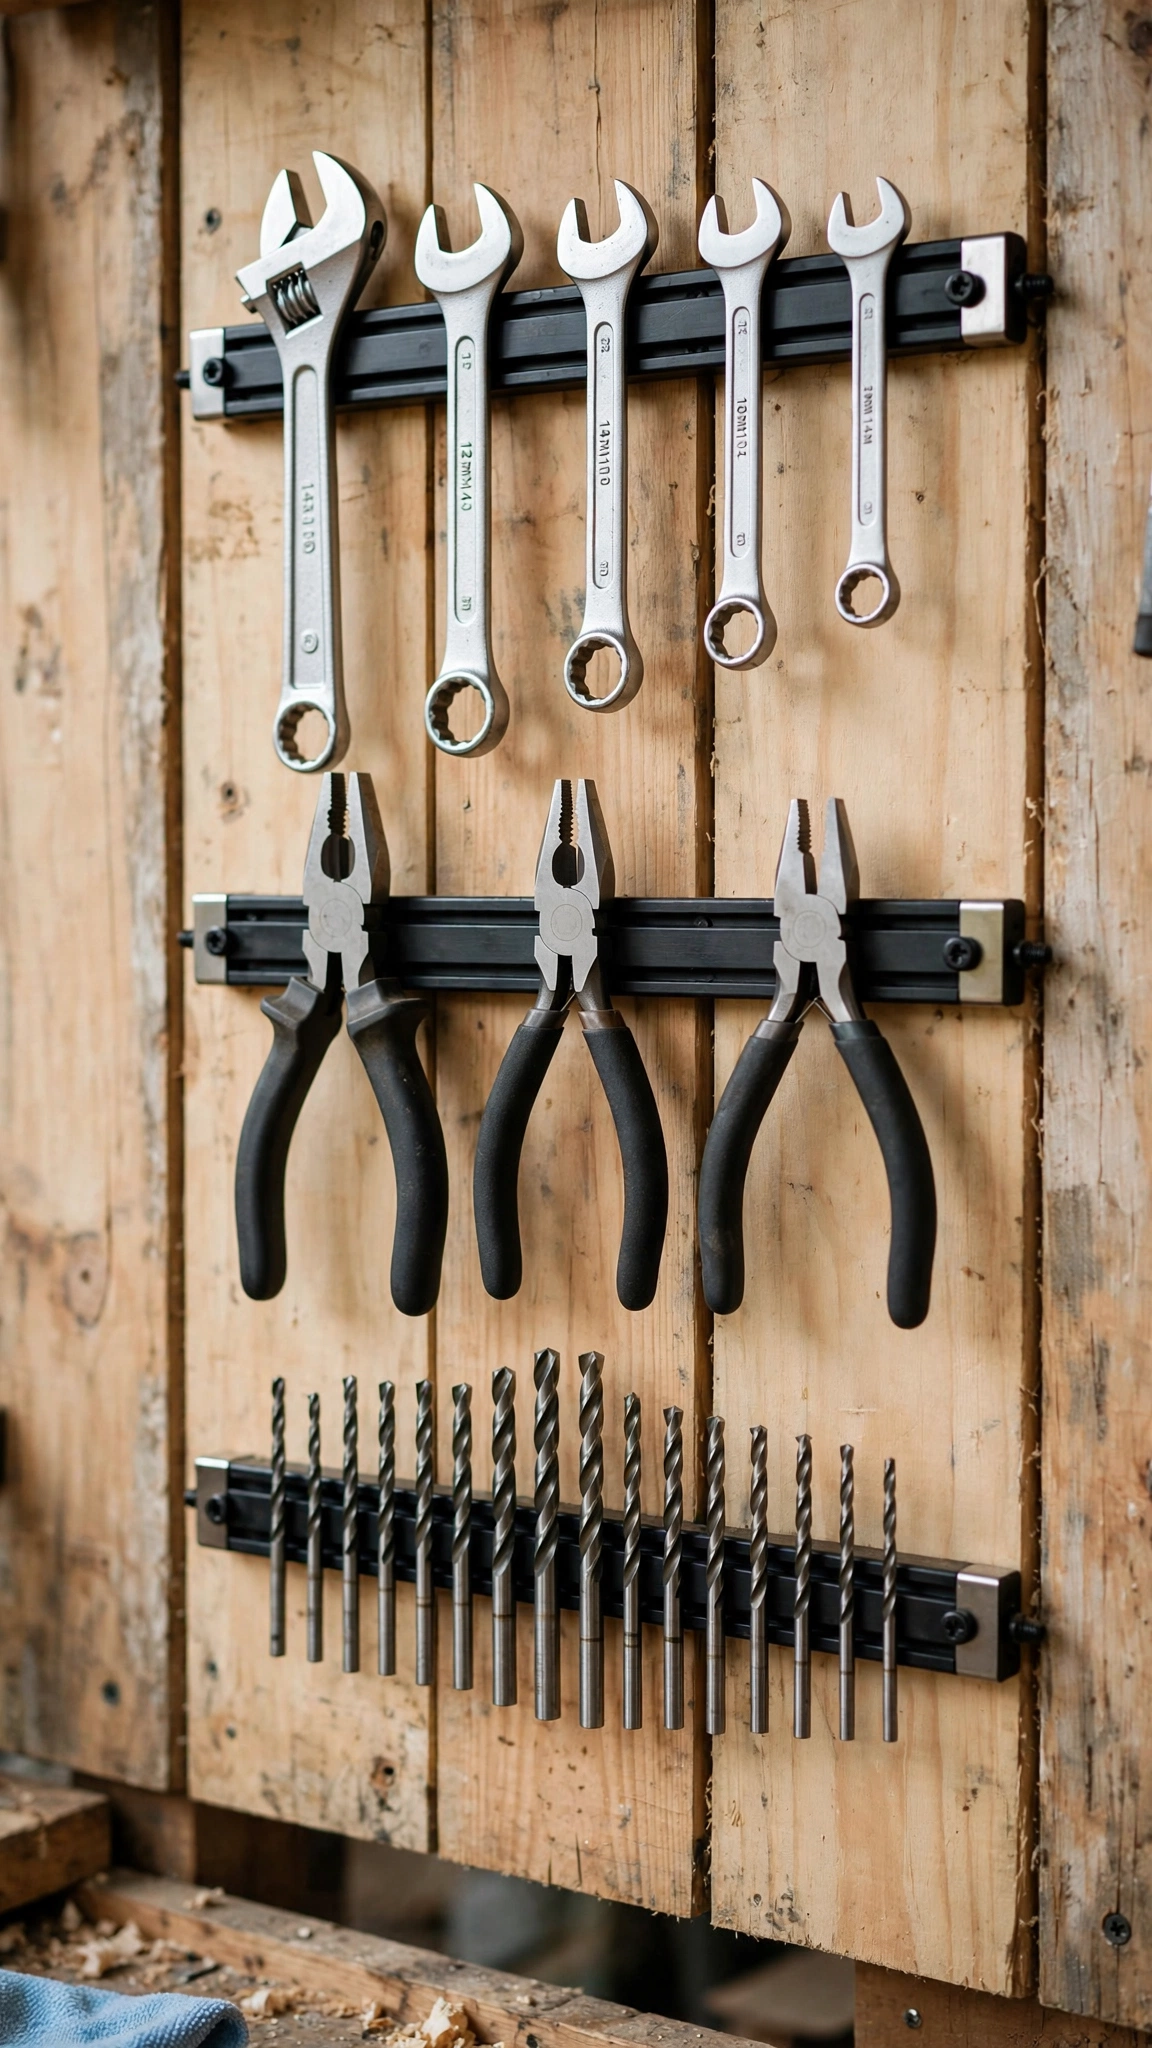
Sifting through a messy toolbox wastes precious time during projects. Magnetic tool bars keep your most-used metal tools within arm's reach. These strips cost very little and install in minutes.
Hold a magnetic bar against your wall or workbench edge. Mark the screw hole locations with a pencil. Drill pilot holes into your wall studs or drywall anchors.
Drive the mounting screws through the bar until snug. Snap your wrenches, pliers, and drill bits onto the magnet. The powerful pull keeps tools securely in place.
You can line up multiple bars to hold your entire socket set. This upgrade keeps your workbench clear of small tools.
Frame Your Garage Door with Trim

Standard garage doors often feature raw, unfinished edges. Adding simple wooden trim gives the entryway a custom carpentry feel. This minor detail upgrades the aesthetic of the entire room.
Measure the perimeter of your garage door opening. Buy primed MDF boards or pine trim from the lumberyard. Cut the ends at forty-five-degree angles for clean corners.
Nail the boards to the framing studs using a finish nailer. Fill the nail holes with lightweight wood putty. Sand the filled spots smooth once they dry.
Paint the new trim to match your baseboards or door color. This inexpensive project makes your utility space look like a custom room.
Create a Mudroom Drop Zone

Bringing muddy shoes and wet coats into the main house creates extra cleaning chores. Setting up a dedicated drop zone near the interior door solves this problem. You do not need expensive built-in furniture.
Build a simple wooden bench using two-by-fours and screws. Leave open cubbies underneath for storing dirty boots. Mount a row of inexpensive metal hooks on the wall above the bench.
Hang backpacks, jackets, and hats on the hooks. Place a washable boot tray on the floor beneath the bench. Family members can drop their gear right as they walk inside.
This station keeps dirt contained near the entrance. It costs less than fifty dollars in basic lumber.
Paint an Accent Wall with Geometric Shapes

Plain concrete block walls look cold and uninspiring. Adding a splash of color instantly warms up the environment. Geometric paint designs require minimal supplies and look modern.
Clean the wall surface to remove dust and spiderwebs. Paint the entire wall with a neutral base color and let it dry. Use blue painter's tape to map out sharp geometric triangles or stripes.
Press the tape edges down firmly to prevent paint bleeding. Paint inside the taped sections with contrasting accent colors. Peel the tape away slowly while the paint remains slightly tacky.
Touch up any minor bleeding lines with a small artist brush. This artistic touch turns a boring utility room into an inspiring studio.
Hang Garden Hoses on Upcycled Rims
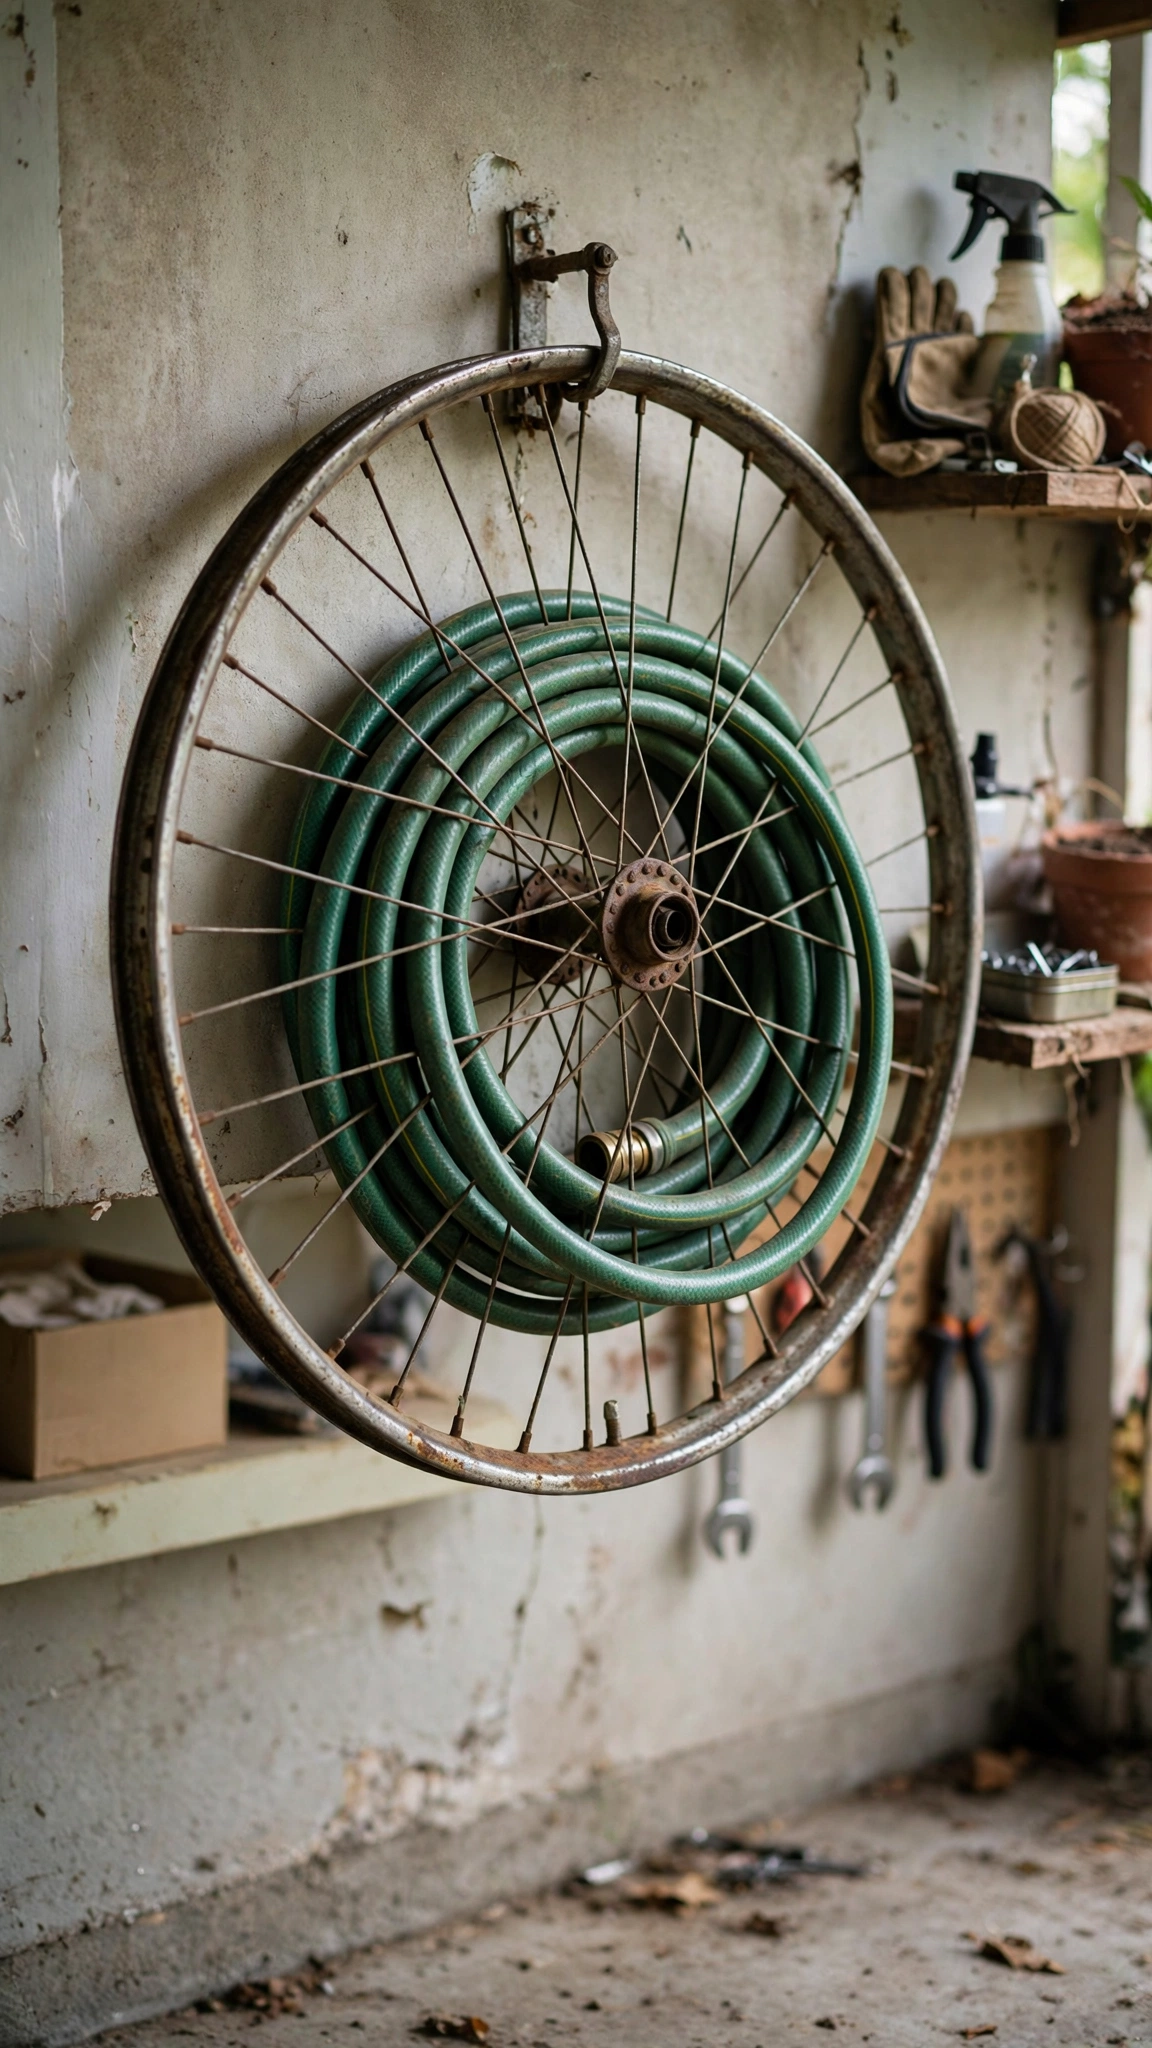
Tangled garden hoses create tripping hazards on the floor. An old bicycle wheel rim makes a sturdy, industrial hose hanger. This project recycles junk into functional art.
Find a discarded bicycle wheel without the tire. Remove the inner tube and clean the metal rim. Screw a heavy-duty wooden block to your wall studs.
Bolt the bicycle rim securely to the wooden block through the spoke holes. Wrap your garden hose smoothly around the circular rim. The large diameter prevents annoying kinks in the hose.
You can spray paint the rim any color you like. This creative upcycling project costs zero dollars if you scavenge the parts.
Build Overhead Storage Racks
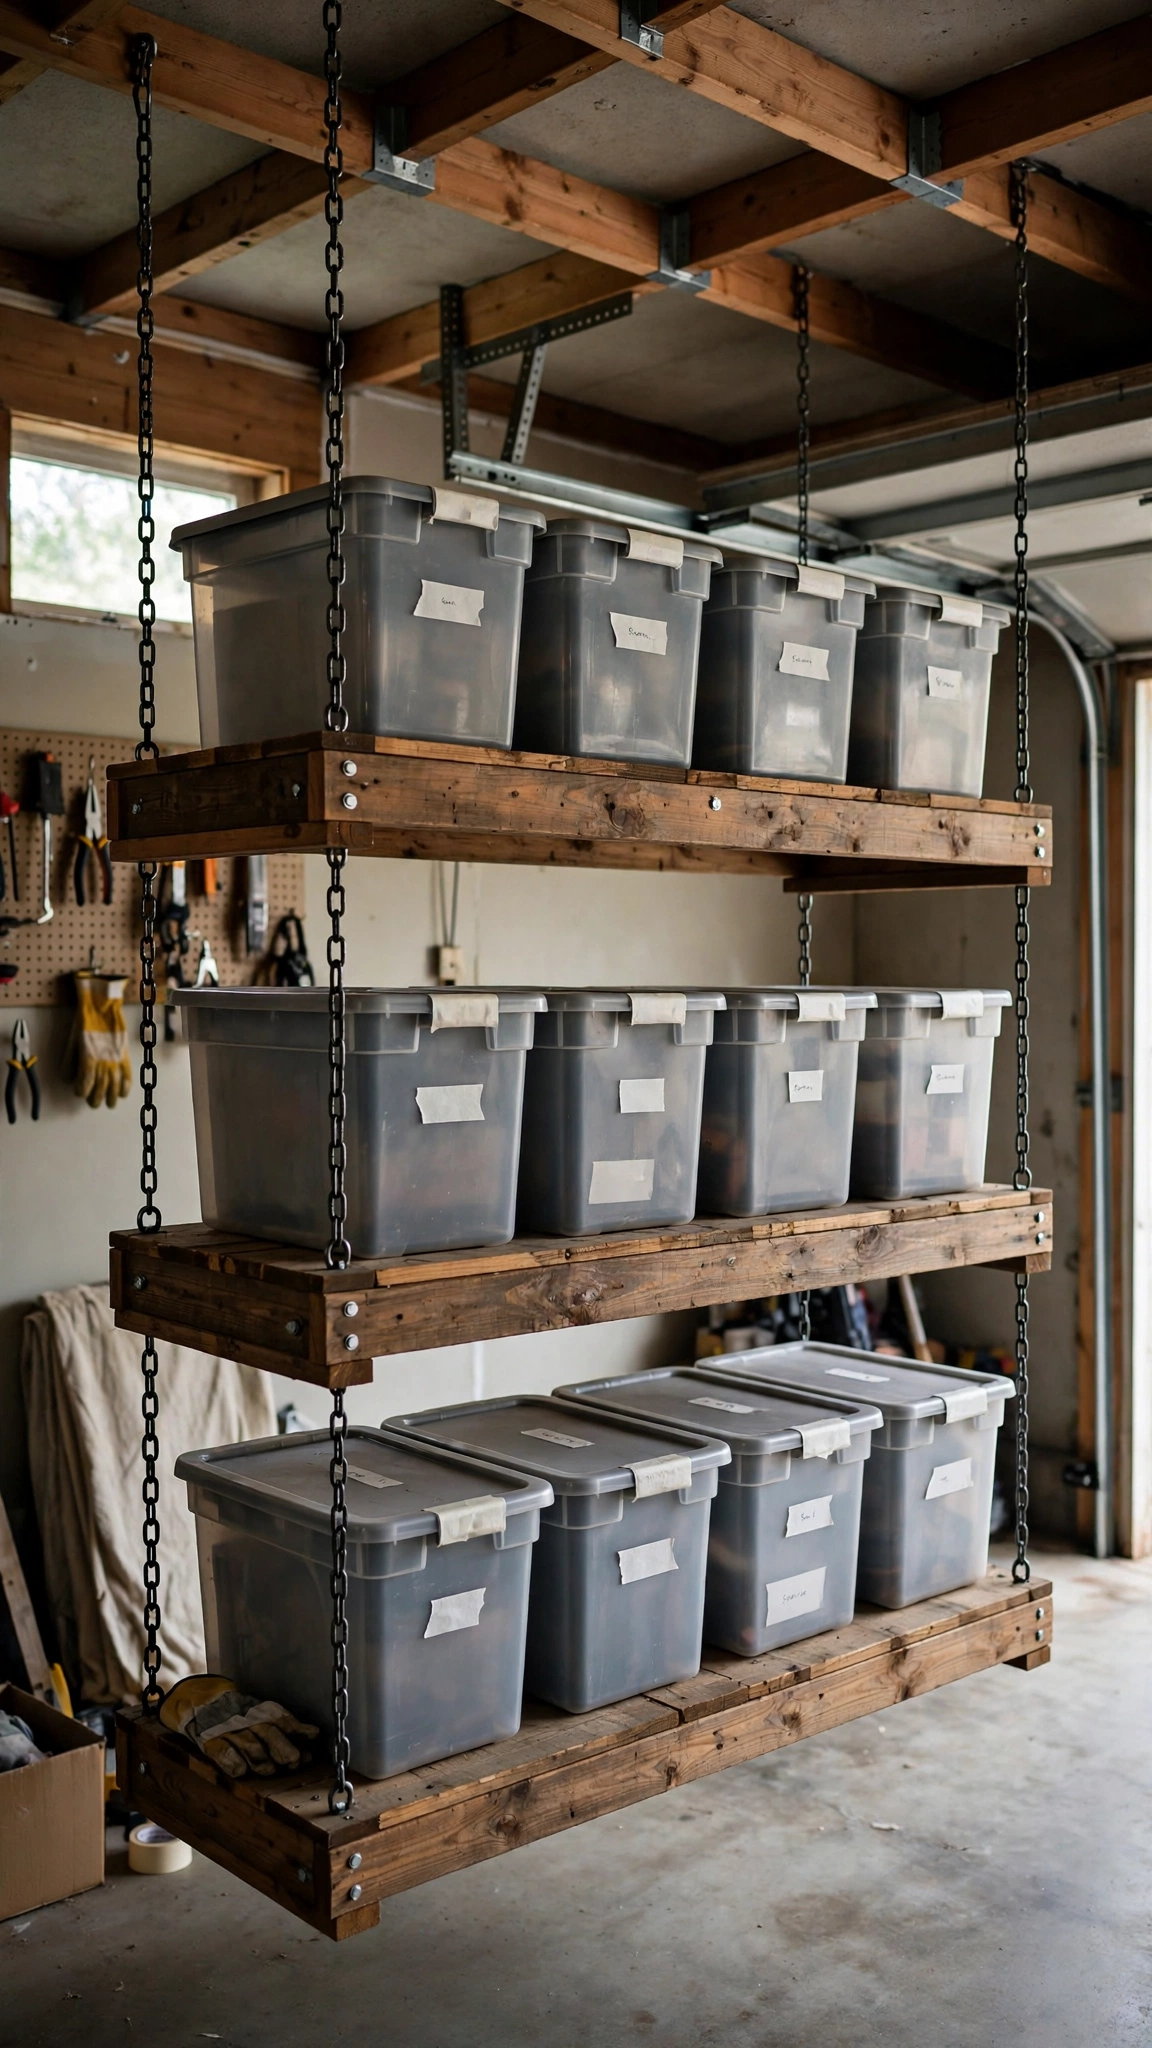
Floor space is precious when you need room for vehicles. The upper air space near the ceiling usually goes completely unused. Building overhead racks solves your storage capacity issues.
Locate your ceiling joists accurately with a stud finder. Cut sturdy two-by-four lumber to build hanging frames. Screw vertical support posts securely into the ceiling joists.
Construct a wooden platform to hold plastic storage totes. Load seasonal holiday decorations and camping gear into the bins. Slide the labeled bins onto your new overhead shelves.
This project keeps rarely used items out of your daily path. Always ensure your ceiling supports are anchored into structural beams.
Conclusion
Upgrading your parking space does not demand an expensive contractor or a massive budget. Simple weekend projects like painting floors, building plywood benches, and hanging vertical storage dramatically change how your garage functions. You can turn a cluttered catch-all into an inspiring workshop or organized mudroom using basic tools and affordable materials. Pick one manageable project to start this weekend and enjoy your newly transformed space.


7 Comments