10 Gorgeous Kitchen Cupboard Ideas That Give Your Kitchen a Designer Look
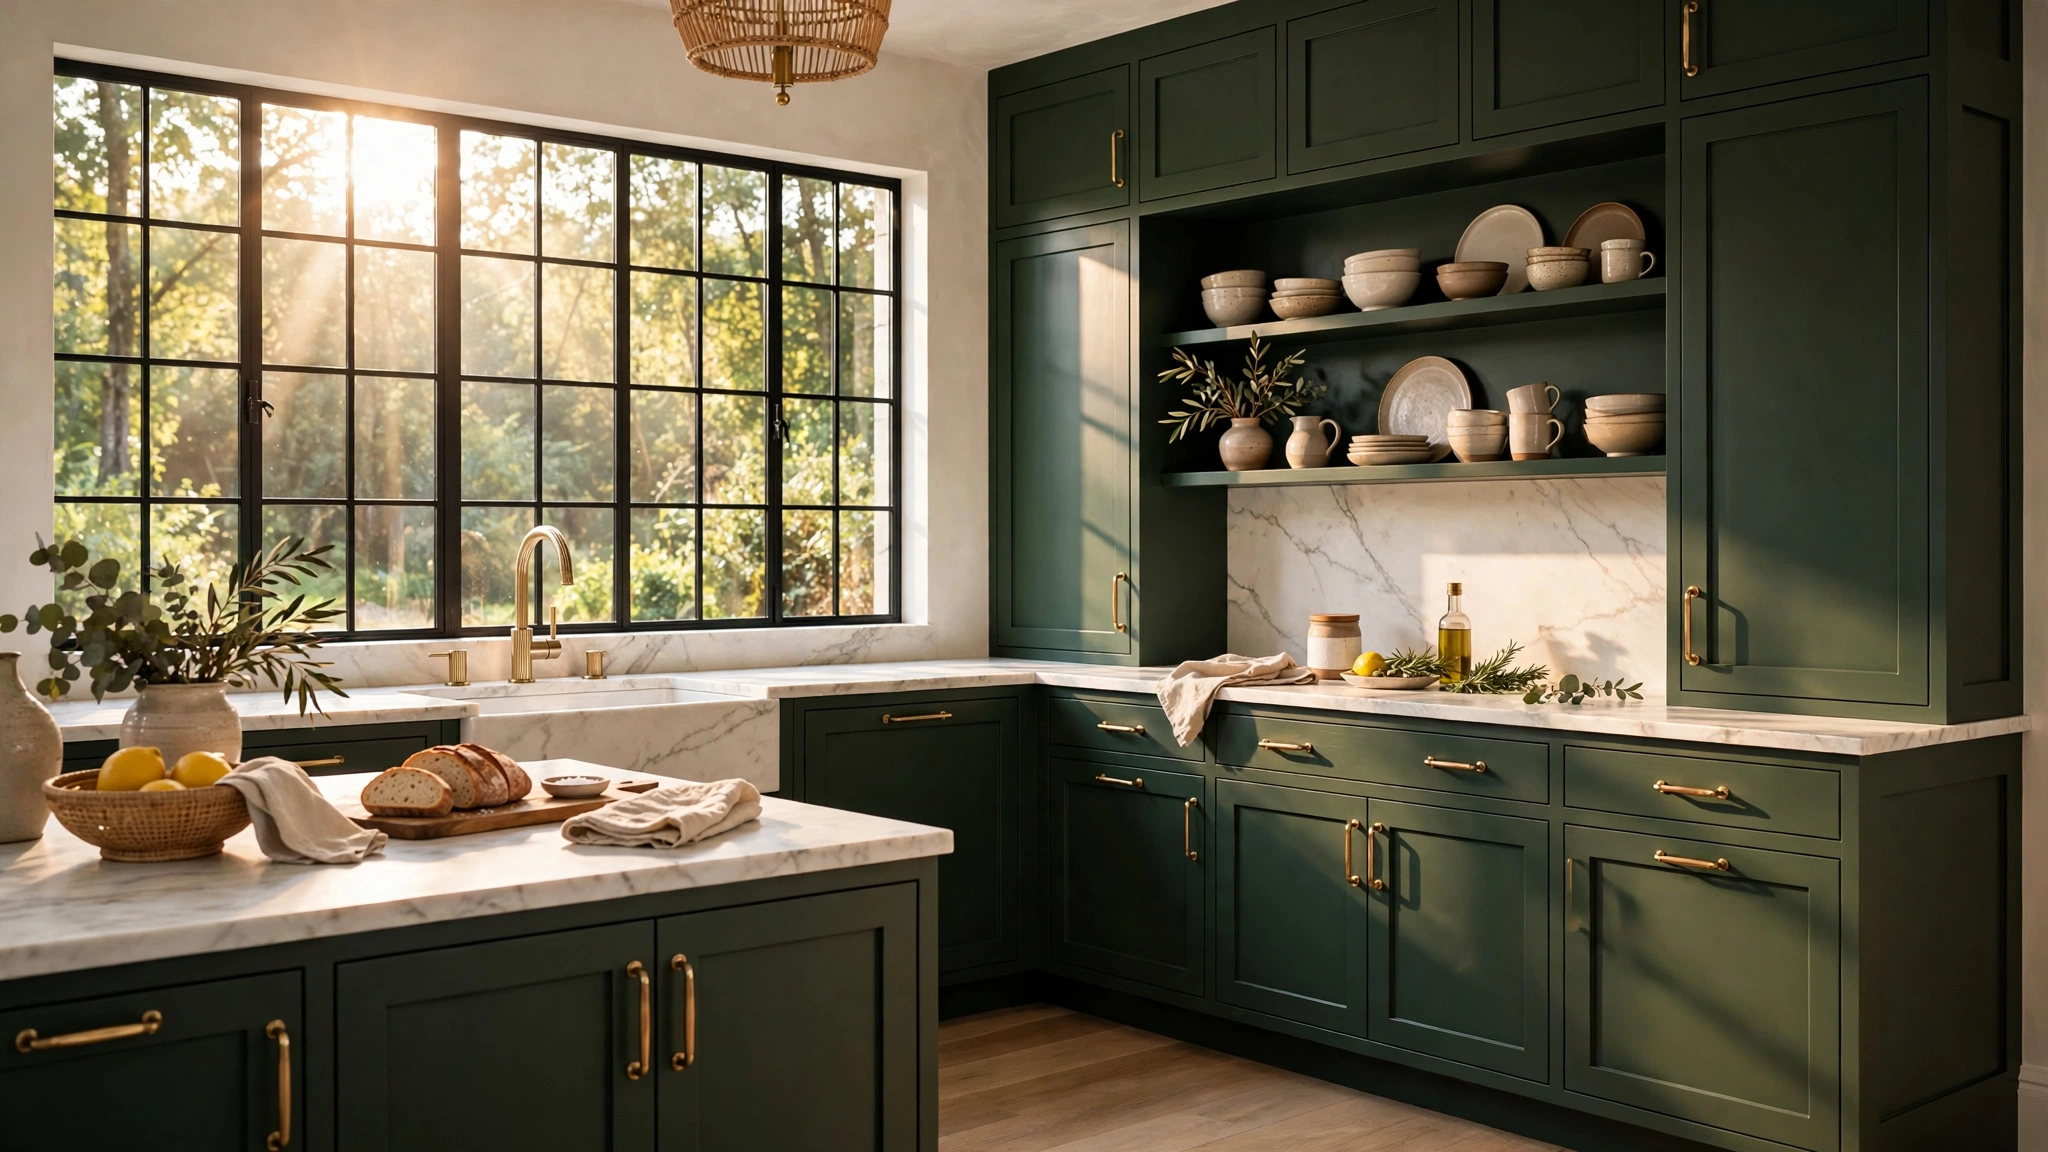
Kitchen cupboards take up more visual space than almost anything else in the room, which means they quietly decide whether your kitchen looks dated or designer. The good news is that you rarely need a full rip-out to change that. Fresh color, smarter doors and a few thoughtful details can make ordinary cupboards look like they came straight out of a high-end showroom.
Whether your budget stretches to new doors or just a weekend of paint and hardware, there is a cupboard upgrade here that will lift your whole kitchen. So which of these gorgeous ideas will you try first in your own space?
1. Paint the Cupboards a Deep, Moody Color
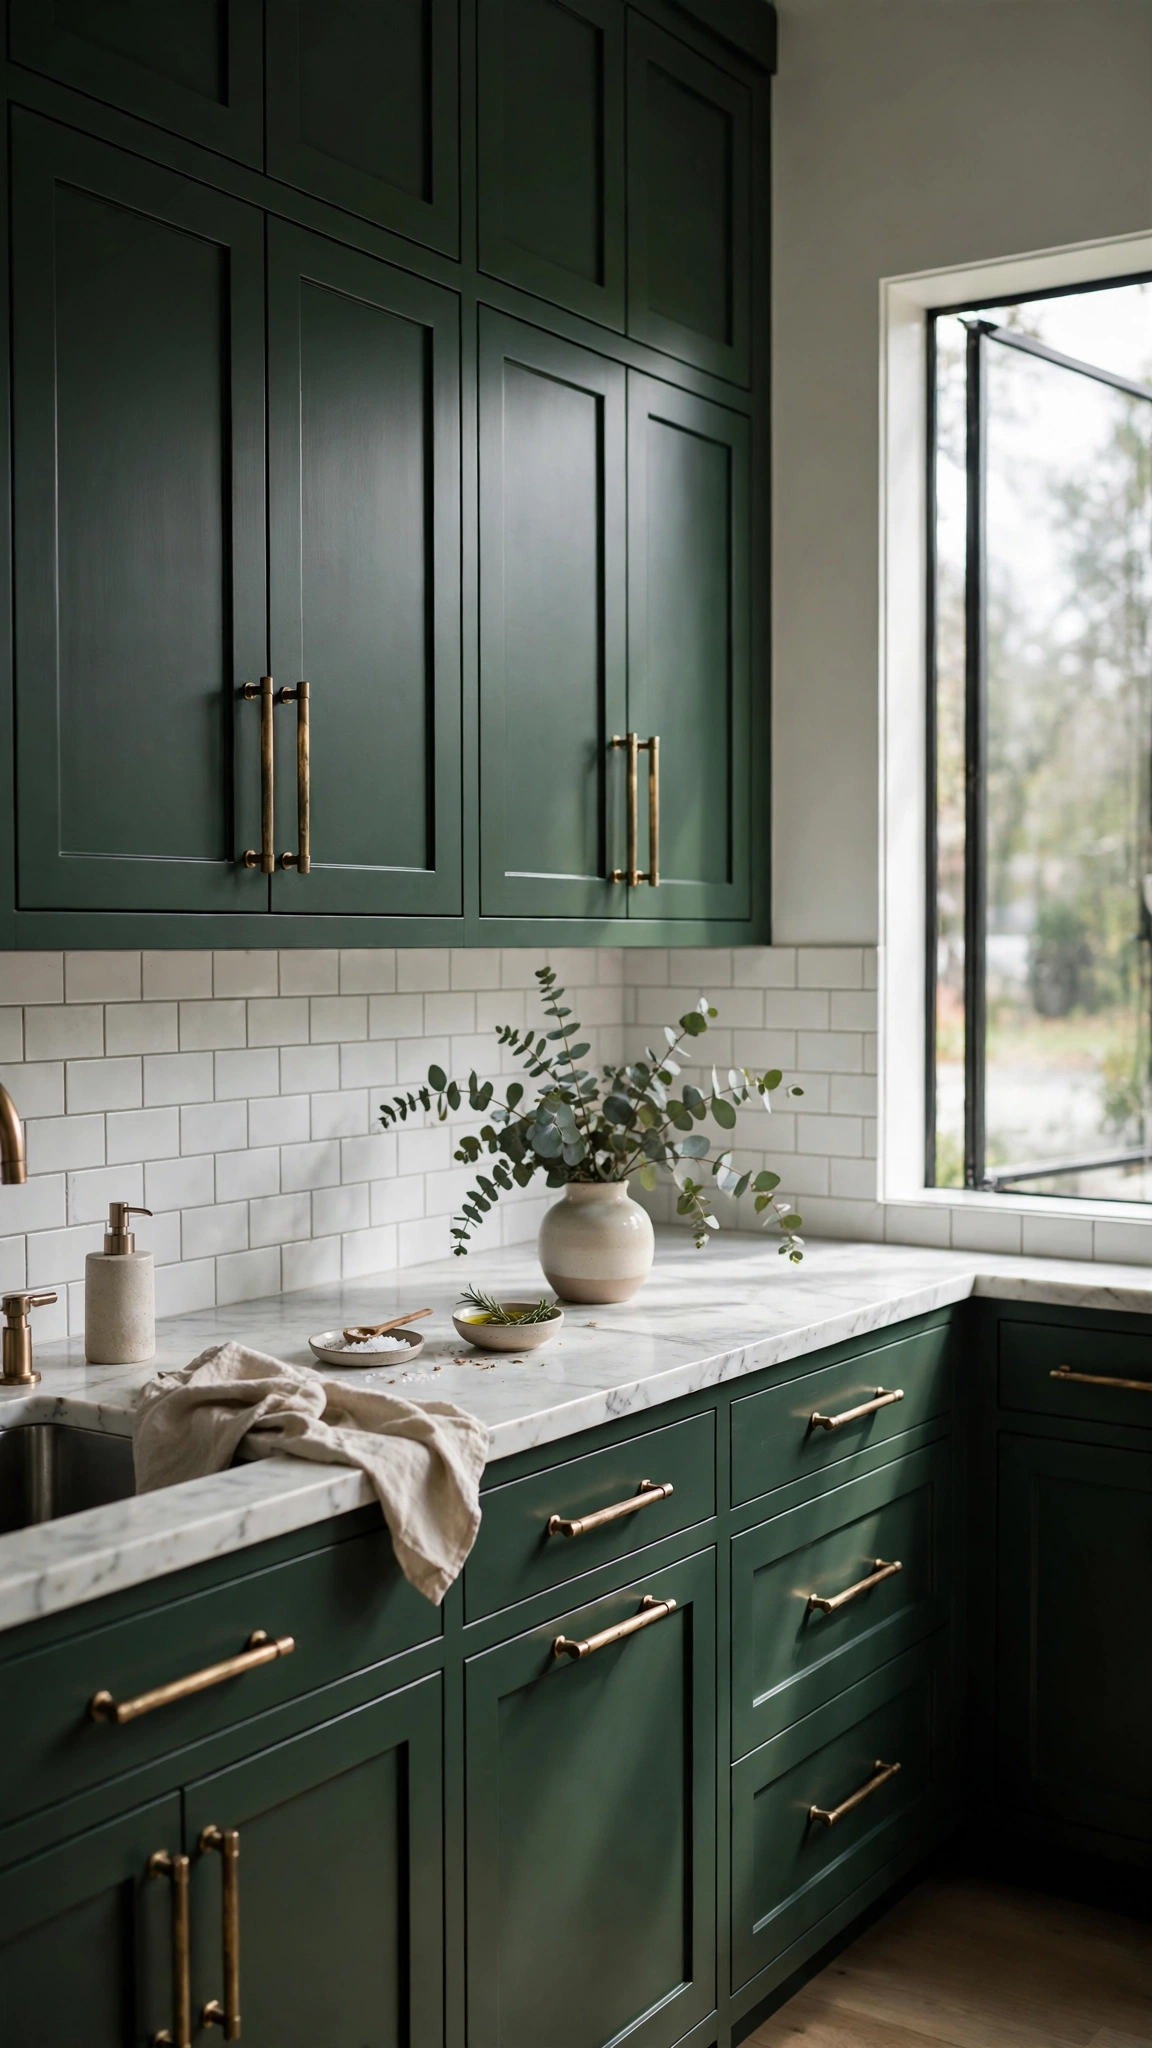
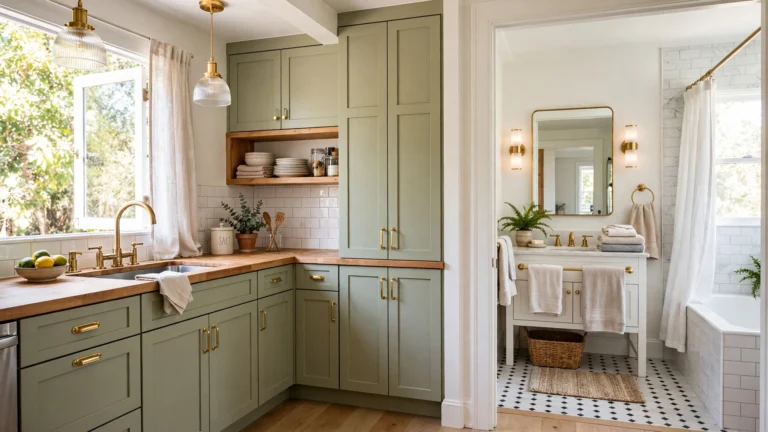
Nothing says designer quite like a bold, saturated cupboard color. Deep forest green, inky navy and charcoal have replaced safe white in high-end kitchens because they make cabinetry look expensive and intentional, especially in a smooth satin or eggshell finish.
Moody colors work because they create contrast. Against light walls, pale stone counters and warm metallic handles, dark cupboards read as a deliberate design statement rather than a leftover from a previous decade.
Take the doors and drawer fronts off, sand them lightly, prime, then apply two thin coats of cabinet paint with a foam roller for a brush-mark-free finish. A full kitchen usually takes a weekend and one or two tins of paint, making this one of the cheapest designer transformations you can do.
Tip: Balance dark cupboards with light, reflective surfaces elsewhere, and if your floors are letting the room down, see how to make kitchen floors look expensive without overspending so the whole room matches the new cabinetry.
2. Add Glass-Front Doors to the Upper Cupboards
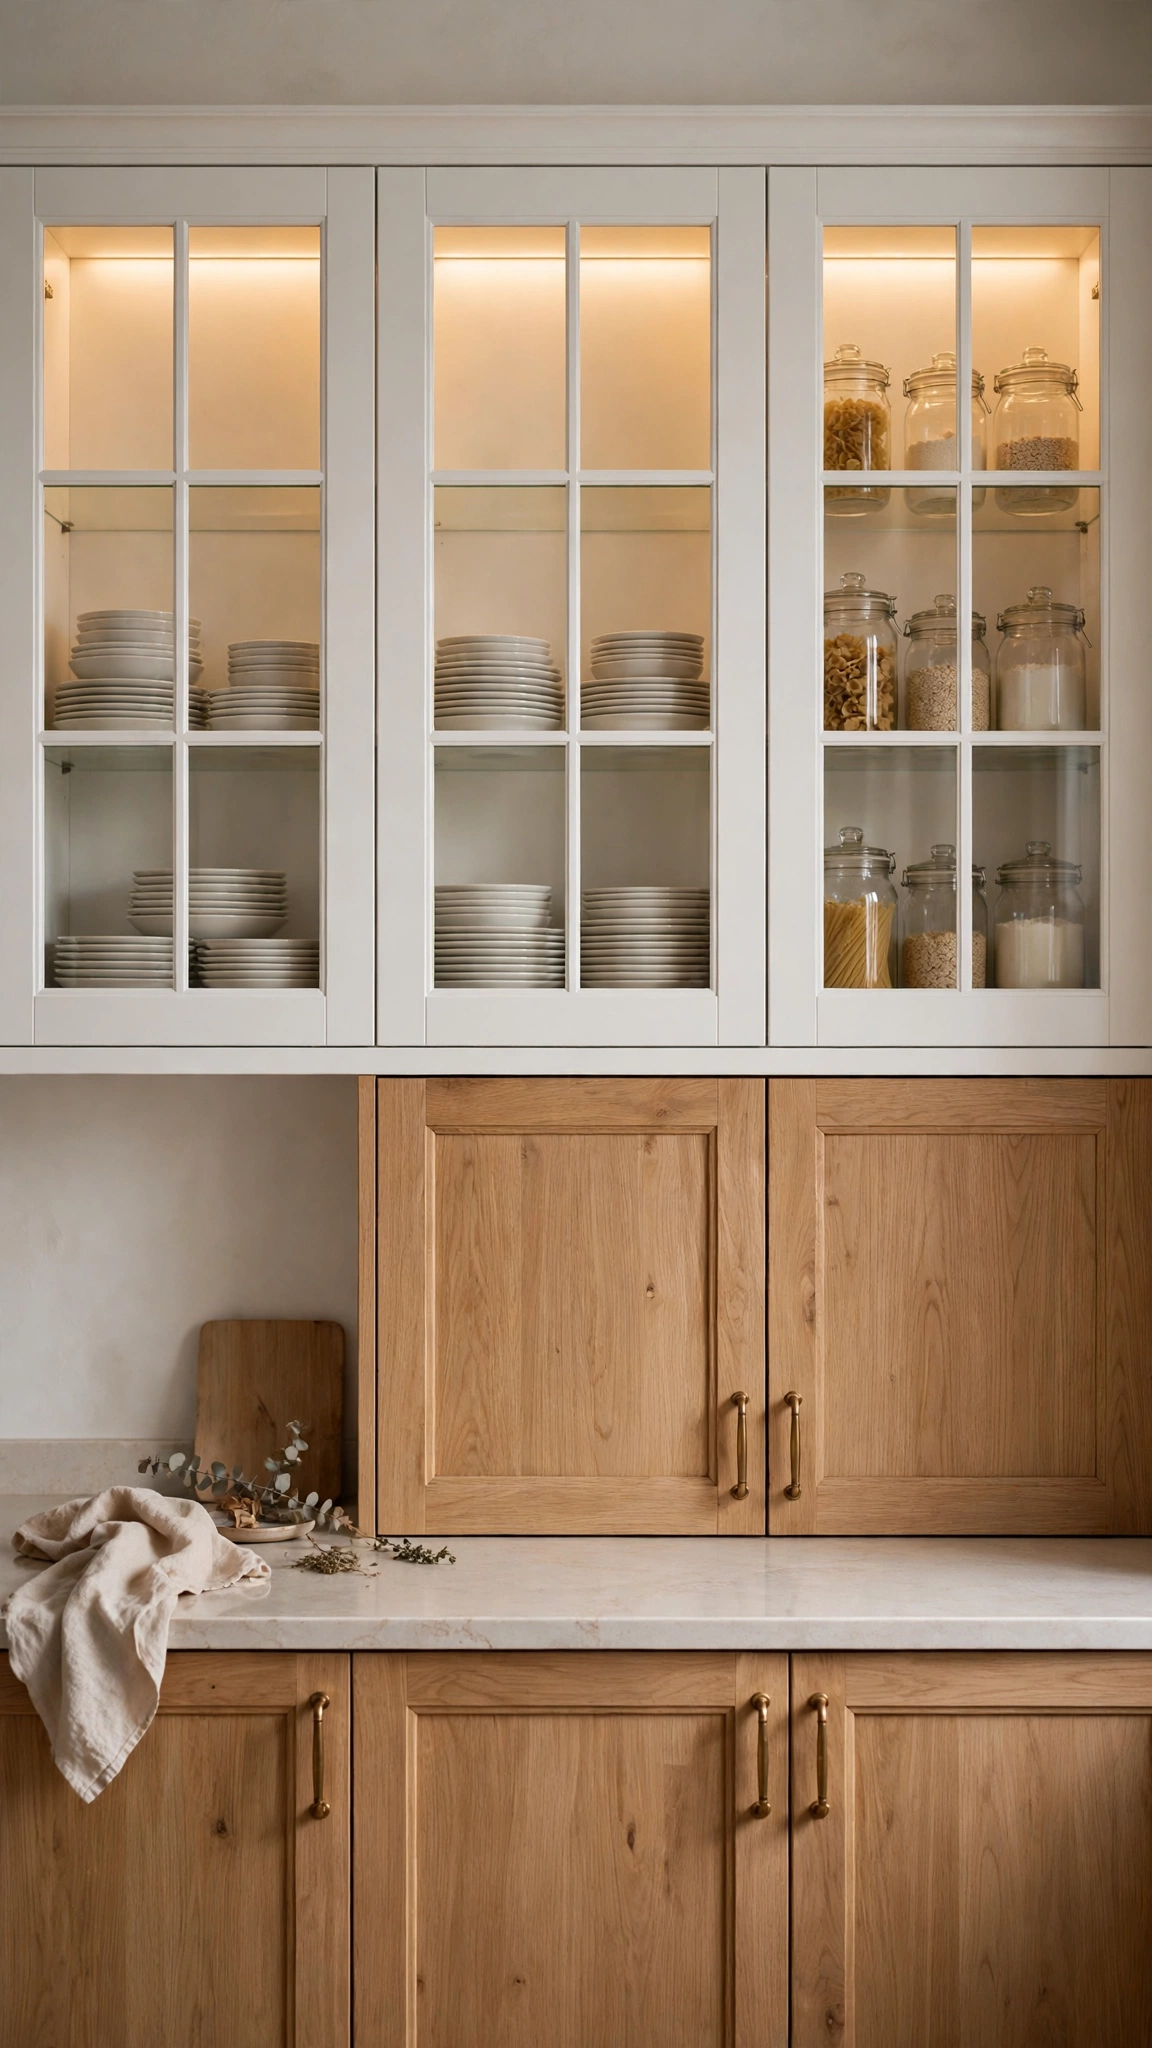
Swapping a few solid upper doors for glass-front versions instantly lightens a kitchen. The eye travels through the glass instead of stopping at a flat panel, so the room feels bigger and the cupboards look custom rather than mass-produced.
Designers use glass fronts to create a display moment. Pretty dishes, glass jars and woven baskets become part of the decor, while reeded or frosted glass hides everyday clutter if your shelves are less than photogenic.
You can have a glazier cut glass to fit your existing door frames, or order replacement glass doors online using your current doors’ measurements. Keep it to two or three uppers near the sink or range so it feels curated, not chaotic.
Tip: Glass fronts are a classic small-space trick because they add depth without bulk, and the same thinking behind designing a small room to feel bigger applies perfectly to a compact kitchen.
3. Fit Pull-Out Organizers Inside Deep Cupboards
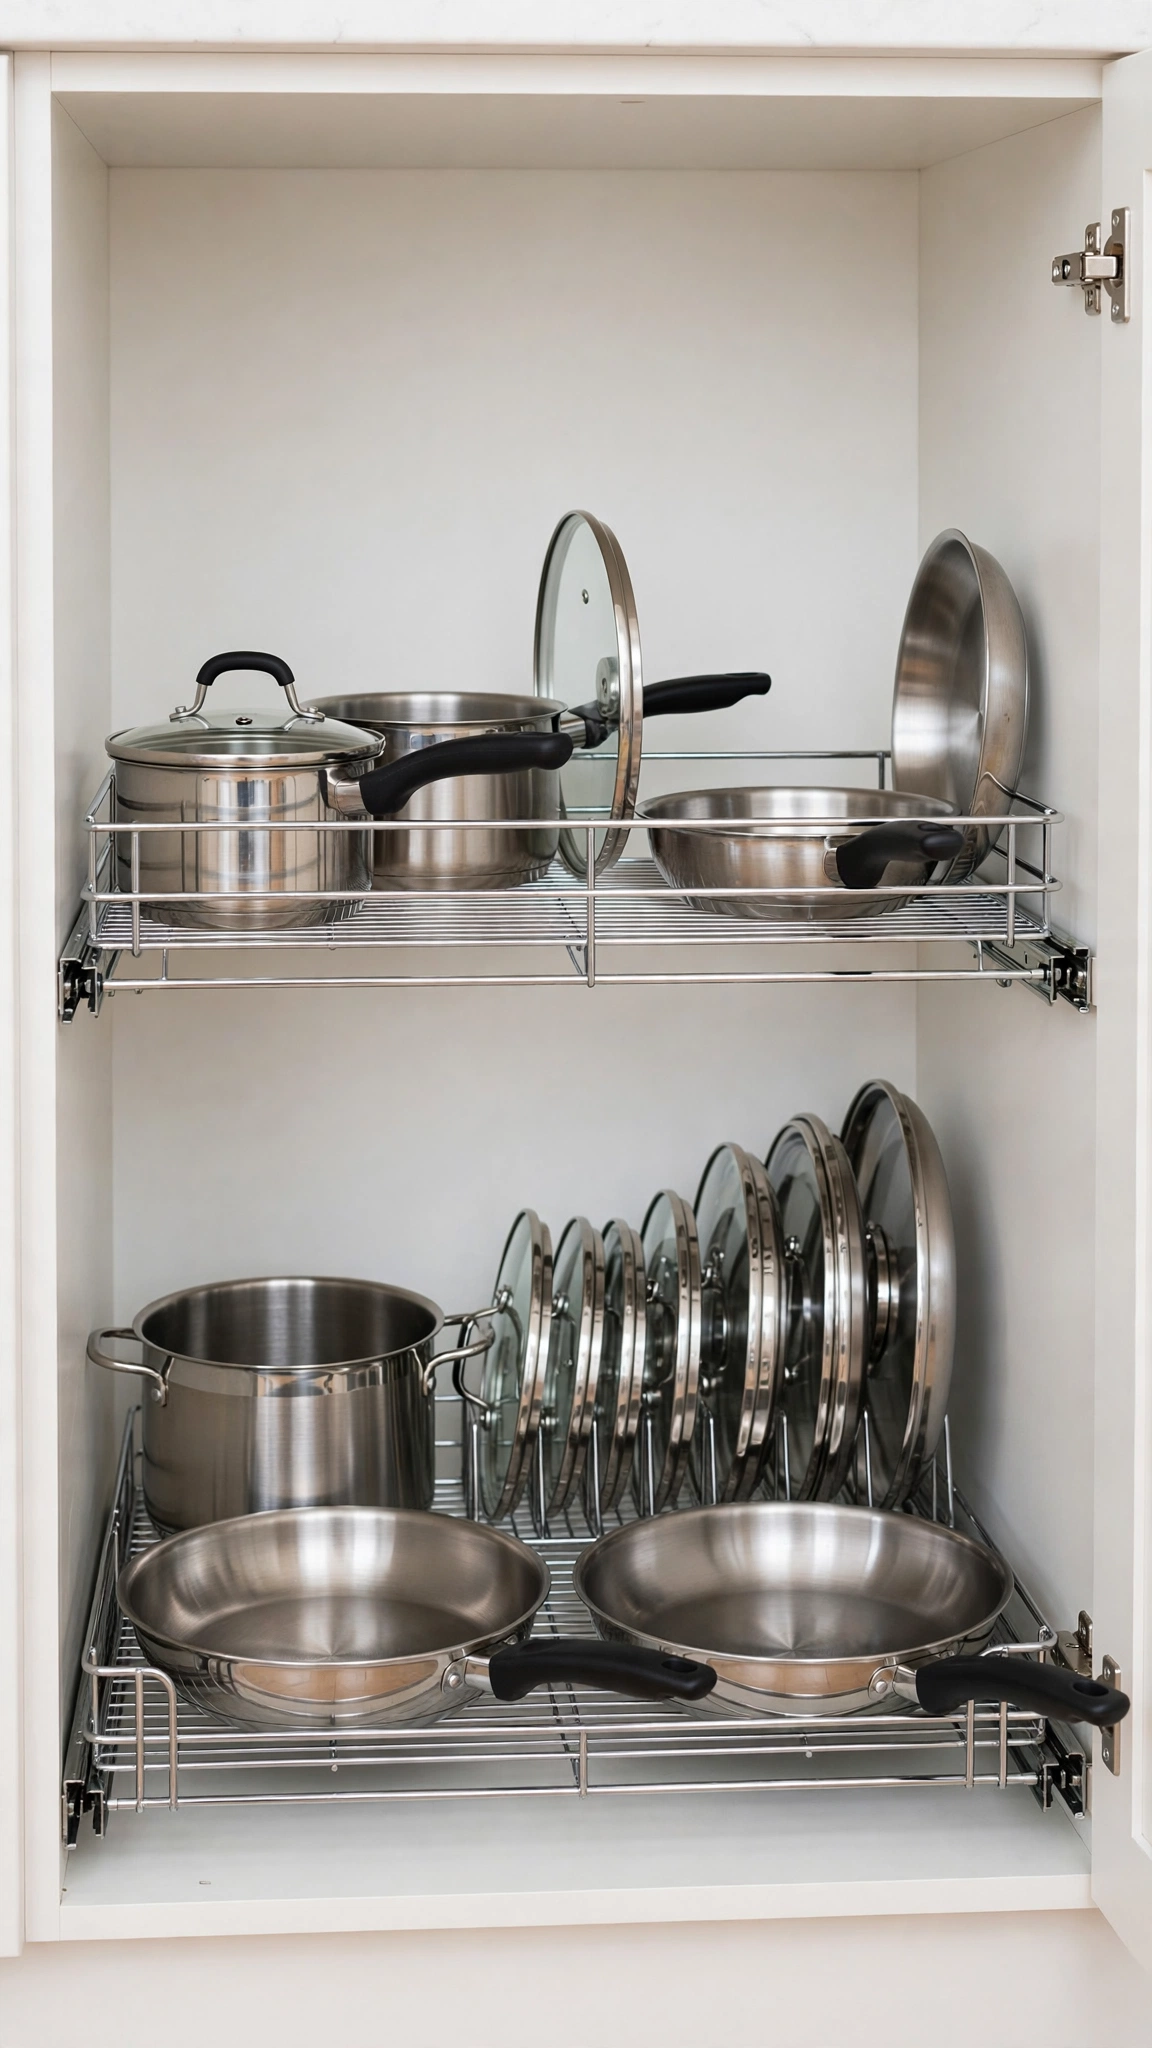
A designer kitchen is not just about how cupboards look when closed, it is how they feel to use. Deep base cupboards where pans go to disappear are the first thing to fix with pull-out racks, tiered shelves and vertical dividers.
Pull-out organizers bring everything to you instead of forcing you to kneel and dig. Cookware, small appliances and pantry staples each get a visible, reachable home, which keeps counters clear and the whole kitchen calmer.
Measure the internal width and depth of each cupboard, then choose screw-in or tension-fit organizers to suit. Most install in under twenty minutes with a screwdriver, and prices start low enough to do one cupboard a month if you are spreading the cost.
Tip: Think of cupboard interiors the way you would any storage problem, and borrow the mindset from these clever storage-maximizing solutions to squeeze more out of every shelf you already own.
4. Reface the Doors Instead of Replacing Everything

If your cupboard boxes are solid but the doors scream another era, refacing is the designer’s shortcut. You keep the existing carcasses and simply fit new doors, drawer fronts and matching veneer over the visible frames.
The result is genuinely hard to distinguish from a brand-new kitchen, because from standing height all anyone sees is the new frontage. Shaker, slab and fluted styles are all available made-to-measure, so you can jump straight to a current look.
Refacing typically costs a third to half of a full replacement and takes two or three days with far less mess and no plumbing or electrics to move. Measure carefully, order a sample door first, and check the hinge positions match before committing.
Tip: Refacing proves a room can be transformed without a full renovation budget, much like these budget-friendly makeover ideas that focus spending only where the eye actually lands.
5. Go Handleless for a Sleek Designer Finish

Handleless cupboards are the signature of contemporary designer kitchens. Without knobs and bars breaking up the frontage, cabinetry reads as one smooth architectural surface, and the whole room feels calmer and more expensive.
You can achieve the look with true handleless rail systems on new doors, integrated J-pull profiles, or simple push-to-open latches fitted to existing doors after removing the old hardware and filling the holes.
Push-latch kits are inexpensive and fit in minutes, making this a realistic weekend experiment on a single run of cupboards first. Just keep a microfiber cloth handy, because smooth fronts show fingerprints more than handled ones.
Tip: A seamless cupboard run deserves an equally considered floor beneath it, so take time to choose kitchen flooring that is both stylish and practical rather than treating it as an afterthought.
6. Mix in Open Shelving Between the Cupboards

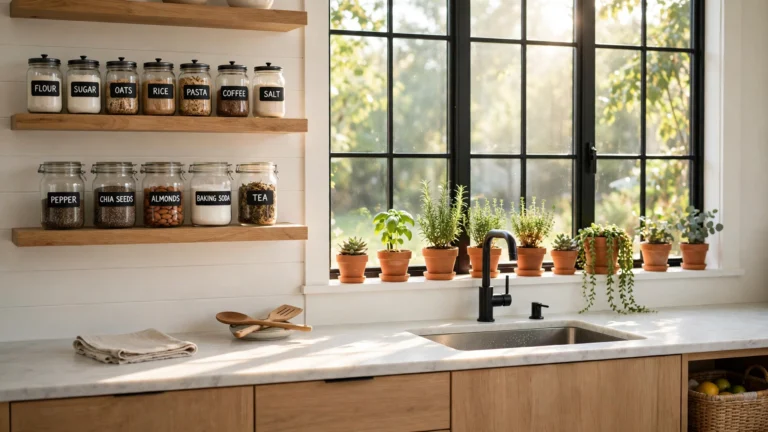
Breaking up a solid wall of cupboards with a section of open shelving is a trick designers use to stop kitchens feeling boxy. One short run of shelves adds air, display space and a relaxed, collected character that closed doors cannot.
The contrast is what makes it work: solid cupboard fronts keep the chaos hidden, while the shelves show off your best pieces. Thick floating shelves in oak or walnut also introduce a warm natural material against painted cabinetry.
Remove one or two upper doors, or take down a single cabinet and patch the wall, then fit shelves at the same heights as the cupboard tops for a built-in feel. Keep styling to everyday items you actually use so shelves stay tidy naturally.
Tip: Open shelves only look designer when they stay edited, so adopt the habits in this guide to organizing a room for a clutter-free space and give everything on display a permanent home.
7. Try Two-Tone Cupboards for Instant Depth

Two-tone cabinetry is how designers add depth without adding pattern. Darker lowers ground the room and hide scuffs where life happens, while pale uppers keep the space bright and make ceilings feel higher.
The island is the other classic place to split the color: paint it in a contrasting shade and it becomes the room’s centerpiece, even in a kitchen where every other cupboard stays one calm neutral.
If you are painting anyway, two-tone costs nothing extra beyond a second tin of paint. Keep the two colors in the same temperature family, both warm or both cool, and repeat the darker shade in an accessory or two so the scheme feels intentional.
Tip: When your cupboards carry two colors, keep the floor simpler or let it be the single statement instead, taking cues from these creative patterned kitchen flooring ideas about balancing bold elements in one room.
8. Extend the Cupboards All the Way to the Ceiling
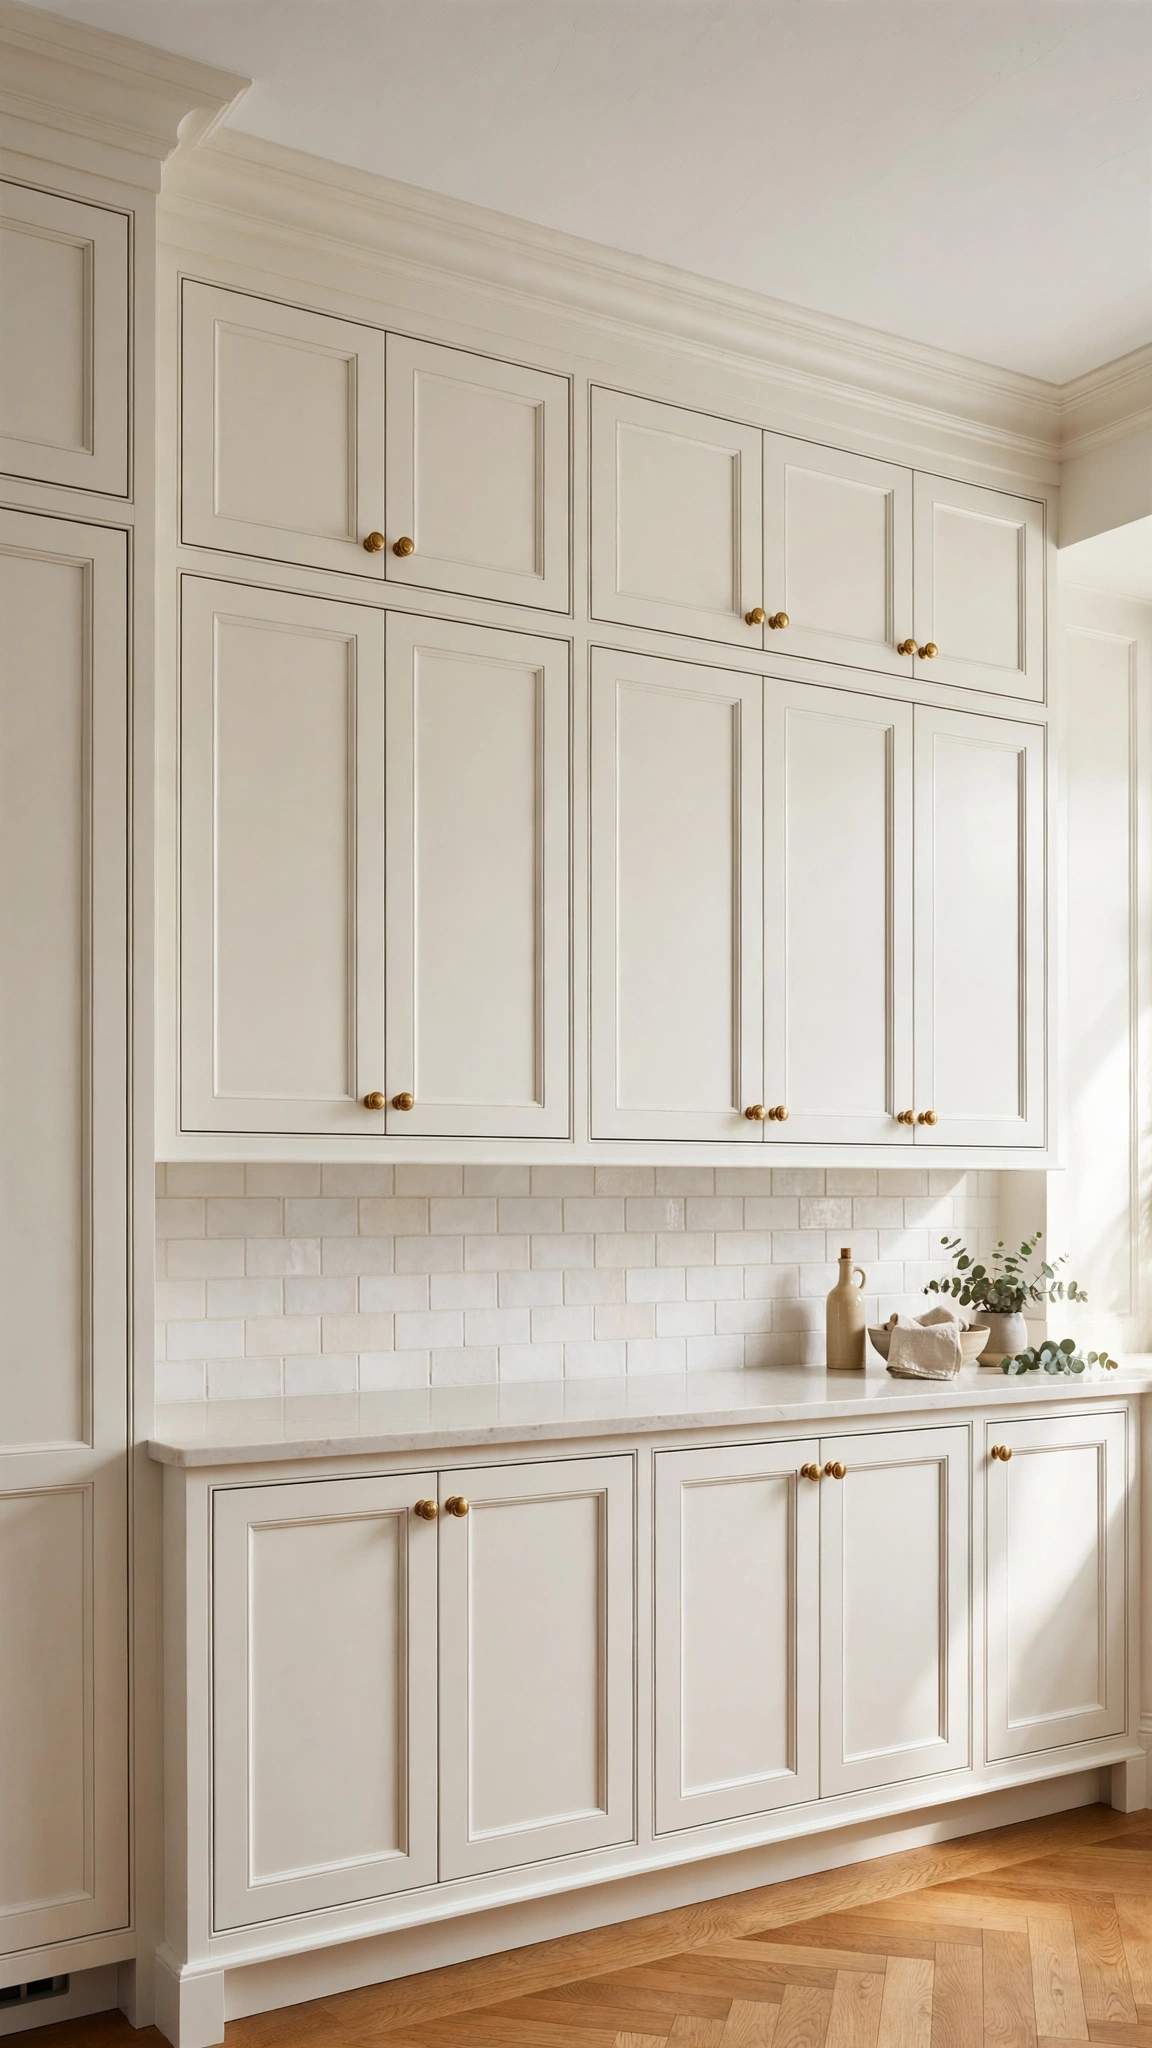
That dusty gap between the top of your cupboards and the ceiling is wasted space and a visual full stop. Extending cabinetry to the ceiling, with stacked uppers or a simple bulkhead and cornice, makes a kitchen look bespoke and noticeably taller.
The extra row is perfect for rarely used items: the big roasting tin, seasonal servingware and spare glasses. Meanwhile the unbroken vertical lines draw the eye upward, which is exactly why designer kitchens rarely stop short.
On a budget, a carpenter can build simple framed boxes above your existing cupboards and face them with matching doors, or you can fit a painted bulkhead with decorative molding for the built-in look at a fraction of the cost.
Tip: Ceiling-height storage is all about using every vertical inch, the same principle behind these genius ideas for maximizing every inch of a small room.
9. Swap the Hardware for Brushed Brass Pulls

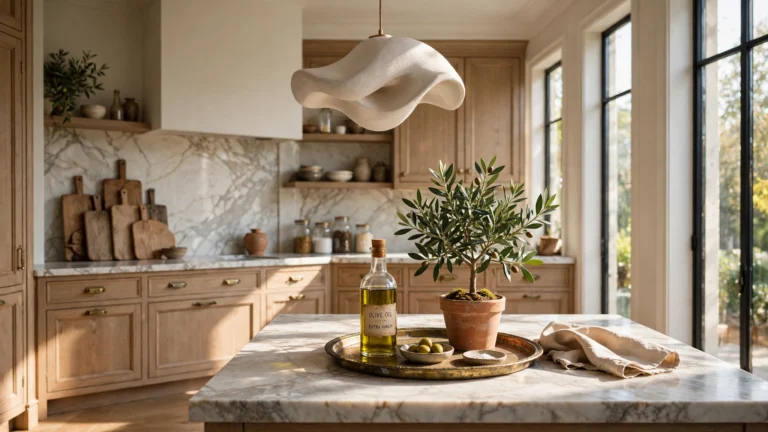
Hardware is the jewelry of the kitchen, and changing it is the fastest designer upgrade of all. Brushed brass, aged bronze and matte black pulls add warmth and contrast that standard chrome knobs simply cannot.
Scale matters more than style: longer pulls on wide drawers and slightly oversized knobs look deliberate and high-end. Mixing knobs on doors with cup pulls or bars on drawers gives that layered, professionally specified feel.
Order one sample and live with it for a few days before buying the full set. Match the new screw spacing to your existing holes where possible, or fill and re-drill for a clean slate, and keep the old hardware in case you ever want to swap back.
Tip: Small, inexpensive swaps like hardware prove you do not need a huge spend to elevate a room, echoing the approach in this guide to decorating on a budget without sacrificing style.
10. Design the Cupboards Around an Open-Plan Layout
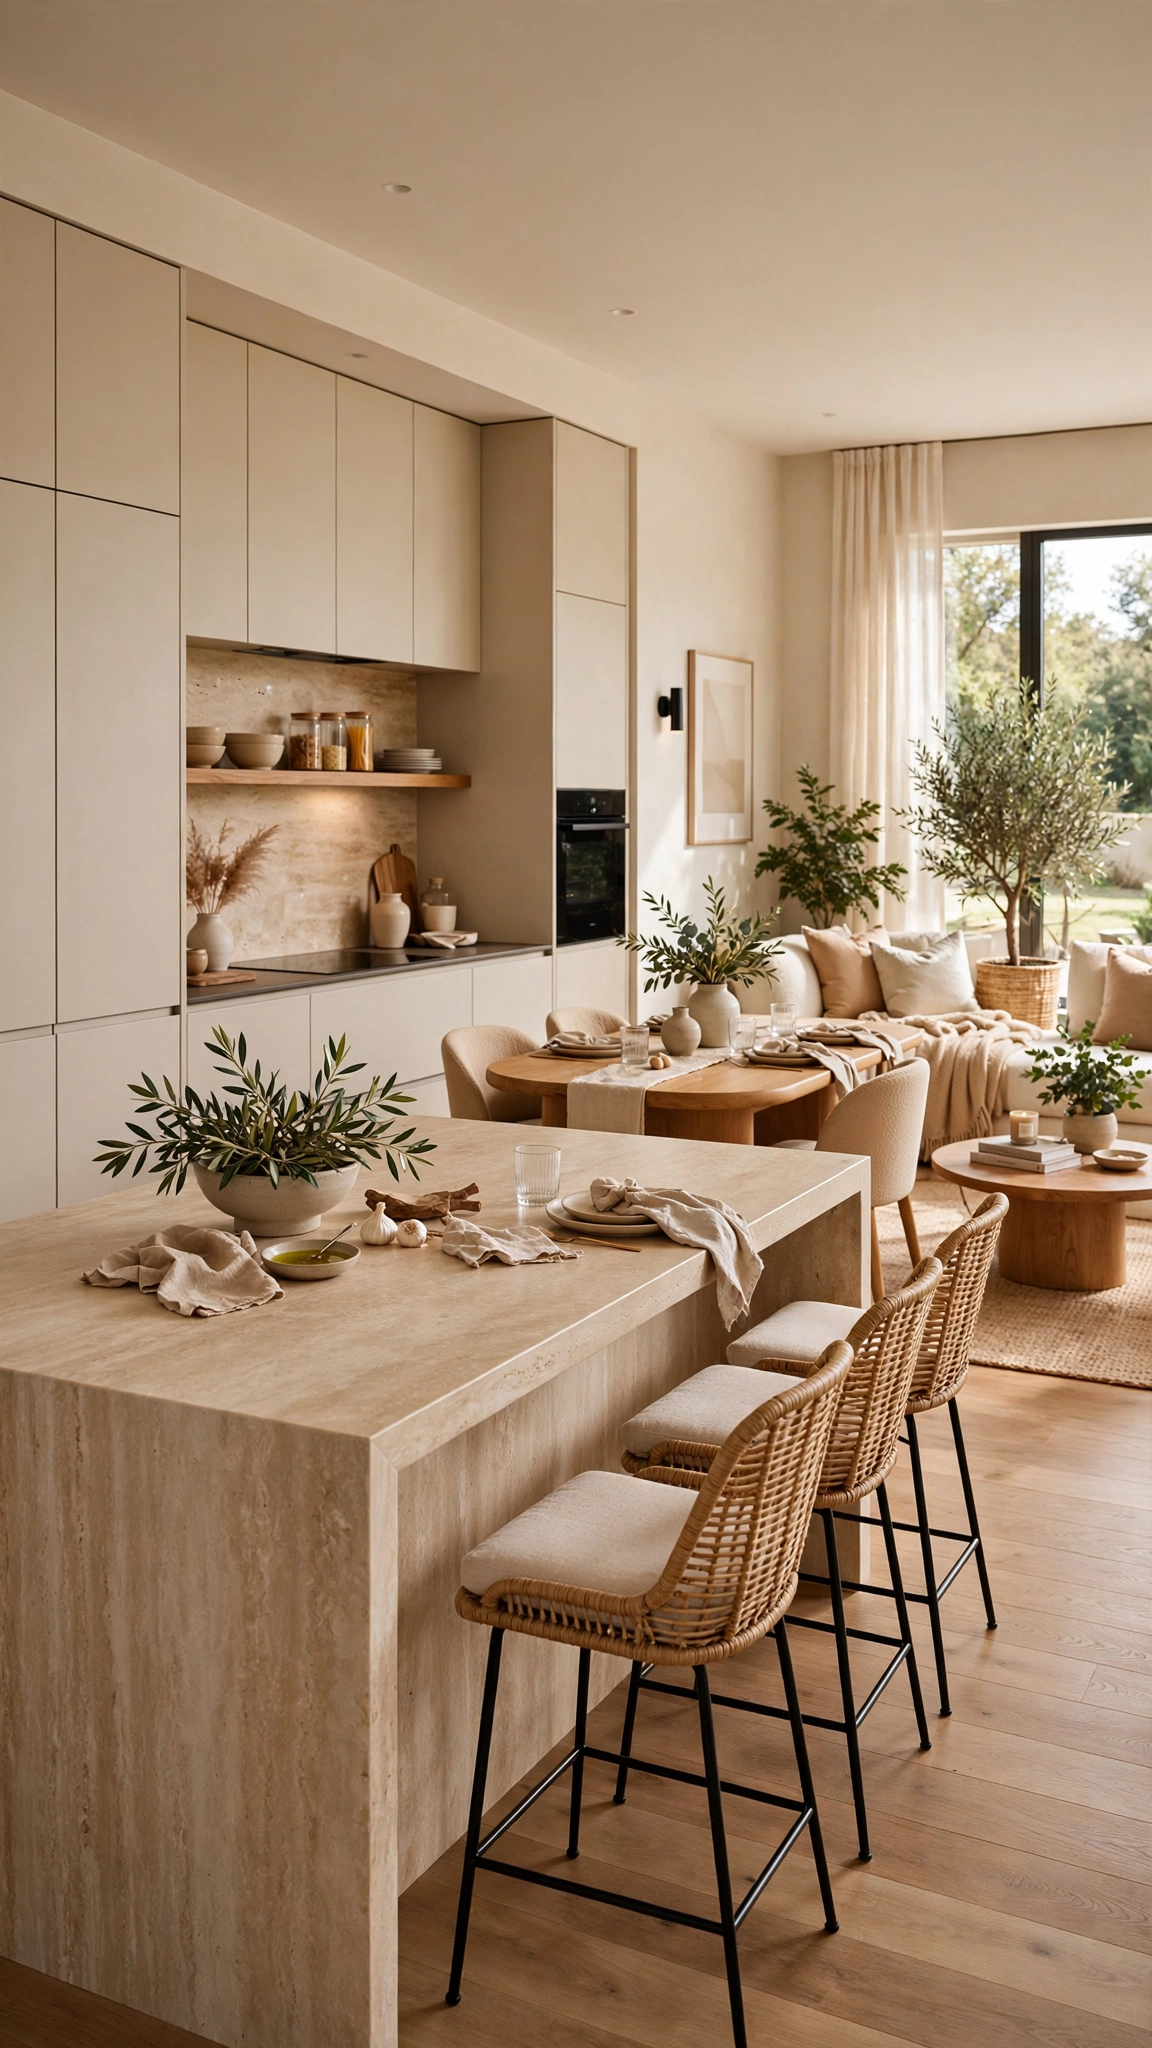
In an open-plan home your cupboards are on show from the sofa, so they need to work as furniture, not just storage. Designers soften kitchen cabinetry in these spaces with handleless fronts, panelled appliances and colors borrowed from the living area palette.
A tall bank of full-height cupboards at one end keeps the working clutter invisible, while a low island with a stone waterfall edge faces the seating zone like a piece of furniture. The kitchen reads as part of the room rather than a workshop parked inside it.
Start by repeating one living-room color or material in the cupboards, then hide small appliances behind doors so sightlines stay clean. Even in an existing kitchen, decluttering counters and unifying hardware pulls the two zones together.
Tip: Continuous flooring is what truly fuses the zones together, so browse these elegant kitchen flooring ideas for open plan homes for a seamless look that flatters your cupboards from every angle.
Conclusion
Gorgeous, designer-looking cupboards rarely require a brand-new kitchen. A moody coat of paint, glass fronts, smarter storage or simply better hardware can transform the cupboards you already have, so pick the one idea that excites you most and let it set the tone for the whole room.