16 Creative Kitchen Island Designs That Make Your Kitchen Stylish and Functional

A kitchen island is the hardest-working spot in the whole kitchen, and it is also the first thing guests notice when they walk in. It holds breakfast, meal prep, homework, and late-night conversations, all on the same stretch of countertop, so its design deserves real thought.
Great island design balances beauty with everyday practicality, giving you room to cook, gather, and store without the space feeling crowded. Ready to see how sixteen creative island designs can make your kitchen feel more stylish, more organised, and much easier to use?
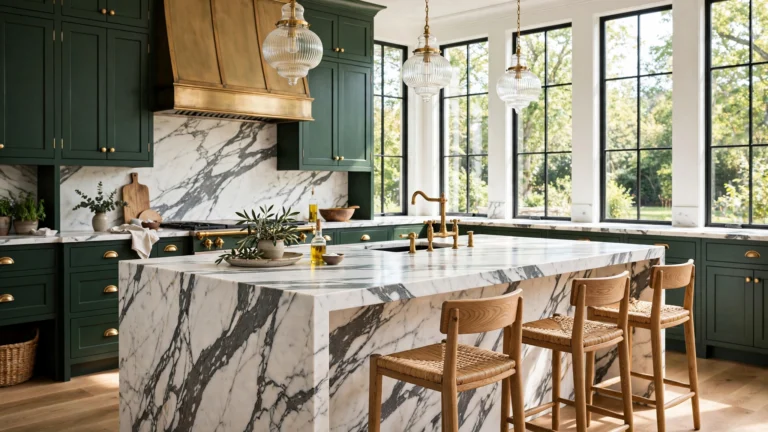
1. Add a Waterfall Countertop

A waterfall countertop turns a plain island into a sculptural centrepiece. The stone runs over the top edge and straight down the sides to the floor, giving the island a clean, continuous look that feels custom-made.
This design works best with a stone that has visible movement, like marble or quartz with soft veining. The waterfall edge shows off the pattern from every angle, so the island reads as a piece of art as well as a work surface.
Keep the rest of the island simple so the stone can shine. Plain cabinet fronts, minimal hardware, and a couple of stools are all it needs to look polished rather than busy.
Tip: Pair a bold island edge with smart vertical storage nearby, taking cues from 33 Trendy Kitchen Wall Storage Ideas for More Vertical Space to keep counters clear and the island as the star.
2. Build in a Breakfast Bar
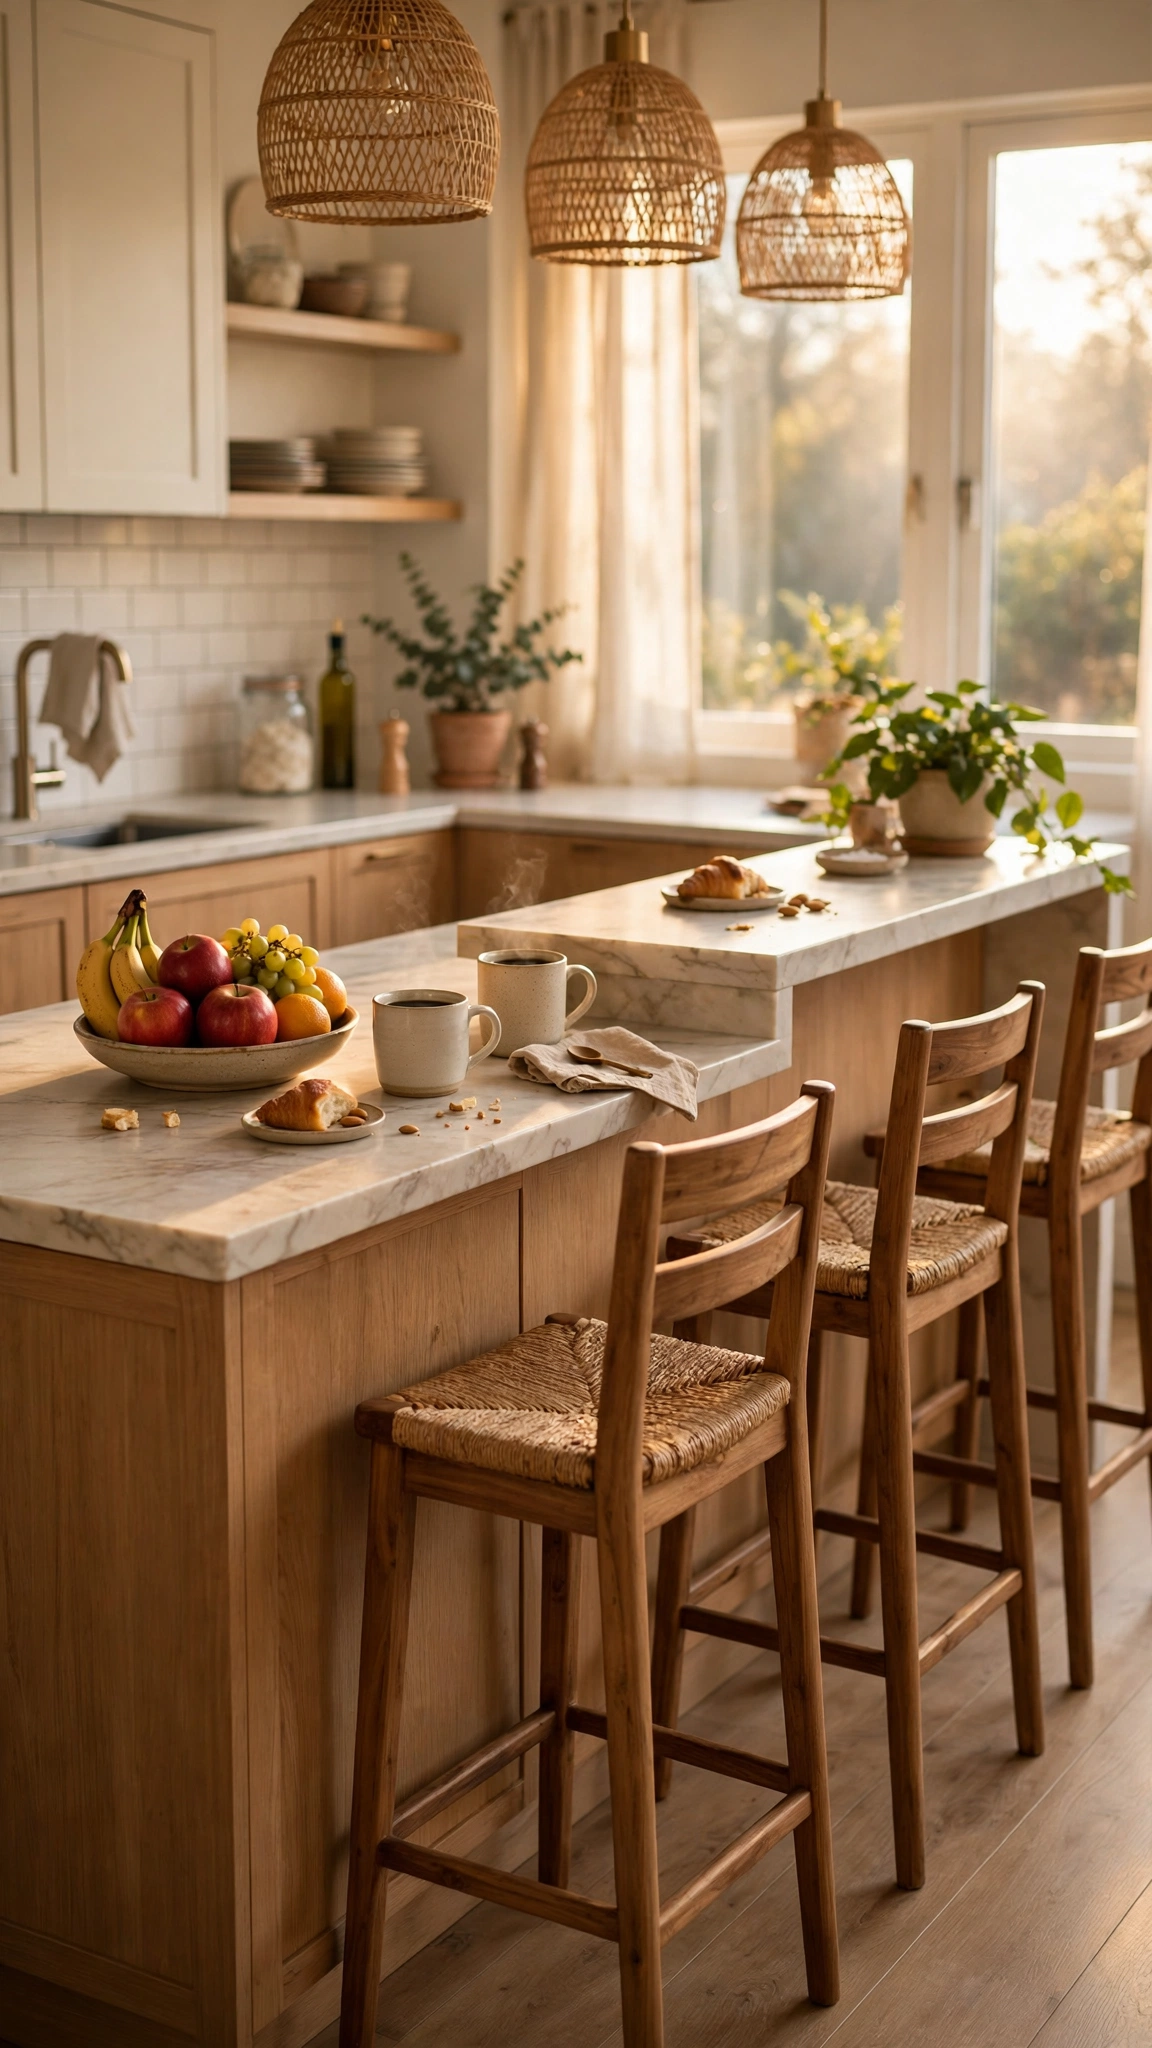
A breakfast bar gives the island a second job as the family’s favourite gathering spot. A raised overhang or an extended counter creates a comfortable ledge where people can sit, eat, and chat while meals are being prepared.
Leave about twelve inches of overhang so knees fit comfortably underneath, and choose stools at the right height for the counter. Counter-height seating suits a standard island, while a raised bar calls for taller stools.
Keep the breakfast bar end free of appliances and clutter. A clear seating zone invites people to linger, while a crowded one sends them straight back to the dining table.
Tip: A seating ledge works even in a compact home when every inch is planned, much like the clever layouts in 29 Budget-Friendly Apartment Kitchen Storage Ideas for Small Spaces.
3. Choose a Two-Tone Island
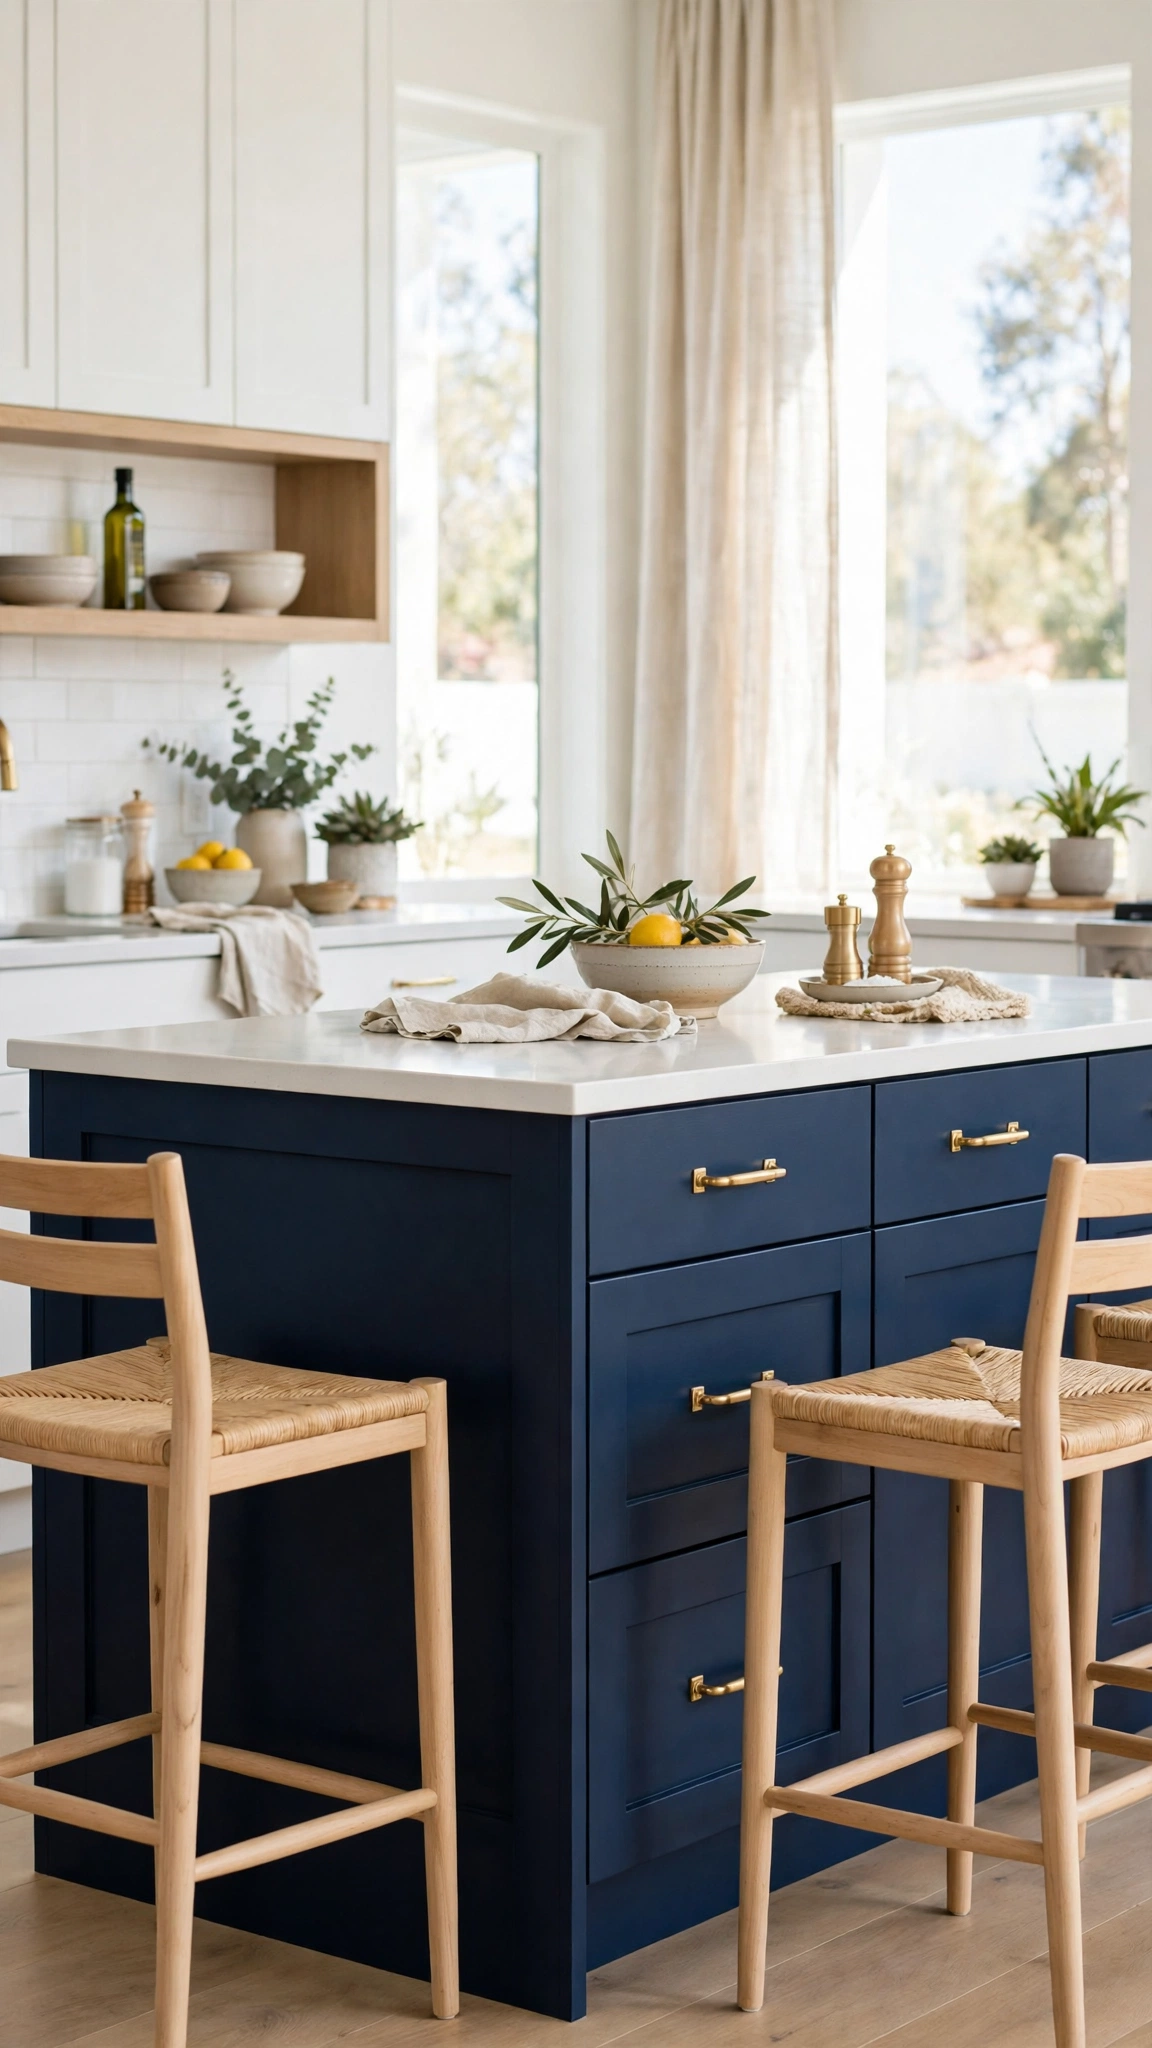
A two-tone island lets the island stand out without repainting the whole kitchen. Paint the island base a different colour from the perimeter cabinets, and it instantly becomes the focal point of the room.
Deep navy, forest green, and warm charcoal all pair beautifully with white or light wood cabinets. The contrast adds depth, while the shared countertop material ties the two tones together.
If a bold colour feels risky, try a softer contrast instead. A warm grey island against white cabinets, or a wood-toned base against painted cabinets, gives the same layered look in a gentler way.
Tip: A colour change is one of the easiest ways to refresh a kitchen without a full renovation, a trick also used in 21 Stunning Tiny Kitchen Remodel Ideas for a Fresh New Look.
4. Add Open Shelving to the Sides
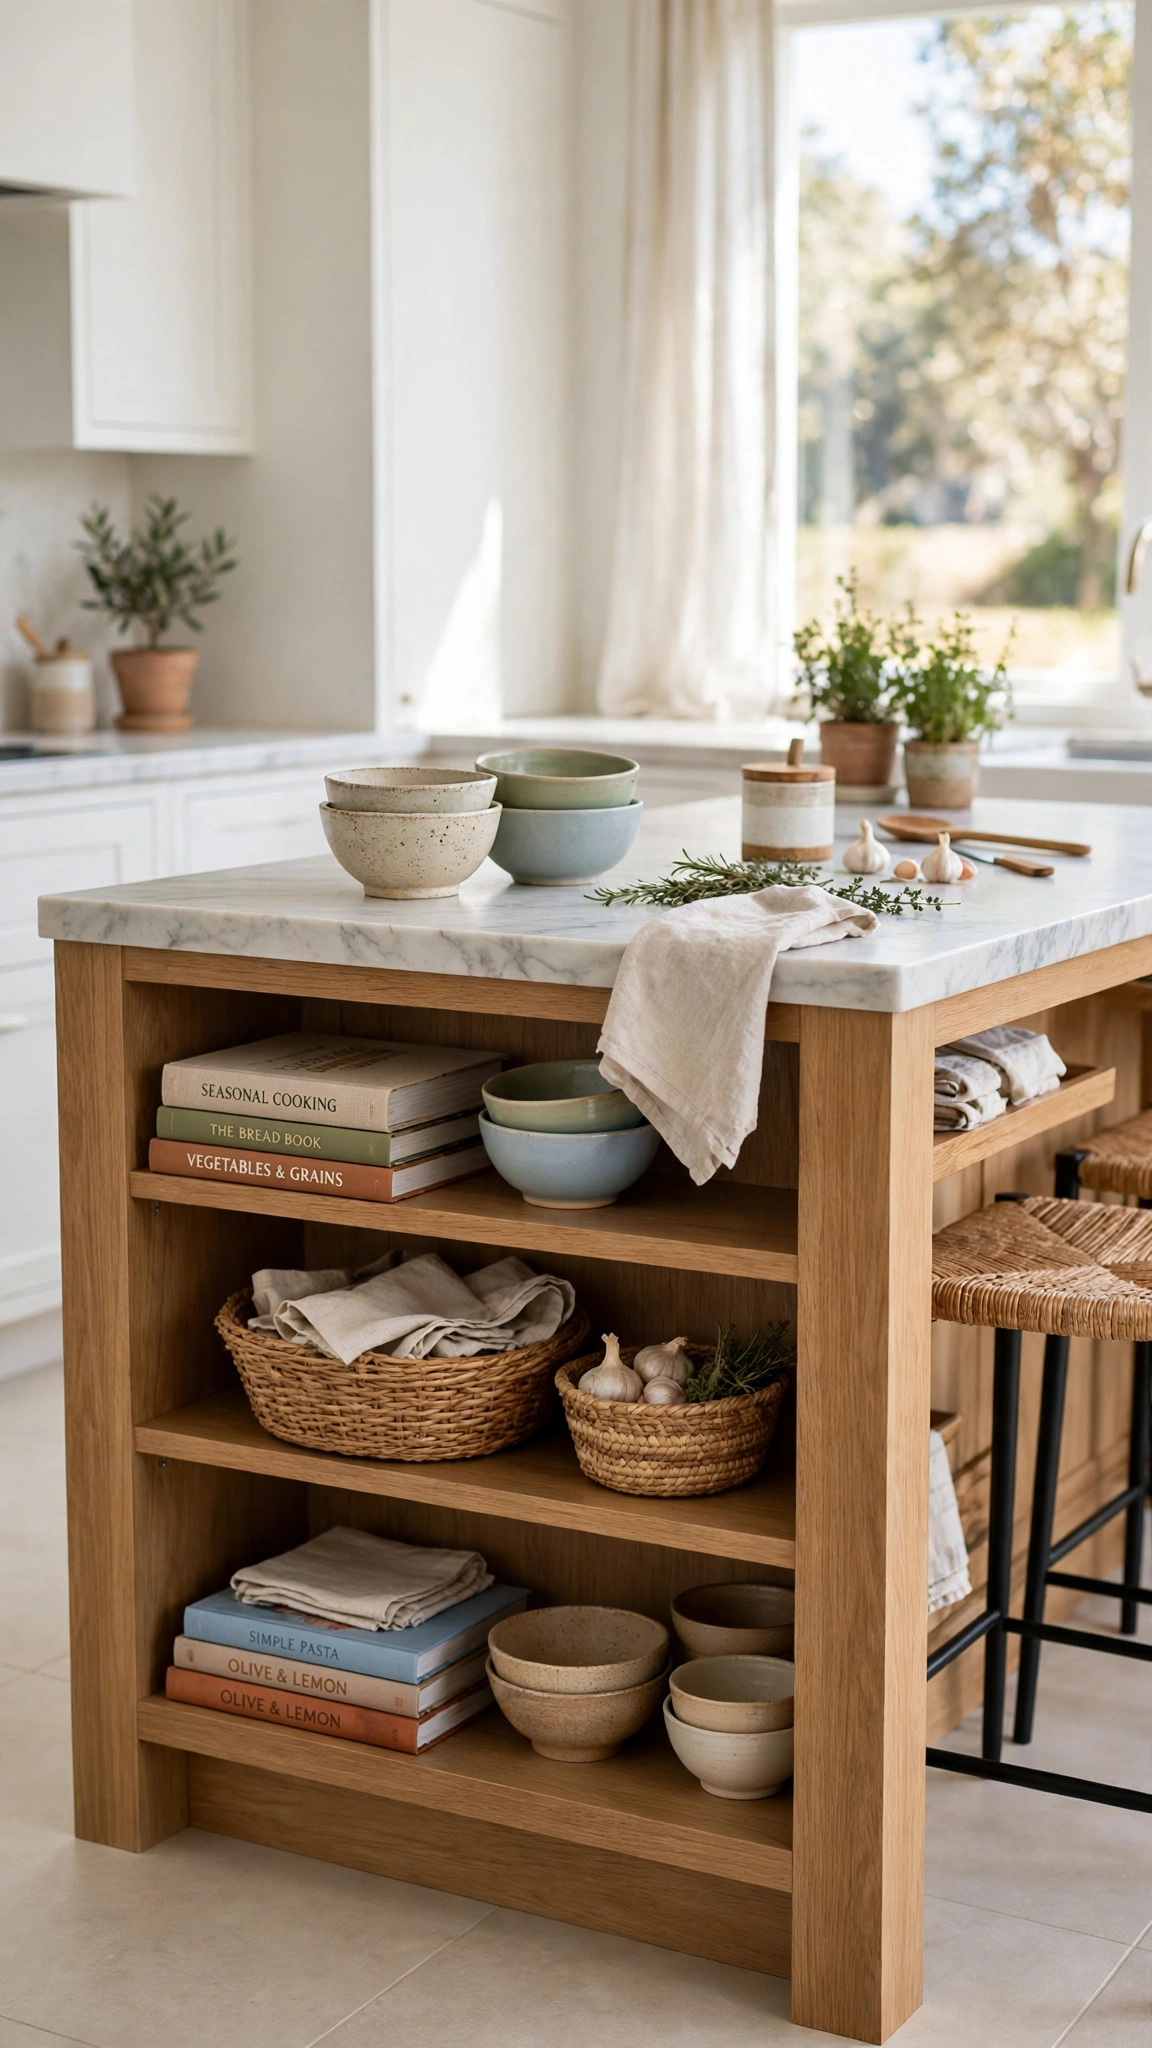
Open shelving on the side of an island puts everyday items exactly where you need them. Cookbooks, mixing bowls, and serving dishes become part of the decor instead of hiding in a cabinet across the room.
Keep the shelves styled but genuinely useful. Stack bowls by size, line up cookbooks upright, and use one or two baskets to corral smaller items so the shelves look curated rather than crowded.
Reserve the lowest shelf for heavier pieces you reach for often, like a stack of baking trays. That keeps lifting easy and protects the prettier pieces above from bumps.
Tip: Open shelves work best when the rest of the kitchen stays organised, so borrow the no-renovation tricks in How to Maximize Storage in a Tiny Kitchen Without Renovating to make every shelf earn its place.
5. Install a Prep Sink in the Island

A prep sink turns the island into a true second workstation. Rinsing vegetables, filling pots, and washing hands can happen right where you chop, instead of crossing the kitchen to the main sink again and again.
This upgrade suits cooks who prep a lot, or kitchens where two people often cook together. One person can work at the island while the other uses the main sink, and nobody gets in anyone’s way.
Keep the prep sink compact so it does not eat up the whole counter. A small undermount sink with a pull-down faucet leaves plenty of work surface on either side.
Tip: A second workstation makes even a small kitchen feel larger and easier to move around in, the same goal behind How to Make a Tiny Kitchen Look Bigger with Simple Design Tricks.
6. Create a Mobile Island on Wheels

A mobile island on wheels is the flexible answer for kitchens that cannot fit a fixed island. It rolls where you need extra counter space, then tucks against a wall or into a corner when the room needs to breathe.
Look for lockable casters so the island stays put while you chop. A butcher block top adds a warm prep surface, and an open lower shelf gives room for baskets, cookbooks, or a stand mixer.
Size matters more than style here. Measure your walkways first, and choose an island that leaves at least three feet of clearance on the sides you walk around most.
Tip: Flexible pieces shine in a well-organised kitchen, so plan your island storage with ideas from How to Organize a Tiny Kitchen for Maximum Storage and Efficiency.
7. Mix Wood and Stone Textures

Mixing wood and stone gives an island the look of a piece of furniture rather than a block of cabinetry. A wood base warms up a cool stone top, while the stone keeps the surface practical for cooking.
Contrast is the key. A dark-stained wood base against light stone, or a pale oak base under a darker quartz top, creates a focal point without needing bold decor on top.
Keep the mix to two or three materials so the island feels curated, not busy. Wood, stone, and one metal finish are plenty to create depth and warmth.
Tip: Natural materials bring the same timeless warmth found in 23 Cozy Tiny Farmhouse Kitchen Ideas for Timeless Charm, where wood and soft textures make a kitchen feel welcoming.
8. Add Hidden Storage Drawers

Deep drawers are the secret weapon of a functional island. They hold pots, pans, and baking sheets far more accessibly than deep cabinets, where everything at the back is forgotten.
Dividers and inserts keep drawers from becoming a jumble. One drawer for pots with lids beside them, one for baking trays stored upright, and one for everyday utensils covers most cooking needs within a single step of the stove.
From the outside, drawers keep the island looking clean and furniture-like. All the hard work stays hidden until you need it, which is exactly what good island design should do.
Tip: Drawer dividers pair perfectly with a dedicated pantry system, like the ones in 26 Smart Tiny Kitchen Pantry Ideas for Better Organization, so every item has a home.
9. Hang Pendant Lights Above the Island
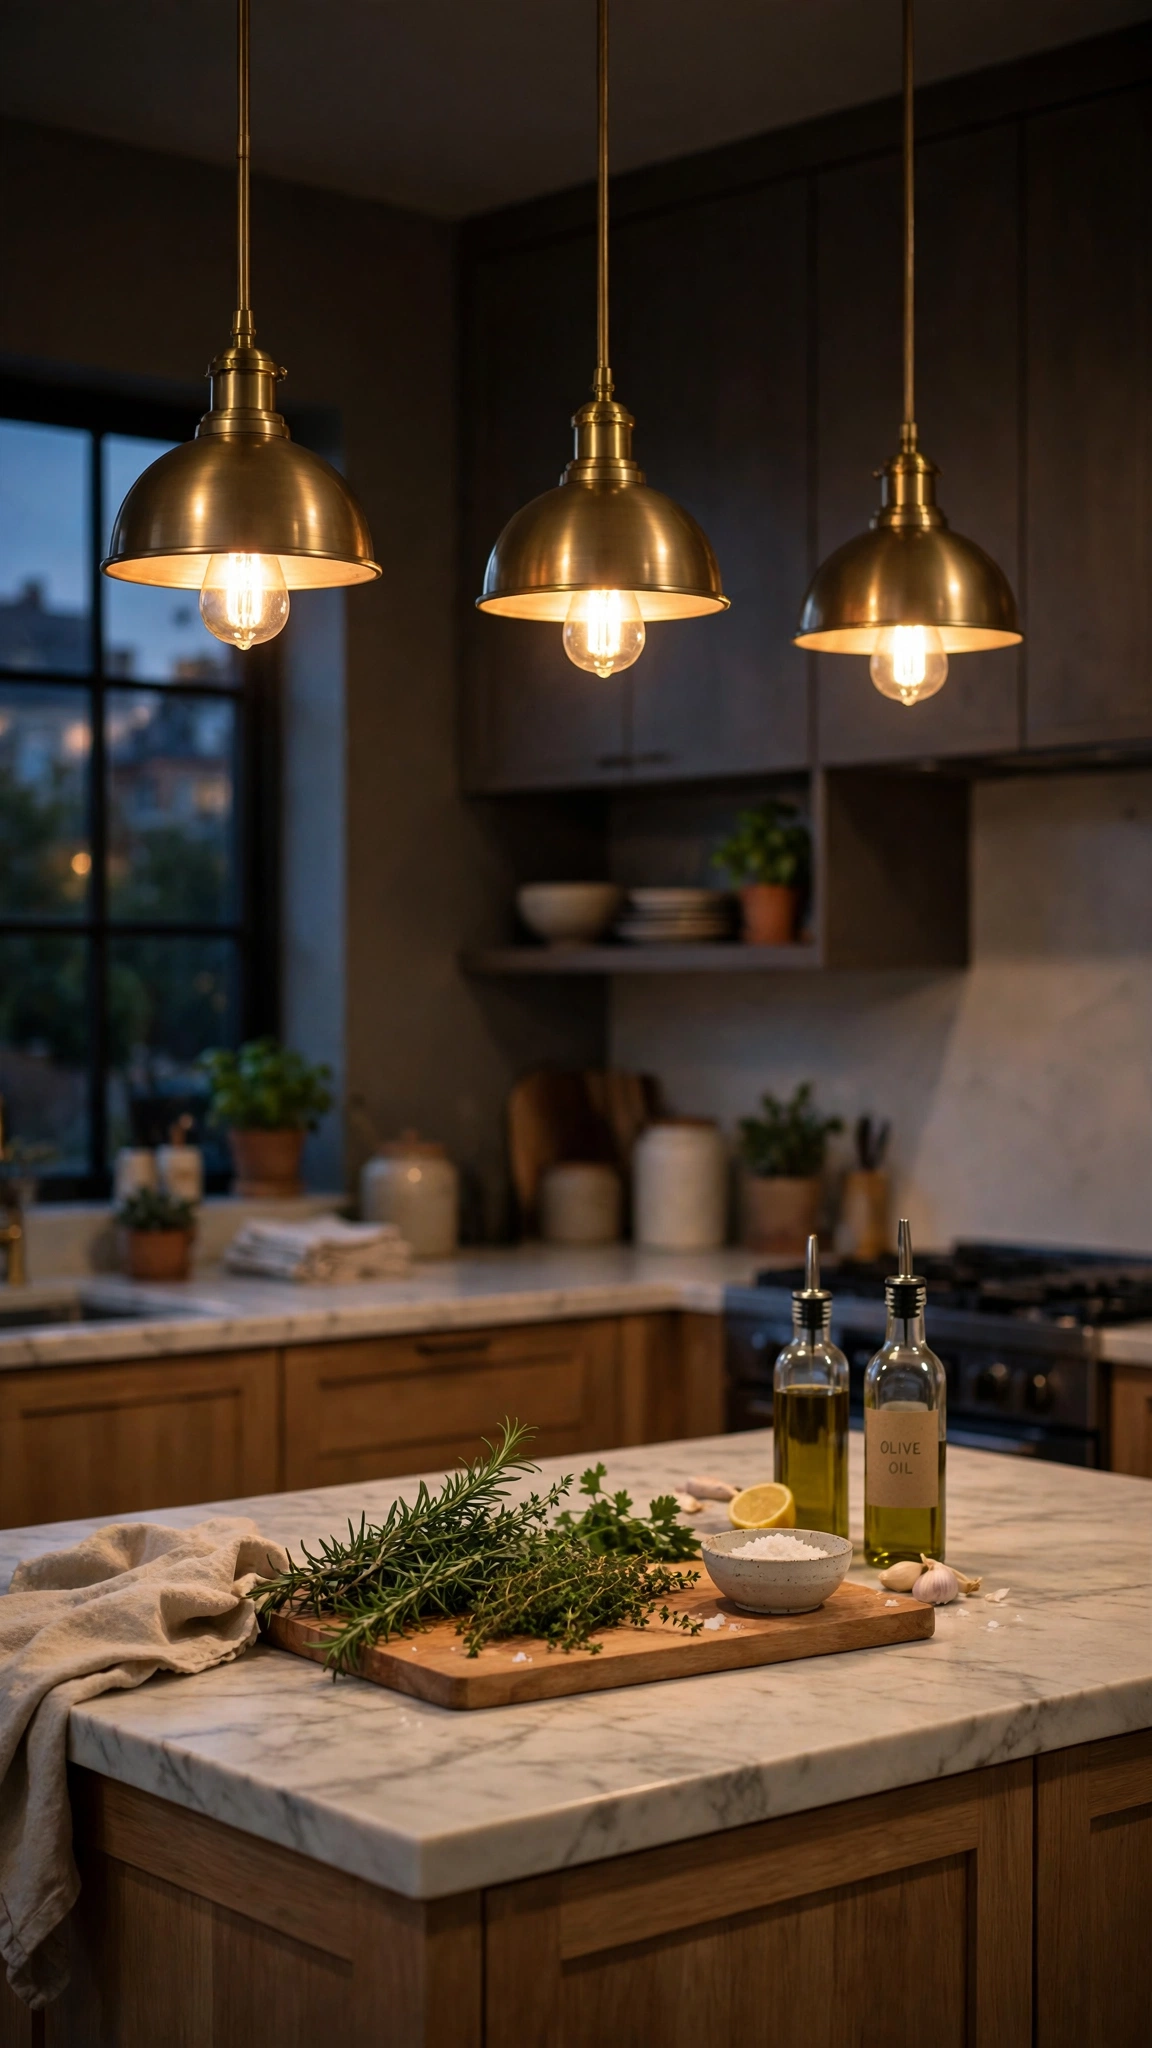
Pendant lights do double duty over an island: they set the mood and they light the work. Hung too high they lose their warmth, and hung too low they block views, so height matters more than the fixture itself.
A good rule is to hang pendants about thirty to thirty-six inches above the countertop. For a long island, two or three pendants spaced evenly give balanced light across the whole surface without dark gaps.
Choose a warm bulb tone for evening gatherings and a dimmer switch so the same lights can shift from bright prep lighting to soft dinner lighting in seconds.
Tip: Good lighting transforms an island after dark, just as the ideas in 24 Elegant Tiny Kitchen Lighting Ideas for a Brighter Space brighten the whole kitchen.
10. Design a Curved Island Shape
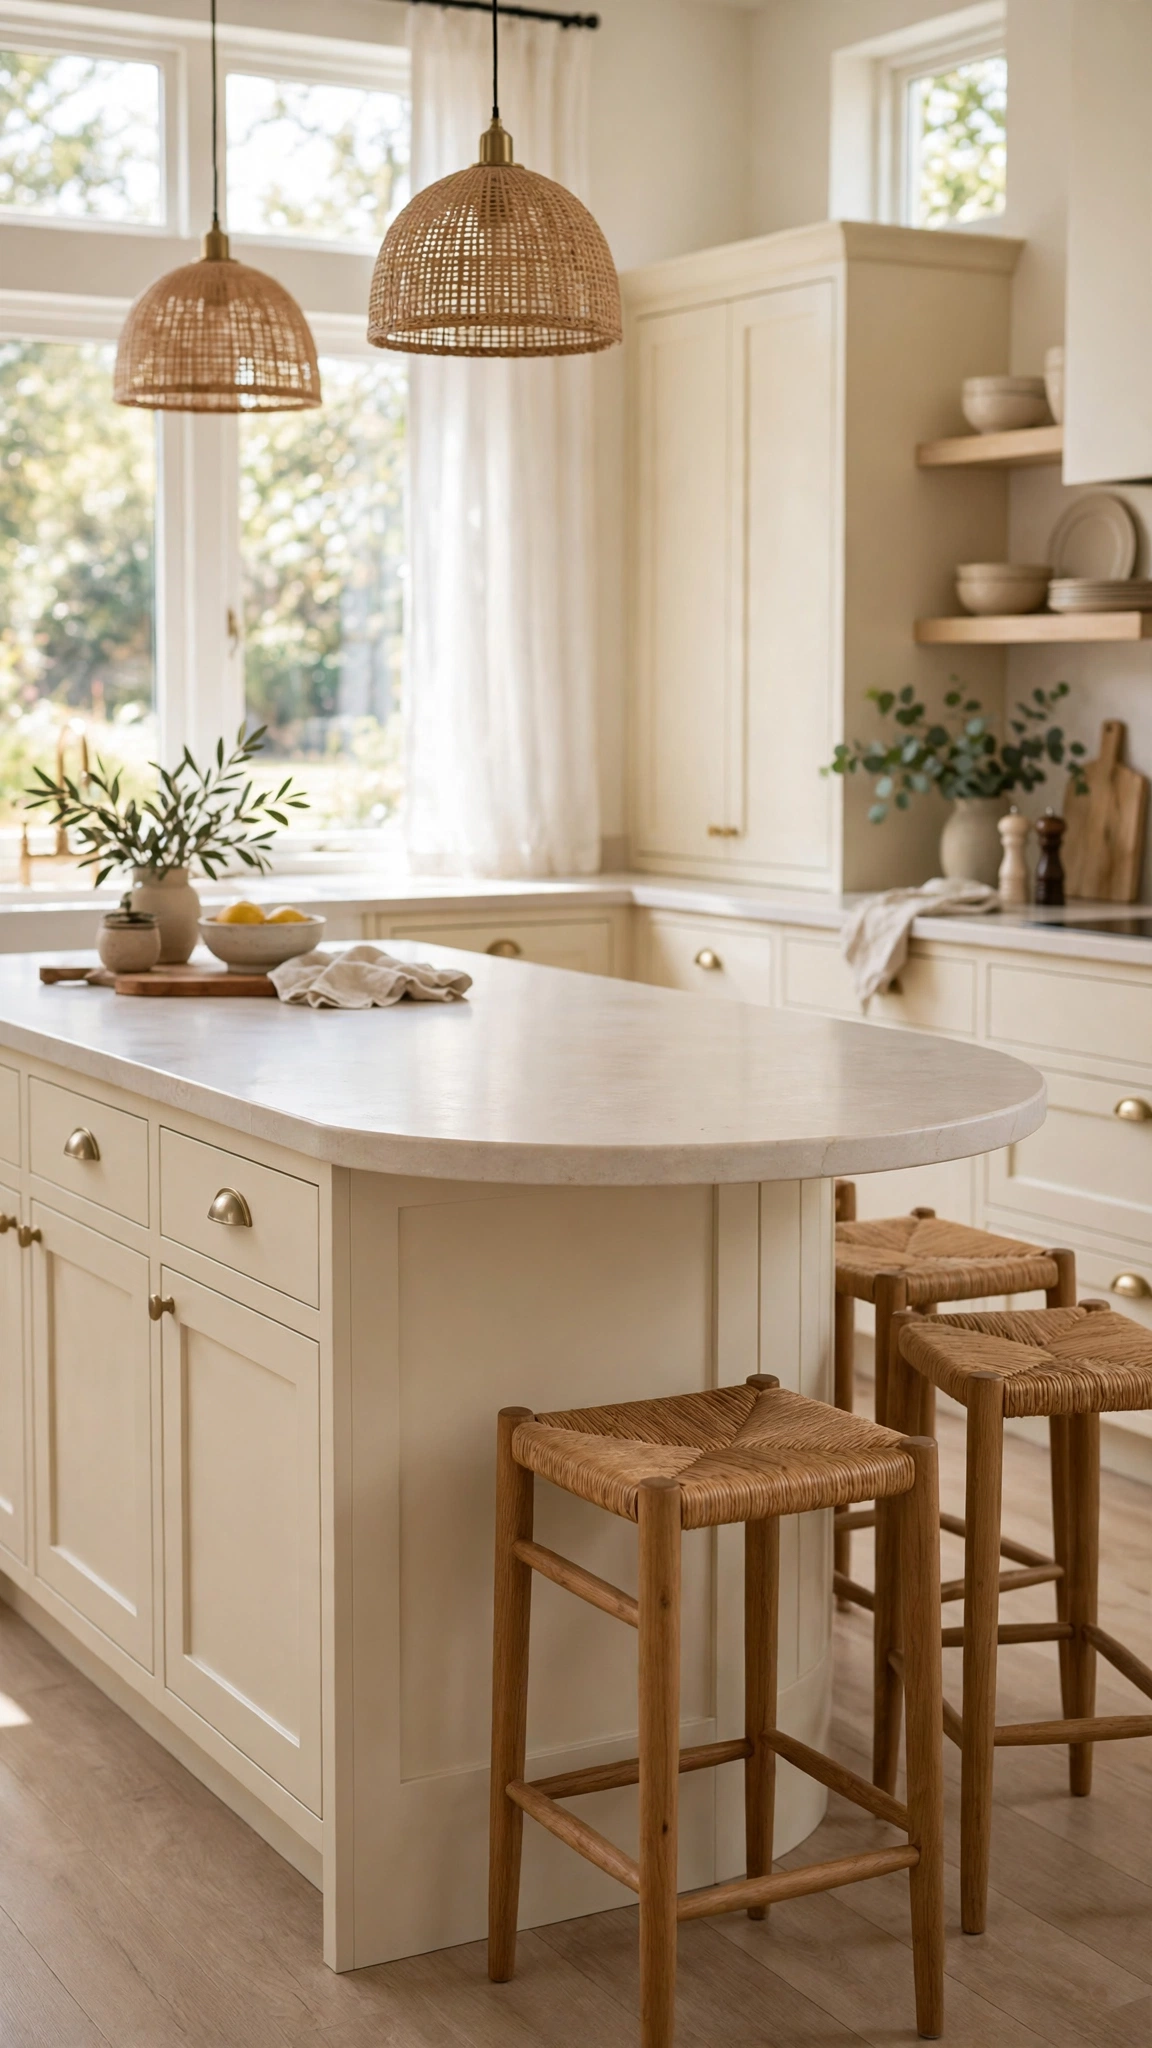
A curved island softens a kitchen full of straight lines and sharp corners. A rounded end or a gentle arc makes the room feel more welcoming, and it improves flow because nobody has to dodge a hard corner.
Curves also make seating more sociable. Stools arranged around a curve face each other slightly, so conversation flows more naturally than in a straight row.
This shape suits open-plan kitchens especially well, where the island is seen from the living area too. The softer silhouette reads as furniture from across the room, not just as cabinetry.
Tip: A curved island is one of many island shapes worth comparing before you commit, as shown in 20 Must-Try Tiny Kitchen Island Ideas for Extra Functionality.
11. Add a Backsplash Panel to the Island
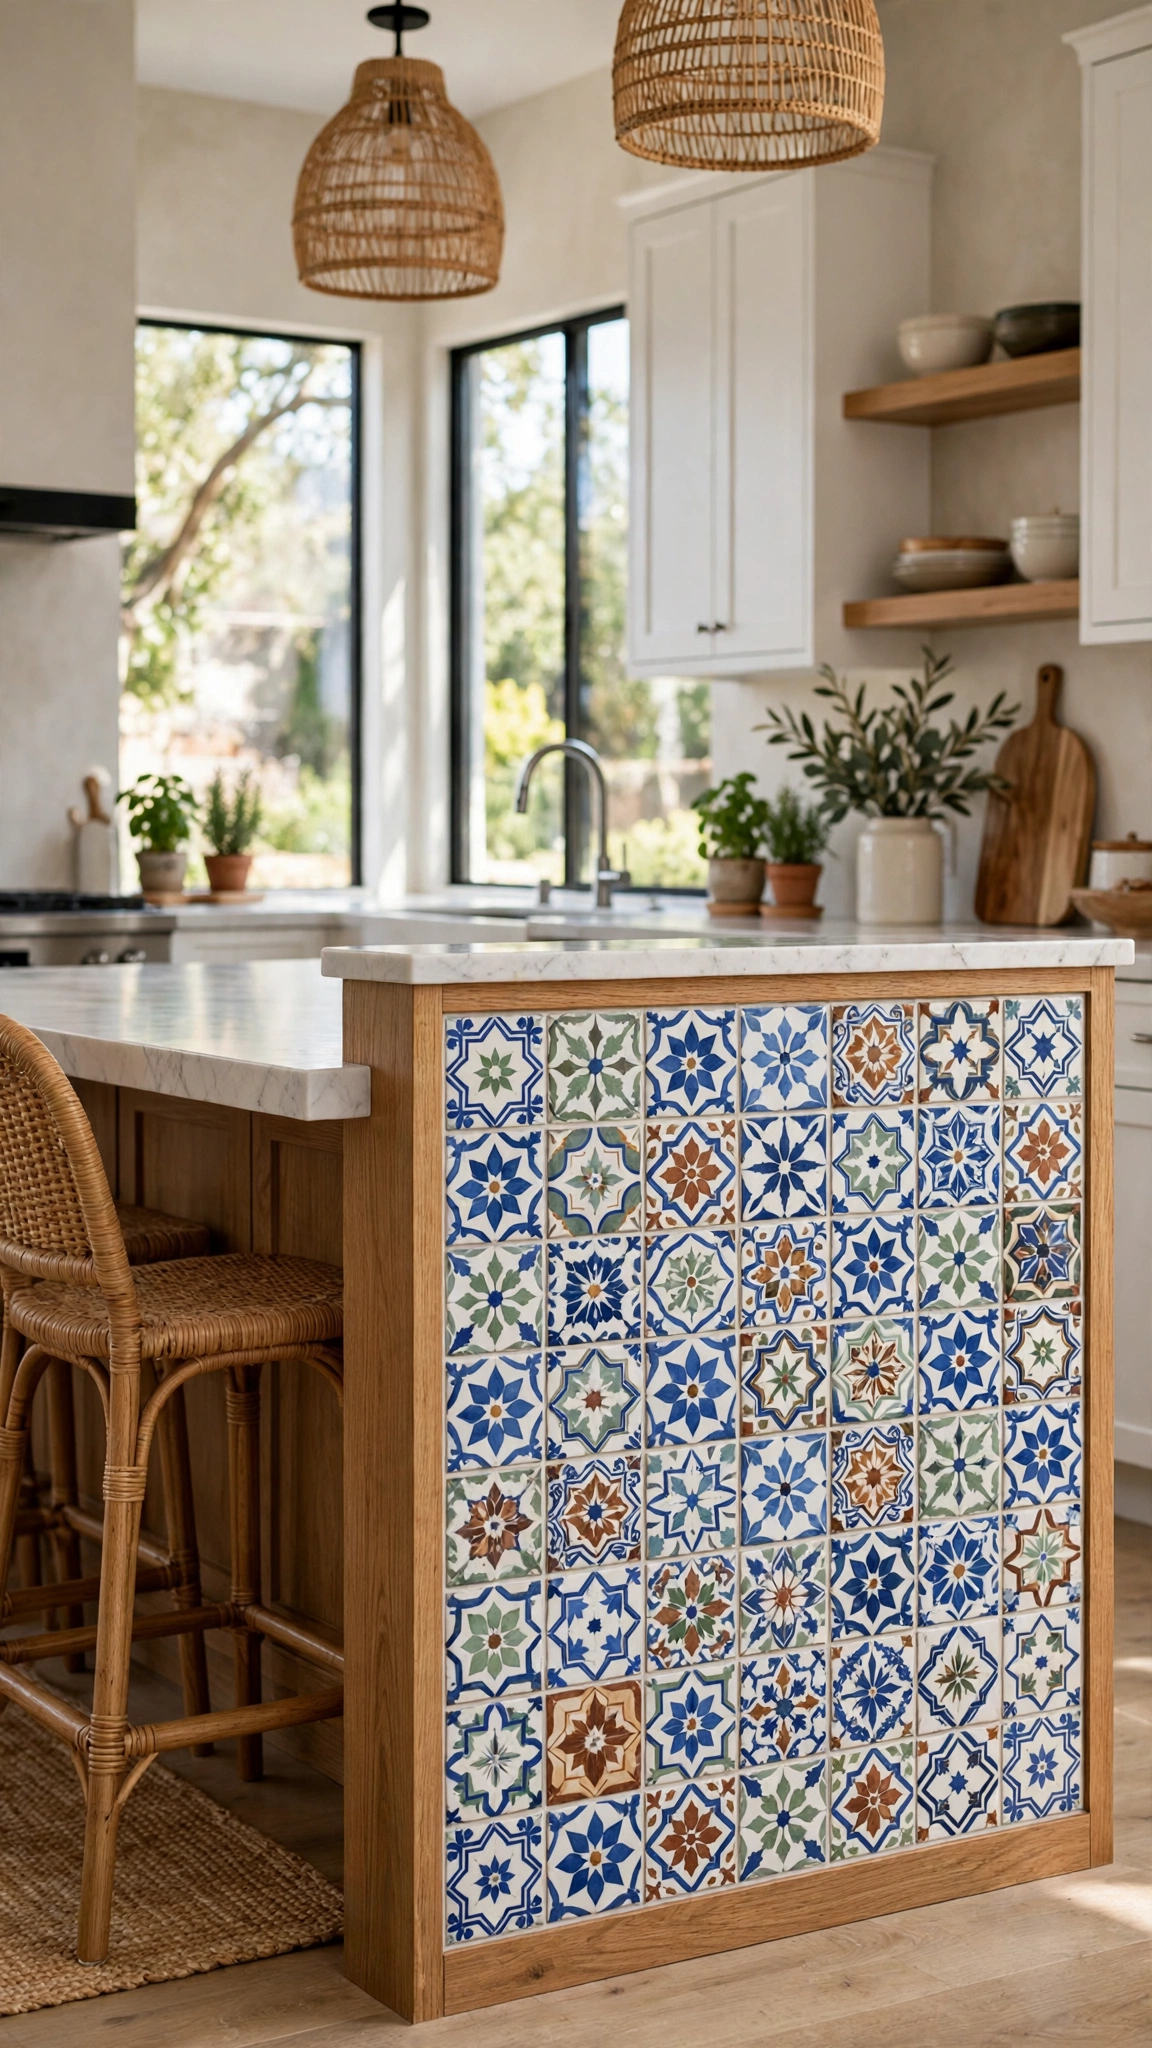
A backsplash panel on the island’s outer face is a design detail most kitchens skip. It turns the side guests see into a feature, instead of leaving it as a flat stretch of cabinet doors.
Patterned tile, beadboard, or a slab of matching stone all work beautifully here. Tile adds colour and pattern, while a stone panel keeps the look calm and seamless with the countertop.
Keep the panel in proportion to the island. One bold panel on a long island looks intentional, while covering every inch in pattern can overwhelm the room.
Tip: Tile is a small change with a big visual payoff, and 21 Unique Tiny Kitchen Backsplash Ideas for a Stylish Upgrade has plenty of patterns to borrow inspiration from.
12. Paint the Island a Bold Colour
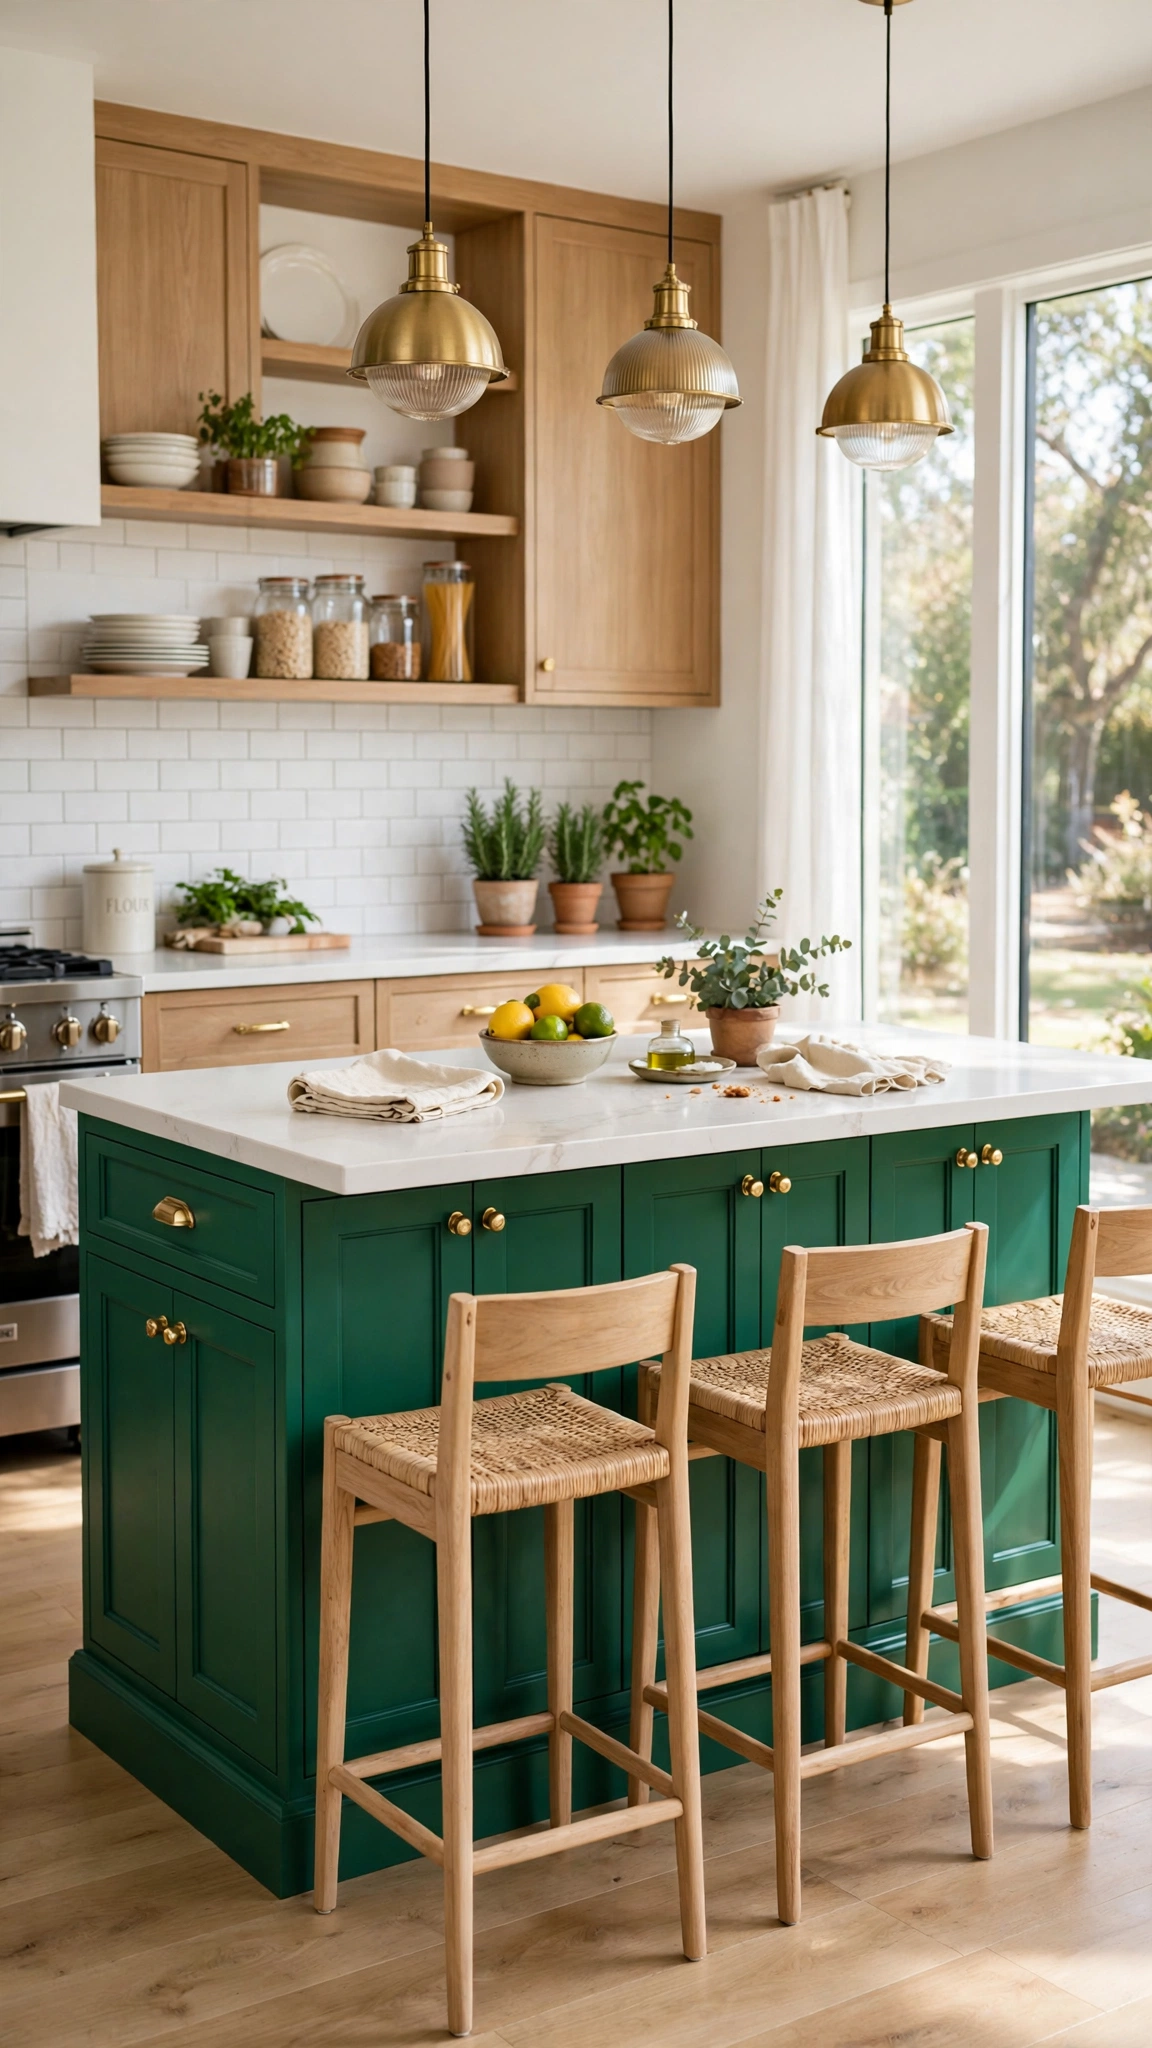
A bold island colour is the fastest way to give a neutral kitchen personality. Emerald green, deep teal, or rich terracotta turns the island into the room’s confident centrepiece.
The trick is balance. Keep the walls, perimeter cabinets, and countertops calm so the colour has room to breathe, and echo it in small touches like a vase, a towel, or a piece of art.
Paint is also forgiving. If you tire of the colour in a few years, repainting one island is a weekend project, not a renovation, so it is a low-risk way to be brave.
Tip: Colour changes how big a kitchen feels, so choose a shade with the same care as the palettes in 28 Gorgeous Tiny Kitchen Color Ideas to Make Your Space Feel Bigger.
13. Keep the Island Sleek and Minimal
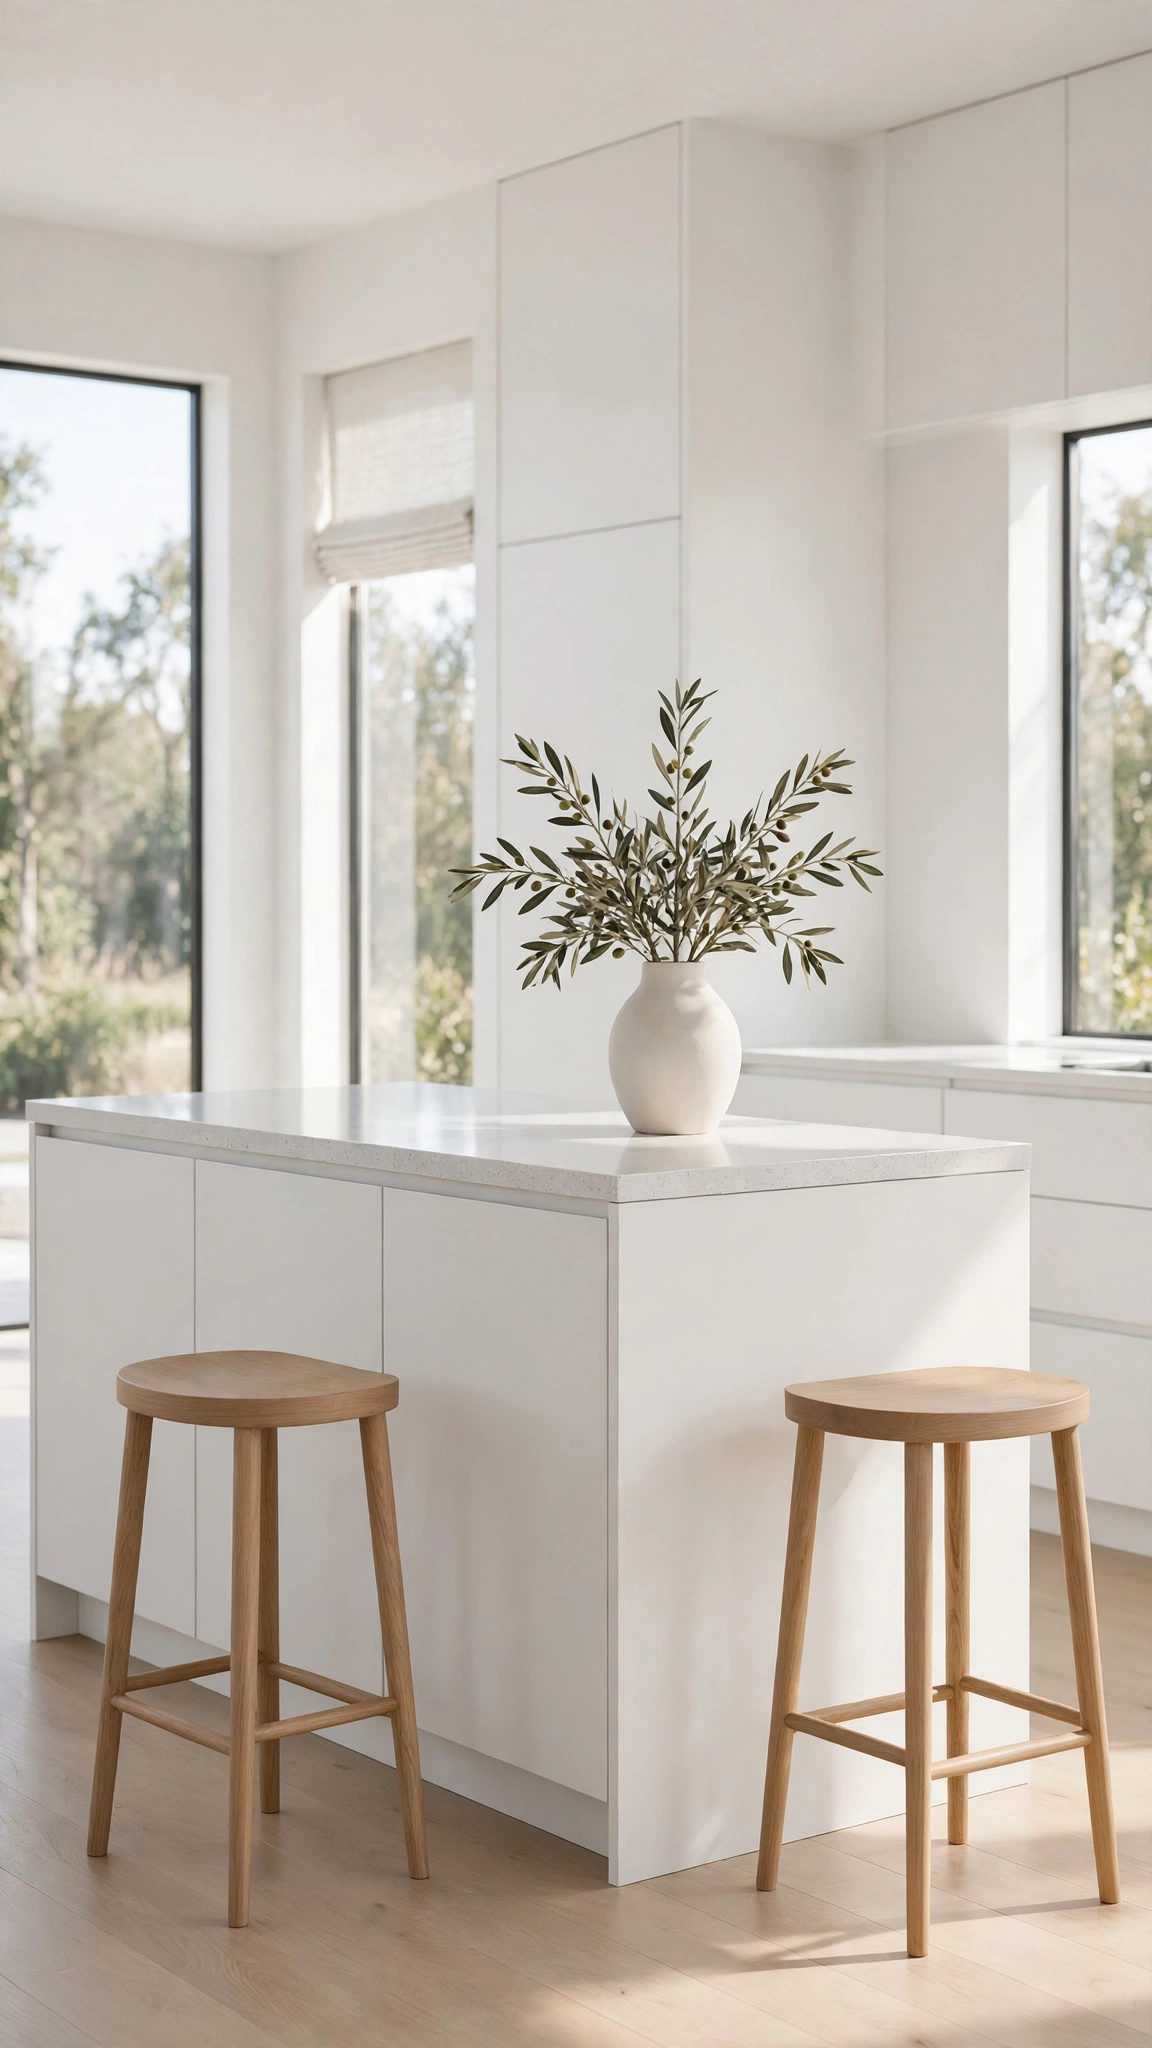
A sleek, minimal island suits kitchens where calm matters more than display. Handleless cabinets, a seamless countertop, and almost nothing on the surface create a quiet backdrop that lets the rest of the room shine.
Minimal does not mean empty of function. Touch-latch drawers, integrated charging, and hidden bins keep everything close at hand while the outside stays clean.
One beautiful object is enough decoration here. A single vase, a sculptural bowl, or a small plant gives the eye somewhere to land without breaking the calm.
Tip: Minimal design works best when storage is handled elsewhere, a principle shared by 29 Trendy Tiny Modern Kitchen Ideas for a Sleek Upgrade.
14. Style the Island on a Budget
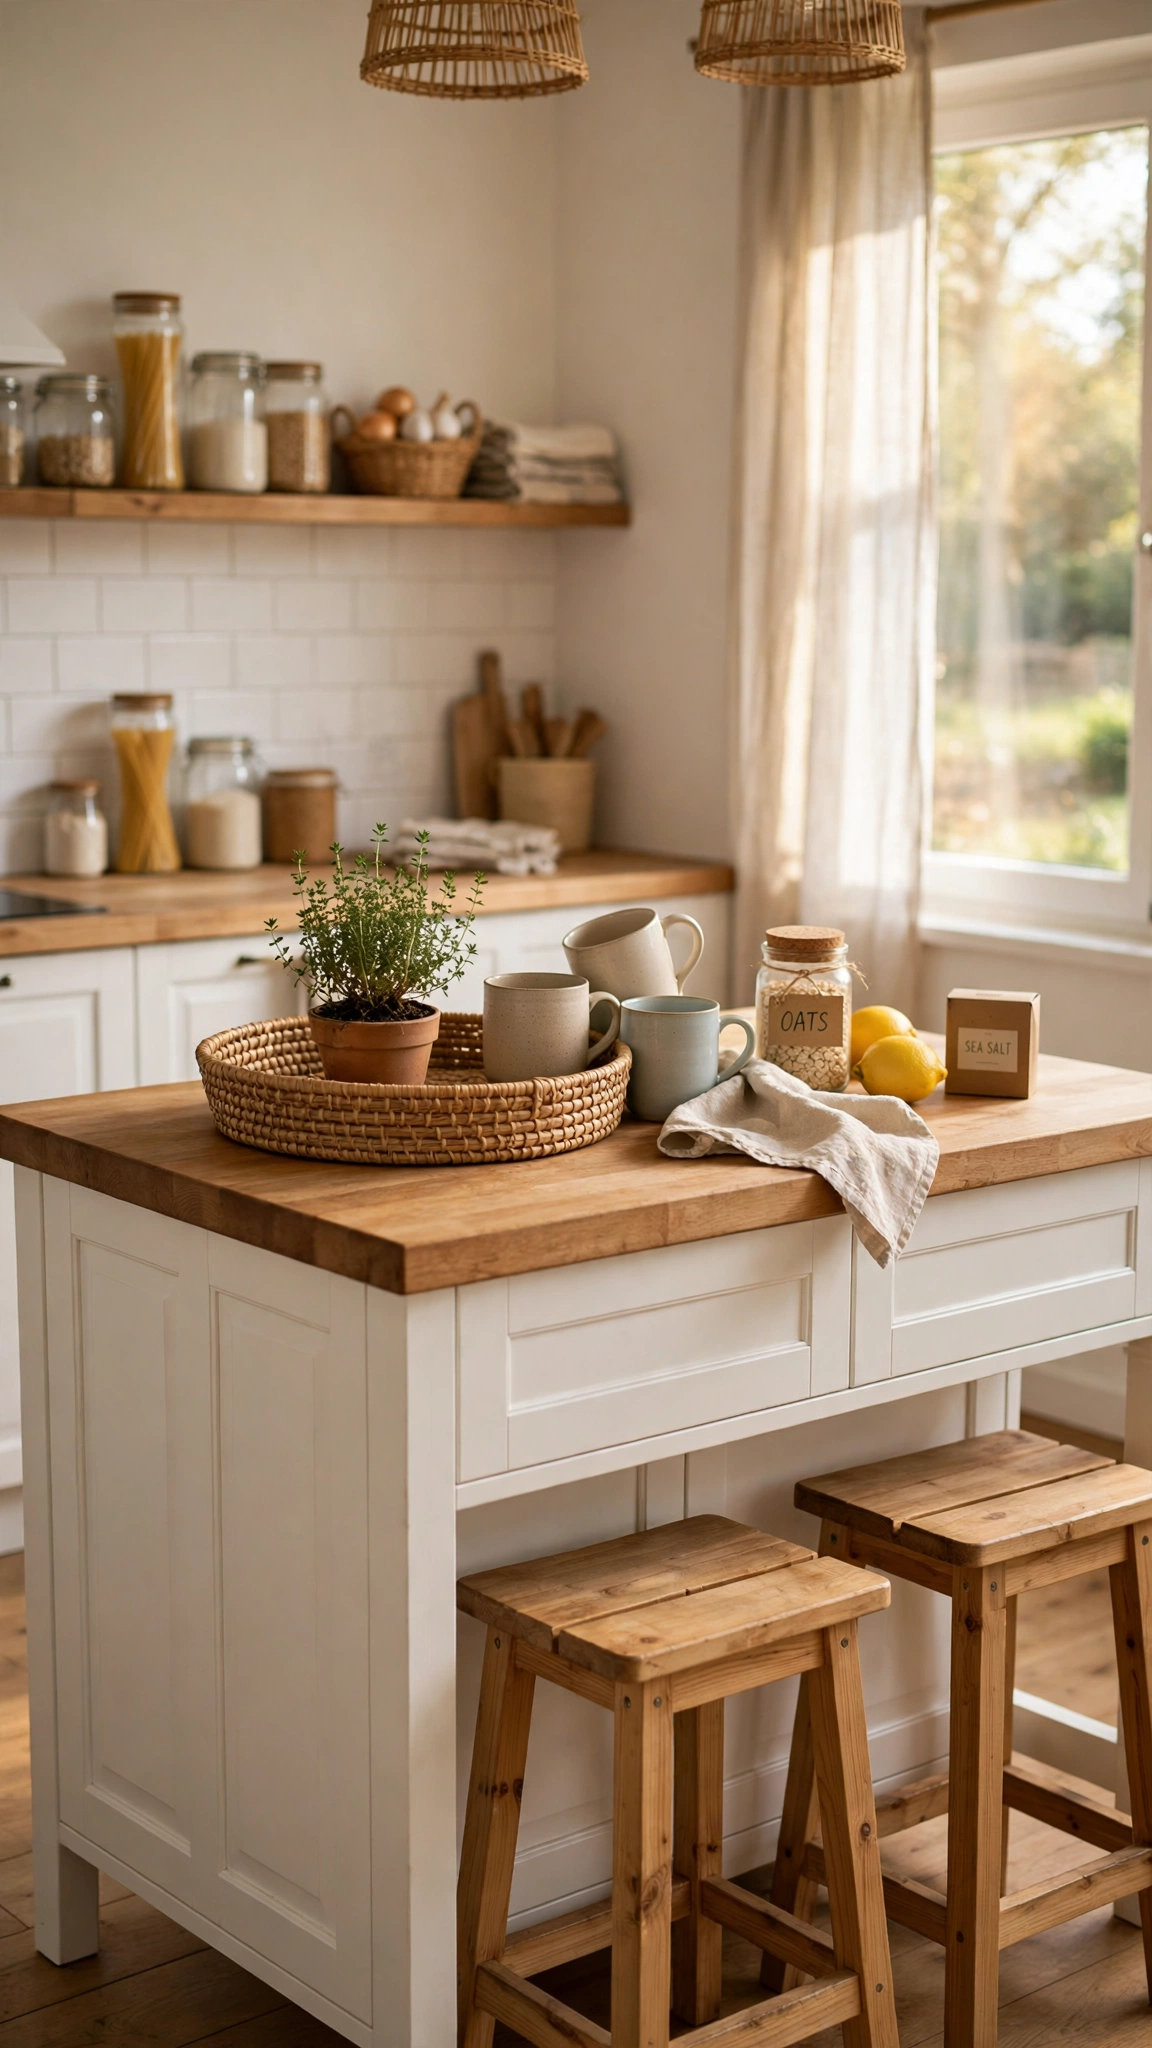
A stylish island does not need a big budget. Paint, new hardware, and thoughtful styling can transform a plain island for far less than replacing it.
Start with what shows most: the countertop styling and the stools. A woven tray to corral oils and salt, a potted herb, and a couple of well-chosen stools change the whole feel of the island in an afternoon.
Secondhand stools and thrifted ceramics add character that new pieces sometimes lack. A coat of paint ties mismatched finds together into one intentional look.
Tip: Budget styling pairs well with budget decorating throughout the kitchen, like the ideas in How to Decorate a Tiny Kitchen on Any Budget.
15. Keep the Island Clutter-Free
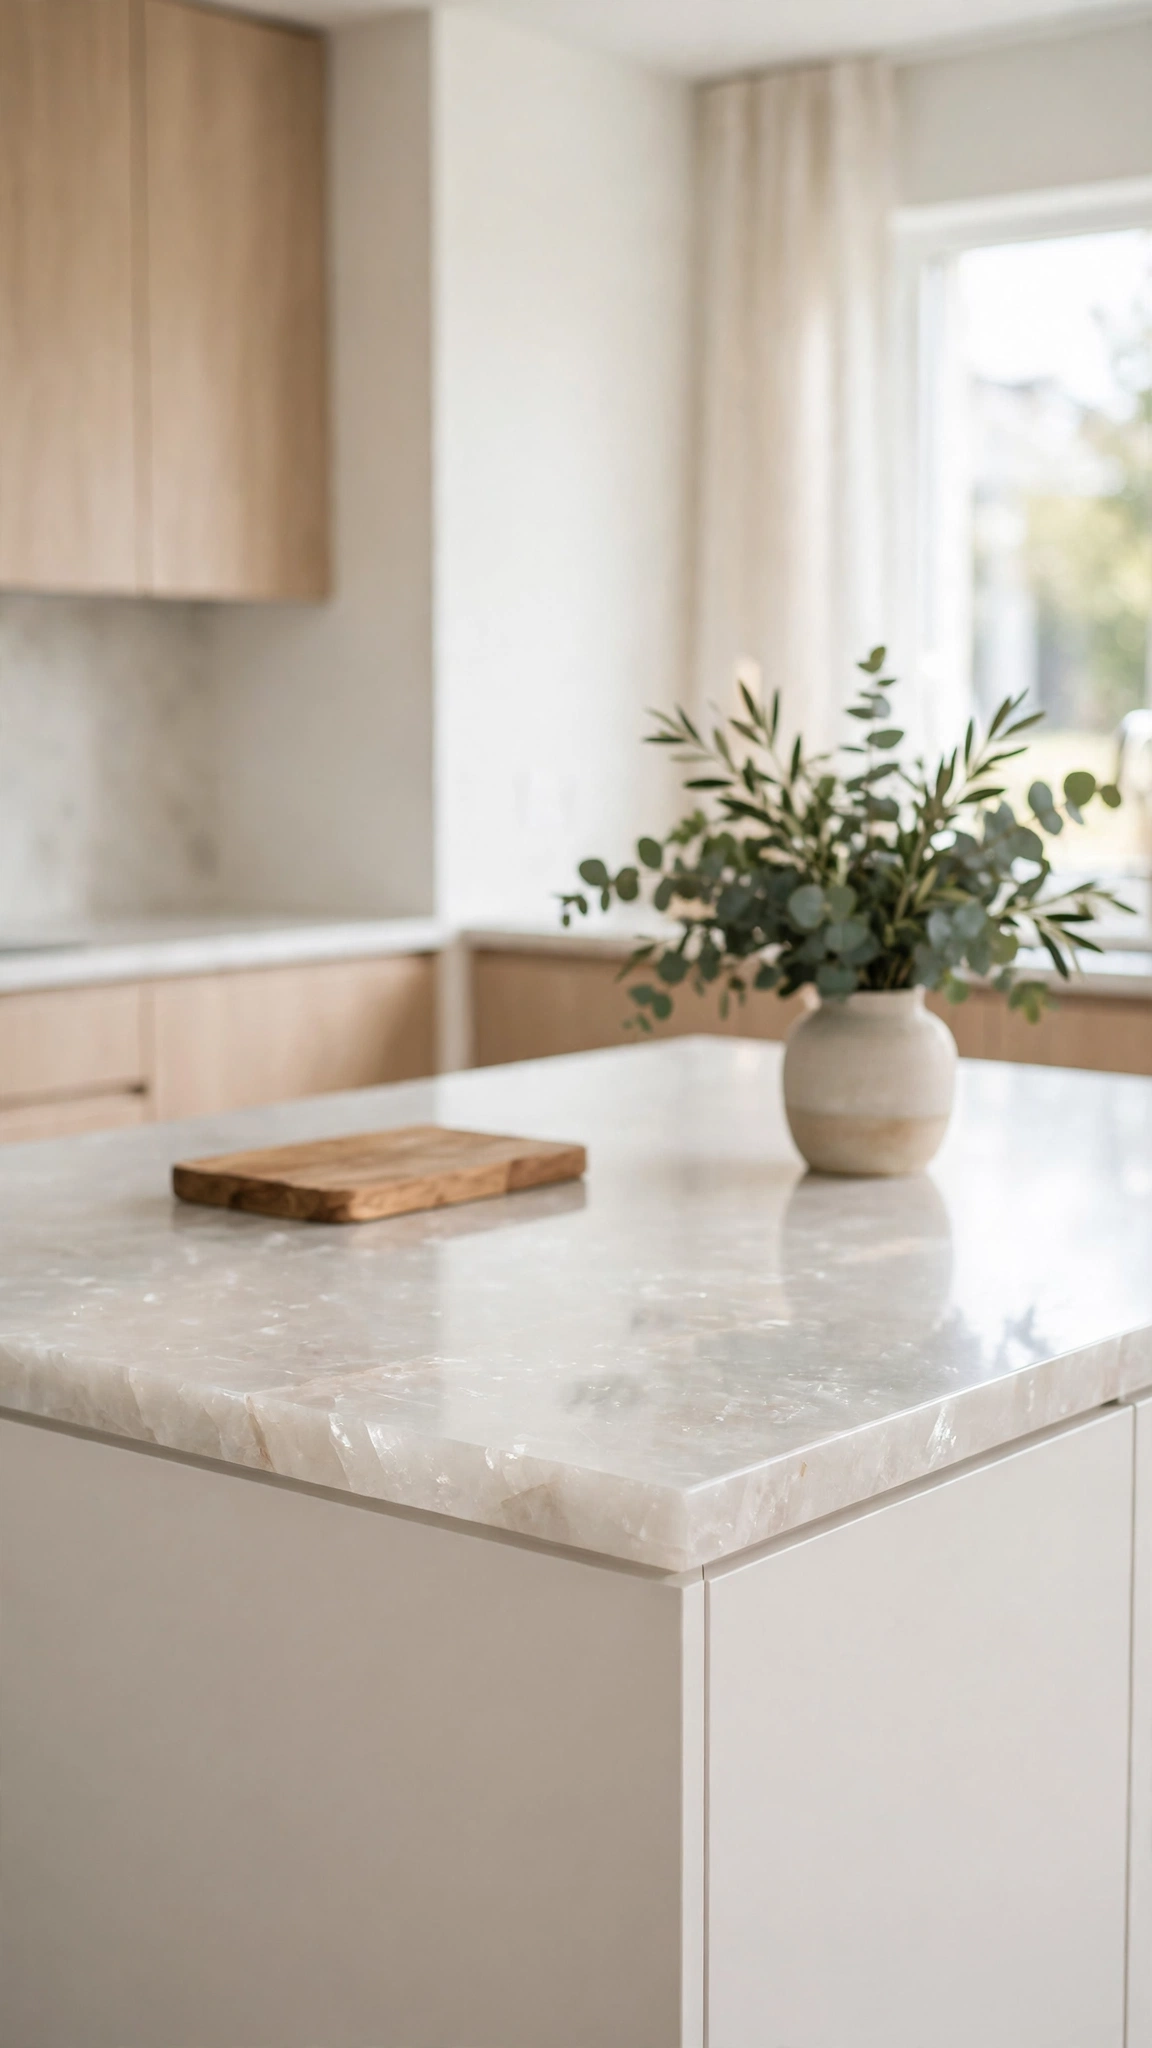
The best island design in the world fails if the surface is always covered in clutter. A clear island is easier to cook on, nicer to sit at, and far more inviting to walk past.
Give everything a home off the counter. Mail, keys, and school papers belong in a drawer or a basket by the door, not piled on the island where cooking happens.
A daily reset makes the biggest difference. Two minutes each evening to clear the island and wipe it down means every morning starts with a clean, usable surface.
Tip: A clear counter starts with ruthless editing, the same habit taught in How to Declutter a Tiny Kitchen Without Losing Functionality.
16. Organize a Pantry Zone in the Island

A pantry zone in the island keeps dry goods within arm’s reach of the cooking action. Pull-out drawers or a narrow cabinet filled with labelled jars means no more trekking to a distant pantry mid-recipe.
Clear containers make the zone work. When you can see flour, rice, and spices at a glance, you shop less, waste less, and cook faster.
Group items by how you cook, not just by type. Baking supplies together, weeknight staples together, and spices near the stove end of the island turns the pantry zone into a real cooking station.
Tip: A well-planned island pantry works like a professional setup, following the same system as How to Organize a Tiny Kitchen Pantry Like a Pro.
Conclusion
The right island design does more than fill the middle of your kitchen: it shapes how you cook, gather, and start each day. Pick the ideas that fit your space and your habits, and your island will become the stylish, hardworking heart of your home.