13 Stunning Kitchen Renovation Ideas That Transform Your Space Without Overspending

A full kitchen renovation sounds expensive, but the truth is that most of the transformation comes from a handful of smart, well-chosen changes rather than a gut remodel. The kitchens that look the most expensive are rarely the ones with the biggest budgets — they are the ones where every update was chosen with intention.
The secret is knowing where to spend and where to save: keep what already works, upgrade what your eyes land on first, and let paint, hardware, and lighting do the heavy lifting. Ready to see how far a modest budget can really go?
1. Keep the Layout, Change the Look

Moving plumbing and walls is where renovation budgets go to die, so the single biggest money saver is leaving your layout exactly where it is. When the sink, stove, and fridge stay put, you skip the plumber, the electrician, and the permit costs all at once.
Instead, pour that saved money into the surfaces you actually see every day. Fresh cabinet paint, new hardware, and a new backsplash can make the same footprint feel like a completely different room.
Walk your kitchen and note what genuinely bothers you versus what you have simply grown used to. Most of the time, the layout is fine — it is the finishes that are tired.
Tip: Before you commit to moving anything, study how designers style small rooms to feel bigger — the same spatial tricks in how to design a small teen bedroom that feels bigger apply to a cramped kitchen layout too.
2. Paint the Cabinets for Instant Impact
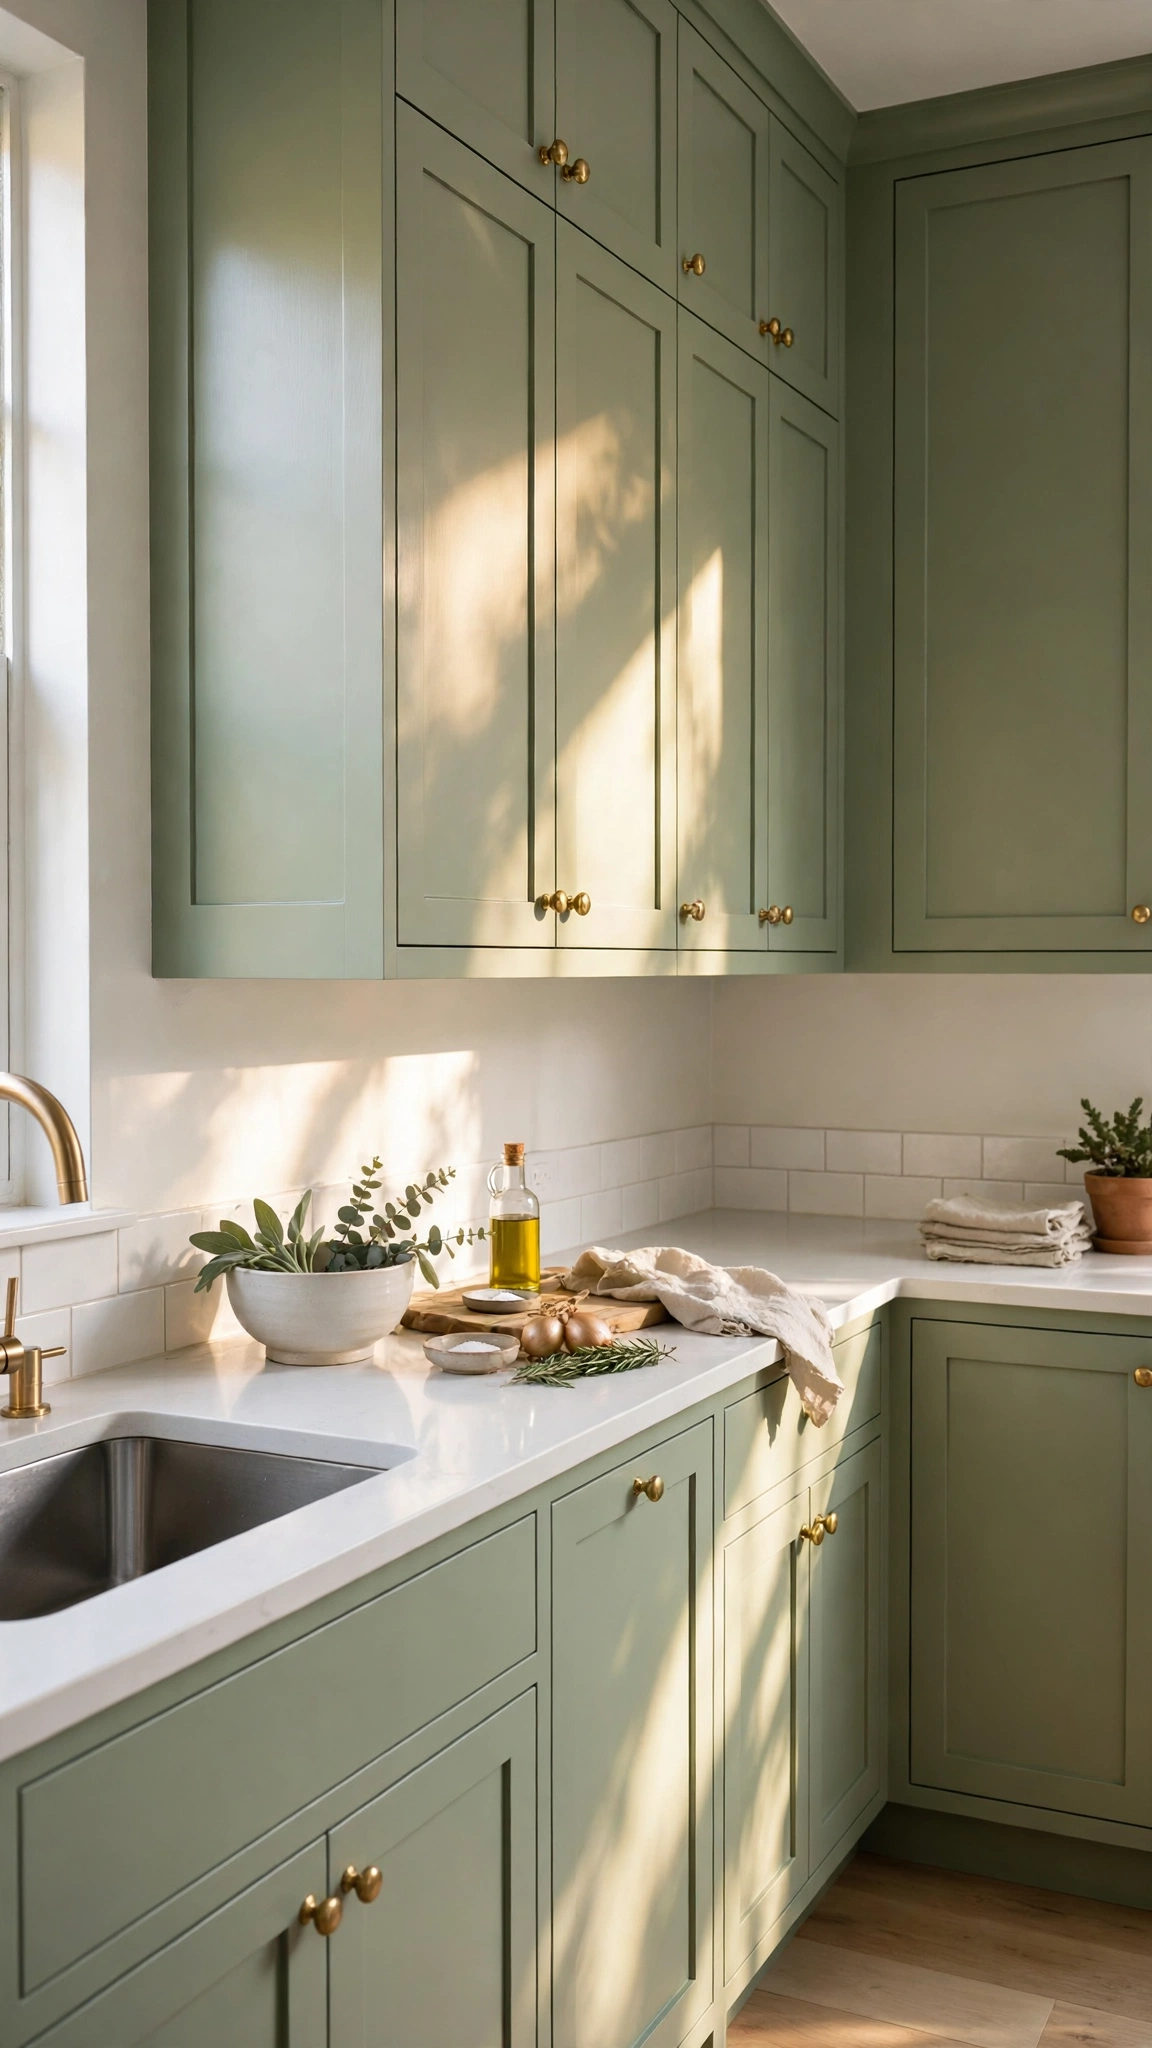
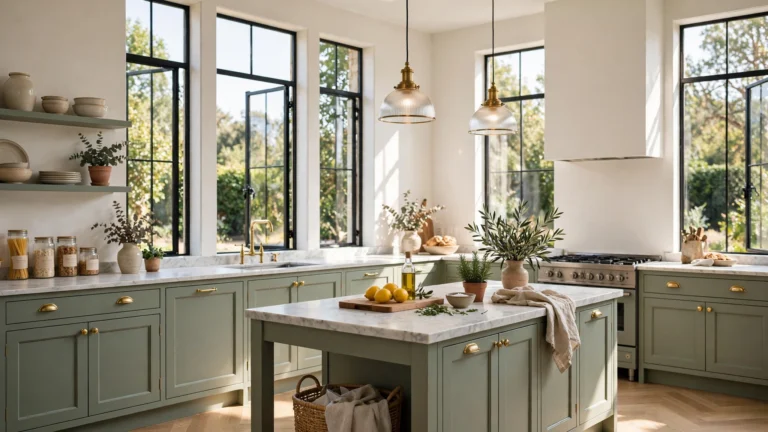
Nothing transforms a kitchen faster than cabinet paint. A dated oak or dark-stained kitchen can become soft sage, warm white, or deep navy in a single weekend, for the price of paint, primer, and a good brush.
The key is preparation: clean thoroughly, sand lightly, prime properly, and use a durable cabinet-grade paint. Skipping prep is what makes painted cabinets chip — doing it right makes them last for years.
Choose a color that works with your existing counters and floors rather than fighting them. A soft neutral on the perimeter with a bolder island color gives you a designer two-tone look for the same effort.
Tip: If you want the paint to read as intentional rather than a cover-up, borrow the designer styling logic from how to style a modern teen bedroom like a designer and pick one confident color story for the whole room.
3. Swap the Hardware, Not the Cabinets
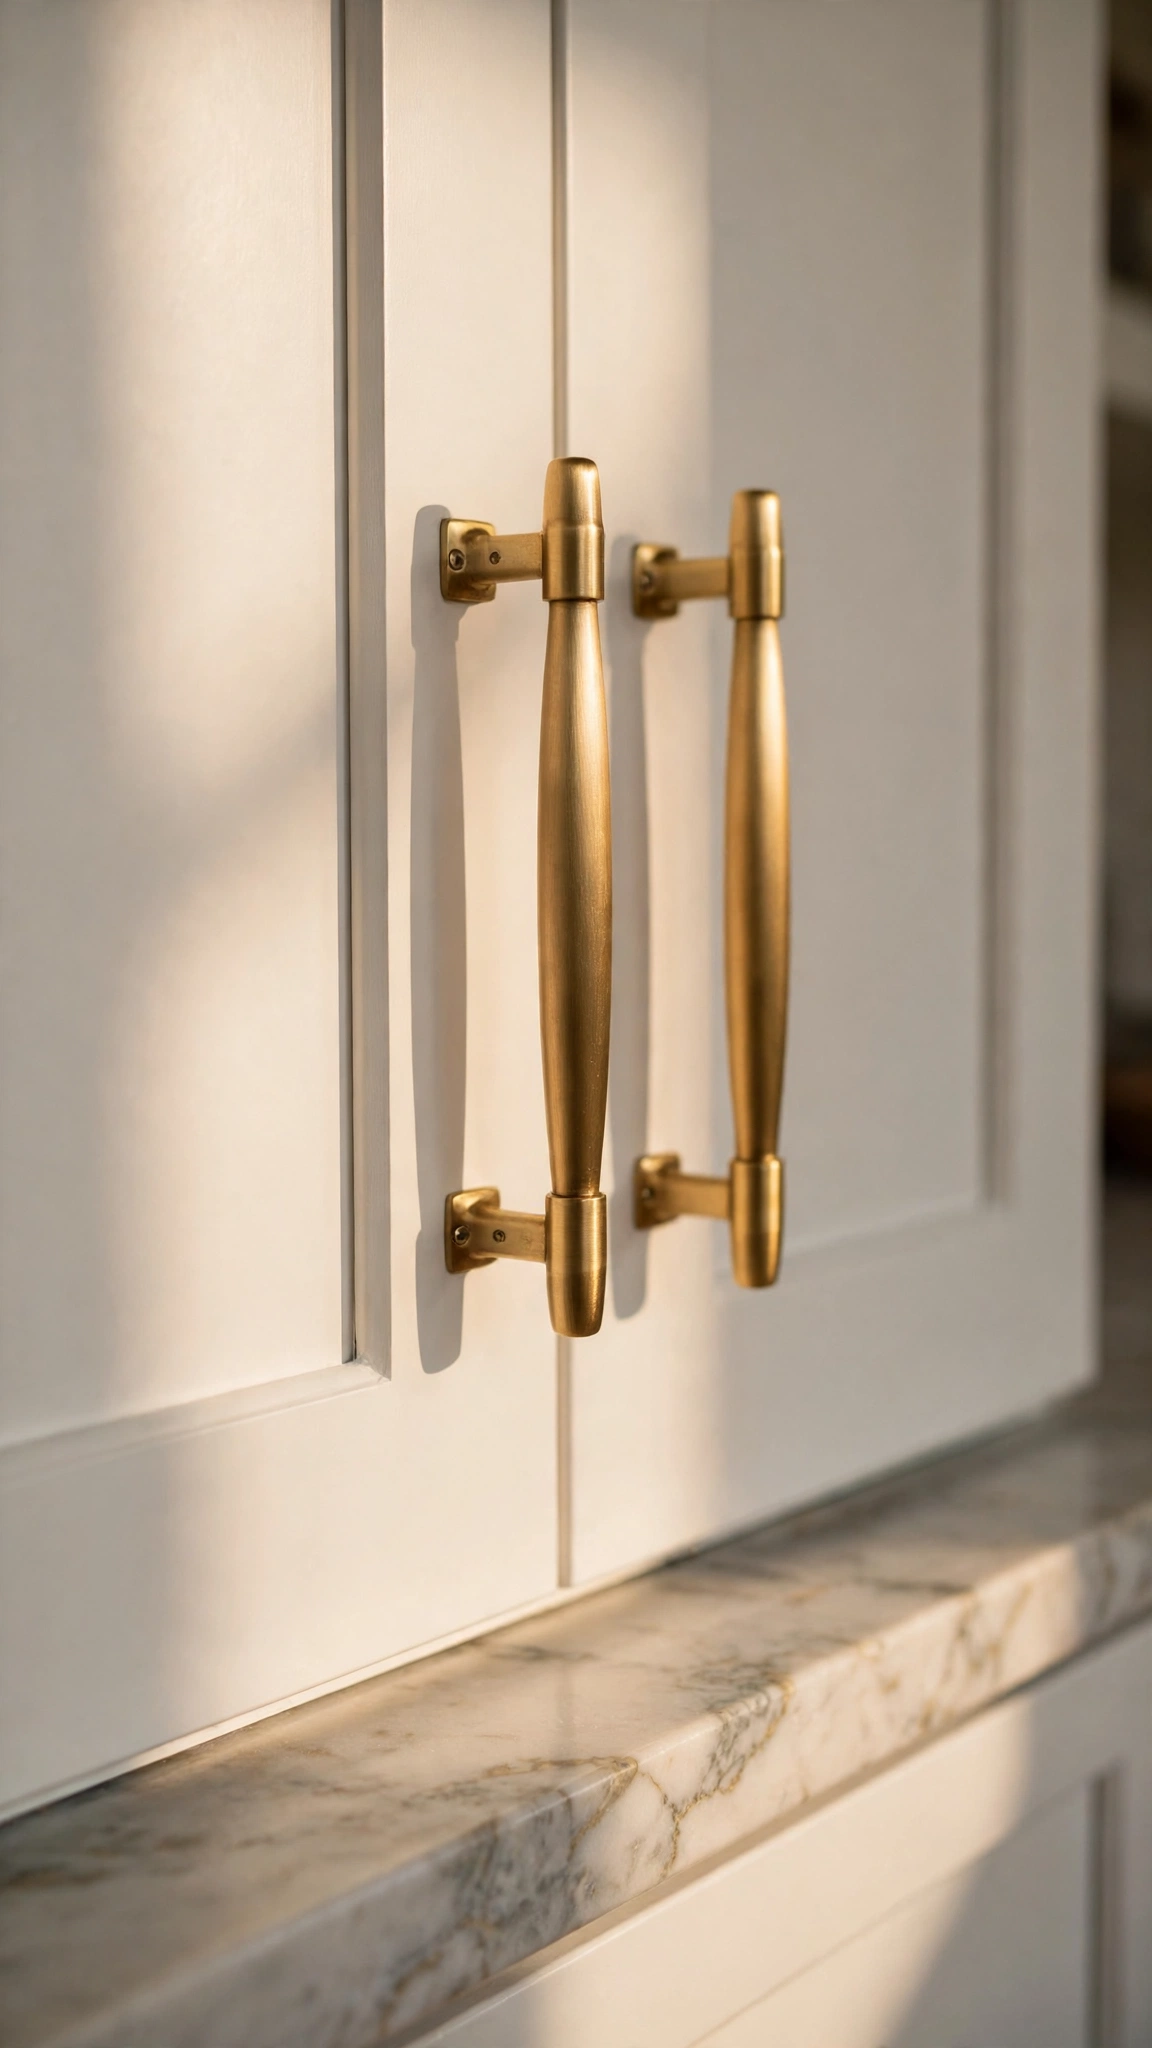
Hardware is the jewelry of the kitchen, and it costs a fraction of new cabinetry. Swapping dated knobs for slim brass bar pulls or matte black handles instantly updates the whole room.
Measure your existing hole spacing before you shop so you can reuse the same holes and skip drilling entirely. Most pulls come in standard 3.75-inch or 5-inch spacings that match older cabinets.
Mixing finishes is fine if you keep it deliberate — for example, brass pulls with a black faucet — but limit yourself to two metals so the room still feels cohesive.
Tip: Treat hardware like the finishing layer it is: the budget-first styling approach in how to decorate a teen bedroom on a budget without sacrificing style shows how small, well-chosen details carry an entire room.
4. Upgrade the Backsplash on a Budget

The backsplash is a small area with an outsized visual payoff, which makes it one of the best places to spend a little and gain a lot. Classic white subway tile is timeless, cheap, and easy to install yourself.
If tiling feels intimidating, peel-and-stick tiles have come a long way and look convincing from normal viewing distance. They are also renter-friendly and easy to change later.
For a more custom feel, run the tile all the way to the ceiling behind the range or choose a handmade-look tile with slight color variation. A small area of special tile costs very little but reads as a deliberate design moment.
Tip: A backsplash is basically wall decor for the kitchen, so take cues from 24 gorgeous teen bedroom wall decor ideas to transform blank walls and treat that strip of wall as your chance to add personality.
5. Layer the Lighting for a High-End Feel

Lighting is the difference between a kitchen that looks flat and one that looks expensive. Most kitchens rely on a single overhead fixture, which is the least flattering option available.
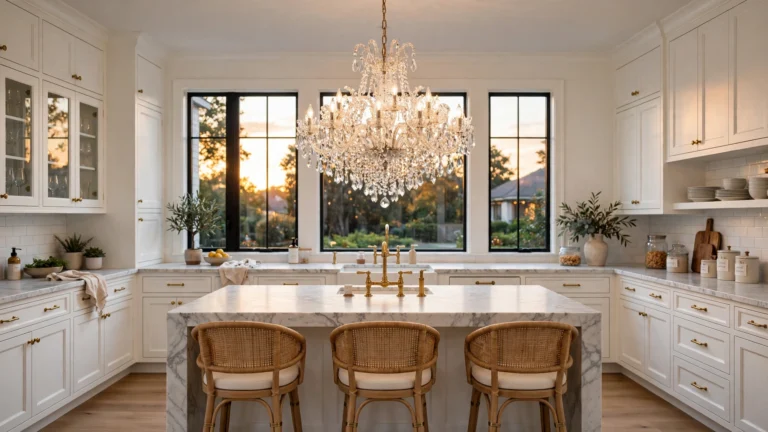
Layer three types instead: task lighting under the cabinets, pendants over the island, and a dimmable overhead for general light. Battery-powered LED strips make under-cabinet lighting a no-electrician job.
Warm bulbs around 2700K make wood, brass, and food all look better, and a dimmer switch costs a few dollars while giving you instant control over the mood.
Tip: Good light changes how every other update reads, so plan your layers the way 27 stunning kitchen window ideas to brighten your cooking space uses daylight — brightness first, then warmth on top.
6. Reface Instead of Replacing
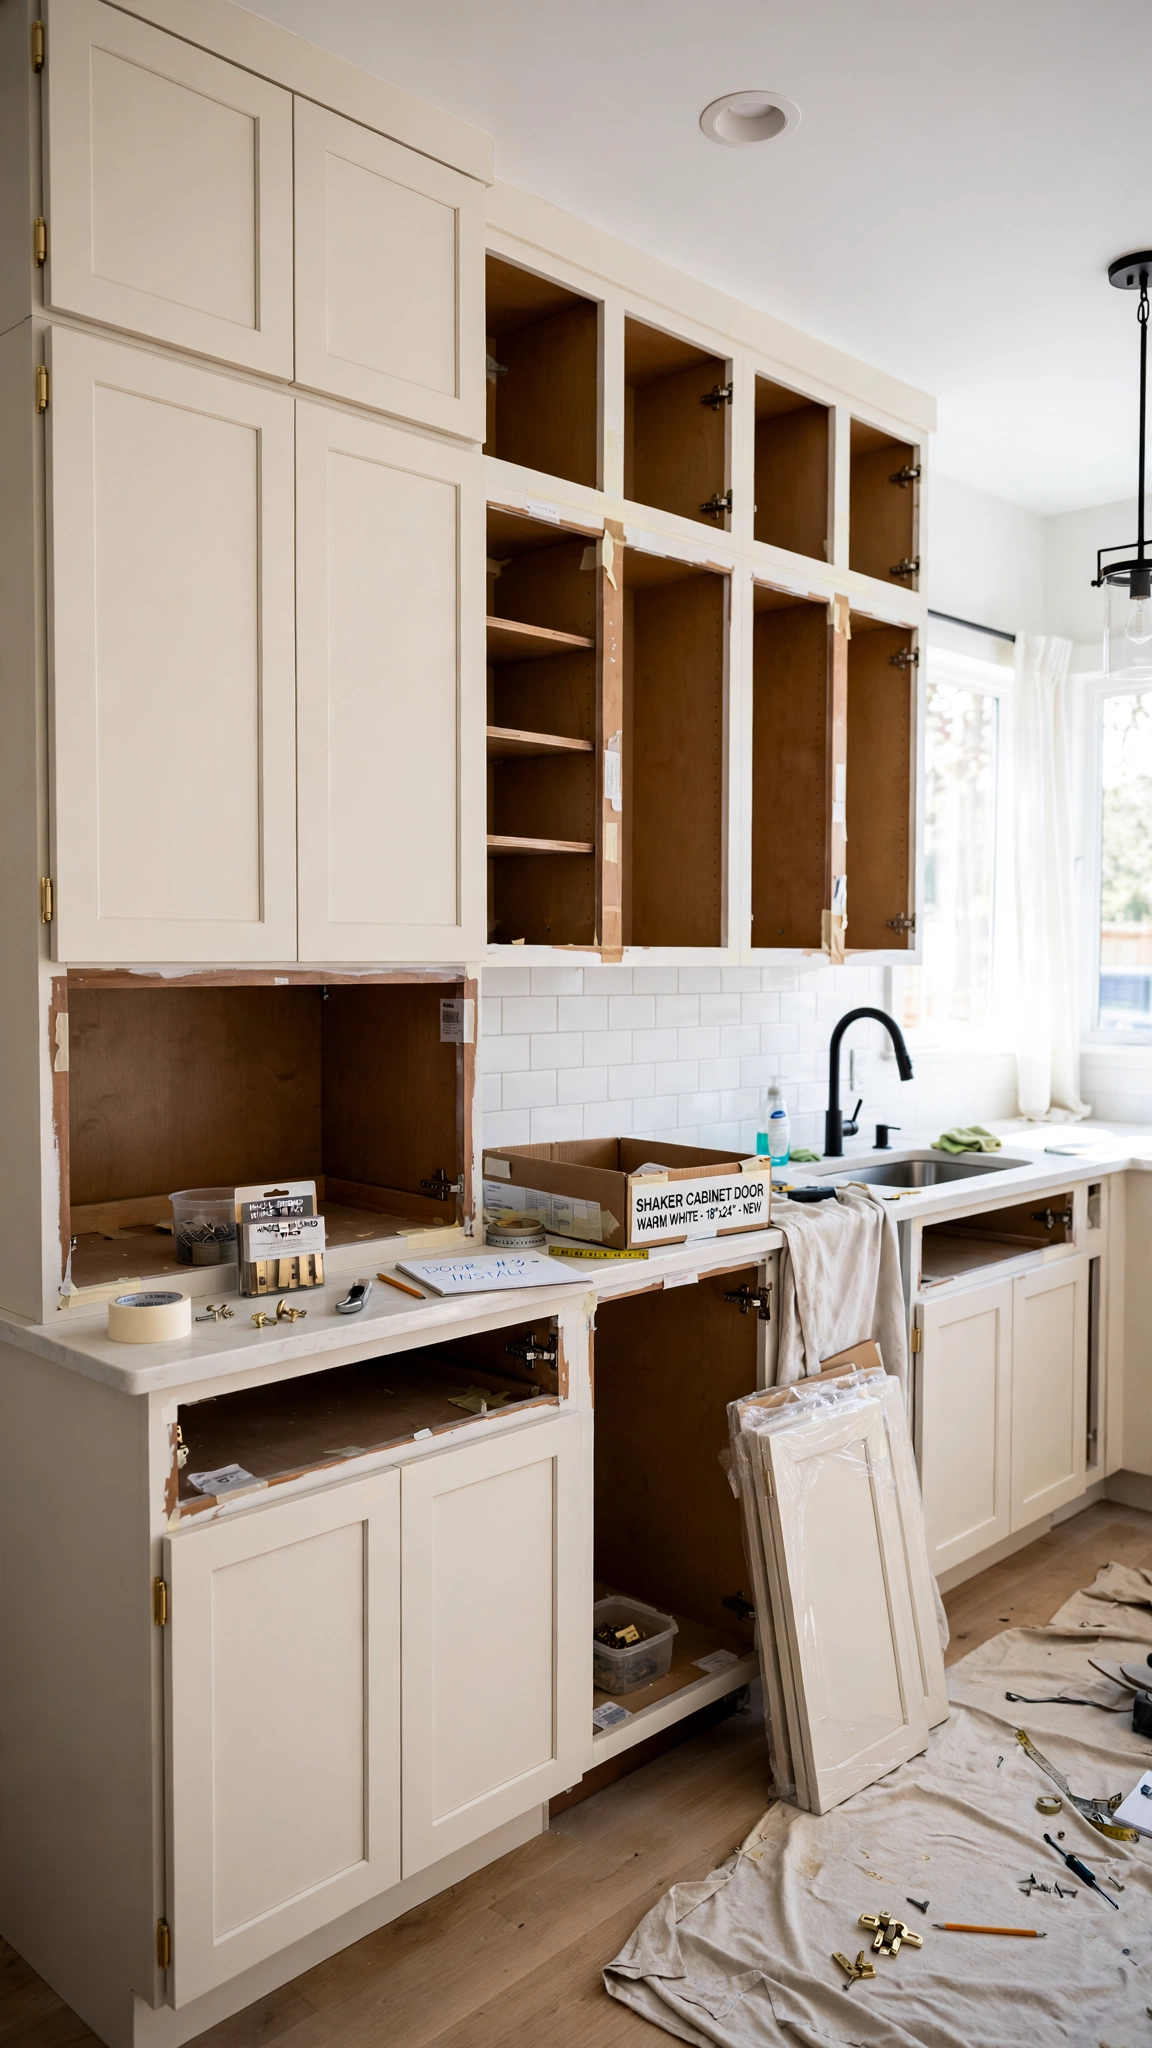
When your cabinet boxes are solid but the doors are dated, refacing gives you new-cabinet looks at roughly a third of replacement cost. New door fronts, drawer fronts, and matching veneer on the visible box edges are all it takes.
Shaker-style doors are the safest choice because they suit almost any home and never look trendy. Order samples first to check the color against your counters in your own light.
Refacing also keeps your kitchen usable during the project, since the boxes stay put and the work is mostly a swap rather than a demolition.
Tip: Refacing is a classic budget-savvy move, and the same refresh-for-less mindset runs through how to make a teen bedroom look aesthetic on any budget — spend where the eye lands, save everywhere else.
7. Refresh the Sink Window Zone

The sink window is the spot you stare at most while cooking, so it deserves more attention than it usually gets. A new faucet, a clean sill, and a simple window treatment can turn a chore zone into a favorite view.
A gooseneck faucet in a brushed finish updates the whole sink area in under an hour, and most models connect to existing supply lines with basic tools.
Add a small plant or a pretty soap dispenser, keep the sill uncluttered, and let the daylight do the rest. This is the cheapest luxury in the entire kitchen.
Tip: For more ways to make this spot shine, browse 26 genius kitchen window over sink ideas to upgrade your view and pick one or two upgrades that fit your window.
8. Add Open Shelving in One Spot

Removing one upper cabinet and replacing it with open shelves makes a kitchen feel larger and more custom in an afternoon. The trick is restraint: one run of shelves, not a whole wall.
Style them with everyday items you actually use — stacked bowls, glasses, a plant — rather than buying decorative objects. Shelves that hold real things look intentional; shelves full of props look staged.
Keep the shelf count to two or three and leave breathing room between objects. Crowded shelves read as clutter, while spaced shelves read as design.
Tip: Open shelves only work if the rest of the kitchen stays tidy, so pair them with the decluttering systems in how to organize a teen bedroom for a clutter-free space and give everything a home first.
9. Update the Faucet and Fixtures

Faucets, cabinet pulls, and light fixtures are the touch points of the kitchen, and updating them together creates a coordinated feel for a few hundred dollars total. Pick one finish family and repeat it.
A pull-down faucet with a magnetic dock is both a practical upgrade and a visual one, and it installs with the same connections as the faucet it replaces.
While you are at it, swap any dated light fixture shades for simple glass or metal ones. Fixtures are often the most obviously dated element in an otherwise fine kitchen.
Tip: A fresh, modern look starts with the fixtures, and 24 gorgeous modern kitchen window ideas for a fresh updated look shows how one modern element can set the tone for the whole room.
10. Bring in Warmth with Wood and Textiles
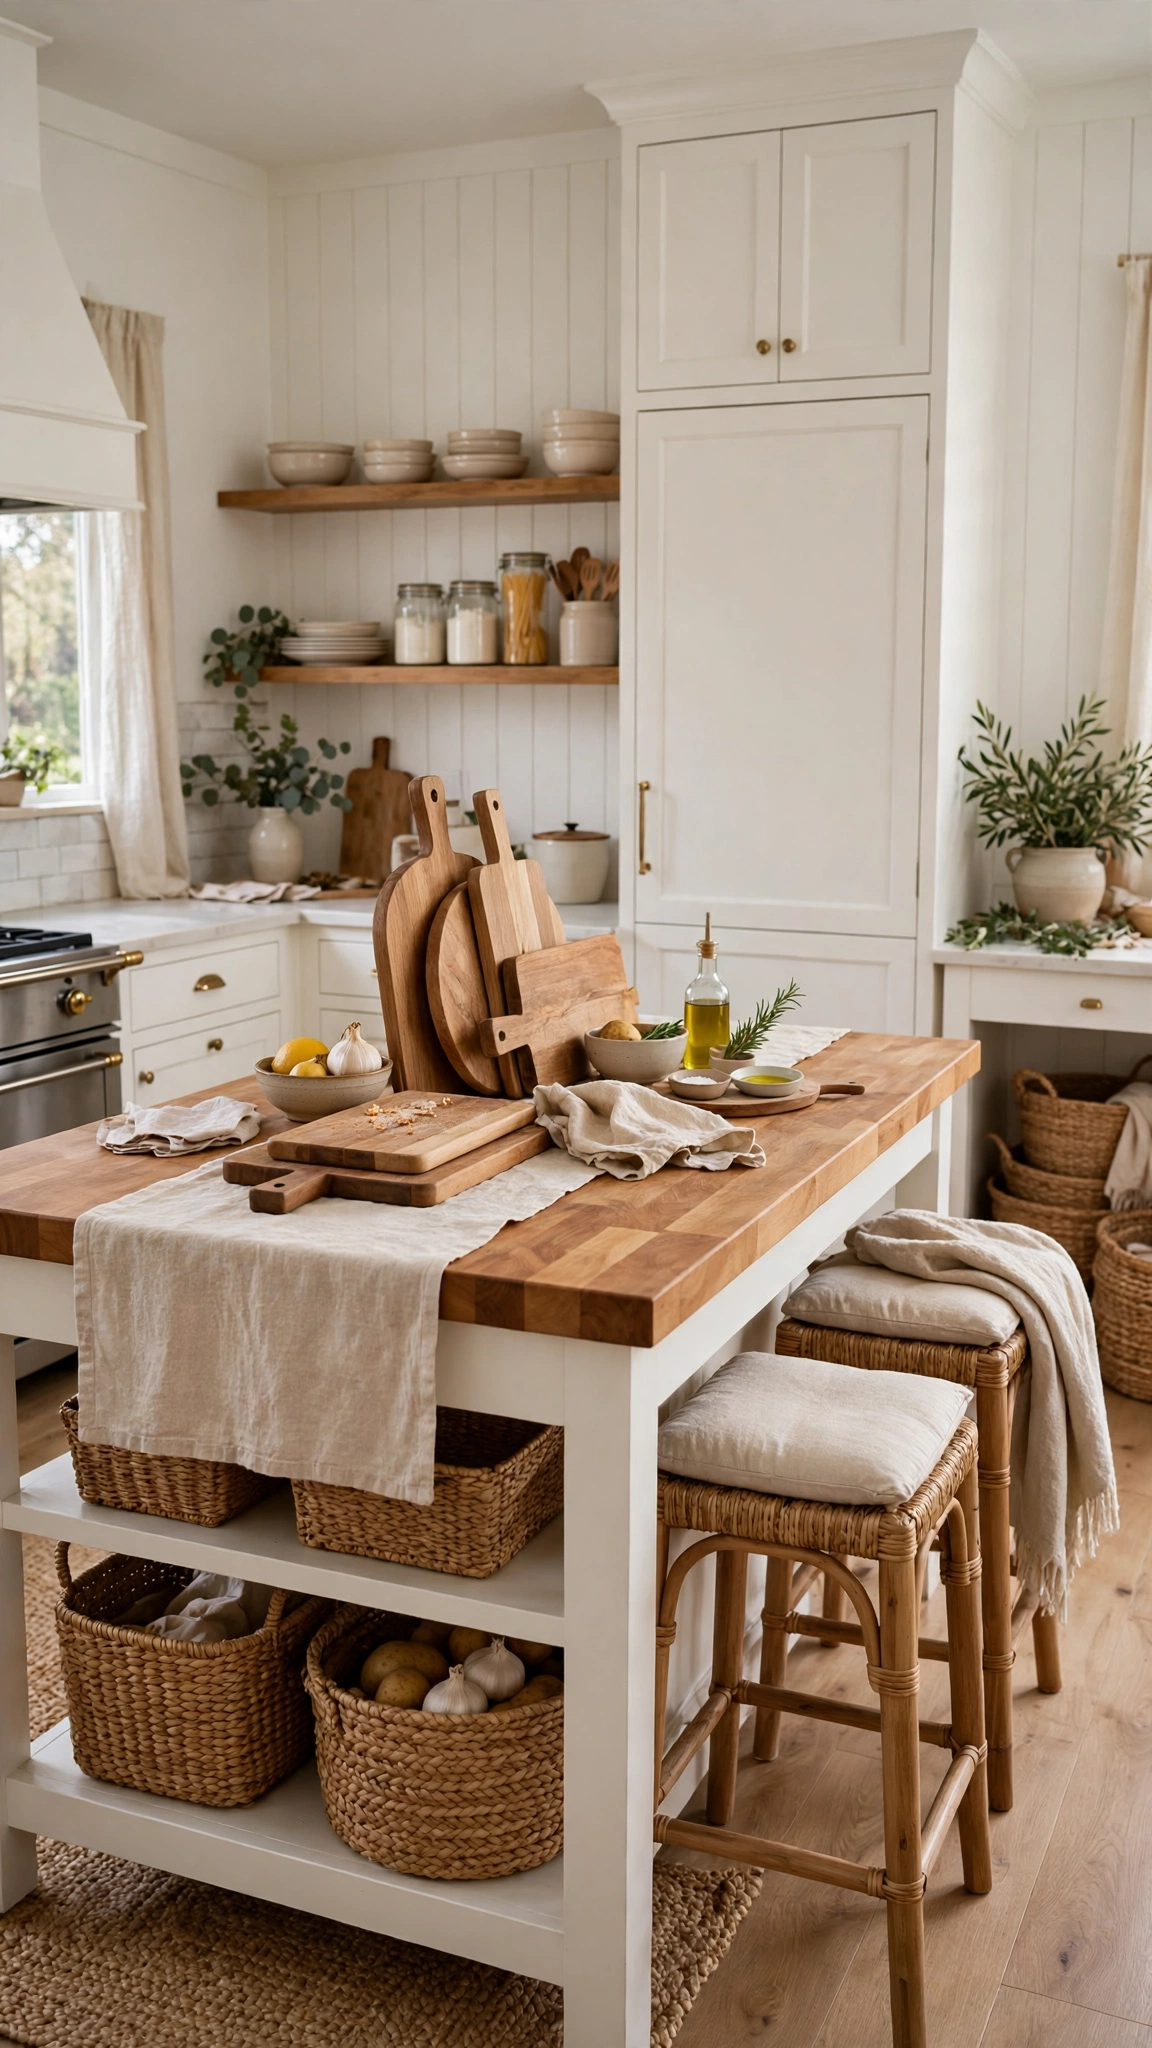
All-white kitchens can feel cold after a renovation, and the fix is warmth, not more white. A butcher-block island top, wooden boards, and a washable runner add instant coziness.
Textiles are the lowest-cost warmth available: a linen towel, a woven basket for produce, and a rug that can go in the washing machine. They soften hard surfaces and hard edges alike.
Wood tones also bridge old and new beautifully, which matters when you are keeping some original elements. A warm board leaning against the backsplash ties dated floors to fresh cabinets in one move.
Tip: Coziness is a layering skill, and how to create a cozy teen bedroom with simple decor ideas proves that soft textures and warm materials do more than any big purchase.
11. Declutter the Counters Completely

The fastest free renovation is removing everything from the counters. A clear counter instantly makes a kitchen look bigger, cleaner, and more expensive — no purchase required.
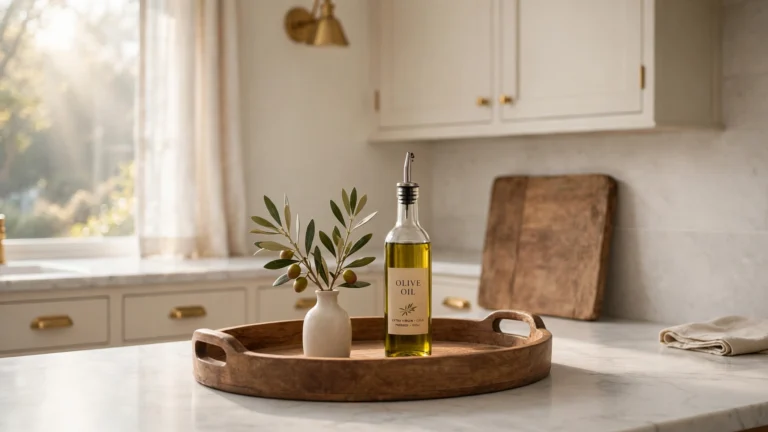
Keep out only what you use daily, and give the rest a real home: appliances in a cabinet, utensils in a drawer organizer, oils on a small tray by the stove. The goal is a counter that can be wiped in thirty seconds.
Once the counters are clear, you will see your kitchen honestly for the first time, and you may find you need fewer updates than you thought.
Tip: A calm, clear surface is the heart of a minimalist look — the same principle behind 20 simple minimalist teen bedroom ideas for a clean and calm vibe works just as well on a kitchen counter.
12. Add Trim and Molding Details

Trim is the detail that separates builder-grade from custom. Crown molding above the cabinets, a simple frame molding on flat island panels, or a new baseboard costs little but reads as craftsmanship.
Pre-primed molding from a home store cuts with a basic miter box, and caulk plus paint hide imperfect joints. Start with the most visible wall and stop when it looks finished, not fussy.
One caution: molding works best when it matches the style of your home. Simple, clean profiles suit modern kitchens, while more detailed profiles suit traditional ones.
Tip: Personality lives in these small details — how to decorate a teen bedroom that reflects their personality is a good reminder that a room should feel like yours, not like a showroom.
13. Finish with a Focal Wall or Statement Piece
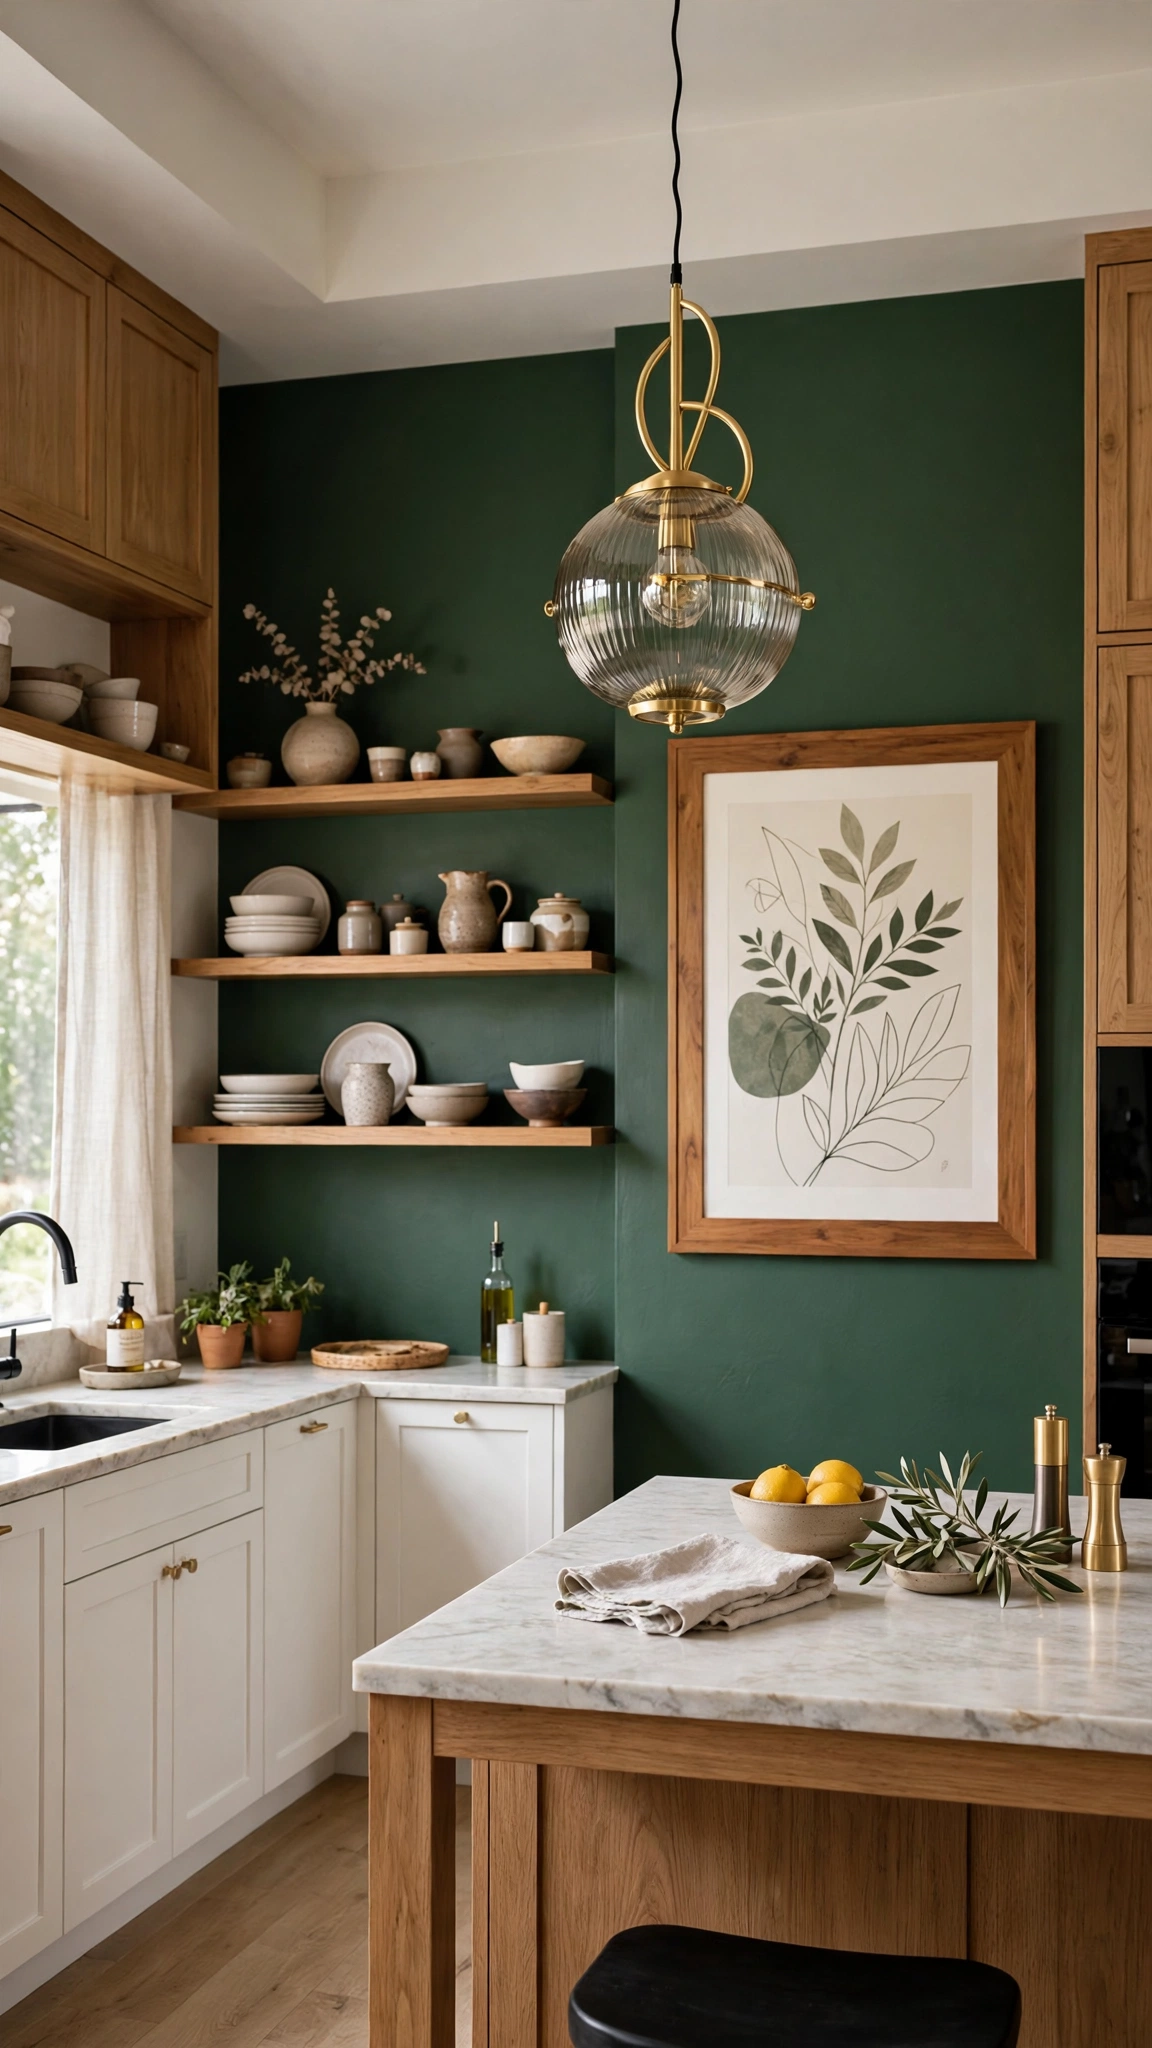
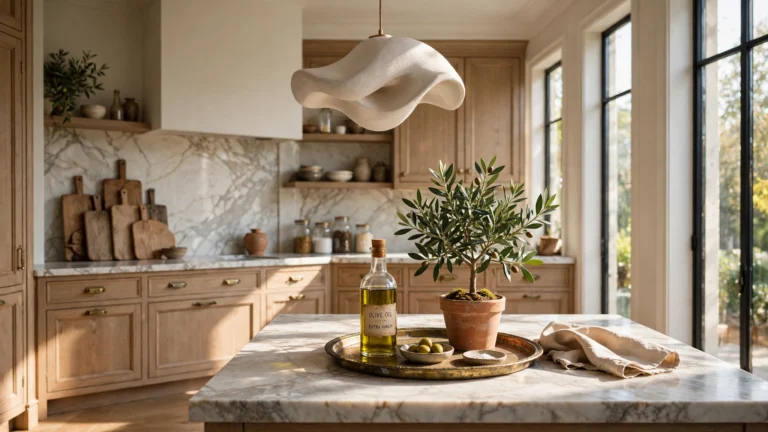
Every great kitchen has one thing your eye goes to first. A single accent wall, a statement pendant, or a beautiful range hood gives the room a center and makes everything else feel intentional.
Pick just one focal point and let the rest of the kitchen support it quietly. Two competing statements cancel each other out, while one strong one elevates the whole space.
This is also the place to spend a little more if you have budget left, since a focal piece is the update you will notice and enjoy every single day.
Tip: Smart storage keeps the spotlight on your focal piece, and the clever solutions in how to maximize storage in a teen bedroom with clever solutions translate directly to keeping kitchen clutter out of sight.
Conclusion
A stunning kitchen renovation does not require a stunning budget — it requires a clear plan, a few well-chosen updates, and the discipline to keep what already works. Start with paint, hardware, and light, add one focal moment, and enjoy a kitchen that looks far more expensive than it cost.