11 Stylish Kitchen Shelving Ideas That Make Small Spaces Feel Bigger and More Organized
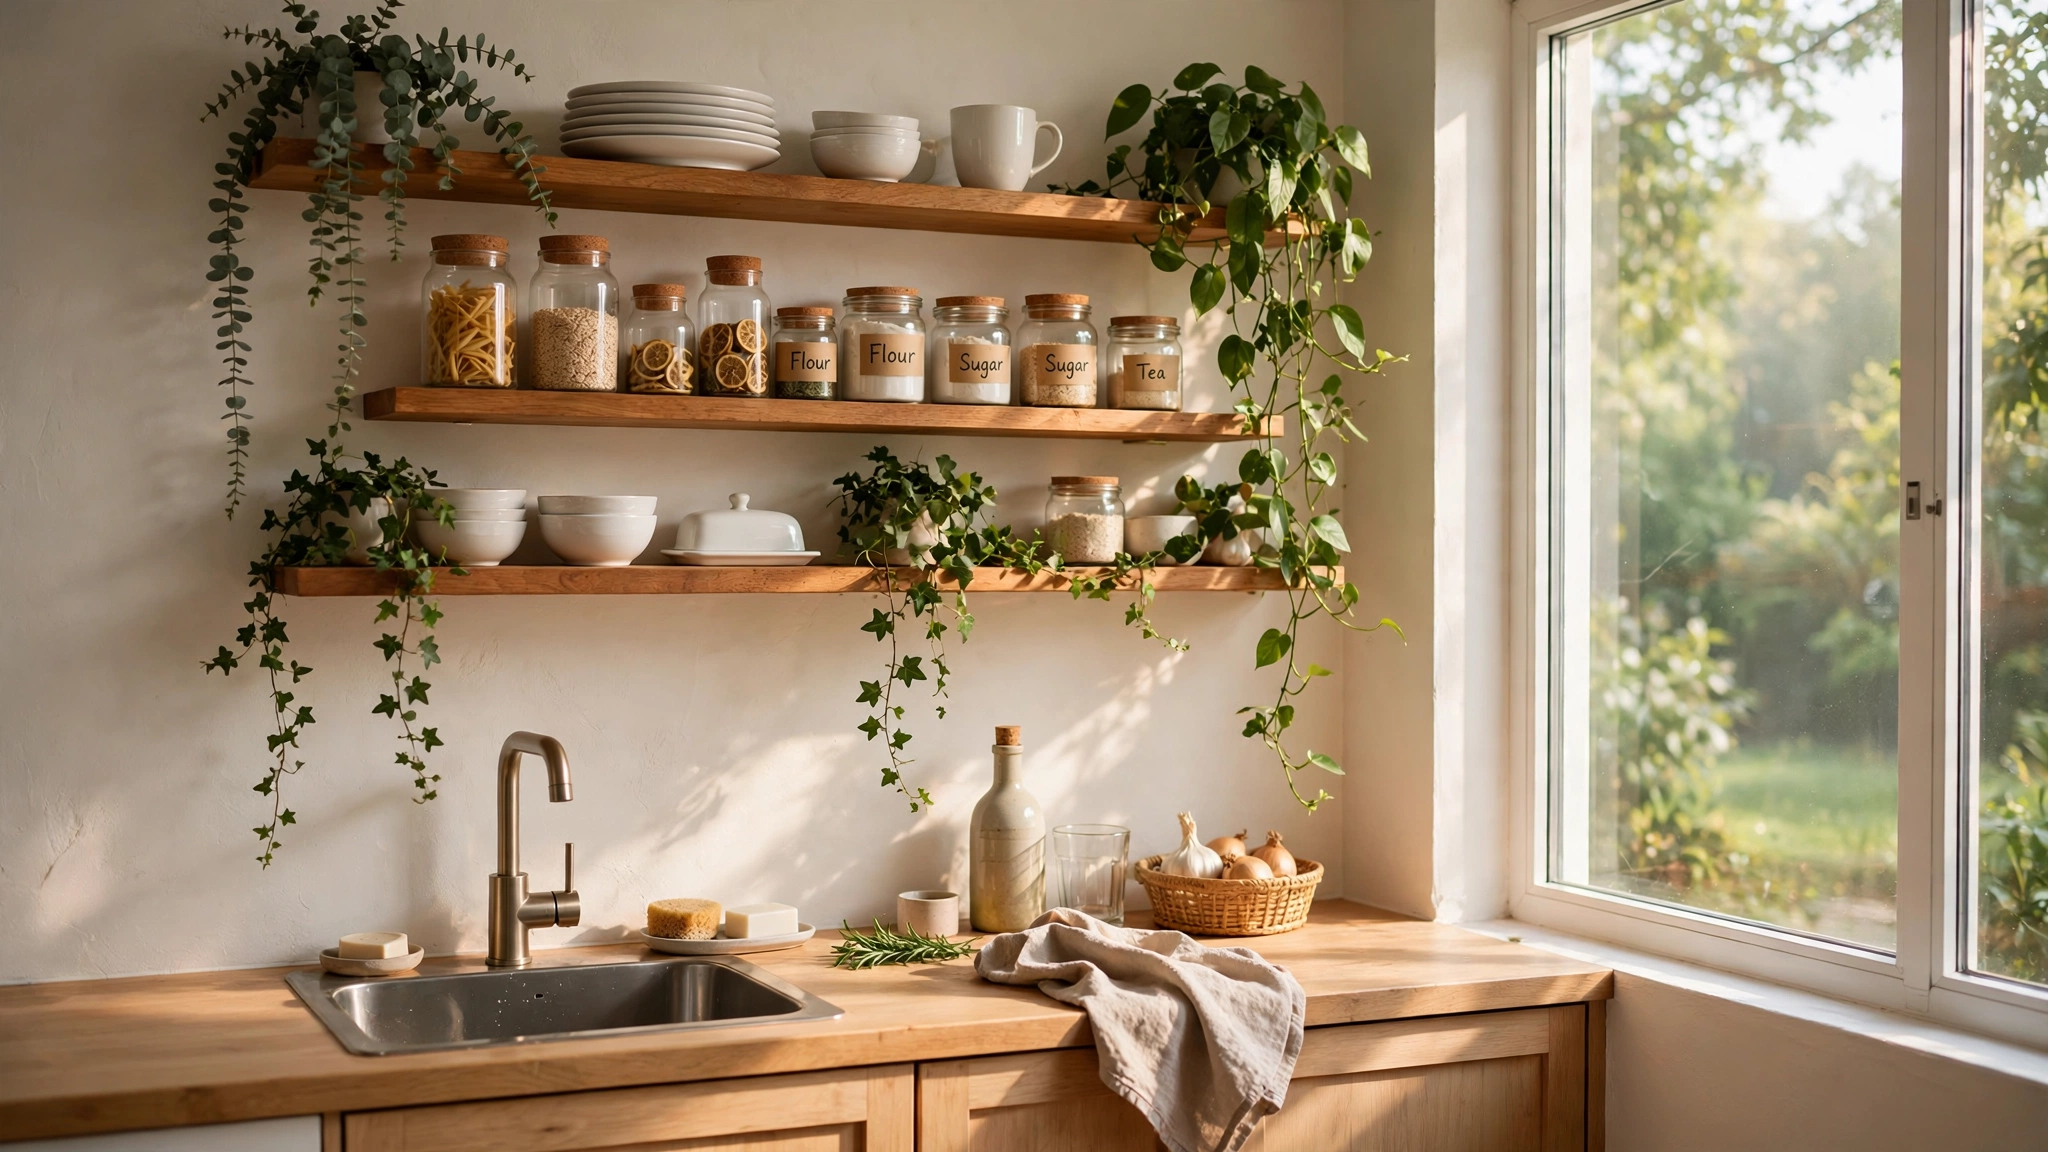
Small kitchens ask a lot of their walls, and open shelving answers with both storage and style. A few well-placed shelves can hold your everyday dishes, show off a favorite collection, and make a tight room feel lighter all at once. The trick is choosing shelves that work as hard as they look good.
The best shelving plans start with what you actually reach for every day, then build upward from there. Ready to see how eleven smart shelving ideas can open up your kitchen without a single wall coming down?
1. Hang Floating Shelves Beside the Window
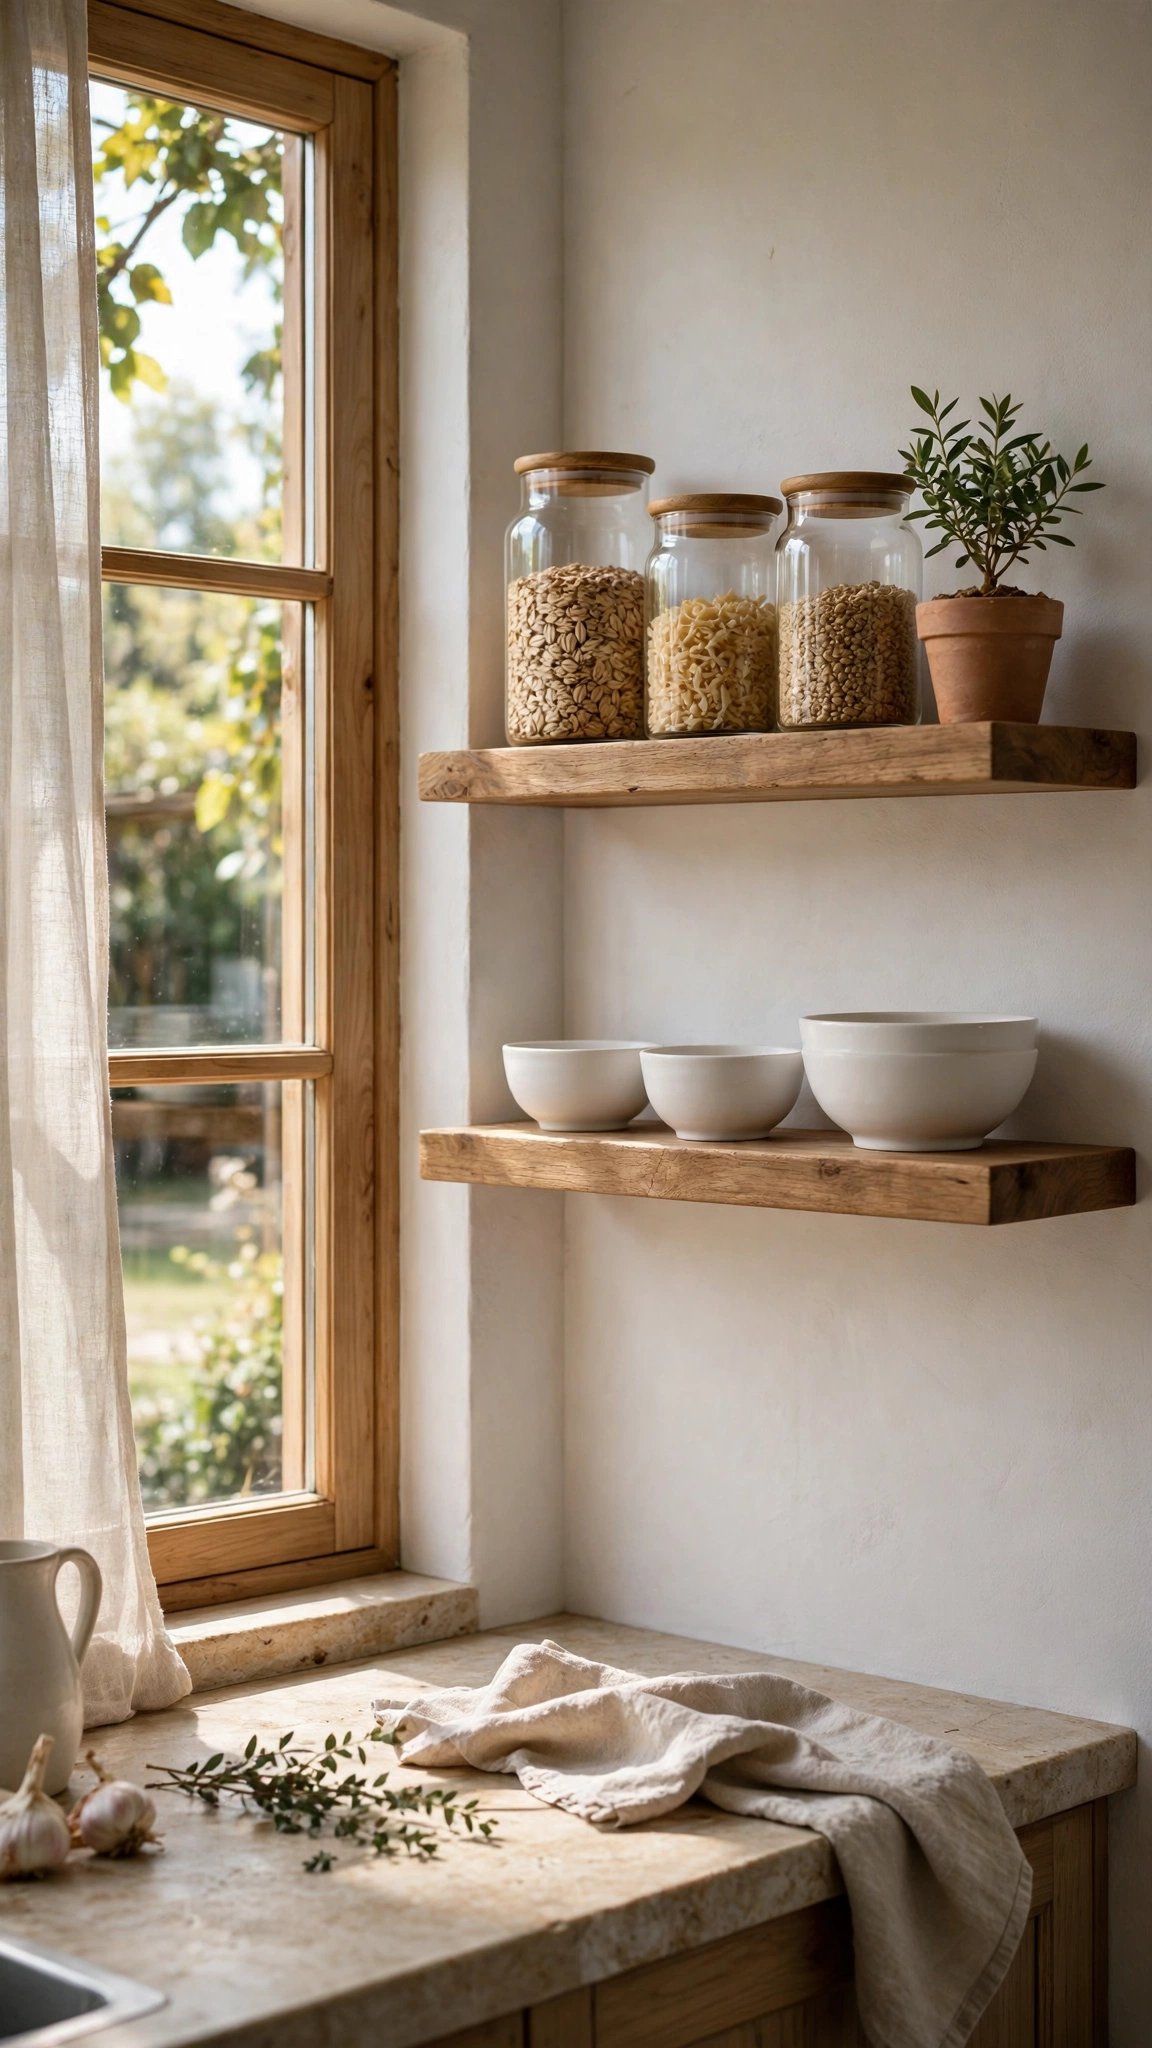
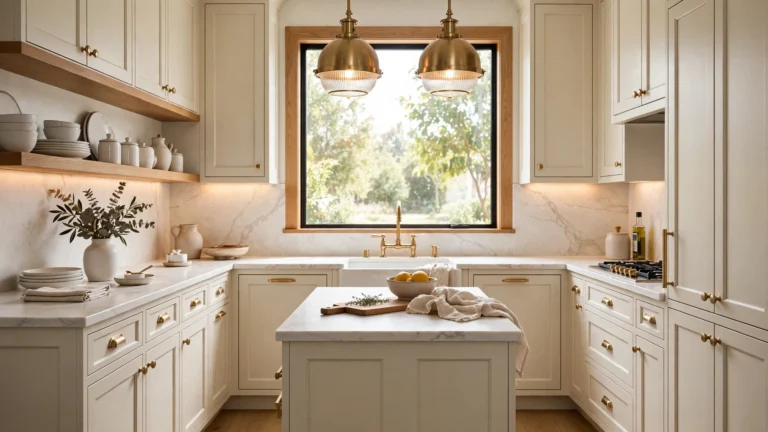
Wall space beside a window is often wasted, yet it is some of the most useful real estate in a small kitchen. A pair of short floating shelves here keeps everyday bowls and mugs within arm’s reach while the light keeps the whole corner feeling open.
Keep the styling light so the window stays the star. A few stacked bowls, one small plant, and a jar or two are plenty. Heavy rows of dishes will block the light and undo the airy effect you are after.
Choose shelf brackets or hidden mounts rated for the weight you plan to store, and anchor into studs wherever possible. A shelf that sags is worse than no shelf at all.
Tip: Keep the arrangement as tidy as a well-planned pantry by borrowing the zoning logic in How to Organize a Tiny Kitchen Pantry Like a Pro, grouping like items together so every shelf has a clear job.
2. Run One Long Shelf Above the Counter
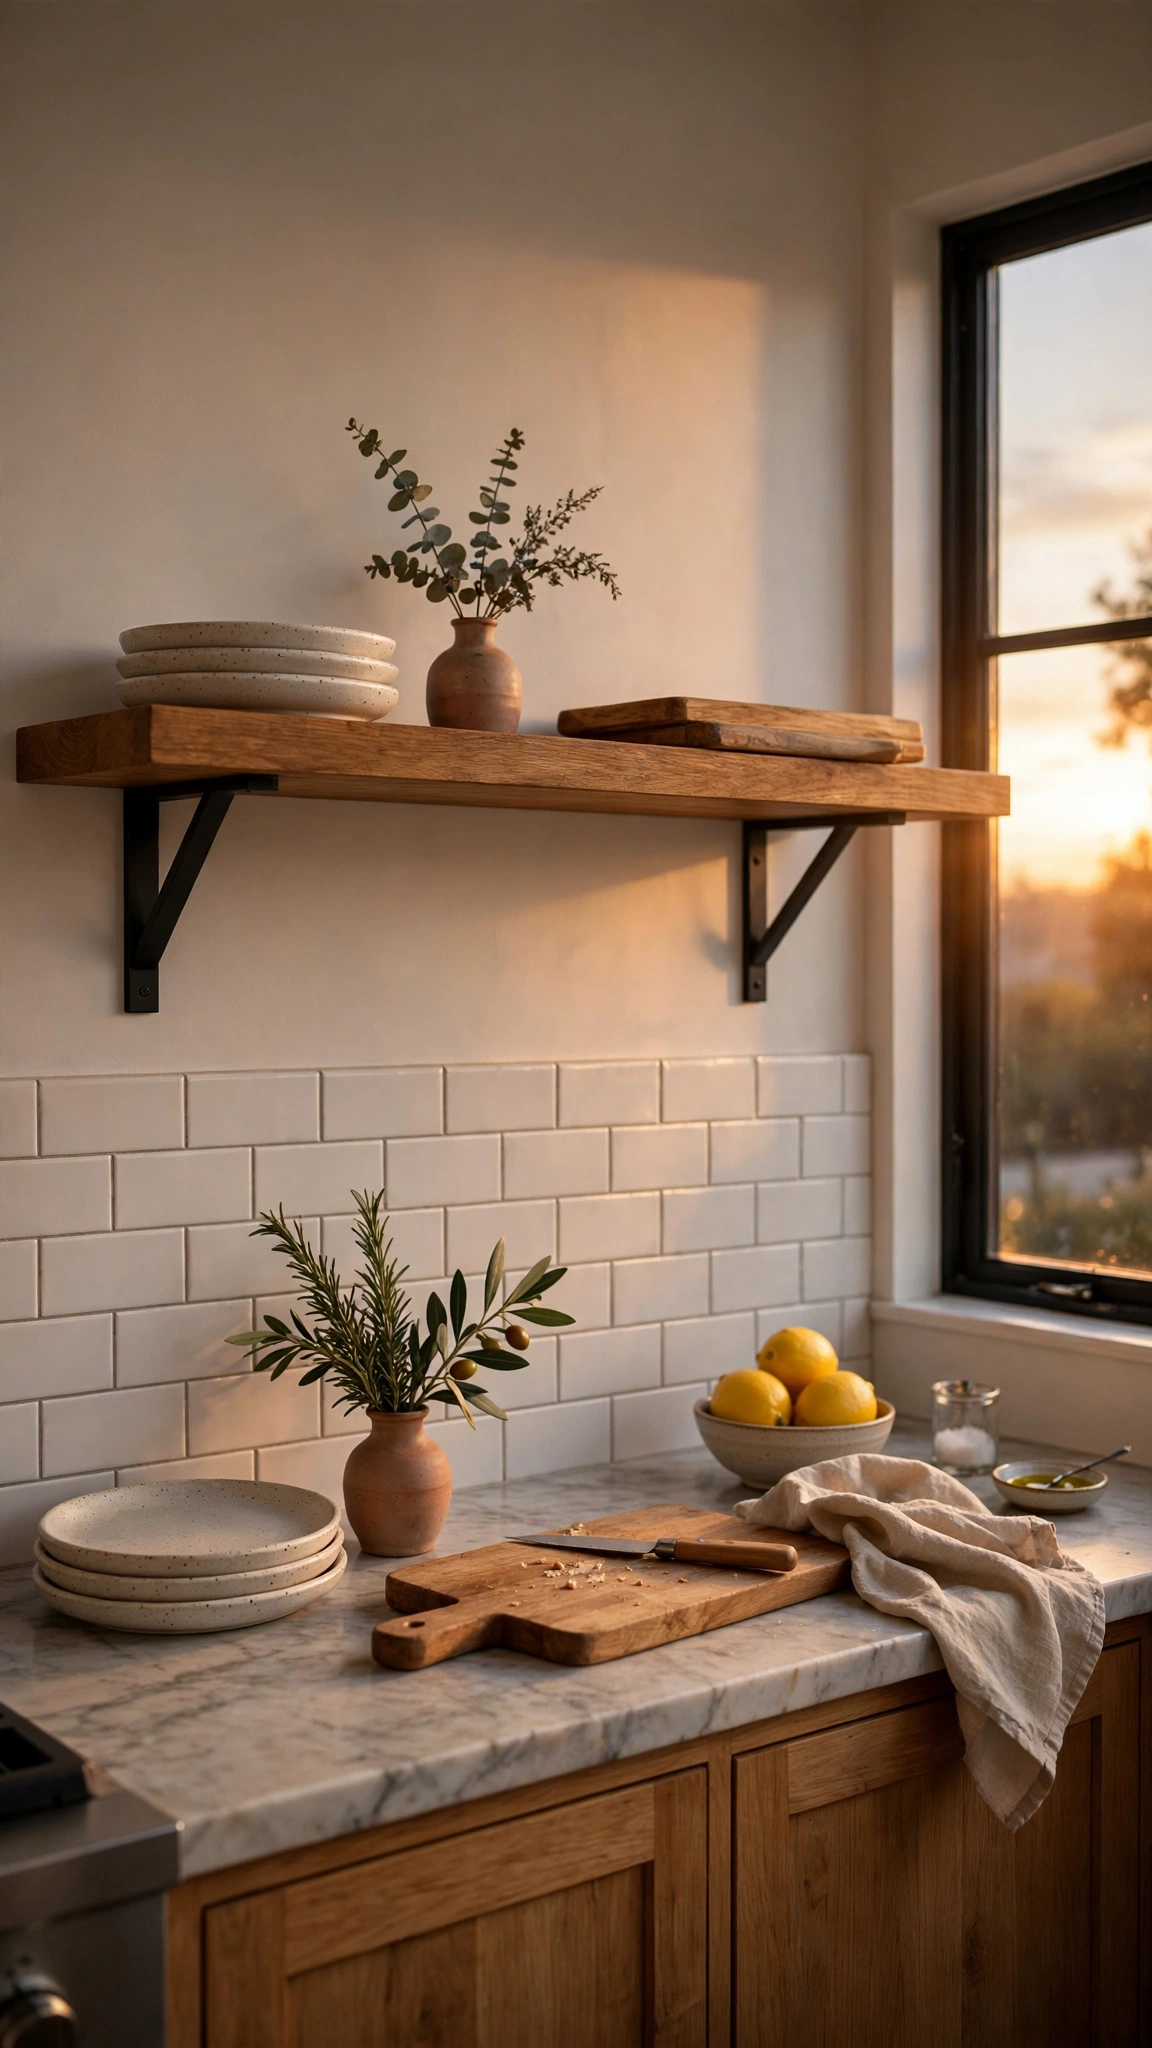
A single continuous shelf above the counter draws the eye across the room, which makes a narrow kitchen feel wider. It also gives you a generous landing spot for the plates, glasses, and cooking tools you use most.
The key is restraint. Leave breathing room between groupings so the shelf reads as a styled display rather than a crowded storage unit. Three or four clusters along the length are usually enough.
Mount the shelf at a height you can reach without a step stool, roughly eye level or a little above. Anything higher becomes decoration only, and that defeats the purpose in a small space.
Tip: A long shelf works best when the layout beneath it flows well, so plan the run with the same room-shaping thinking behind How to Design a Tiny Kitchen Layout That Feels Spacious.
3. Style Shelves on a Tight Budget

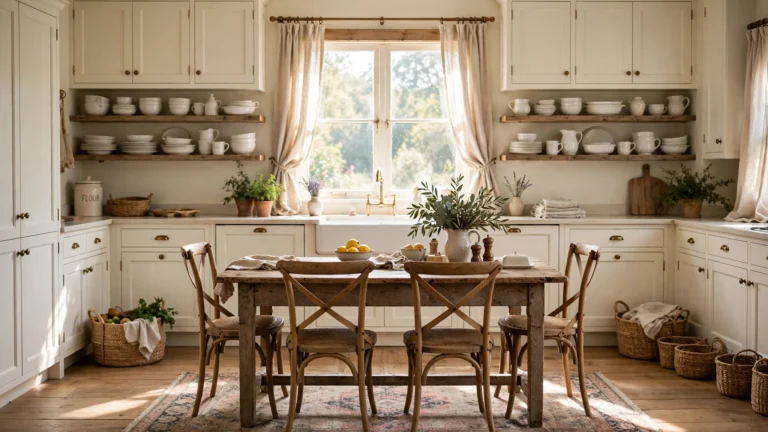
Great shelving does not need a big budget. Plain pine boards, simple black brackets, and a coat of paint or stain can look every bit as intentional as custom millwork, especially once dishes and plants soften the edges.
Save money by styling with things you already own. Everyday white dishes, a wooden cutting board, and a potted herb cost nothing extra and look effortlessly curated together.
Spend where it matters instead: solid wall anchors and a level. A straight, sturdy shelf instantly looks more expensive than a wobbly designer one.
Tip: Stretch every dollar the way 25 Budget-Friendly Tiny Apartment Kitchen Ideas for Stylish Small Living stretches a small-space budget, mixing thrifted finds with simple DIY for a polished result.
4. Keep the Palette Soft and Cohesive
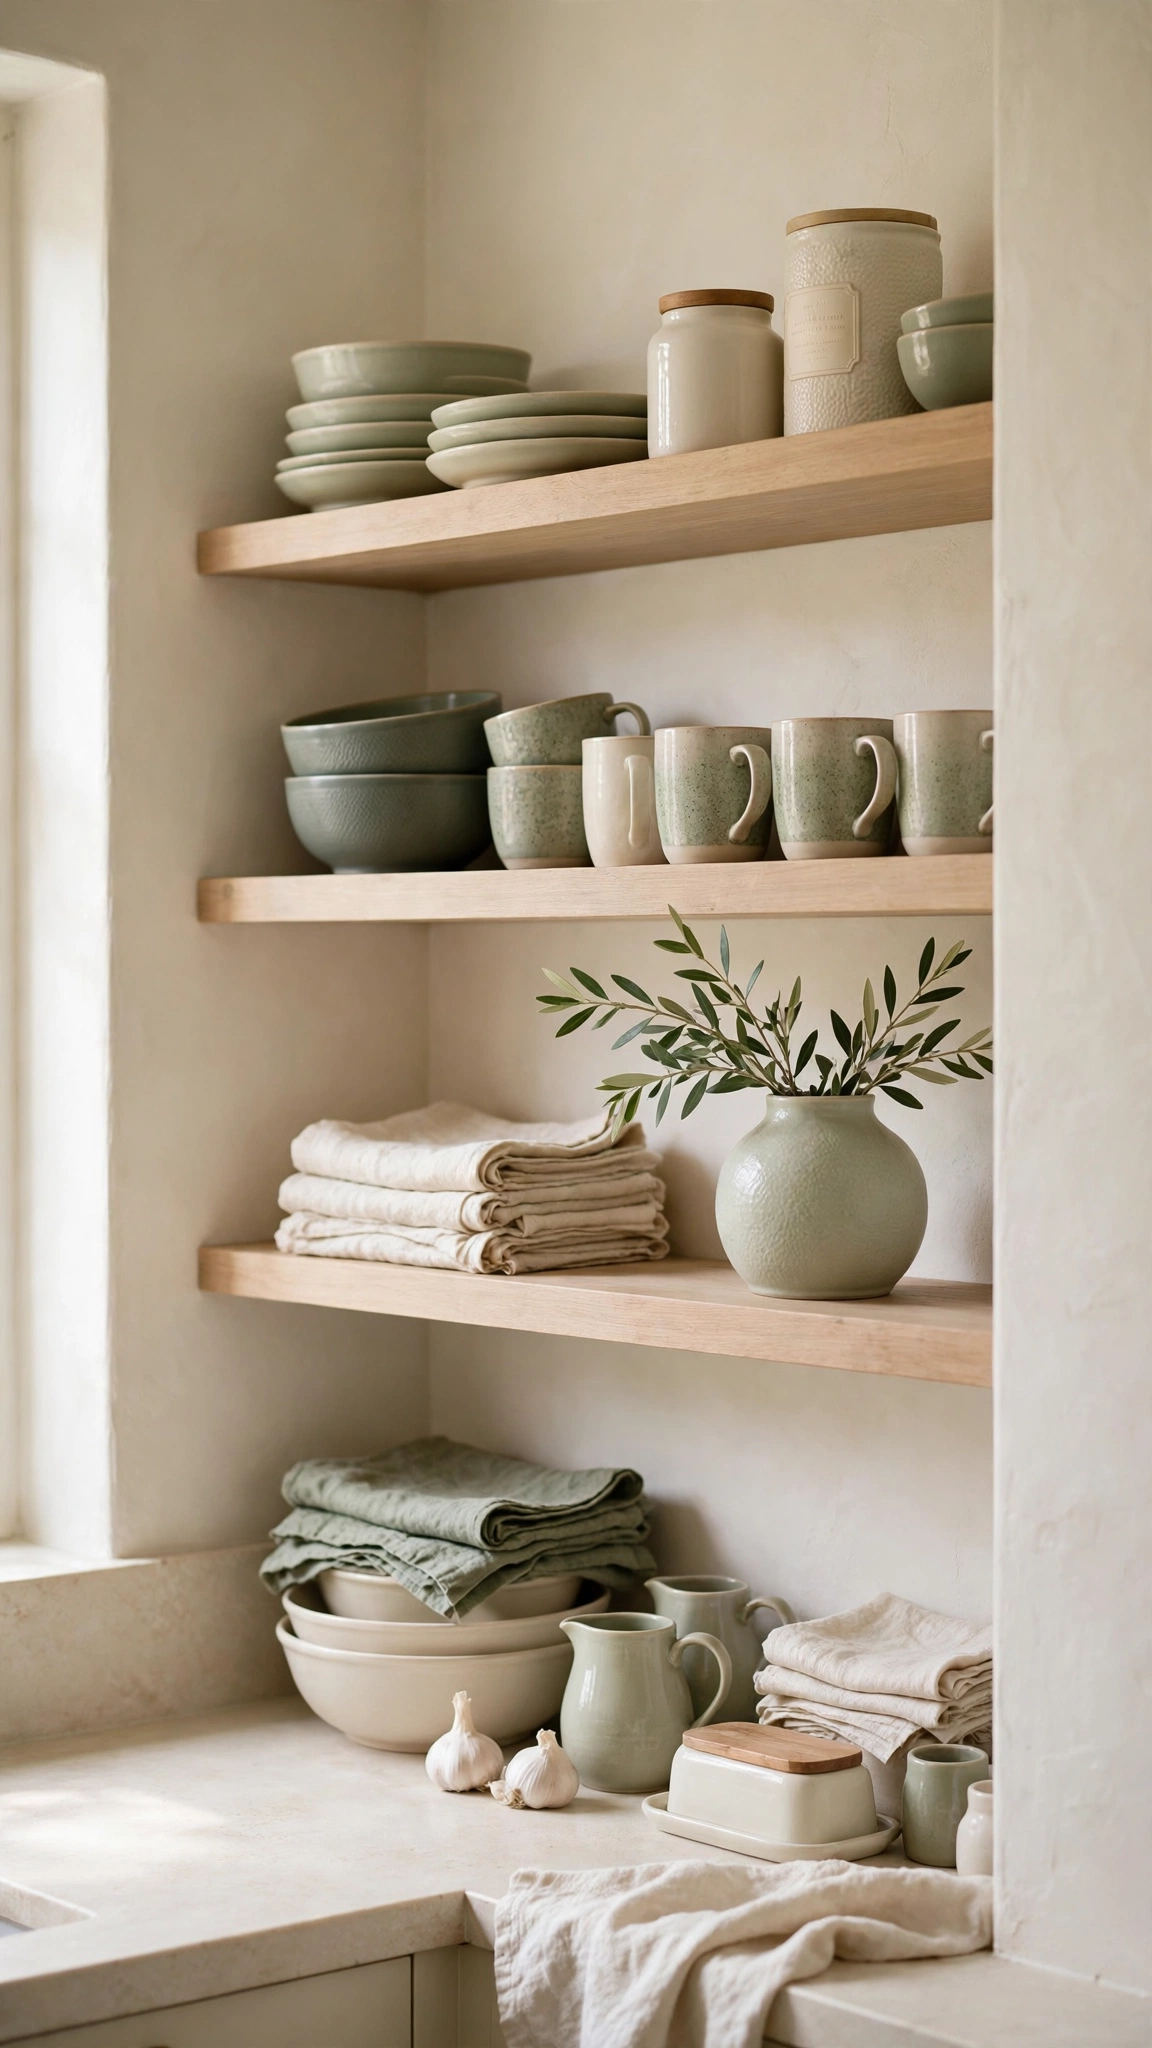
Open shelves put everything on display, so a calm, cohesive palette keeps the room feeling serene instead of busy. Stick to two or three colors across your dishes, jars, and linens and let the shelf wood add the warmth.
Cream, sage, and soft white are forgiving choices that flatter most kitchens. A single accent color, like terracotta or deep green, can appear once or twice for personality without tipping into clutter.
If your dishes are a mixed set, unify them with matching jars or baskets on the shelf. The eye reads the repetition as intentional, even when the pieces themselves vary.
Tip: A soft, layered palette makes a kitchen feel as calm as the retreats in 27 Aesthetic Tiny Kitchen Decor Ideas to Instantly Elevate Your Space, where every visible item earns its place.
5. Give Every Shelf a Clear Purpose

Shelves stay tidy when each one has a job. Dedicate one shelf to cooking essentials, another to coffee and tea, and a third to serving pieces, and the whole wall becomes easy to use and easy to put back.
Place the most-used zone closest to where you work. Coffee supplies near the coffee maker and cooking oils near the stove save steps and keep the room functioning smoothly.
Resist the urge to fill every inch. A little empty space on each shelf makes the zones readable at a glance and gives you room to grow.
Tip: Assigning zones is the same clutter-busting move behind 22 Creative Tiny Kitchen Organization Ideas for a Clutter-Free Home, where everything visible has a home.
6. Free Up Counter Space with Wall Storage
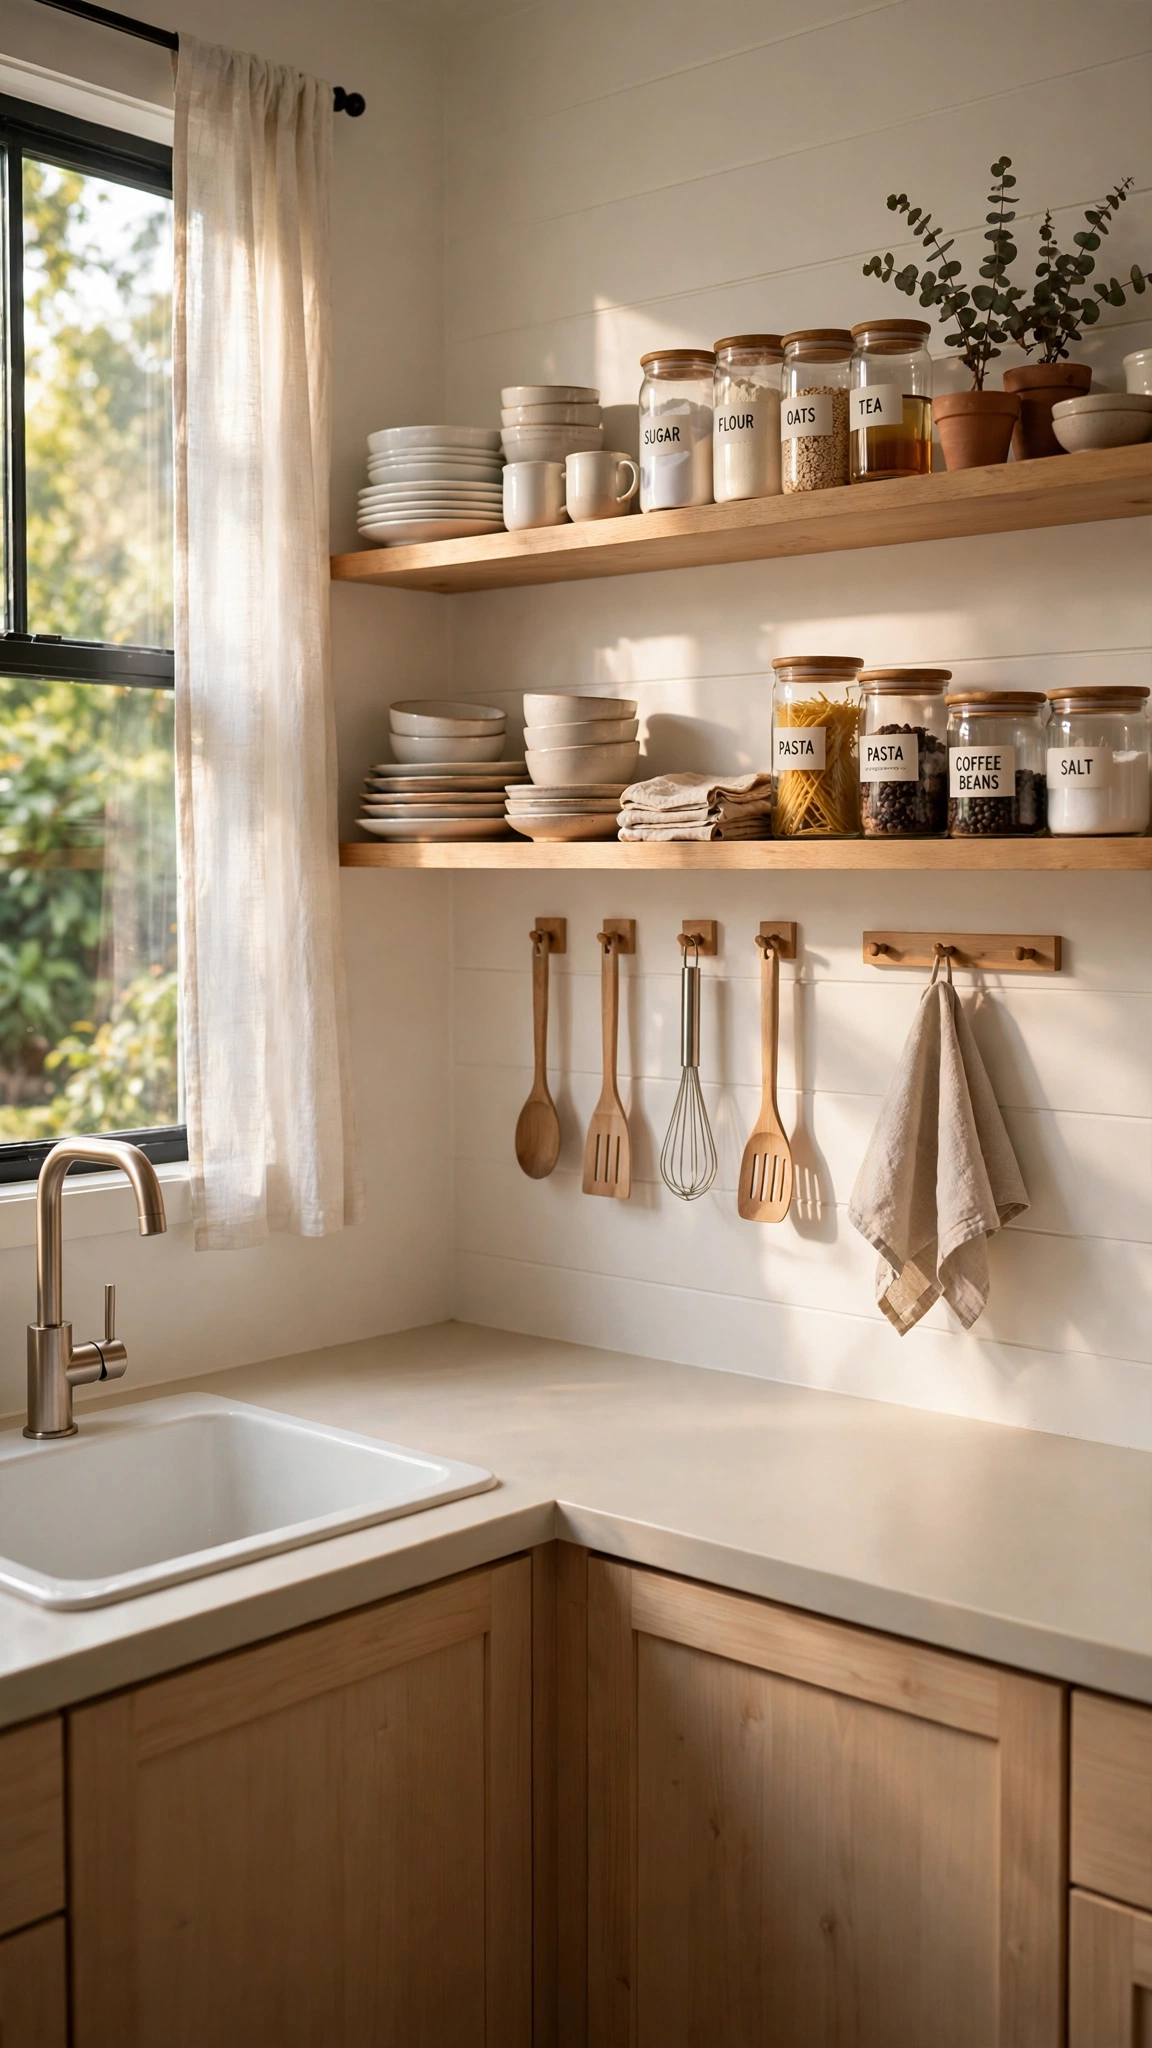
Every item that moves from the counter to a shelf gives you back precious prep space. In a small kitchen, that trade is worth more than any new gadget, because a clear counter makes cooking faster and cleanup easier.
Start with the bulky daily items: the dish stack, the utensil crock, and the cutting boards. Once those live on the wall, the counter suddenly has room for actual cooking.
Keep only one or two beautiful items on the counter itself, like a wooden board or a small plant. The emptier the surface, the bigger the room feels.
Tip: Moving storage upward is one of the cleverest ways to gain room, just like the solutions in How to Create More Counter Space in a Tiny Kitchen with Clever Solutions.
7. Mix Open Shelves with Closed Storage

Open shelves look best when they are not doing all the work. Pair them with closed cabinets for the less photogenic essentials, and the open shelves can stay styled and uncluttered.
A good balance is one or two open shelves beside or above closed storage. The closed cabinets hide mismatched containers and small appliances, while the shelves show off your prettiest pieces.
This mix also makes the room feel designed rather than improvised. The contrast between open wood and closed cabinetry adds depth and keeps the eye moving.
Tip: Pairing display with hidden storage is a classic small-space strategy, echoed in 23 Stunning Small Kitchen Storage Ideas for More Space, where every inch works twice as hard.
8. Use Matching Jars for a Streamlined Look

Matching jars are the fastest way to make open shelves look intentional. Uniform shapes and lids turn everyday pantry goods into a display, and they make it easy to see what you have at a glance.
Decant only the items you use often, like pasta, rice, flour, and spices. Everything else can stay in its original packaging inside a closed cabinet.
Label the jars simply, either with small tags or a chalk marker, so the system stays useful for the whole household and not just the person who set it up.
Tip: Uniform containers create the same genius-level order as 24 Genius Tiny Kitchen Storage Ideas for Maximum Space, where smart systems make a small kitchen feel twice as big.
9. Layer Color Like a Designer
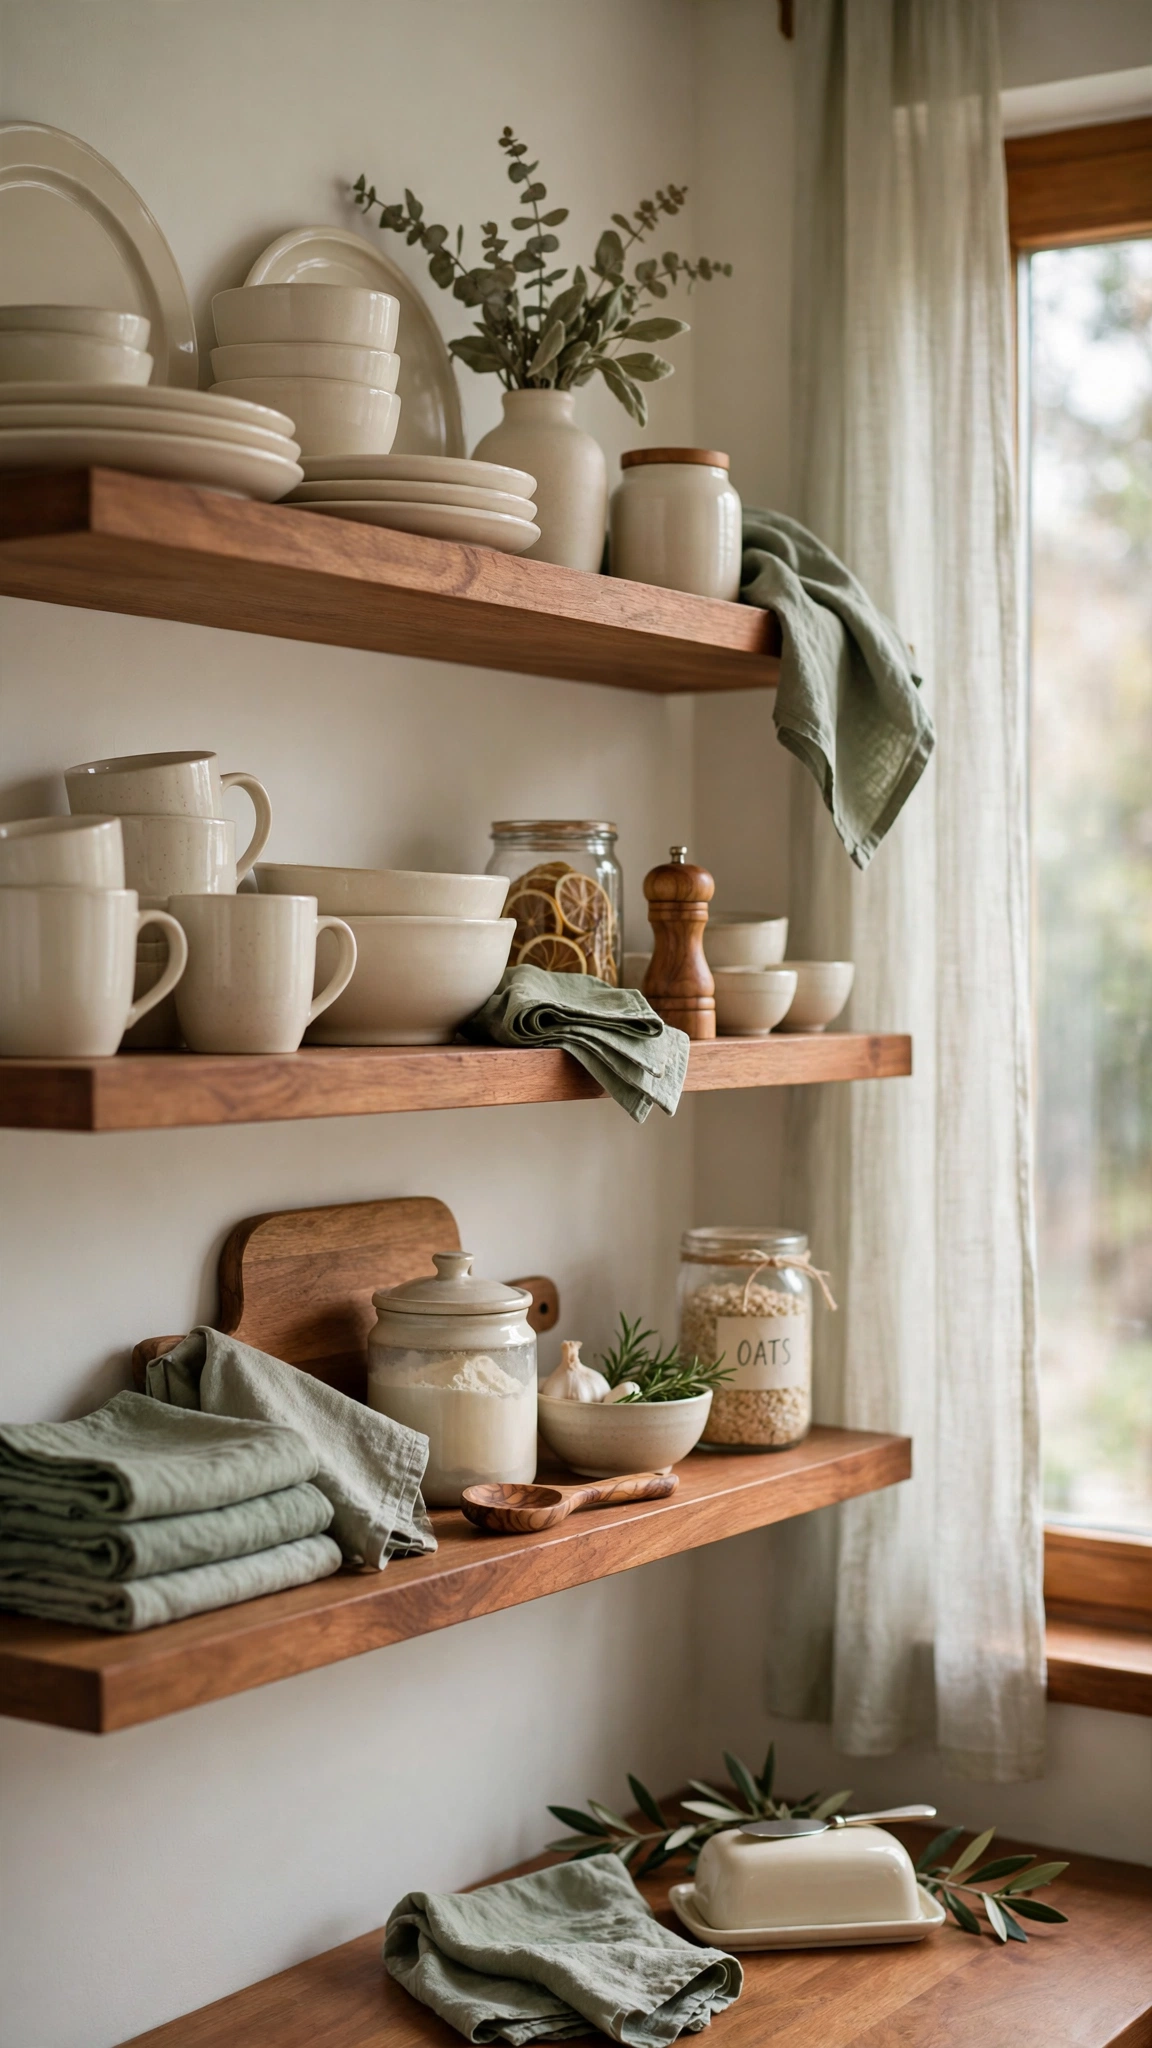
Color is what turns plain shelves into a designed moment. Start with a calm base of cream and wood, then layer in one soft accent color through linens, a vase, or a few dishes.
The trick is repetition. If sage appears in a linen napkin, echo it in a plant pot or a single bowl so the color feels deliberate rather than random.
Step back and squint at the shelves from across the room. If one color jumps out too hard, swap that piece for something quieter and the whole arrangement will settle.
Tip: Borrow the calm color-layering approach from 25 Gorgeous Bedroom Colour Ideas For A Calm And Stylish Retreat, where a restrained palette makes even a busy room feel peaceful.
10. Zone Shelves Like a Workout Station
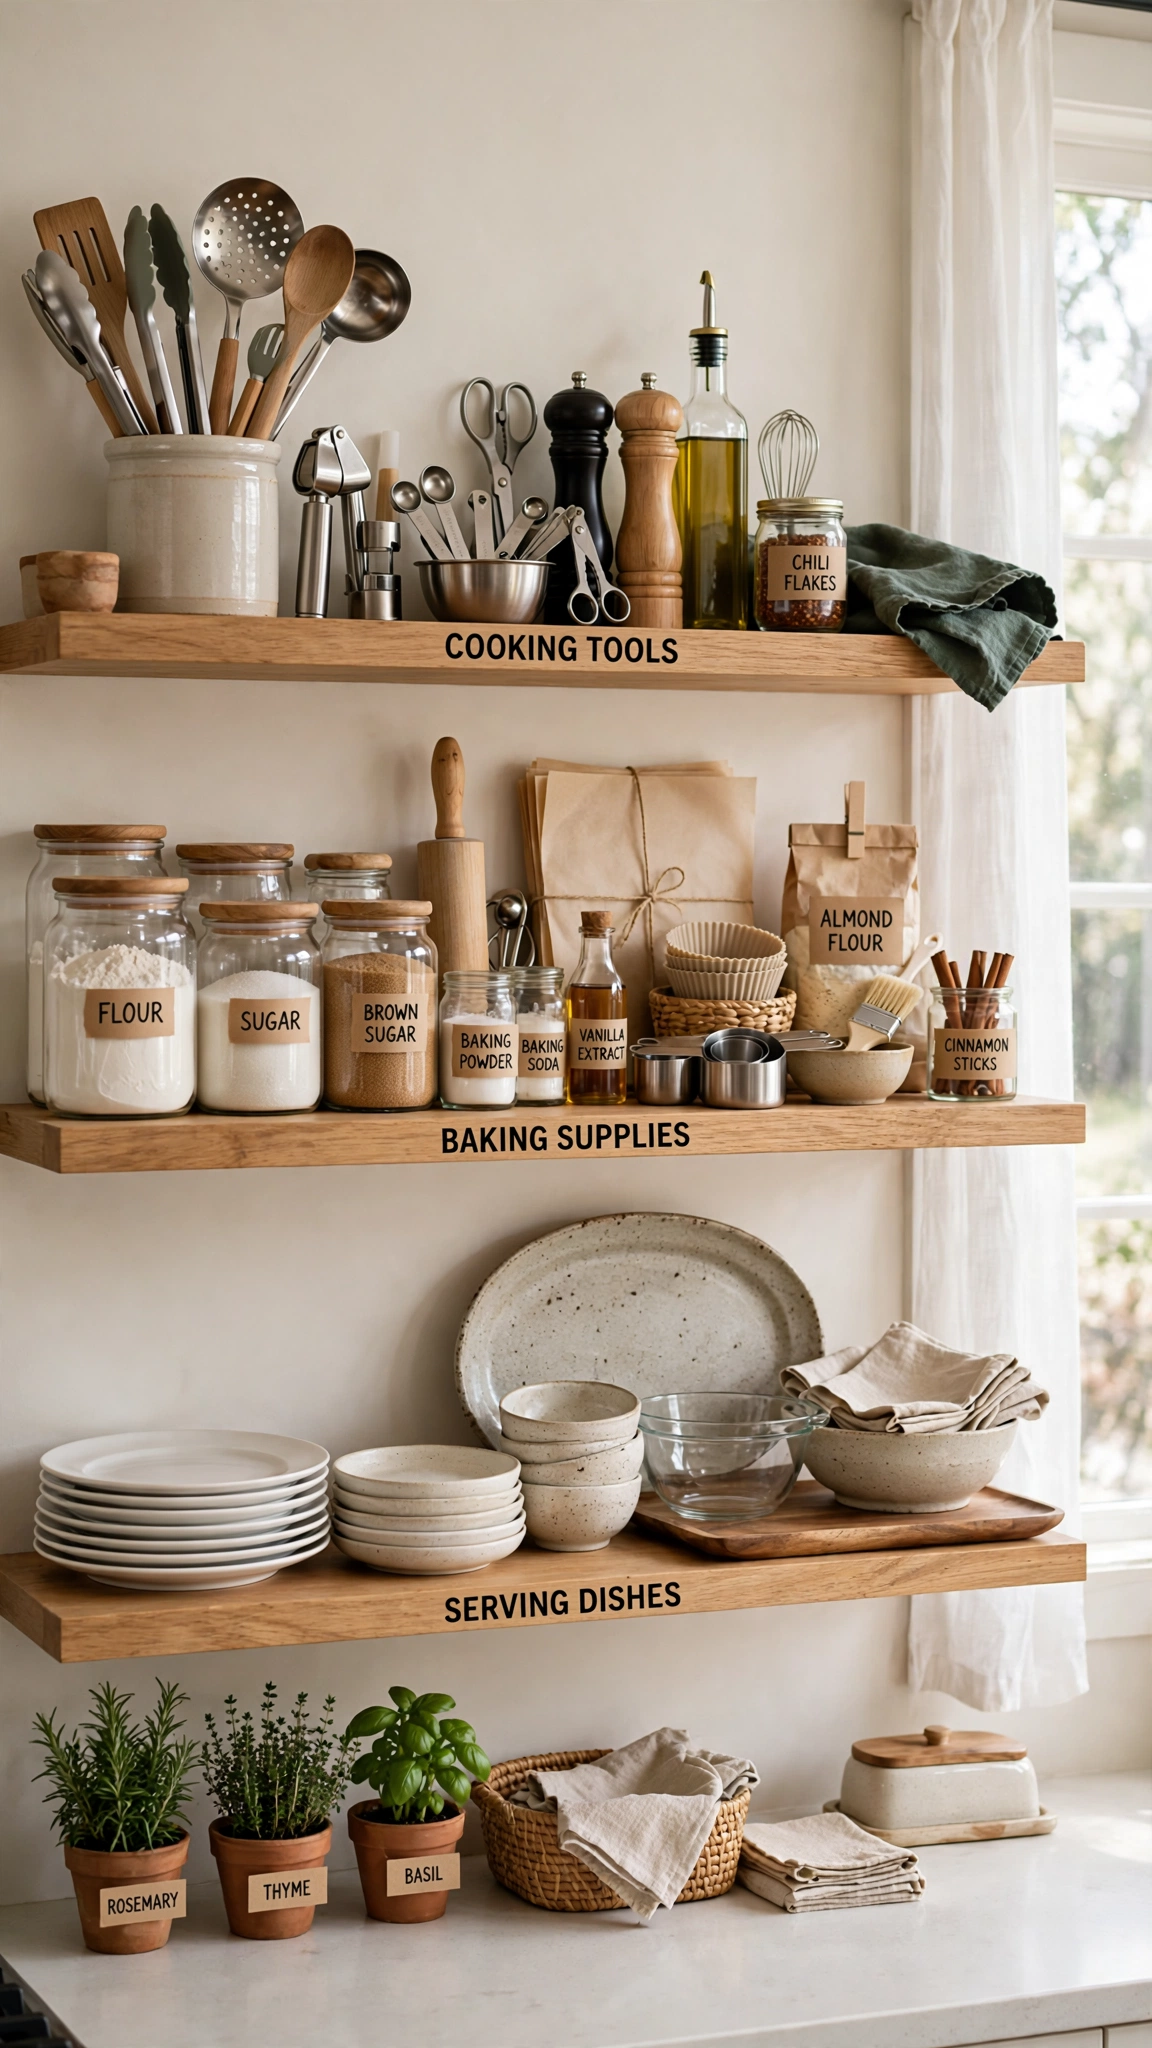
Think of your shelves the way a good gym thinks of its floor: every zone has a purpose, and the equipment for one activity stays together. Cooking tools near the stove, baking supplies together, and serving pieces in their own spot make the kitchen flow.
Zoning also stops the slow creep of clutter. When a shelf has a defined job, it is obvious when something does not belong there, and tidying takes seconds.
Label the zones in your head, not on the wall. A mental map is enough, and it keeps the shelves looking like a home rather than a warehouse.
Tip: The zone-by-activity logic works anywhere a cluttered space needs order, just as 11 Stunning Garage Gym Design Ideas That Turn a Cluttered Garage Into a Useful Space turns chaos into a functional layout.
11. Plan the Layout Before You Drill
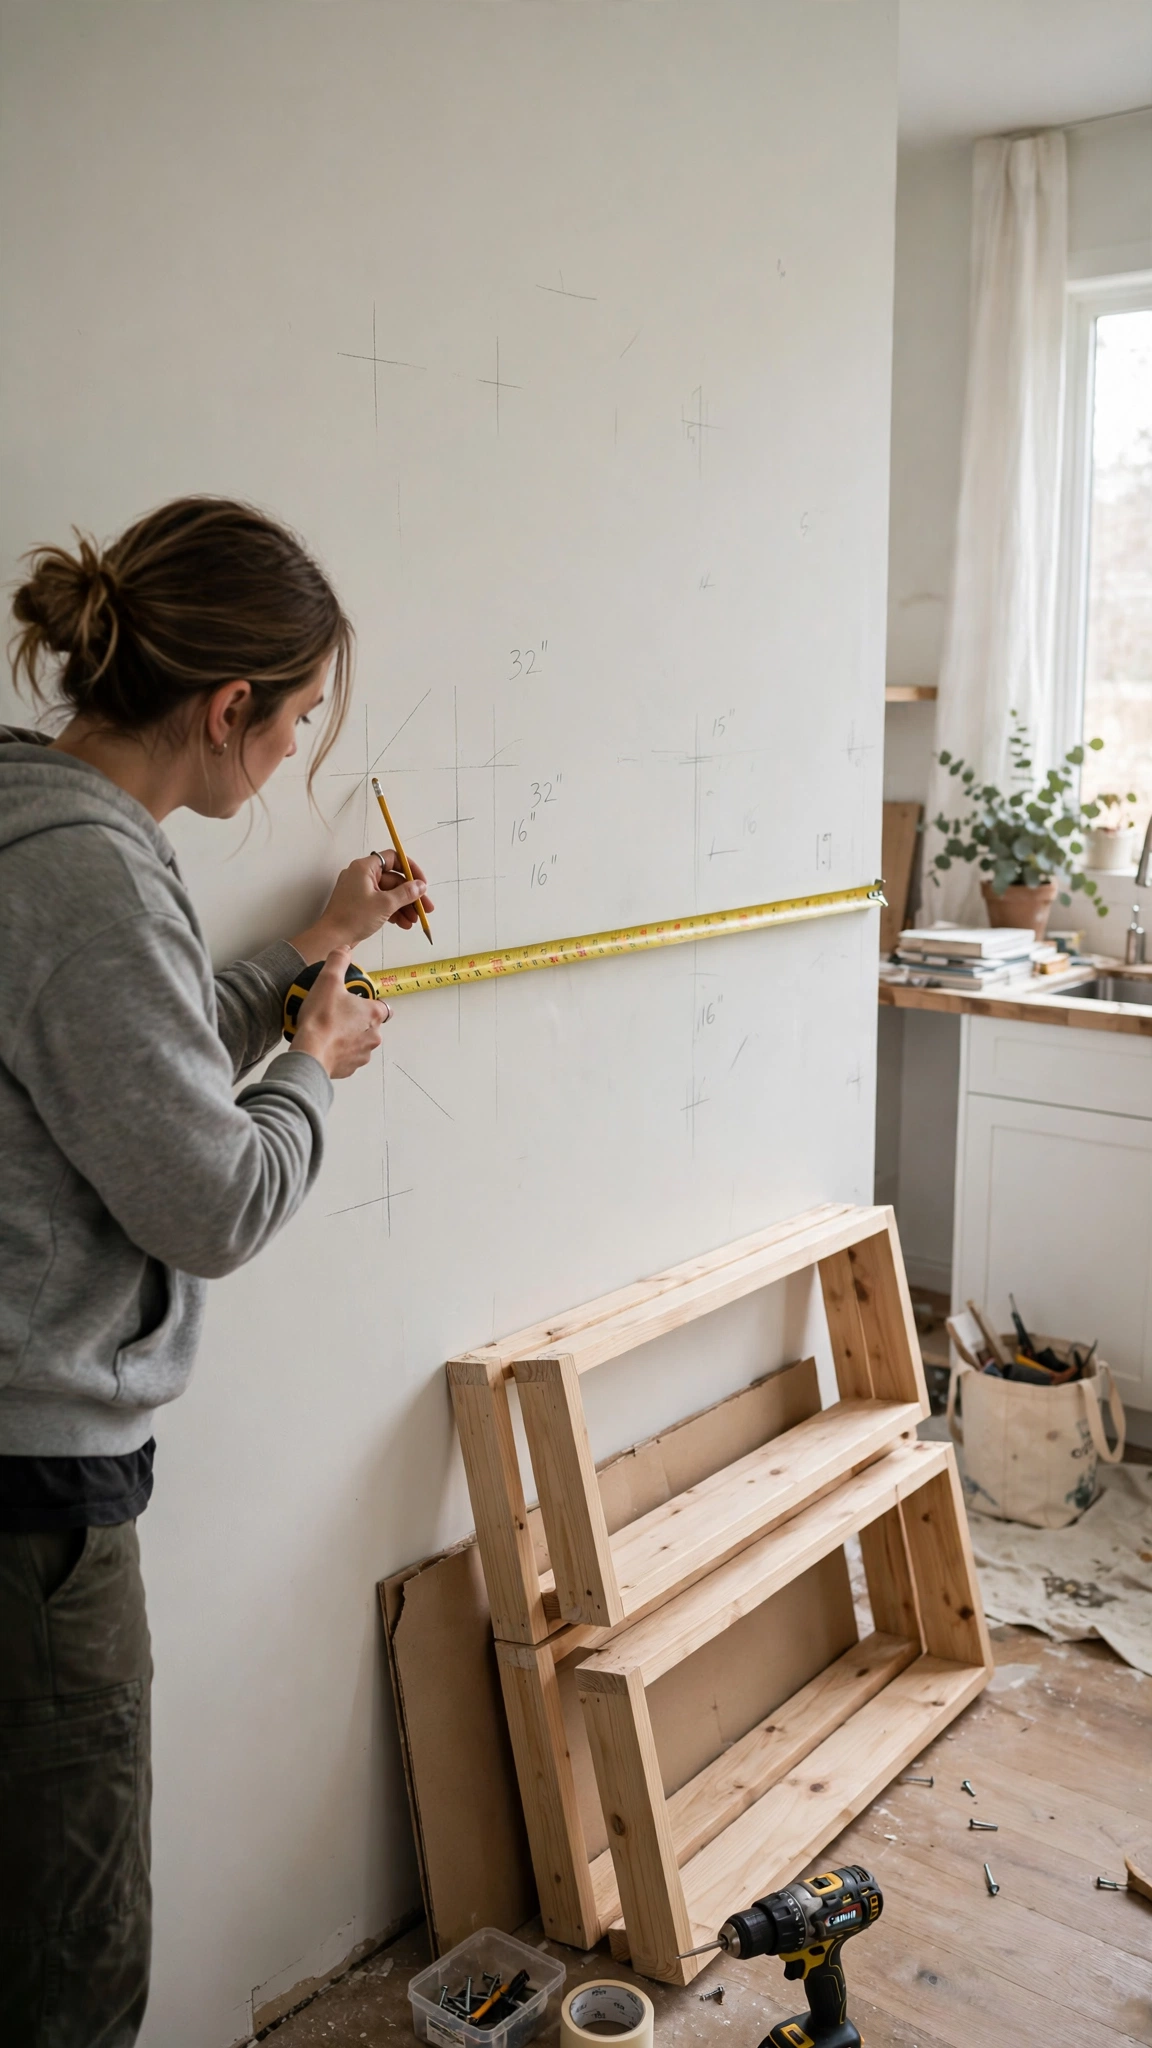
The most common shelving mistake is drilling first and planning later. Measure the wall, mark the heights with painter’s tape, and live with the outlines for a day before you commit.
Check what will sit on each shelf and how tall it is. A shelf spaced for bowls will not fit a tall pitcher, and re-drilling holes is a frustration you can easily avoid.
Consider the whole wall as one composition: shelf lengths, spacing, and what hangs nearby. A little planning up front is what separates shelves that look built-in from shelves that look improvised.
Tip: Measuring and mapping the wall first follows the same layout-first discipline in 18 Beautiful Garage Interior Design Ideas That Turn a Cluttered Garage Into a Useful Space, where a planned layout makes any space work harder.
Conclusion
Stylish shelving is less about buying new things and more about giving your walls a clear plan. Pick a few of these ideas, keep the styling light, and your small kitchen will feel bigger, calmer, and far more organized.