11 Clever Garage Storage Hacks That Maximize Space and Keep Everything in Order
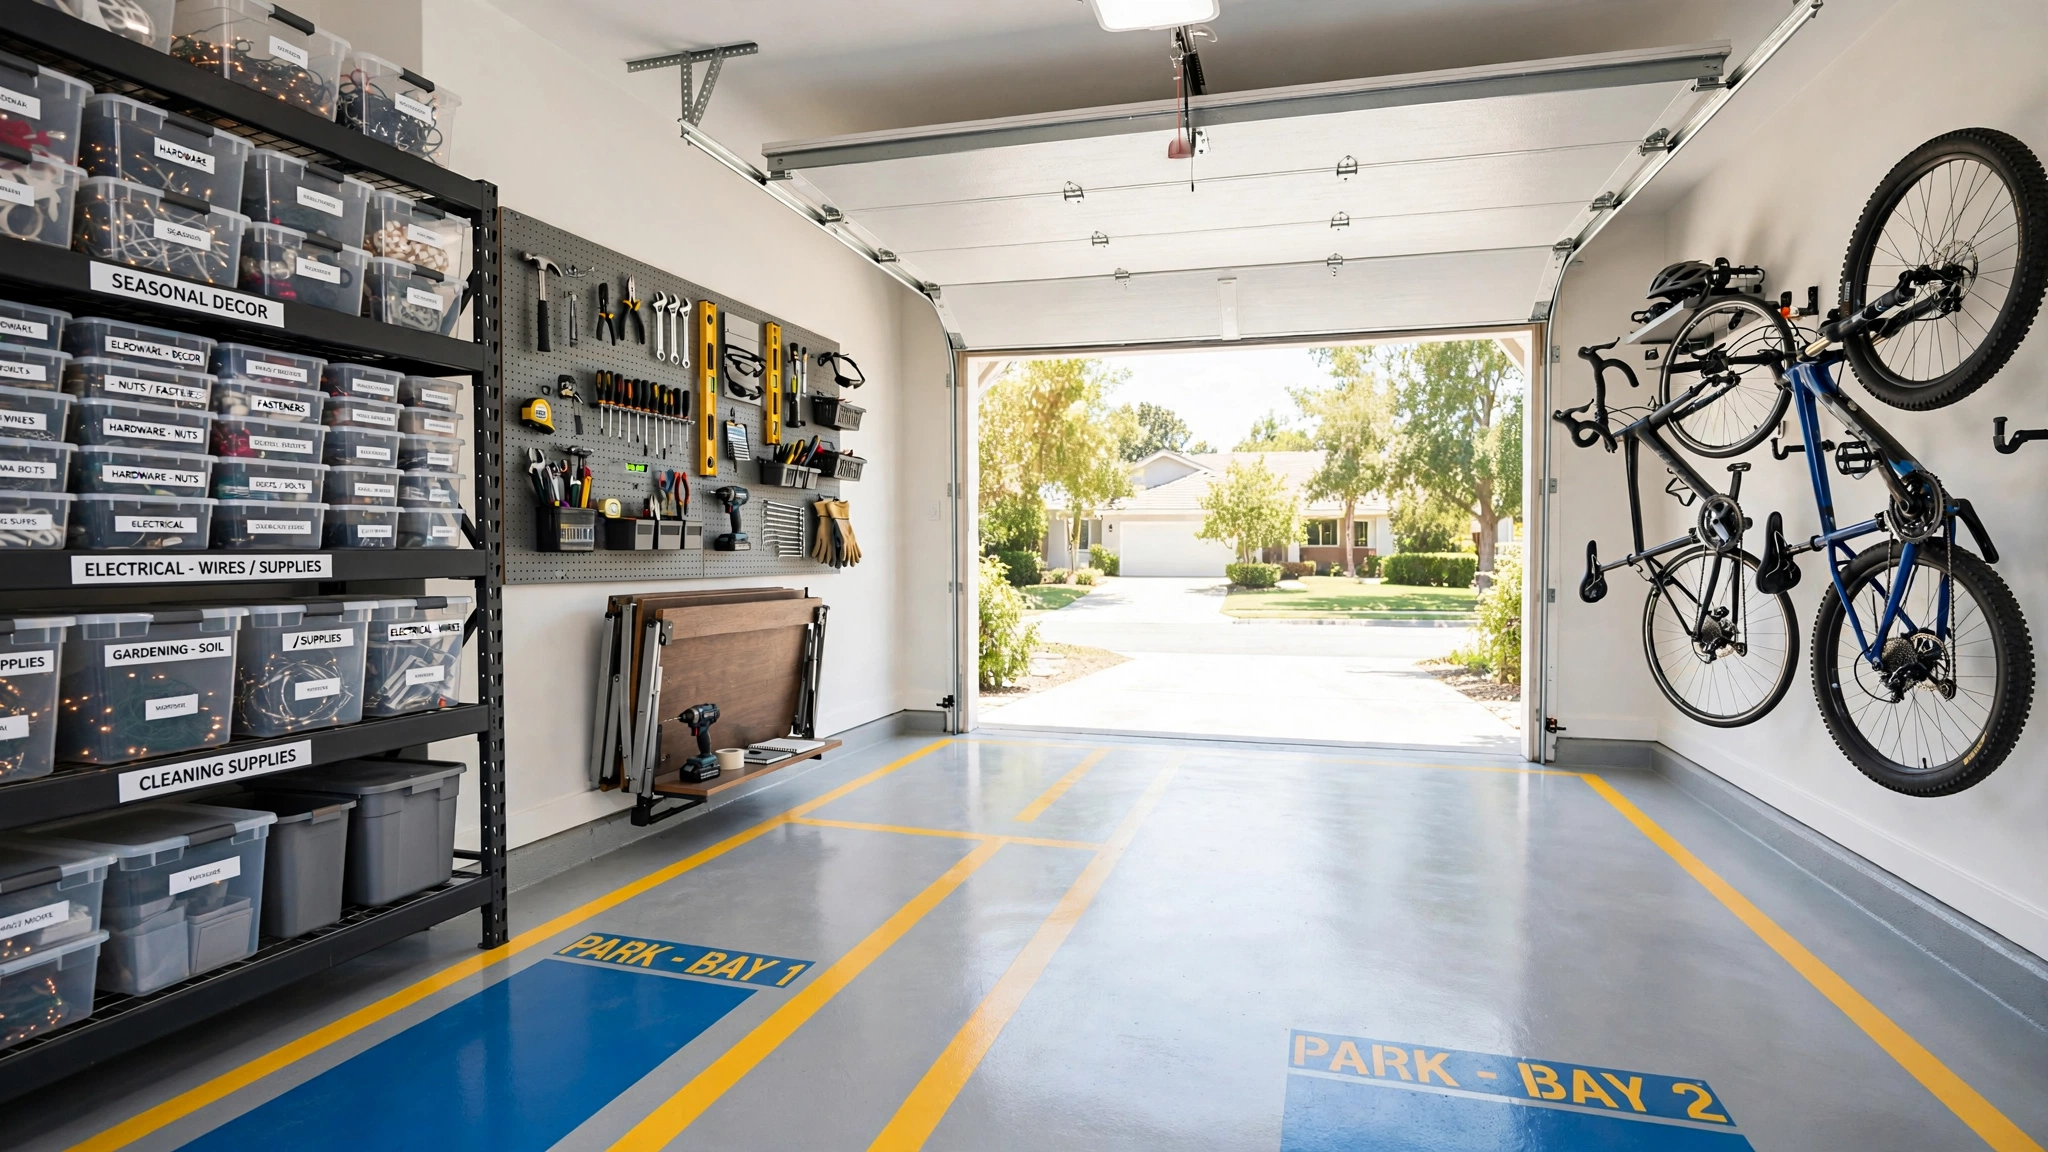
Most garages fail at storage for one simple reason: everything lands wherever there is a free inch. Tools share a shelf with paint cans, holiday boxes bury the lawn gear, and finding anything takes ten minutes. The fix is rarely more space — it is smarter use of the space you already have.
These eleven clever storage hacks are the small, cheap tricks that organized garages swear by. They cost little, take an afternoon or less, and they work in any size garage. Which one will you try first?
1. Label Every Bin and Basket
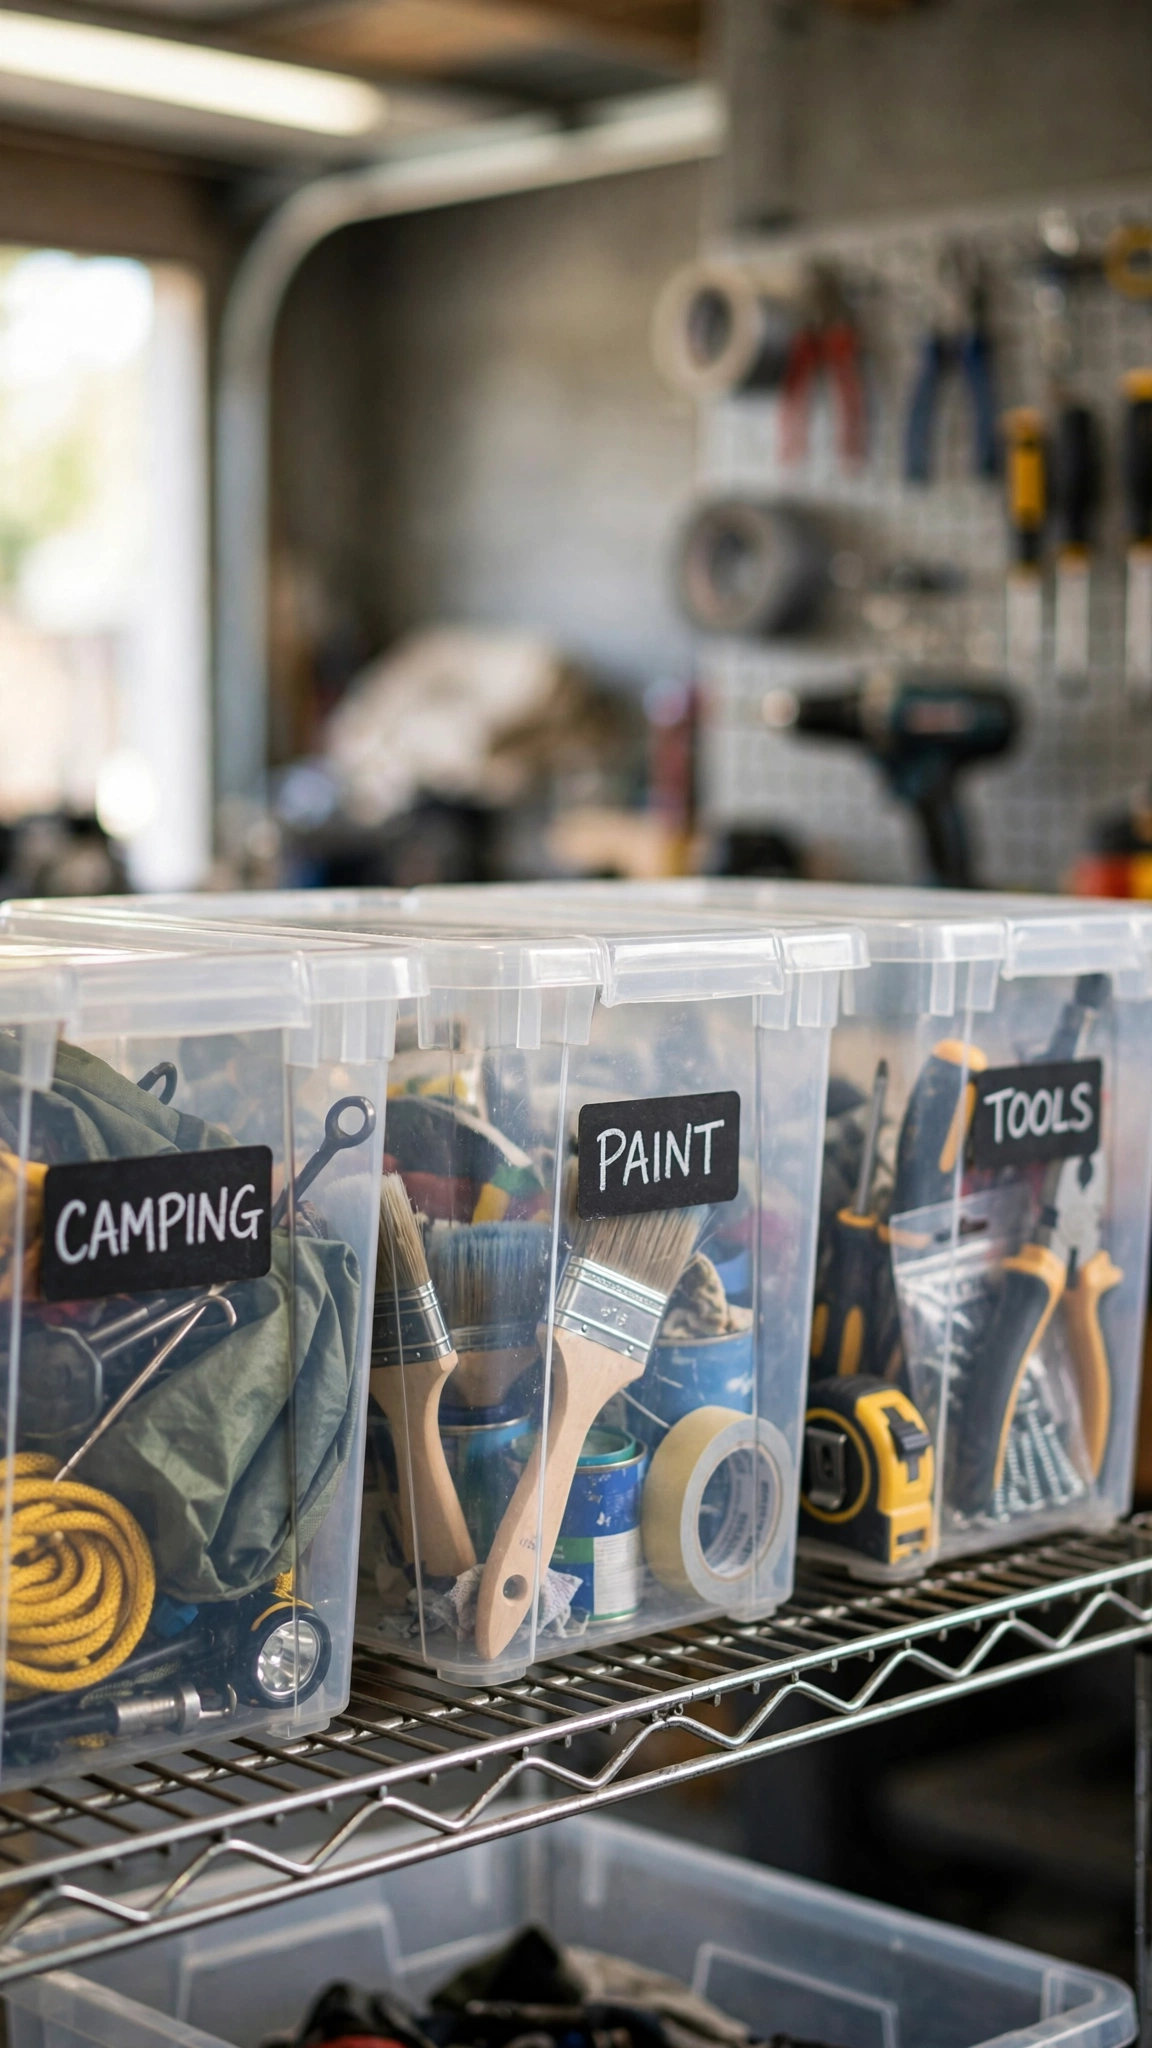
An unlabeled bin is just a box you will open six times before finding what you need. Labels turn your storage into a system anyone in the house can use. A label maker, chalk markers, or even masking tape and a thick marker all do the job.
Be specific with your wording. “Holiday” is vague; “Christmas lights” and “Halloween decor” save you from digging through three bins every December. Group like with like first, then label each container with exactly what is inside.
Stick the label where your eyes naturally land — the front face of the bin at eye level, not the lid. When bins are stacked, front labels are the difference between a quick grab and a full unstacking session.
Pro tip: Pair labeled bins with the right shelving so every label stays visible — these garage shelving ideas show how to arrange bins for maximum readability.
2. Hang Pegboards on Every Free Wall

Wall space is the most underused storage in a garage, and pegboard is the cheapest way to claim it. A single 4×8 sheet holds dozens of tools that would otherwise swallow an entire workbench or drawer stack. Everything hangs in plain sight, so you never buy a duplicate of a tool you already own.
Outline each tool with a marker on the board so every item has a home — and so you instantly notice when something is missing. Group tools by task: gardening on one panel, automotive on another, painting supplies on a third.
Use locking pegboard hooks rather than the loose wire kind. Standard hooks pop off the moment you grab a heavy drill; locking hooks stay put and keep your layout intact for years.
Pro tip: Plan your pegboard as part of a bigger wall system — these garage interior wall ideas show how to combine pegboard with paint and panels for a cleaner look.
3. Stack Clear Bins to the Ceiling
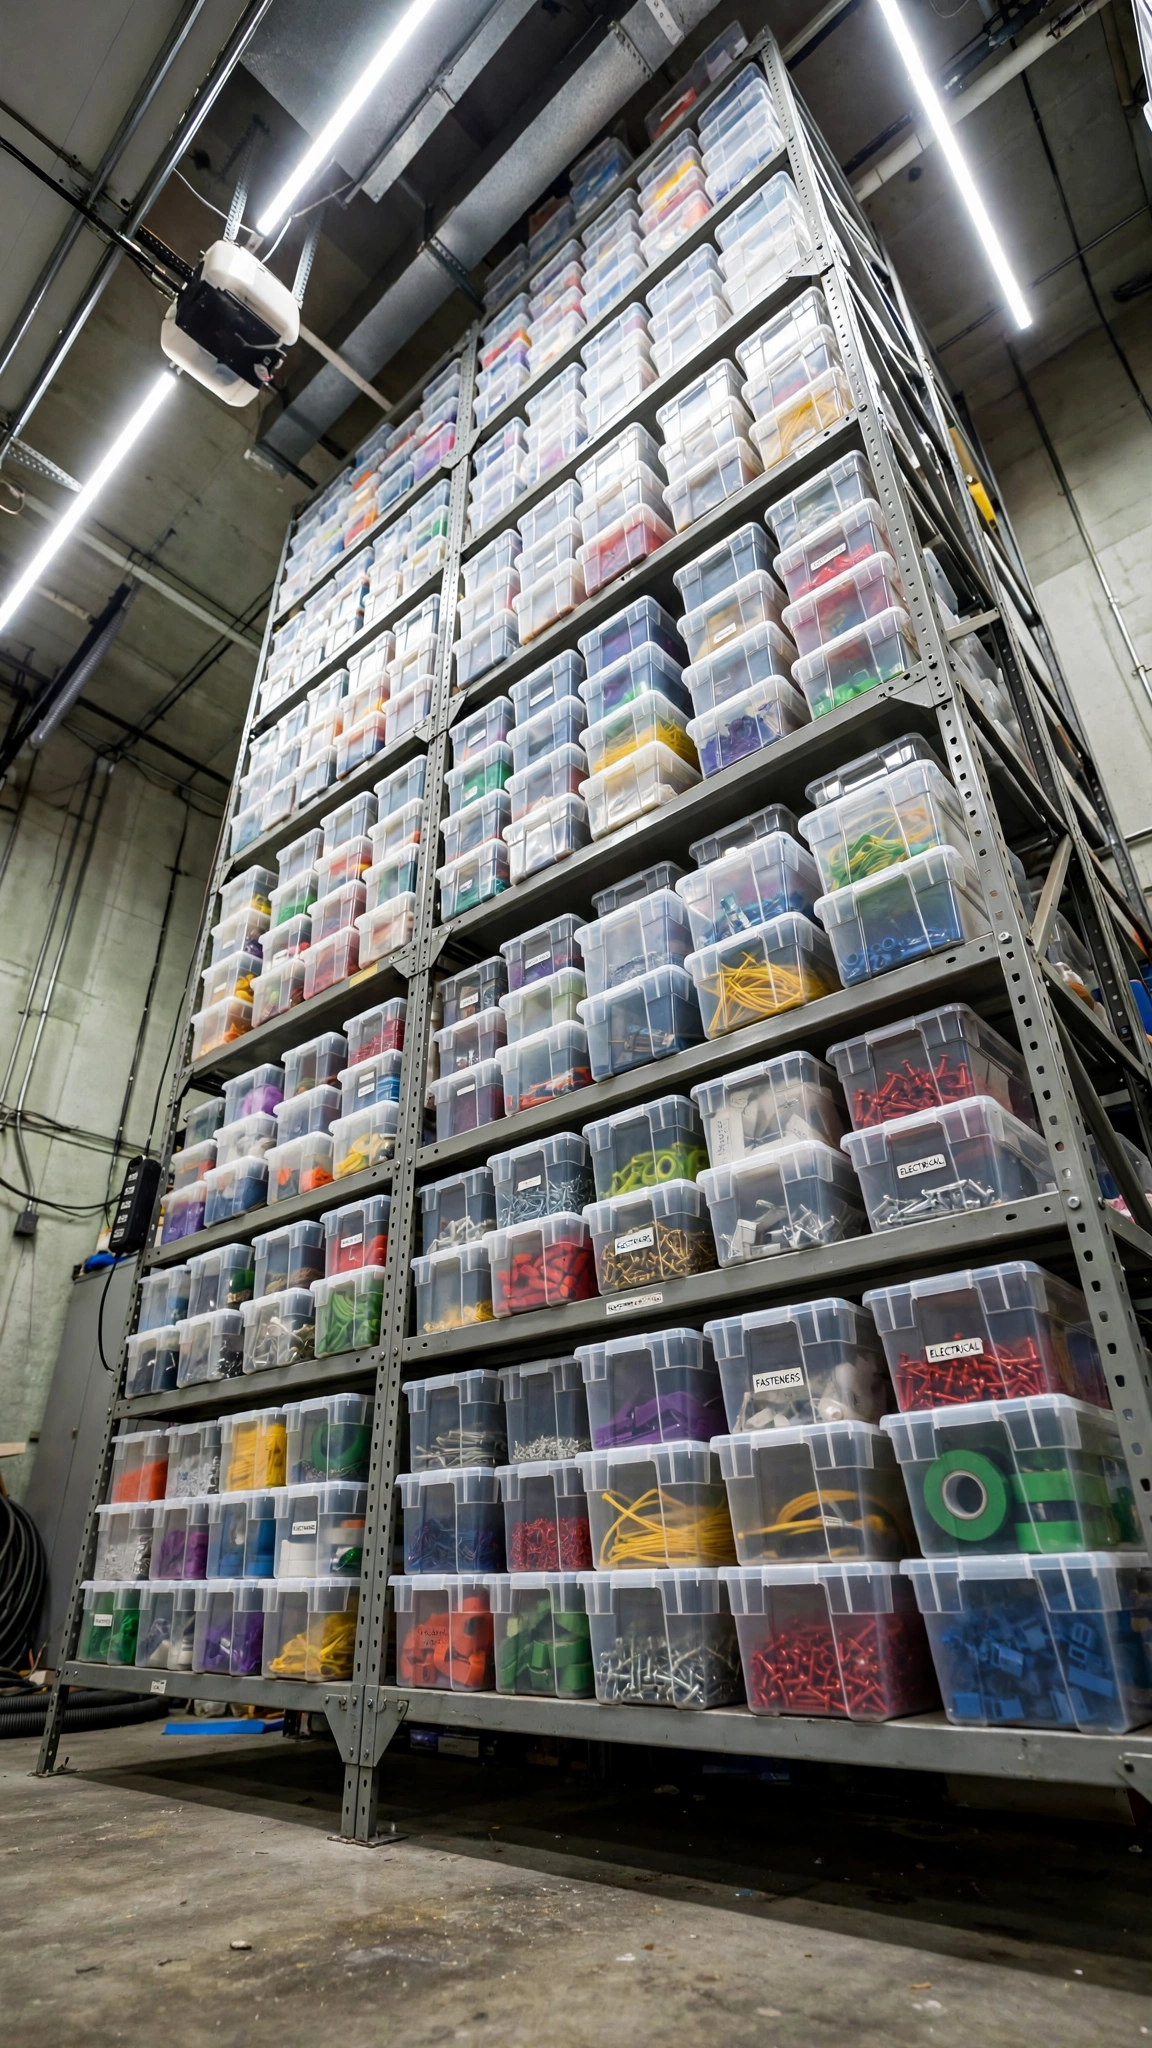
Clear bins are the honest version of storage: you can see what is inside without opening anything. Buy one size and one brand so they stack neatly and the lids are interchangeable — mixed bins waste space and never nest properly.
Put rarely used items up high and daily gear at waist level. Seasonal decorations, camping equipment, and keepsakes belong on the top shelves; cleaning supplies and frequently used tools stay where you can reach them without a step stool.
Leave a small gap at the top of each shelf so you can slide bins out without a wrestling match. Bins packed tight against the shelf above are bins you will dread accessing — and dreaded storage becomes dead storage.
Pro tip: Floor-to-ceiling bin walls work best on sturdy frames — see these garage storage shelf ideas for frames that handle the weight safely.
4. Add a Fold-Down Workbench
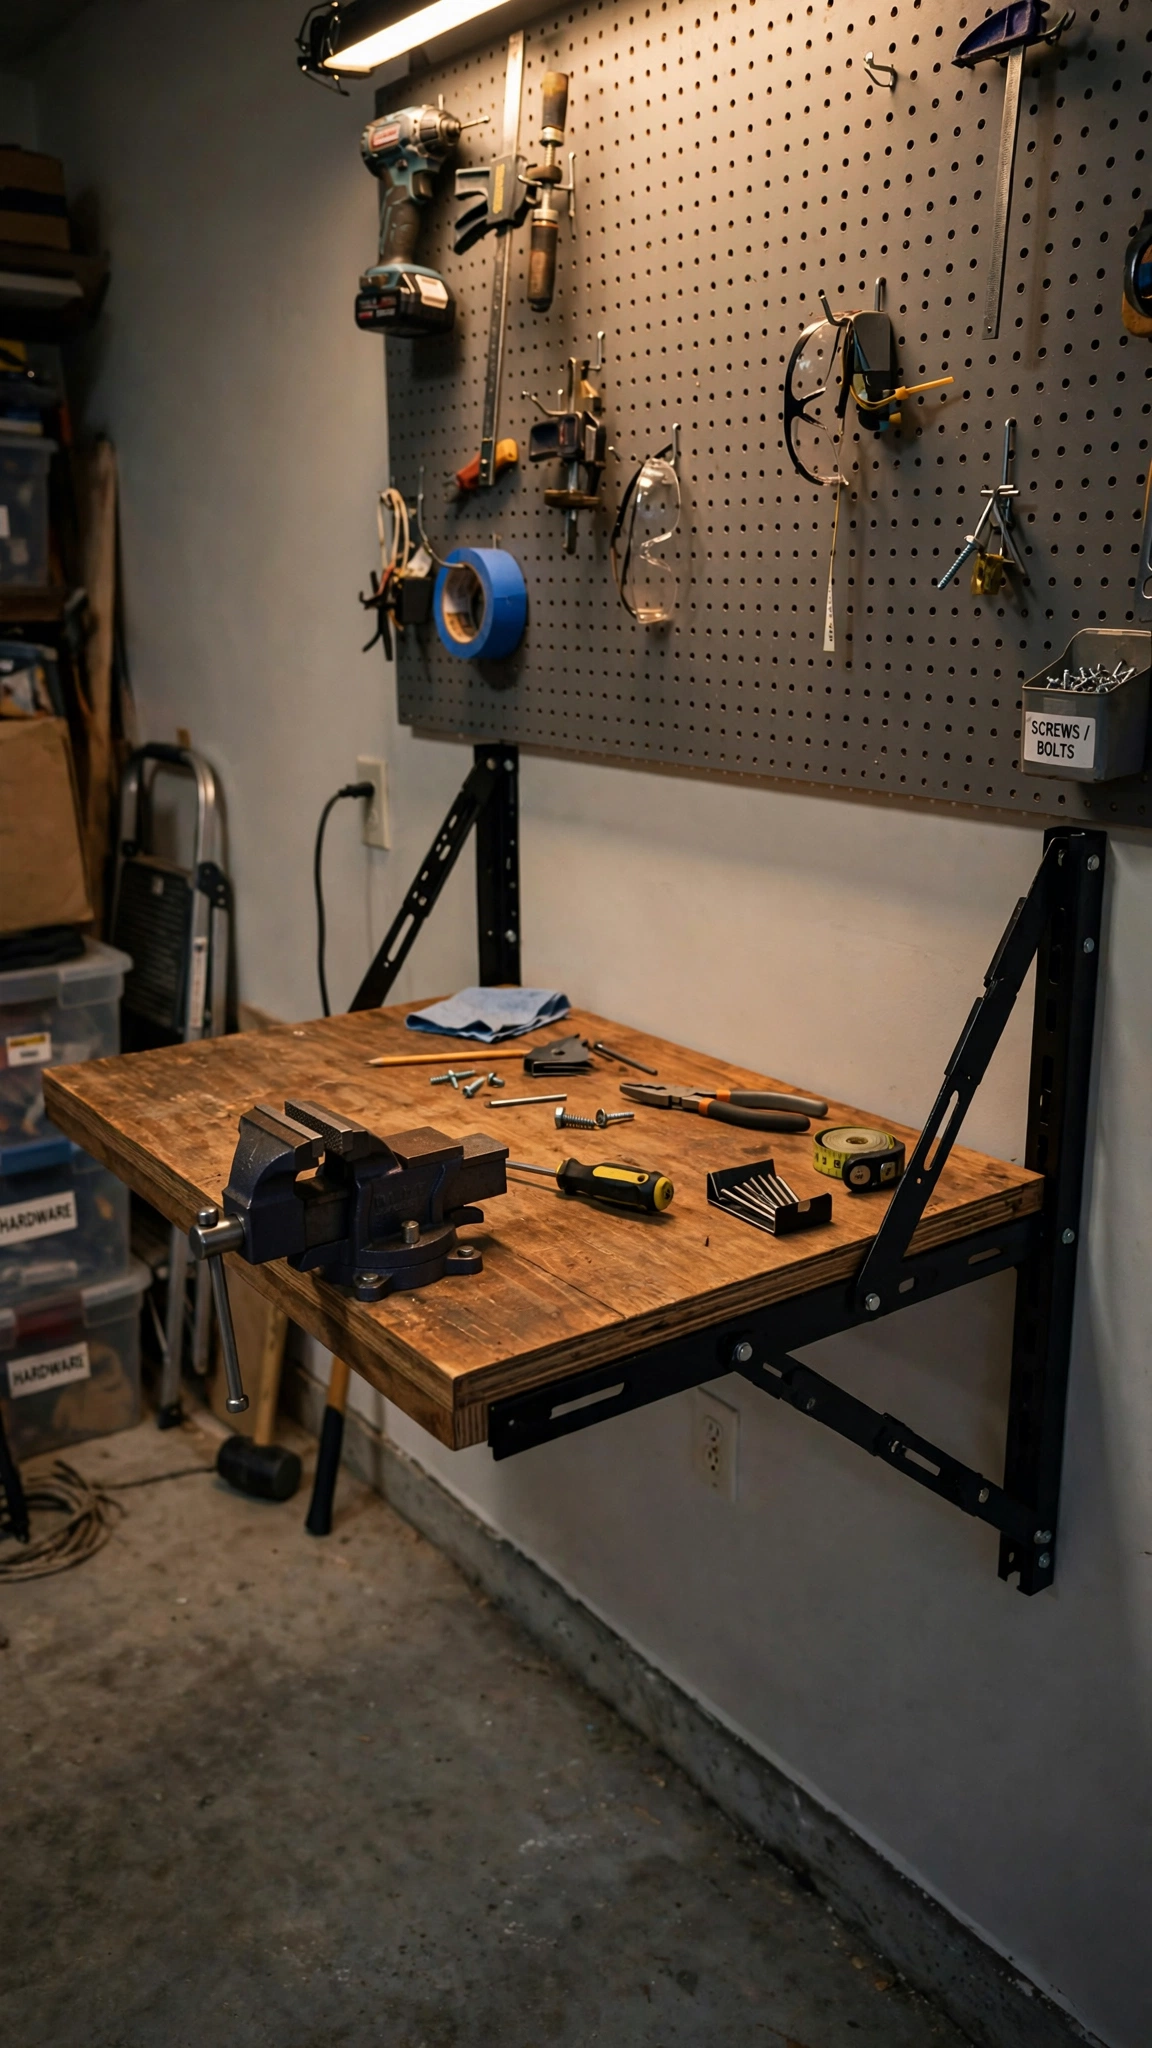
A permanent workbench eats four to six square feet around the clock, but most of us use one a few hours a week. A fold-down bench gives you a full work surface when you need it and your floor back when you do not.
Mount it to wall studs with heavy-duty folding brackets rated for at least 200 pounds. A solid-core door slab or thick plywood top makes a work surface that shrugs off hammering, gluing, and the occasional dropped engine part.
Add a small shelf or magnetic strip on the wall just above the bench for the tools you reach for constantly. When the bench folds up, those stay put — your mini workstation is ready in ten seconds flat.
Pro tip: A fold-down bench shines in a well-planned workspace — these garage workshop ideas show how to fit one into even a single-car garage.
5. Use Magnetic Strips for Small Metal Tools
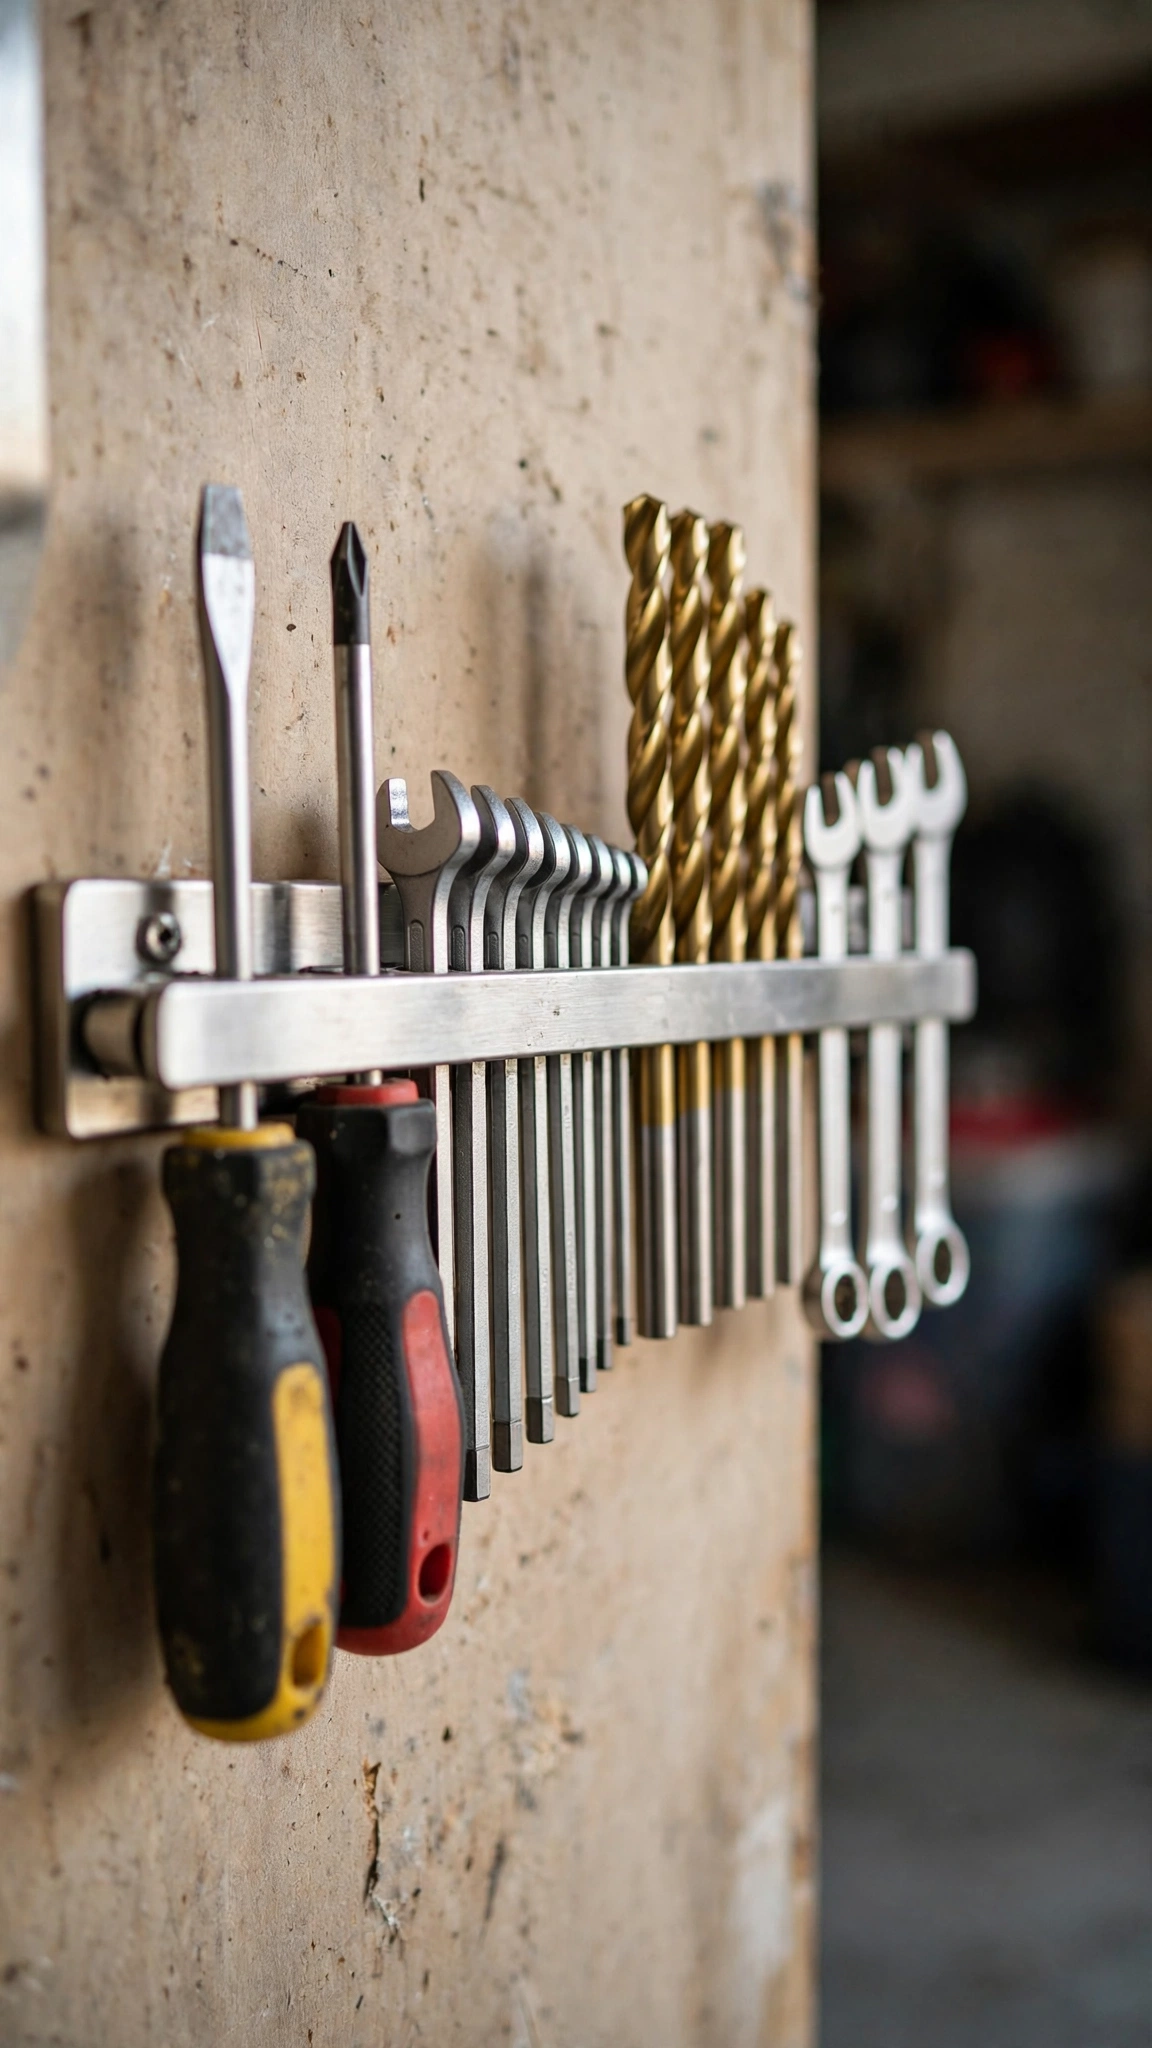
Screwdrivers, drill bits, and hex keys are the items that vanish into drawer chaos. A magnetic strip — the same kind sold for kitchen knives — keeps them lined up on the wall where you can see and grab each one in a second.
Mount the strip at eye level near your workbench or pegboard, and sort tools by size so the row reads like a chart. You will spot a missing 10mm socket instantly instead of discovering it is gone mid-project.
Keep magnets away from anything with a magnetic stripe or sensitive electronics, and wipe the strip now and then — metal dust and shavings collect on it and dull the grip over time.
Pro tip: Magnetic strips pair perfectly with a smart bench layout — these garage workshop layout ideas show exactly where to mount them for the best workflow.
6. Slide Rolling Carts Under Workbenches

The space under your workbench is prime real estate that usually collects dust bunnies and forgotten boxes. A rolling cart turns that dead zone into mobile, organized storage that pulls out exactly where you are working.
Dedicate each cart to one job: an automotive cart with sockets and oil supplies, a painting cart with brushes and tape, a gardening cart with pruners and gloves. When the job moves, the cart rolls with you.
Choose carts with locking casters so they stay put while you work. A cart that drifts across the floor mid-project is worse than no cart at all — lock the wheels and it behaves like a drawer that follows you.
Pro tip: Rolling carts work best alongside real cabinet storage — these garage cabinet ideas show how to mix mobile and fixed storage in one setup.
7. Mount Bikes on Wall Hooks
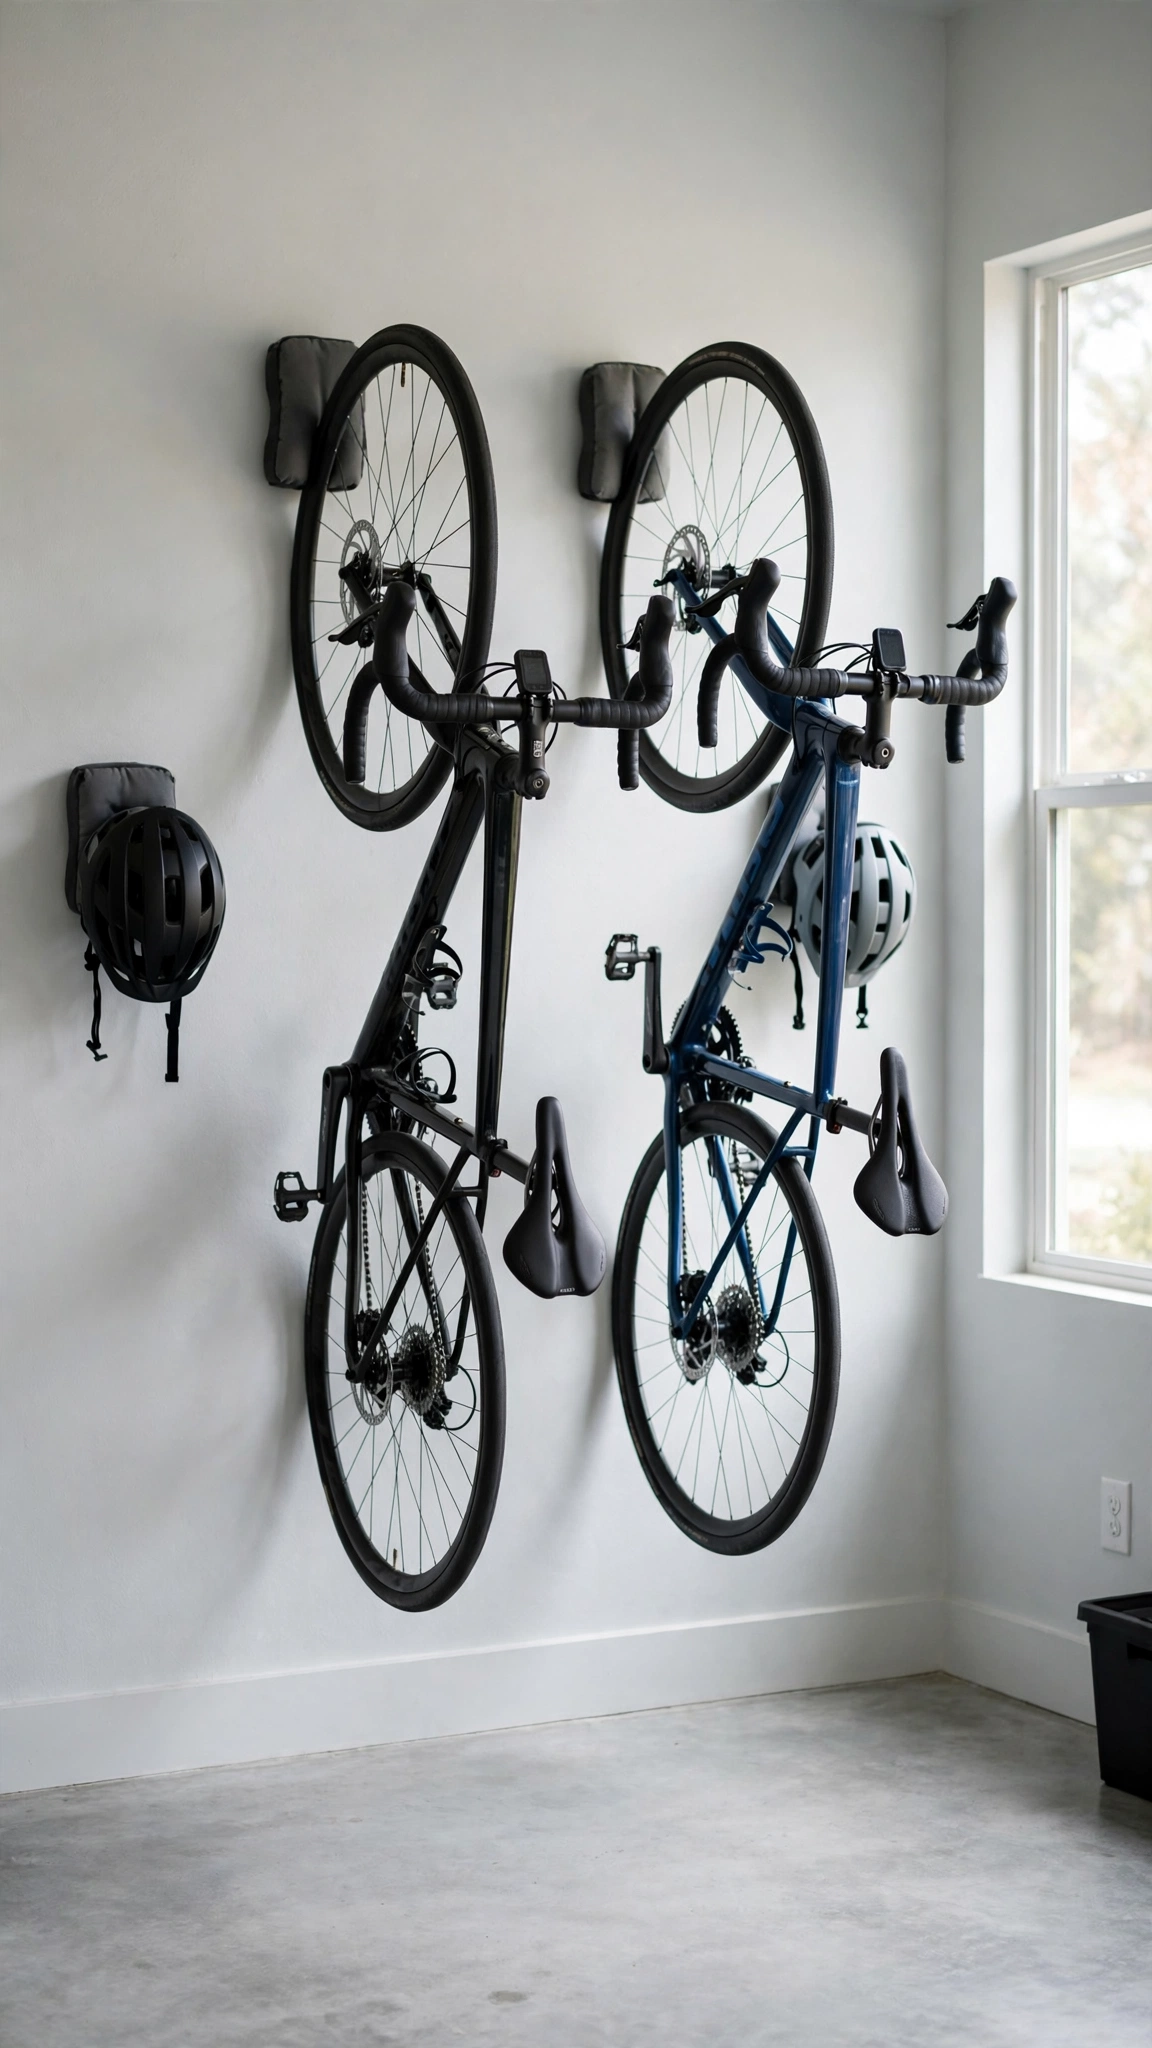
Bikes leaning against the wall eat a shocking amount of floor space and always seem to fall over at 2 a.m. Wall hooks lift each bike flat against the wall, freeing up a lane of floor you forgot you had.
Vertical hooks that hold the front wheel are the most space-efficient for tight garages; horizontal arms work better if you have high ceilings and want to slide bikes overhead. Either way, anchor into studs — a loaded bike plus hook puts real weight on the mount.
Hang helmets, locks, and pumps on small hooks right beside each bike. When everything for the ride lives in one spot, getting out the door takes seconds instead of a scavenger hunt.
Pro tip: Bike walls look best against a finished backdrop — these garage upgrade ideas show simple wall finishes that make mounted gear look intentional.
8. Corral Sports Gear in a Tall Mesh Tower
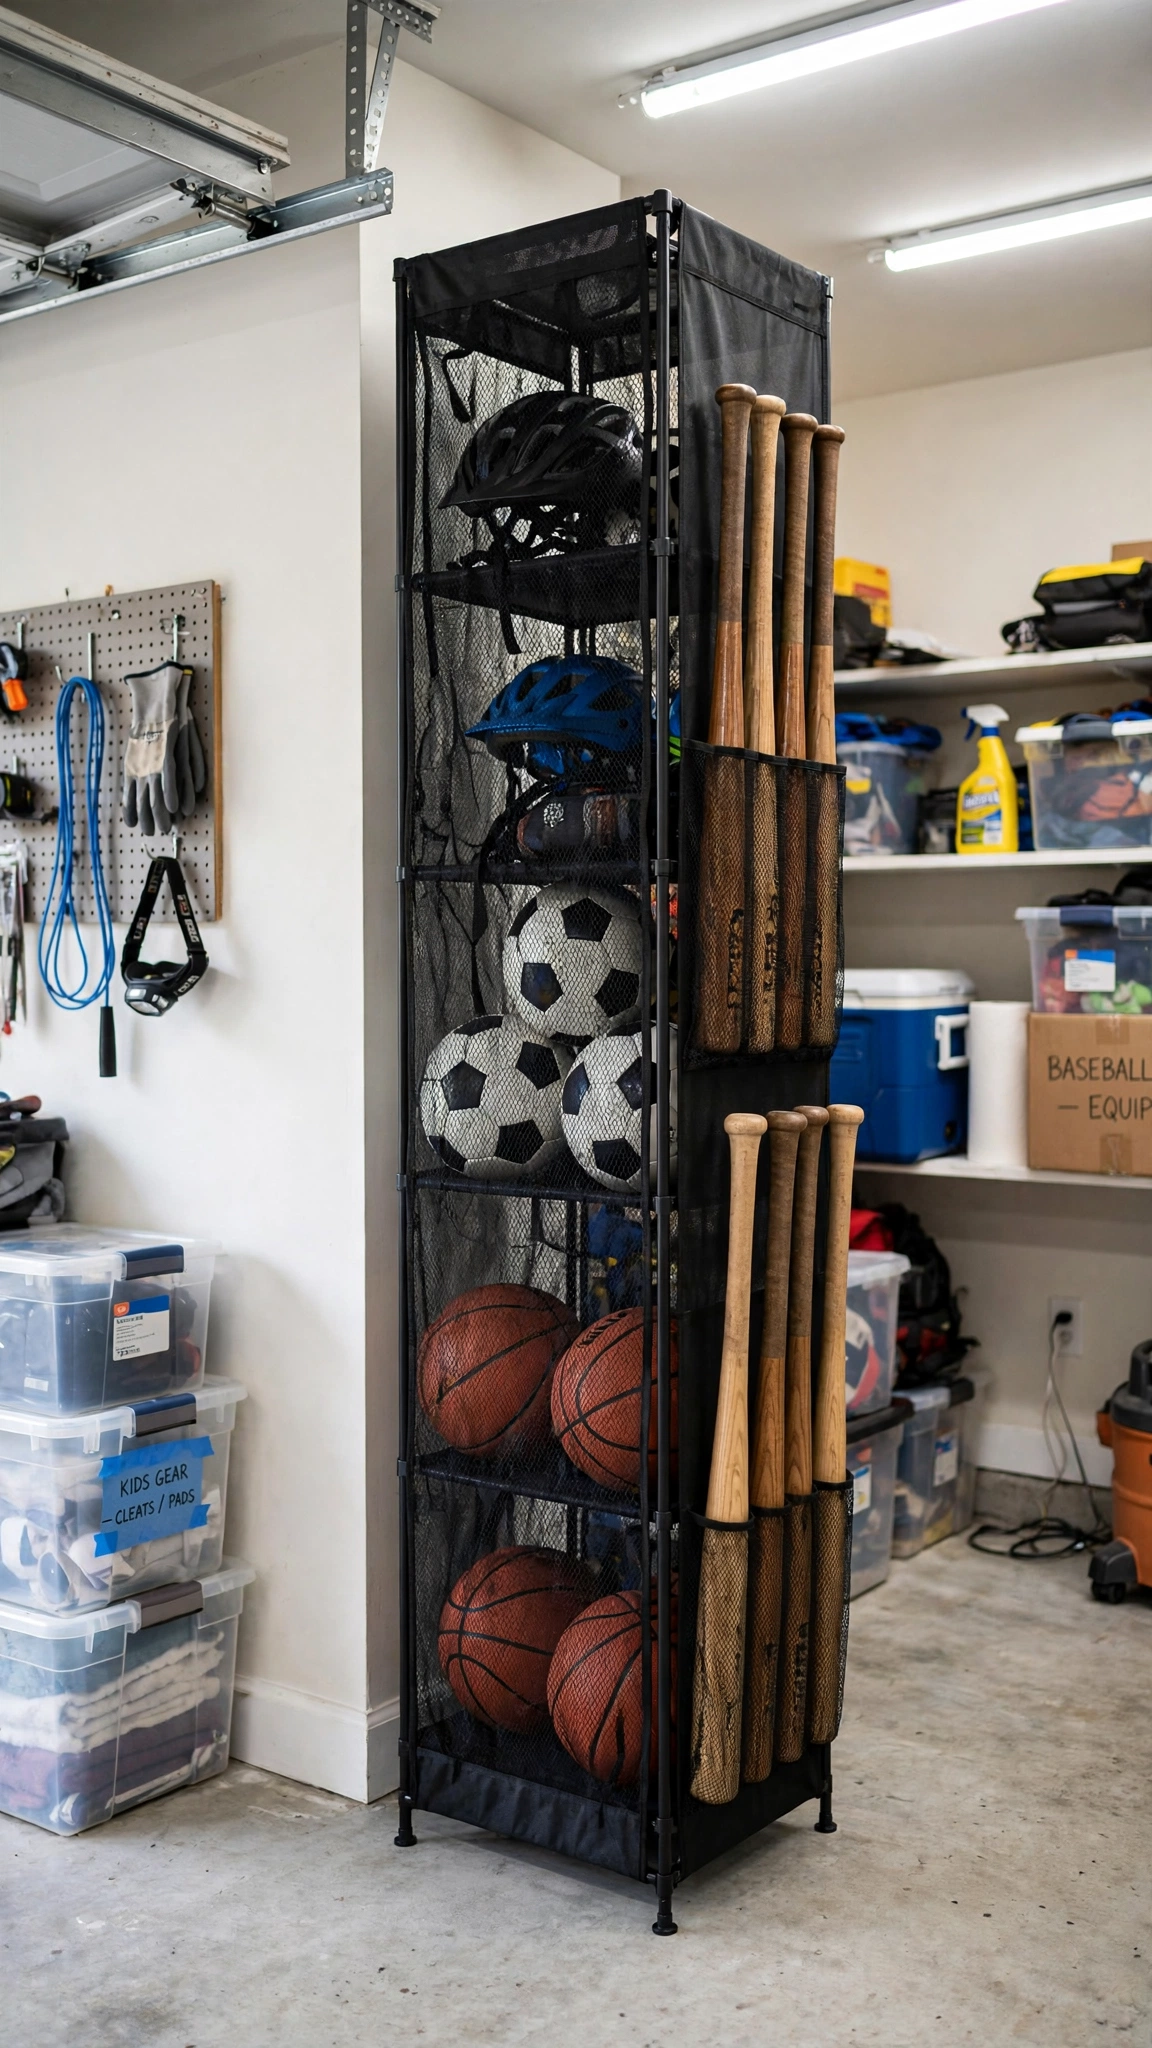
Balls, bats, rackets, and helmets are odd shapes that defeat normal shelving. A tall mesh tower with divided compartments corrals all of it in one vertical footprint — and the open mesh means wet gear actually dries instead of going musty.
Sort by sport or by kid so everyone knows where their gear lives. The tower format keeps balls from rolling under cars and bats from leaning in corners where they slide and clatter.
Put the tower near the garage door you use most. Sports gear is grab-and-go by nature; if the tower sits by the exit, kids will actually put things back instead of dropping them mid-floor.
Pro tip: Good lighting makes gear zones easy to use after dark — these garage lighting ideas keep every corner of the garage visible and inviting.
9. Turn the Door Back Into Storage

The back of the garage entry door is square footage you already own and almost certainly ignore. A slim over-door organizer or a mounted panel turns it into a home for spray bottles, gloves, rags, and the small tools you grab on your way out.
Keep it light — doors are not built for heavy loads. Cleaning supplies, dog-walking gear, and garden gloves are perfect; paint cans and power tools are not. Check that the door still closes fully with the organizer in place.
This trick works double duty at the mudroom door too. One organizer by the house entrance for daily gear, one on the garage side for work supplies, and both doors pull their weight.
Pro tip: Door-back storage is a classic mudroom move — these garage mudroom ideas show how to build a full drop zone around it.
10. Zone the Floor With Painted Tape
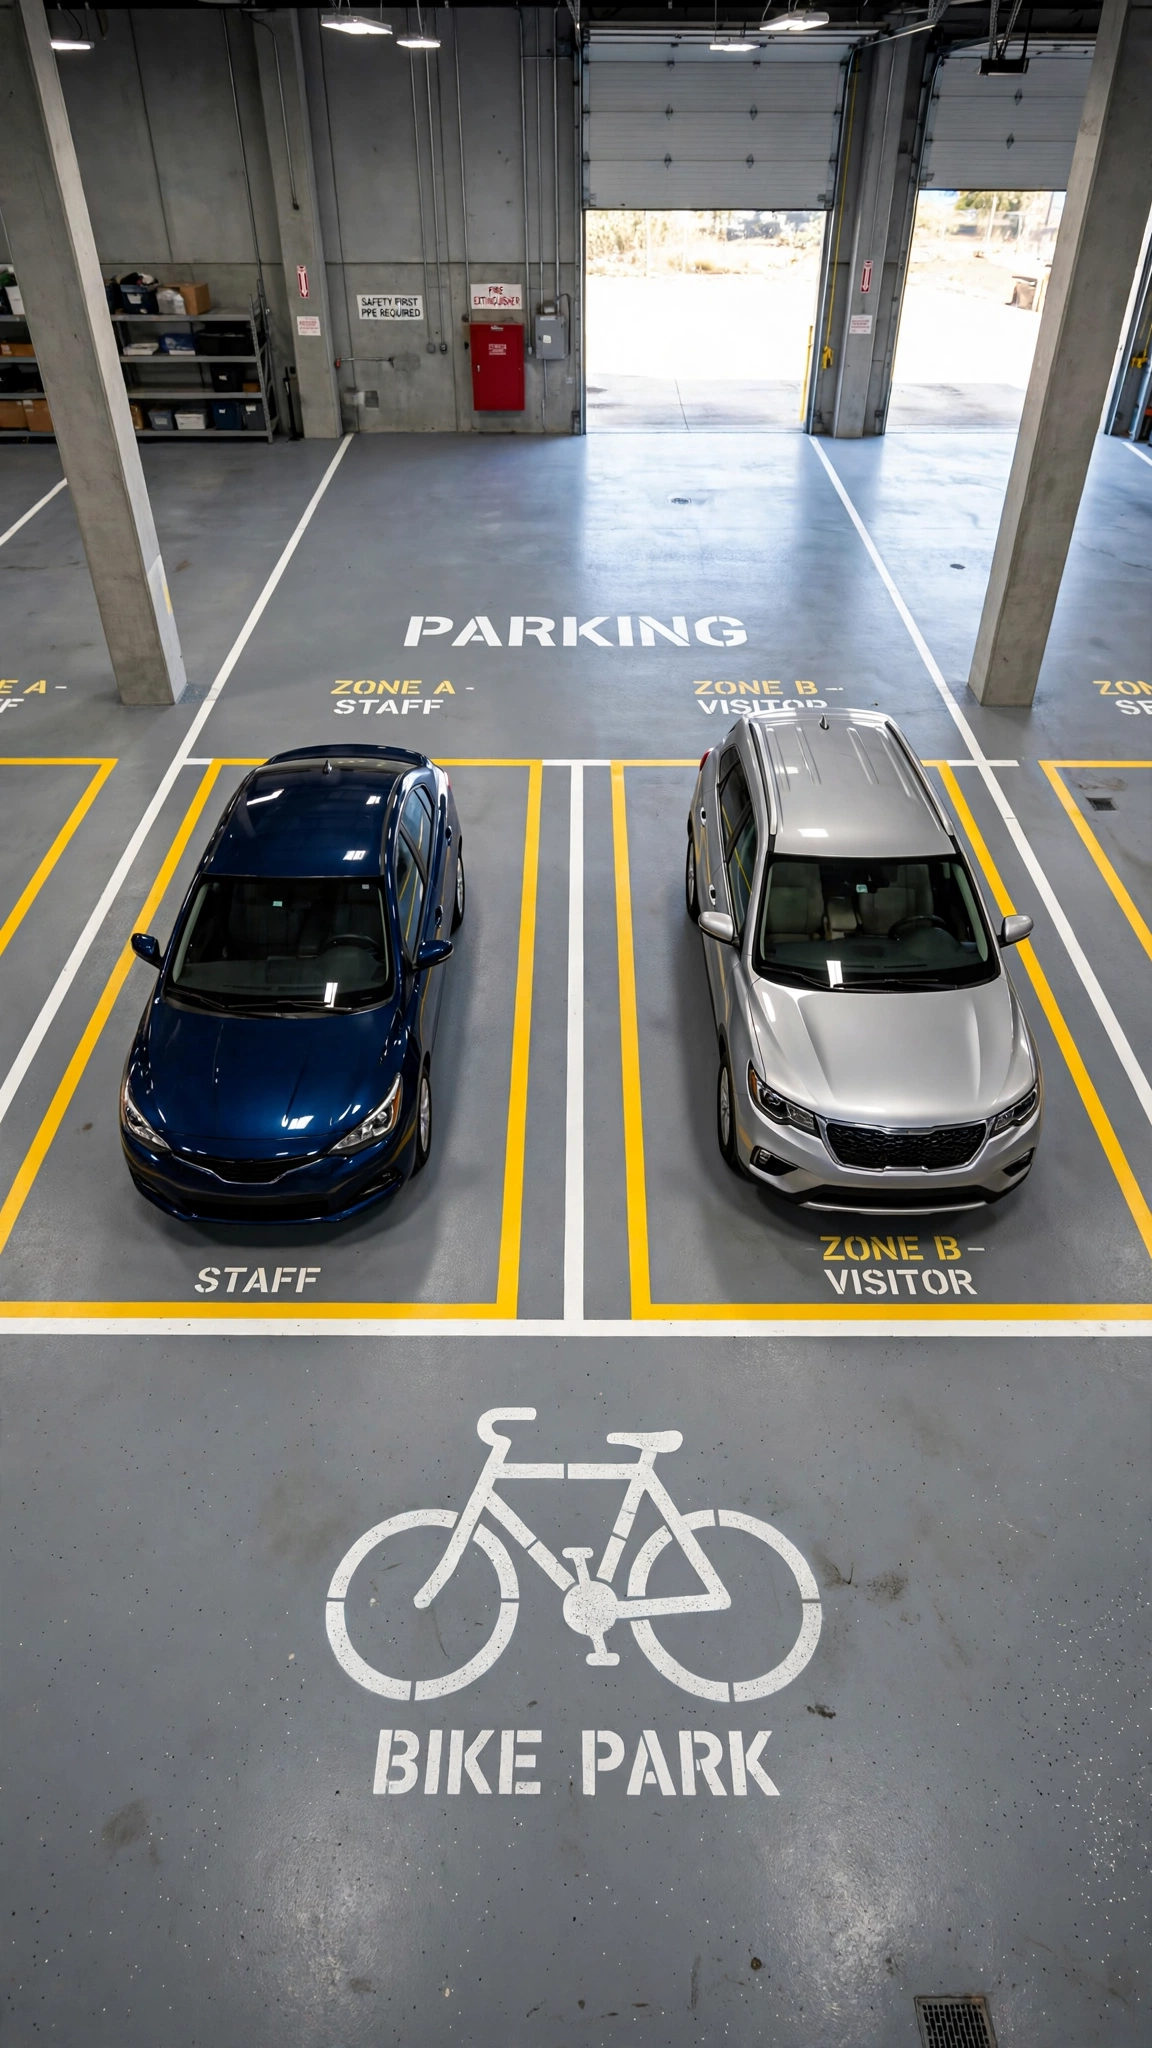
Clutter creeps because nothing has a defined home. Painted floor tape draws visible boundaries: cars here, bikes there, trash bins in that corner. It sounds almost too simple, but zones are what keep warehouses — and garages — from dissolving into chaos.
Use heavy-duty floor marking tape or epoxy paint, not regular masking tape that peels in a month. Outline each car’s parking spot, then tape off zones for bikes, bins, and the workbench so every category has a visible address.
Get the whole household to agree on the zones once, and enforcement becomes automatic. When the bike zone is empty and a bike sits in the car zone, even kids can see something is wrong.
Pro tip: Floor zones work best when the whole garage gets a refresh — these garage renovation ideas show how to plan zones into a bigger makeover.
11. Keep a “One In, One Out” Donation Bin

Every storage system eventually fills up — the hack that prevents that is a permanent donation bin. When something new comes in, something old goes in the bin. One in, one out, no exceptions, no second storage unit required.
Keep the bin right by the garage door you use for errands so dropping it at the charity shop is effortless. A bin buried behind the lawn mower will sit full for six months; a bin by the exit empties itself.
When the bin is full, it leaves the house that week — that is the rule that makes the whole system work. An overflowing donation bin is just clutter with good intentions, so schedule the drop-off before it piles up.
Pro tip: A donation bin fits naturally into a laundry-and-utility corner — these garage laundry area ideas show how to carve out a tidy utility zone for it.
Conclusion
You do not need a bigger garage — you need these eleven little systems working together. Start with labels and one wall of pegboard this weekend, and watch how fast the rest falls into place.