10 Creative Kitchen Living Room Ideas That Create a Stylish and Functional Kitchen
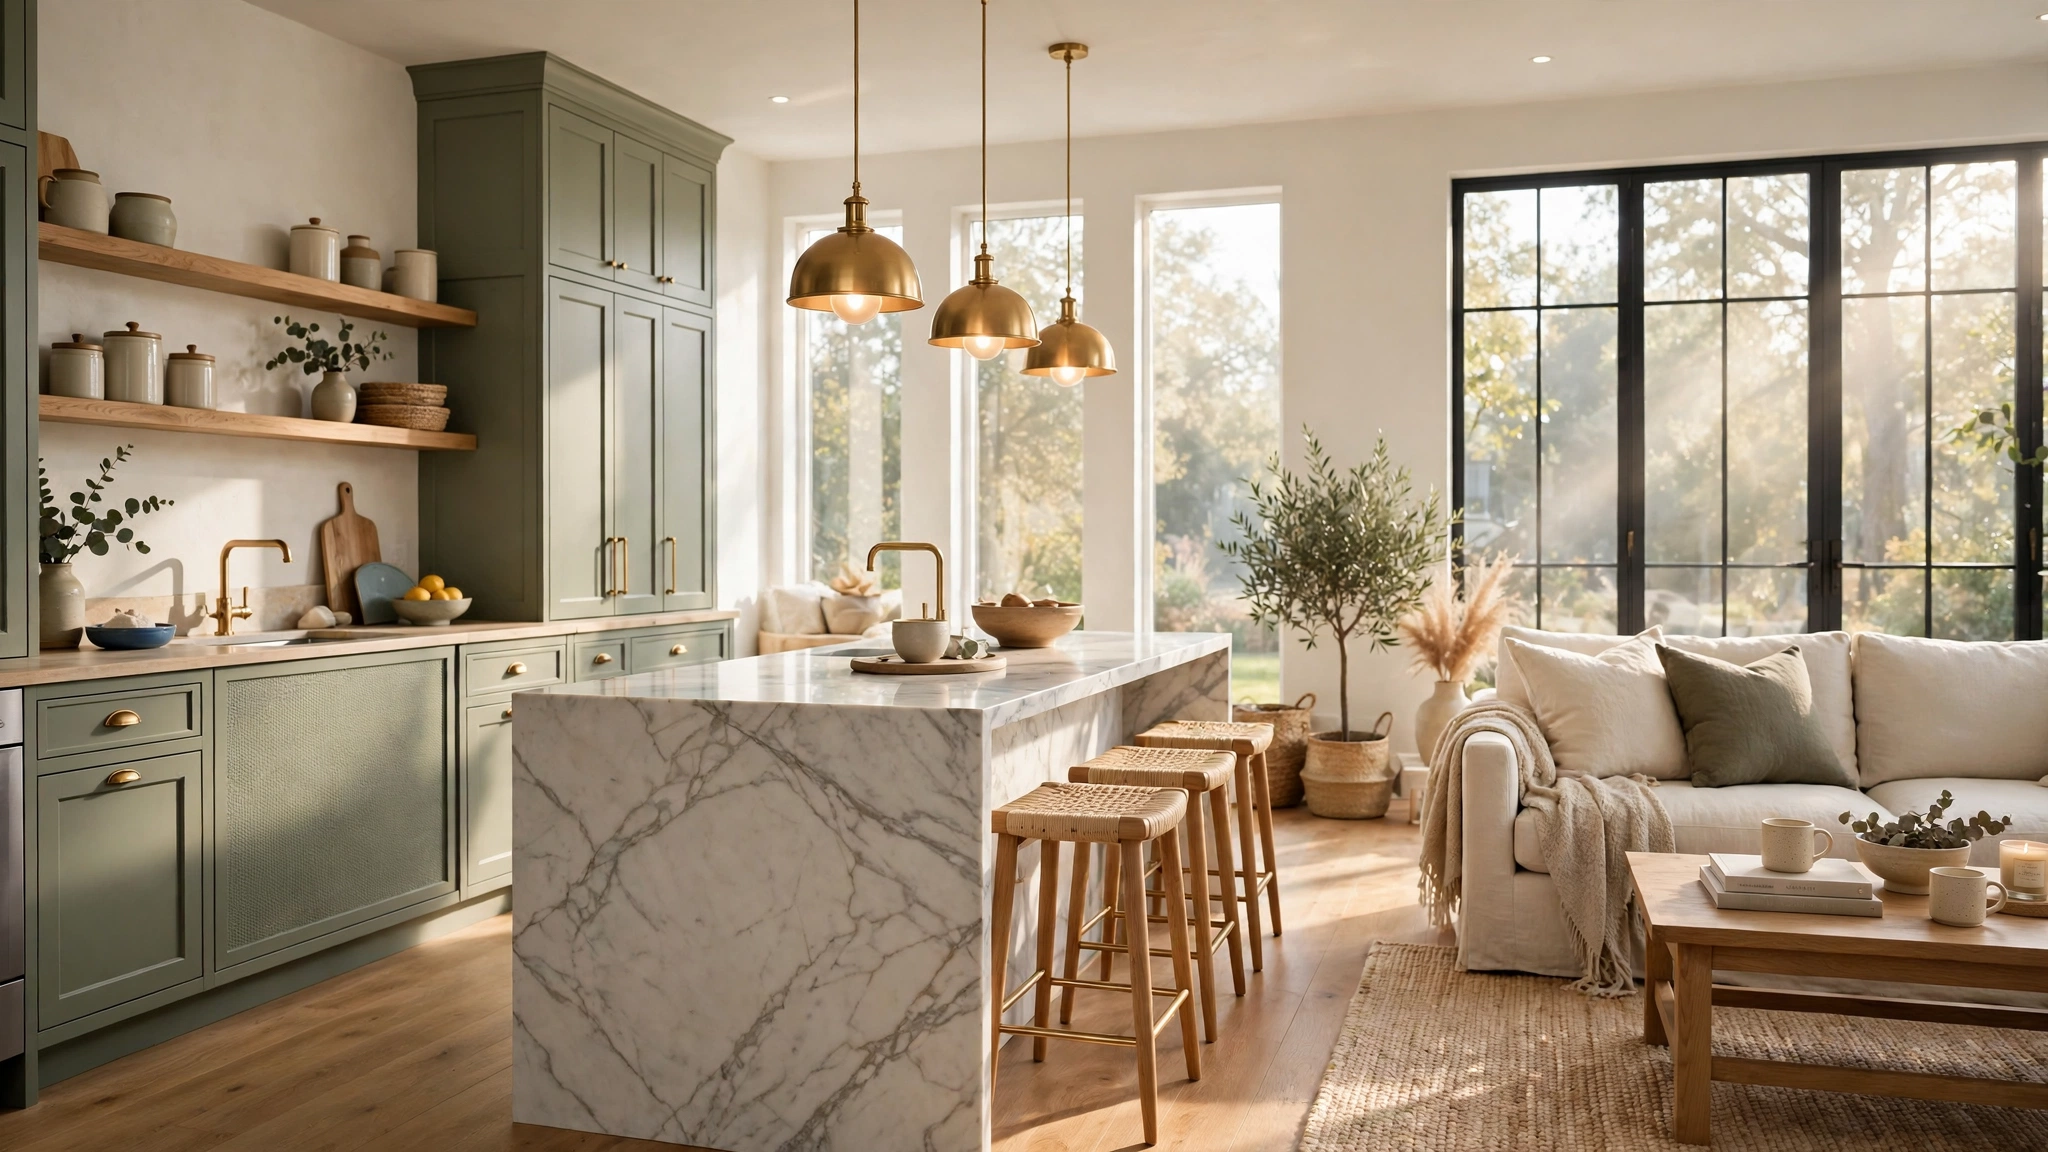
An open-plan kitchen and living room is the dream layout for modern homes — one bright, social space where cooking, relaxing and entertaining all blend together. But without walls to separate the two zones, the room can easily feel like a jumble: the sofa drifts into the cooking area, kitchen clutter spreads across the coffee table, and neither half ever quite looks finished.
The good news is that you do not need walls to make an open-plan space work beautifully. With a few clever zoning tricks, shared finishes and furniture that earns its place twice over, you can give each zone its own identity while keeping the whole room feeling connected, stylish and seriously functional. Ready to see how the smartest open-plan homes pull it off?
1. Zone the Open Plan with a Rug
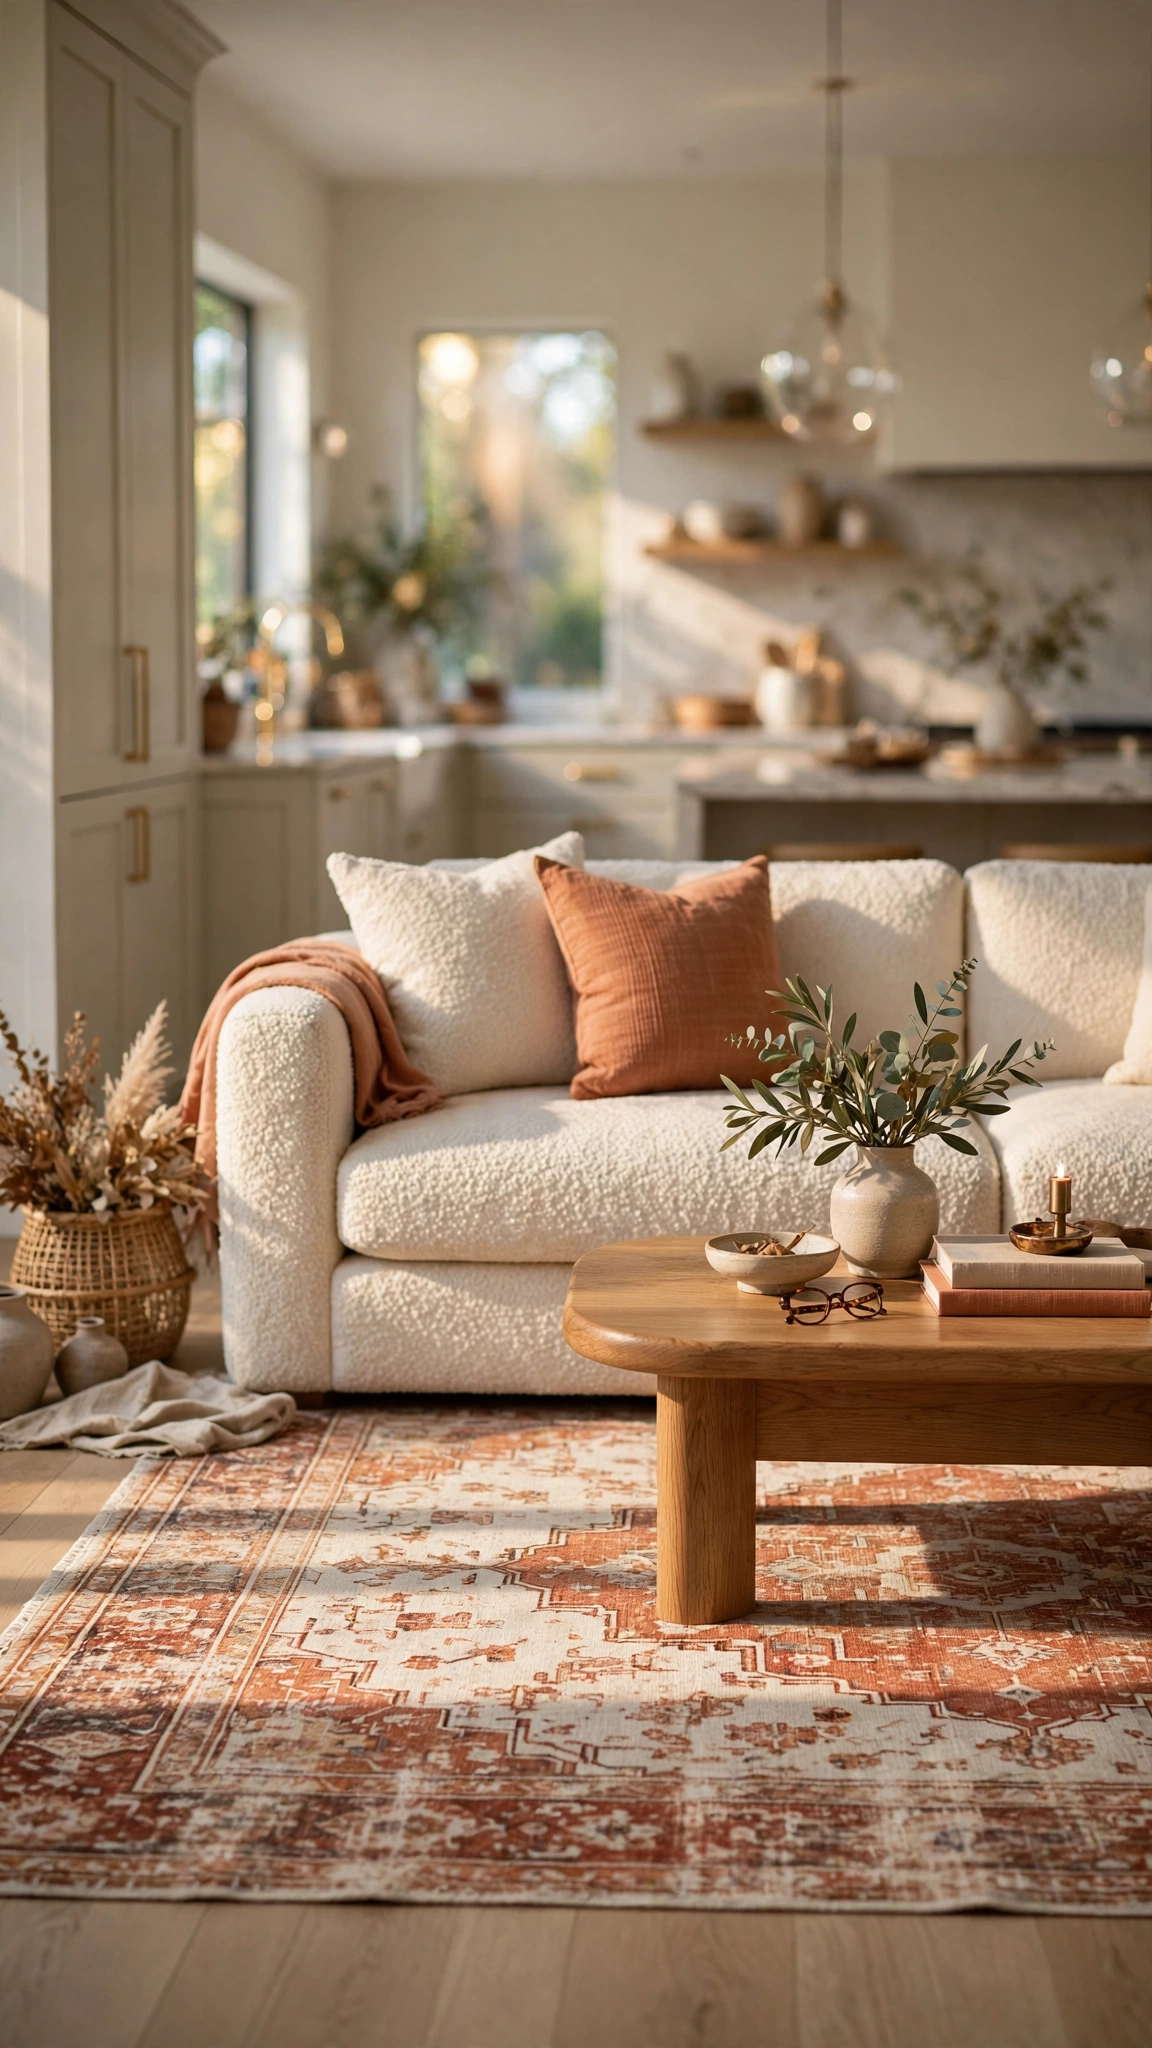
A rug is the fastest way to draw an invisible boundary in an open-plan room. Placing a generously sized rug under the sofa and coffee table instantly tells the eye “this is the living zone,” while the bare floor around the kitchen keeps its practical, hardworking feel. Choose a rug big enough for at least the front legs of every seat to sit on it — a floating rug that is too small makes the zone feel like an afterthought.
Low-pile or flatweave styles work best in a combined space because chairs slide easily and crumbs from inevitable snack runs shake straight out. A subtle pattern hides everyday wear beautifully, while a plain rug in a colour pulled from the kitchen cabinetry ties the two halves together quietly.
Expect to spend anywhere from £80 for a large synthetic flatweave to several hundred for wool. It is a one-afternoon change with no tools required, yet it transforms how the whole room reads the moment you roll it out.
Tip: Think of the rug as the floor plan you cannot build — the same zoning logic works outdoors too, as these stylish balcony patio interior design ideas show when they carve seating zones out of one small slab of floor.
2. Carry One Colour Palette Through Both Zones
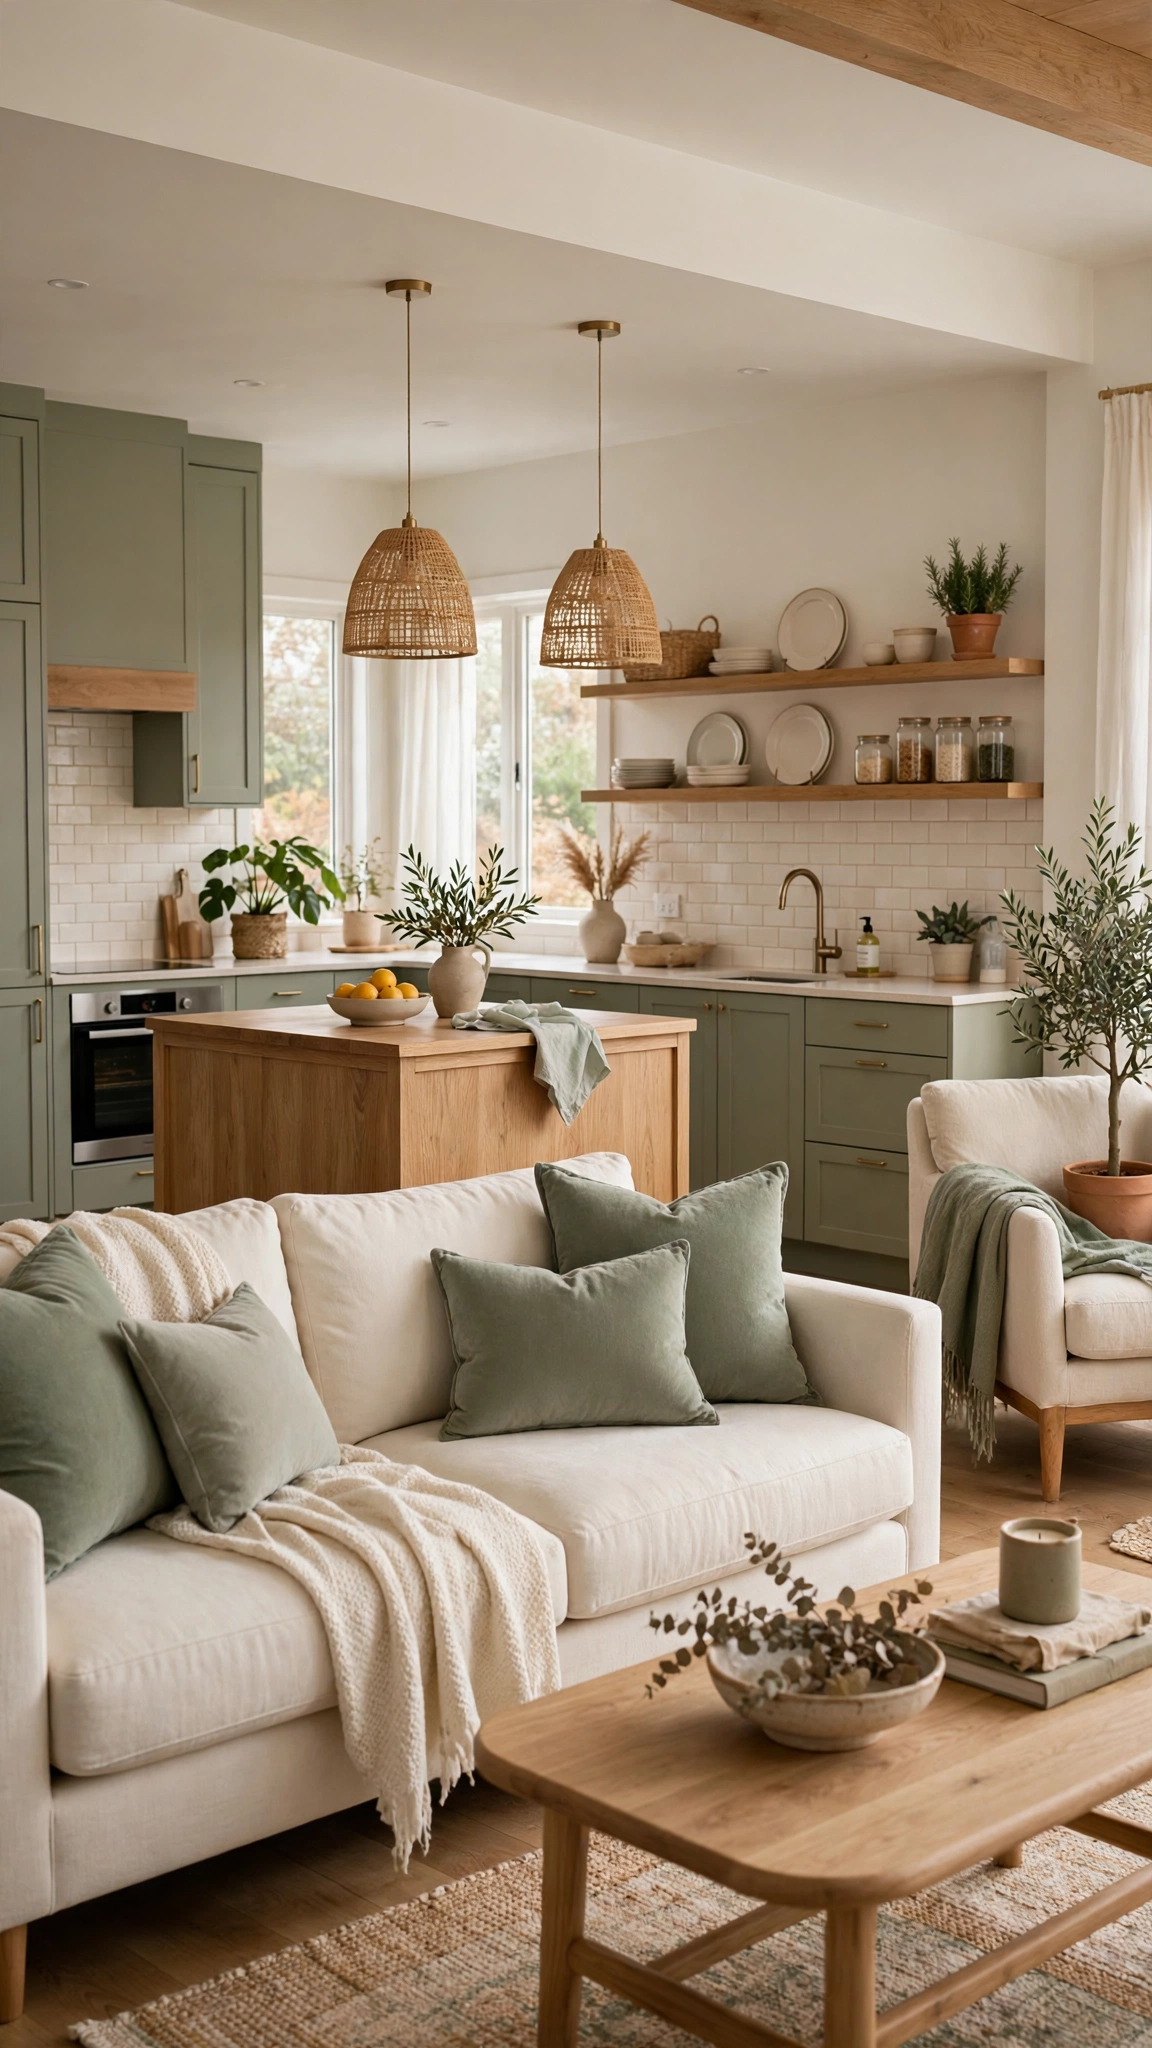
Nothing makes an open-plan space feel more designed than one colour palette flowing uninterrupted from the kitchen cabinets to the sofa cushions. Pick two or three core colours — say warm white, natural oak and one accent such as sage, navy or terracotta — and repeat each of them at least twice in both zones. When the eye keeps meeting the same tones, the room reads as one intentional design rather than two rooms competing.
The easiest route is to let the kitchen set the palette. Match cushion fabrics and throws to the cabinet colour, echo the worktop material in a coffee table or sideboard, and repeat the hardware finish — brass, black or chrome — in lamp bases and picture frames on the living side.
This costs almost nothing beyond a few cushion covers and a throw if you are redecorating, and even a fresh coat of the same paint on both ends of the room can be done in a weekend for under £100.
Tip: If you struggle to build a calm, layered palette, borrow the method behind these gorgeous bedroom colour ideas for a calm and stylish retreat — the same soothing combinations translate beautifully to a shared kitchen-living space.
3. Layer the Lighting for Two Rooms in One
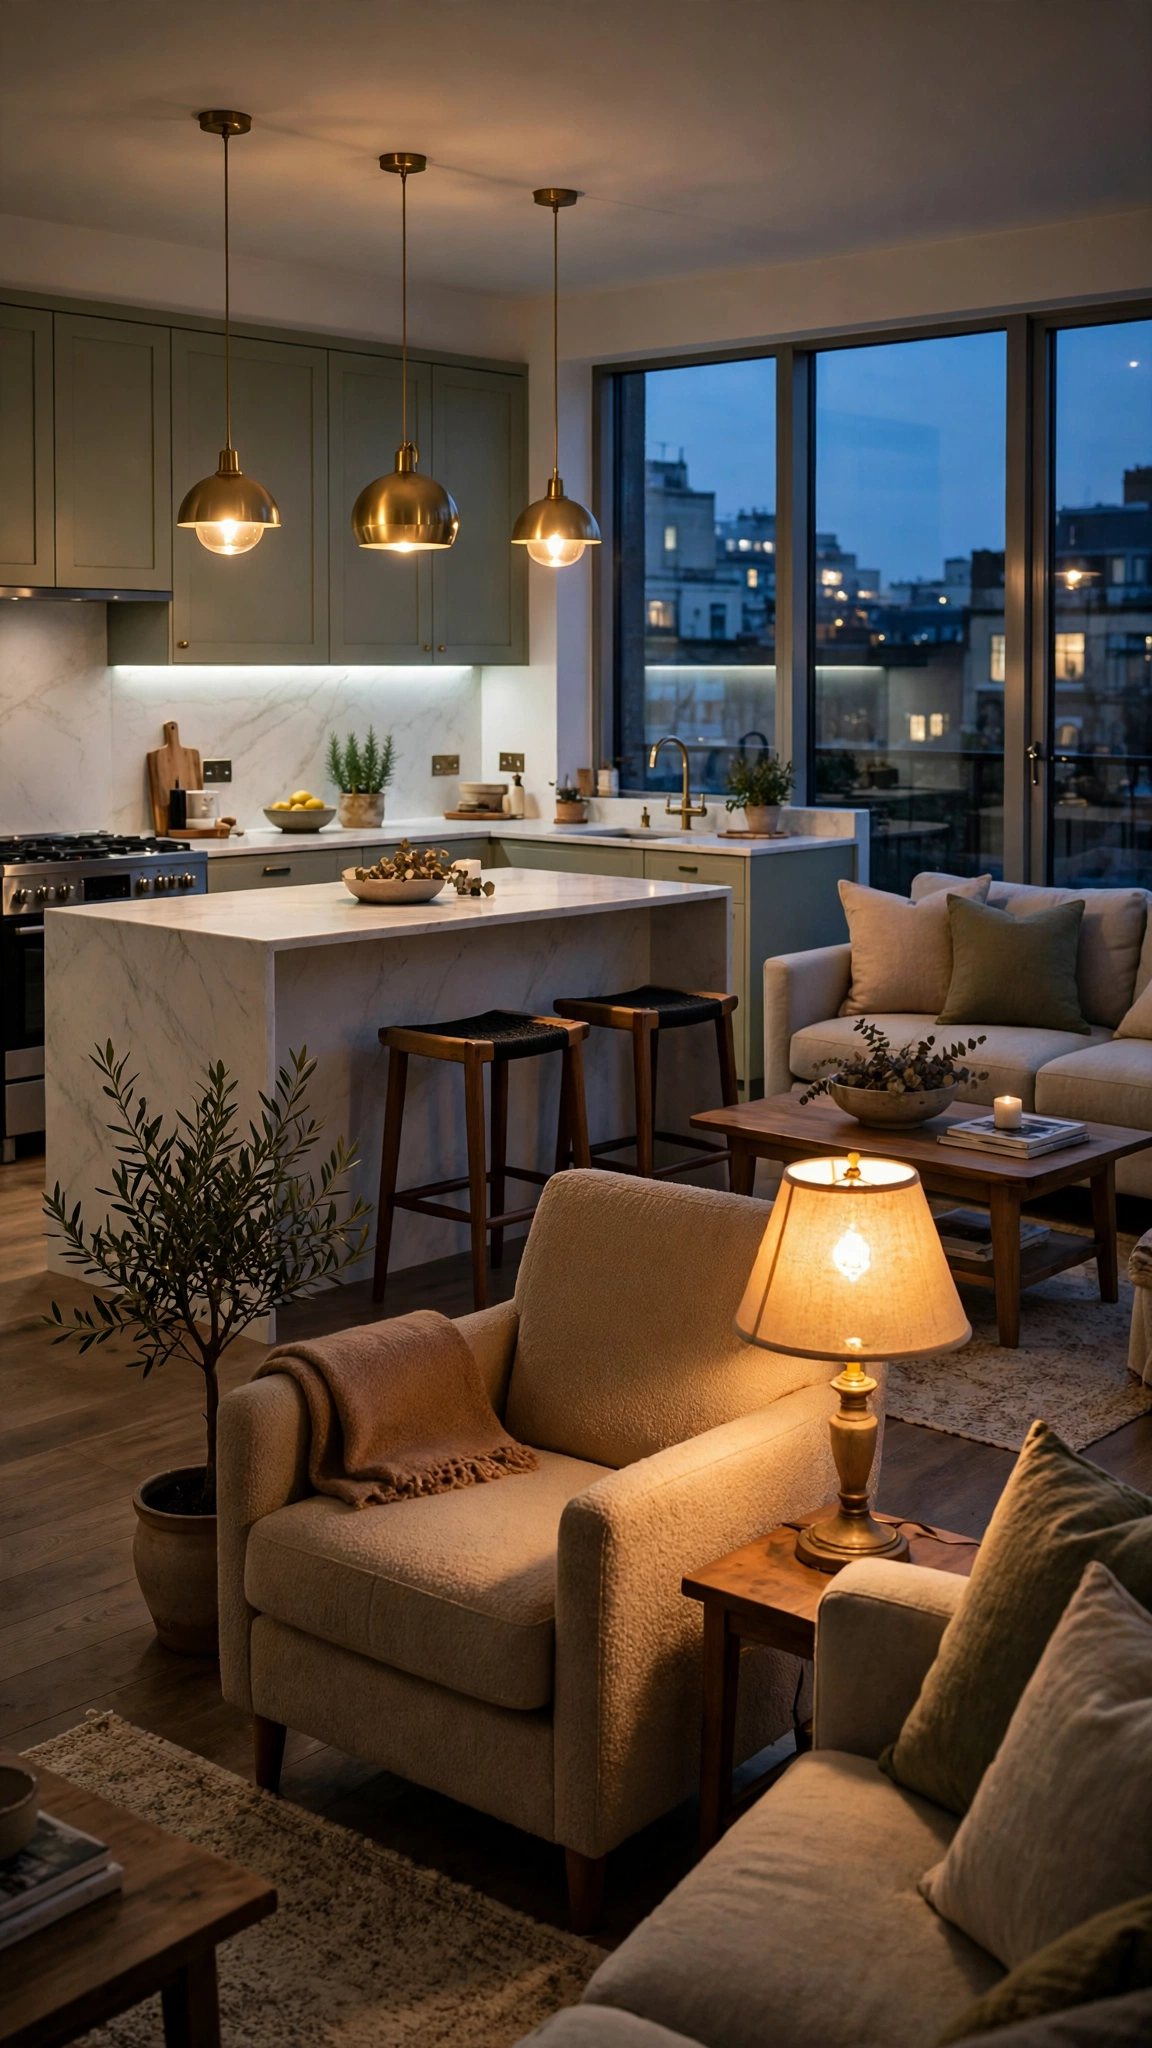
In a combined space, lighting does the job walls used to do. Pendants over the island signal the kitchen zone, while softer table and floor lamps pool warm light around the seating area. When evening comes, switching off the overheads and letting each zone glow at its own level makes the room feel like two distinct rooms again — cosy at one end, practical at the other.
Plan three layers: task lighting where you chop and cook, ambient lighting for general brightness, and accent lighting to highlight shelves, art or a beautiful splashback. Dimmers are the secret weapon here — a £20 dimmer switch per circuit lets one open space shift from bright family hub to intimate dinner setting in seconds.
Keep bulb colour temperature consistent throughout, around 2700–3000K, so one half of the room never looks yellow while the other looks blue. Matching temperatures is a small detail guests will never name, but they will feel how cohesive it makes everything.
Tip: For more proof of how hard the right fittings work, browse these stylish lighting ideas that instantly elevate the whole space — the layering principles apply just as powerfully above a sofa as they do above a workbench.
4. Let the Island Act as the Room Divider
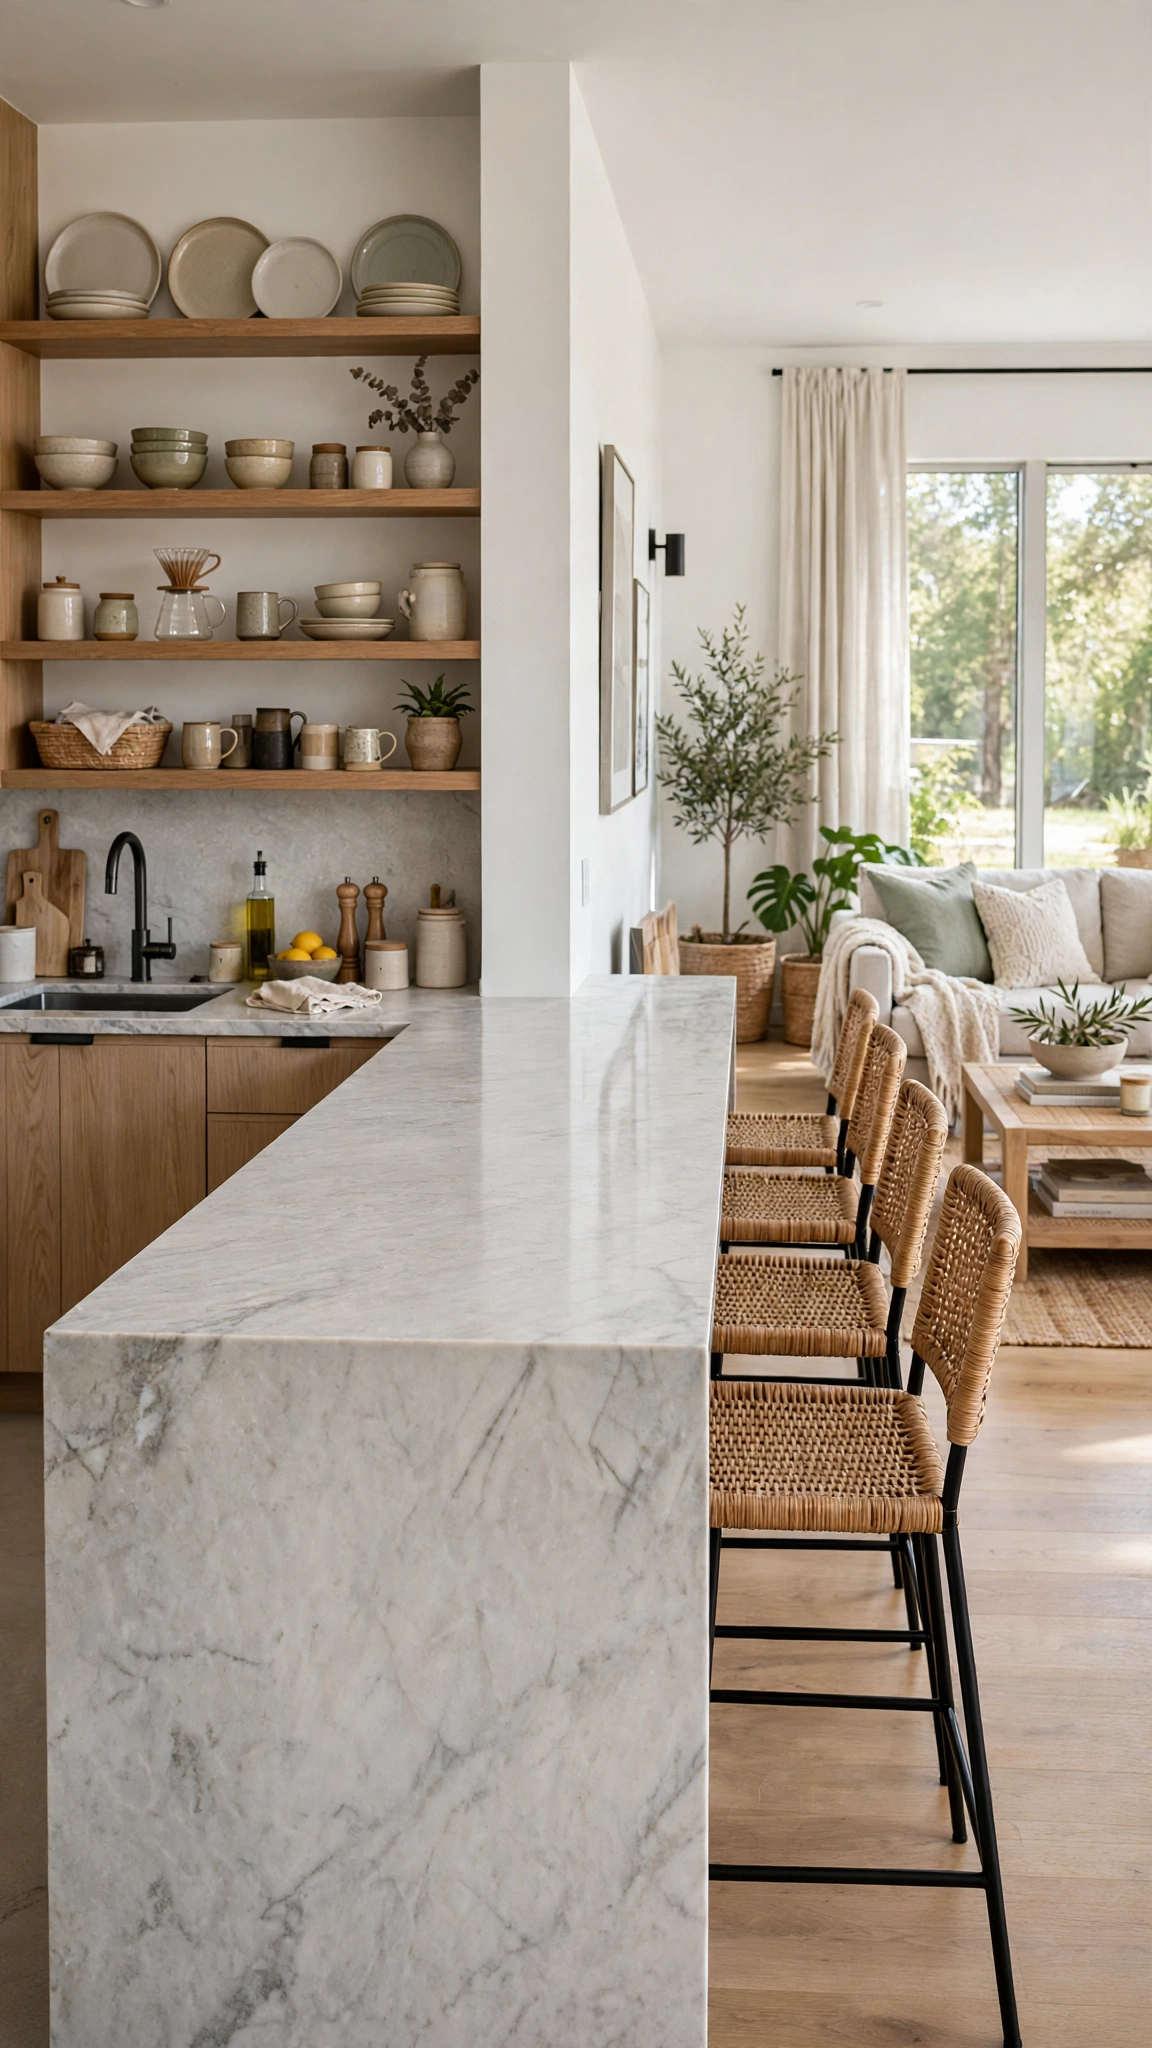
A kitchen island is the hardest-working piece of furniture in an open-plan home. Positioned between the two zones, it gives the cook extra prep space and storage, hides the working mess of the kitchen behind its bulk, and offers casual seating on the living side — all while drawing a clear, friendly line between cooking and relaxing.
Style each face of the island for its audience. The kitchen side gets deep drawers, a rail for utensils and somewhere to stash the bins; the living side deserves the good looks — panelled or fluted fronts, a shelf for cookery books and baskets, and stools that match the sofa’s palette rather than the cabinets.
Freestanding islands and sturdy butcher’s-block tables deliver the same dividing effect for a few hundred pounds if a built-in unit is out of budget. Just leave at least 90cm of walking space all around so the divider never becomes a bottleneck.
Tip: Treat the island’s hidden half as serious storage square footage — the smart cabinetry thinking in these creative cabinet ideas for a cleaner, smarter setup will help you squeeze a home for everything from baking trays to board games.
5. Anchor the Living End with a Seating Group
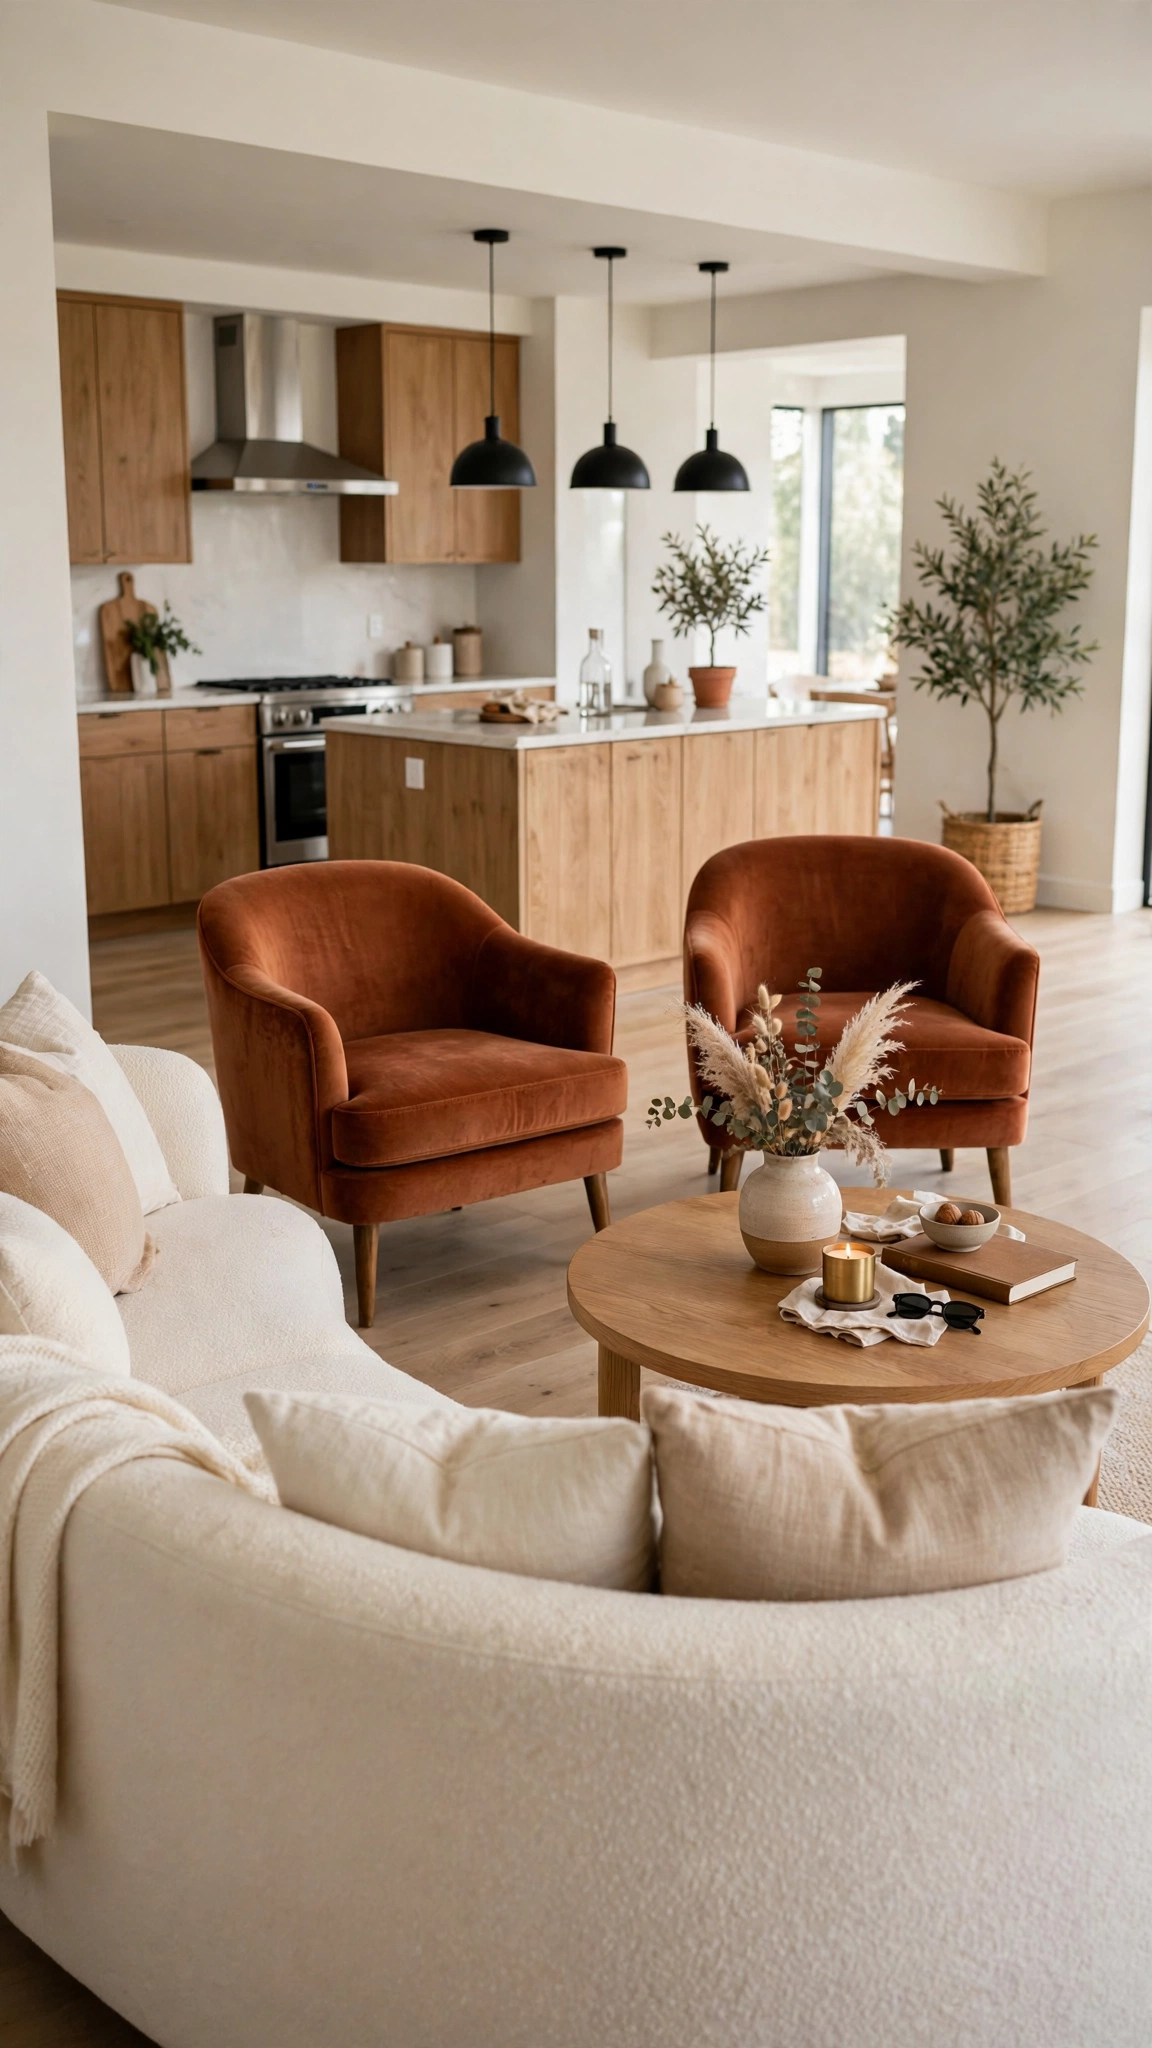
A sofa pushed against the only wall leaves the living zone feeling like a waiting room. Instead, float the seating in a proper conversational group — sofa facing armchairs across a coffee table, backs turned politely to the kitchen. The back of a sofa is a soft, low “wall” that defines the zone without blocking light or sightlines for the cook.
Keep the group tight enough for conversation, with seats roughly 2.5 metres apart at most, and give every seat a surface within reach for a drink. A round coffee table softens the geometry of a boxy open-plan room and keeps shin-bruising corners out of the walkway between zones.
You can rearrange what you already own for free, or add one well-chosen armchair to complete the group. Either way, the moment the furniture starts talking to itself instead of the walls, the living end of the room finally feels intentional.
Tip: The rules of a welcoming seat cluster are the same inside and out — these gorgeous seating ideas that make the whole space feel more put together are full of arrangements worth stealing for your living zone.
6. Add a Glass Partition for Separation Without Darkness
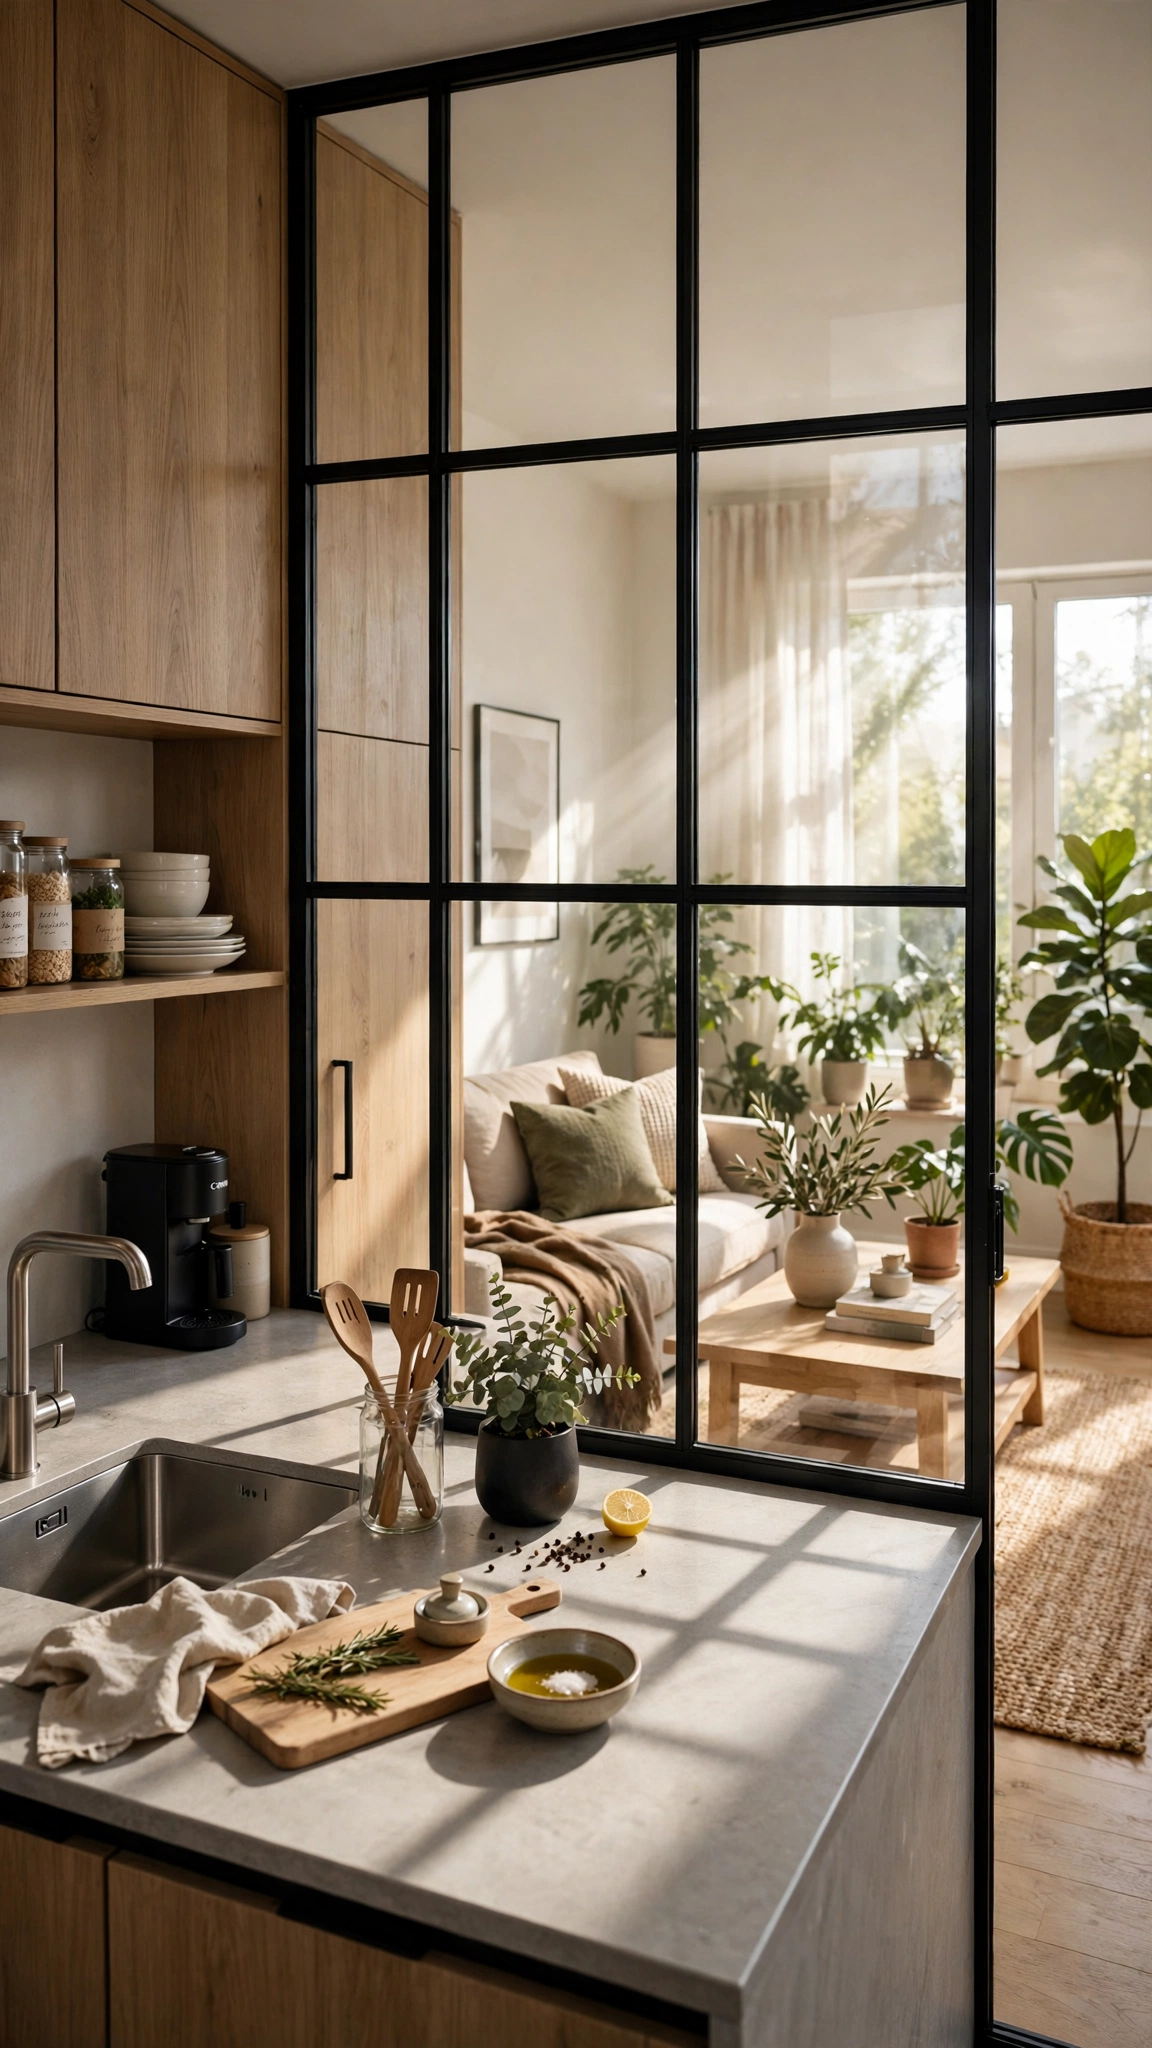
Sometimes open-plan living needs a little less openness — cooking smells in the cushions and the television competing with the extractor fan are real downsides. A glazed partition, especially a steel-framed Crittall-style screen, splits the difference: it contains noise and smells while letting light and views pass straight through, so the room keeps its airy, connected feel.
Reeded or fluted glass is the smart choice if you want privacy with your separation, blurring the sight of a post-dinner sink full of pans while still glowing with light. A half-height glazed screen or a wide internal window between the zones gives a gentler version of the same trick.
Budget honestly — made-to-measure steel and glass partitions usually start around £1,500 installed — but as a single investment that fixes the biggest open-plan frustrations without a full renovation, it earns its place at the top of many wish lists.
Tip: Anything that borrows light and sightlines makes a combined room feel twice its size; the same illusion powers these clever balcony ideas that make a tiny outdoor space feel bigger and more inviting, so steal the thinking for indoors.
7. Grow a Living Divider with Planters and Herbs
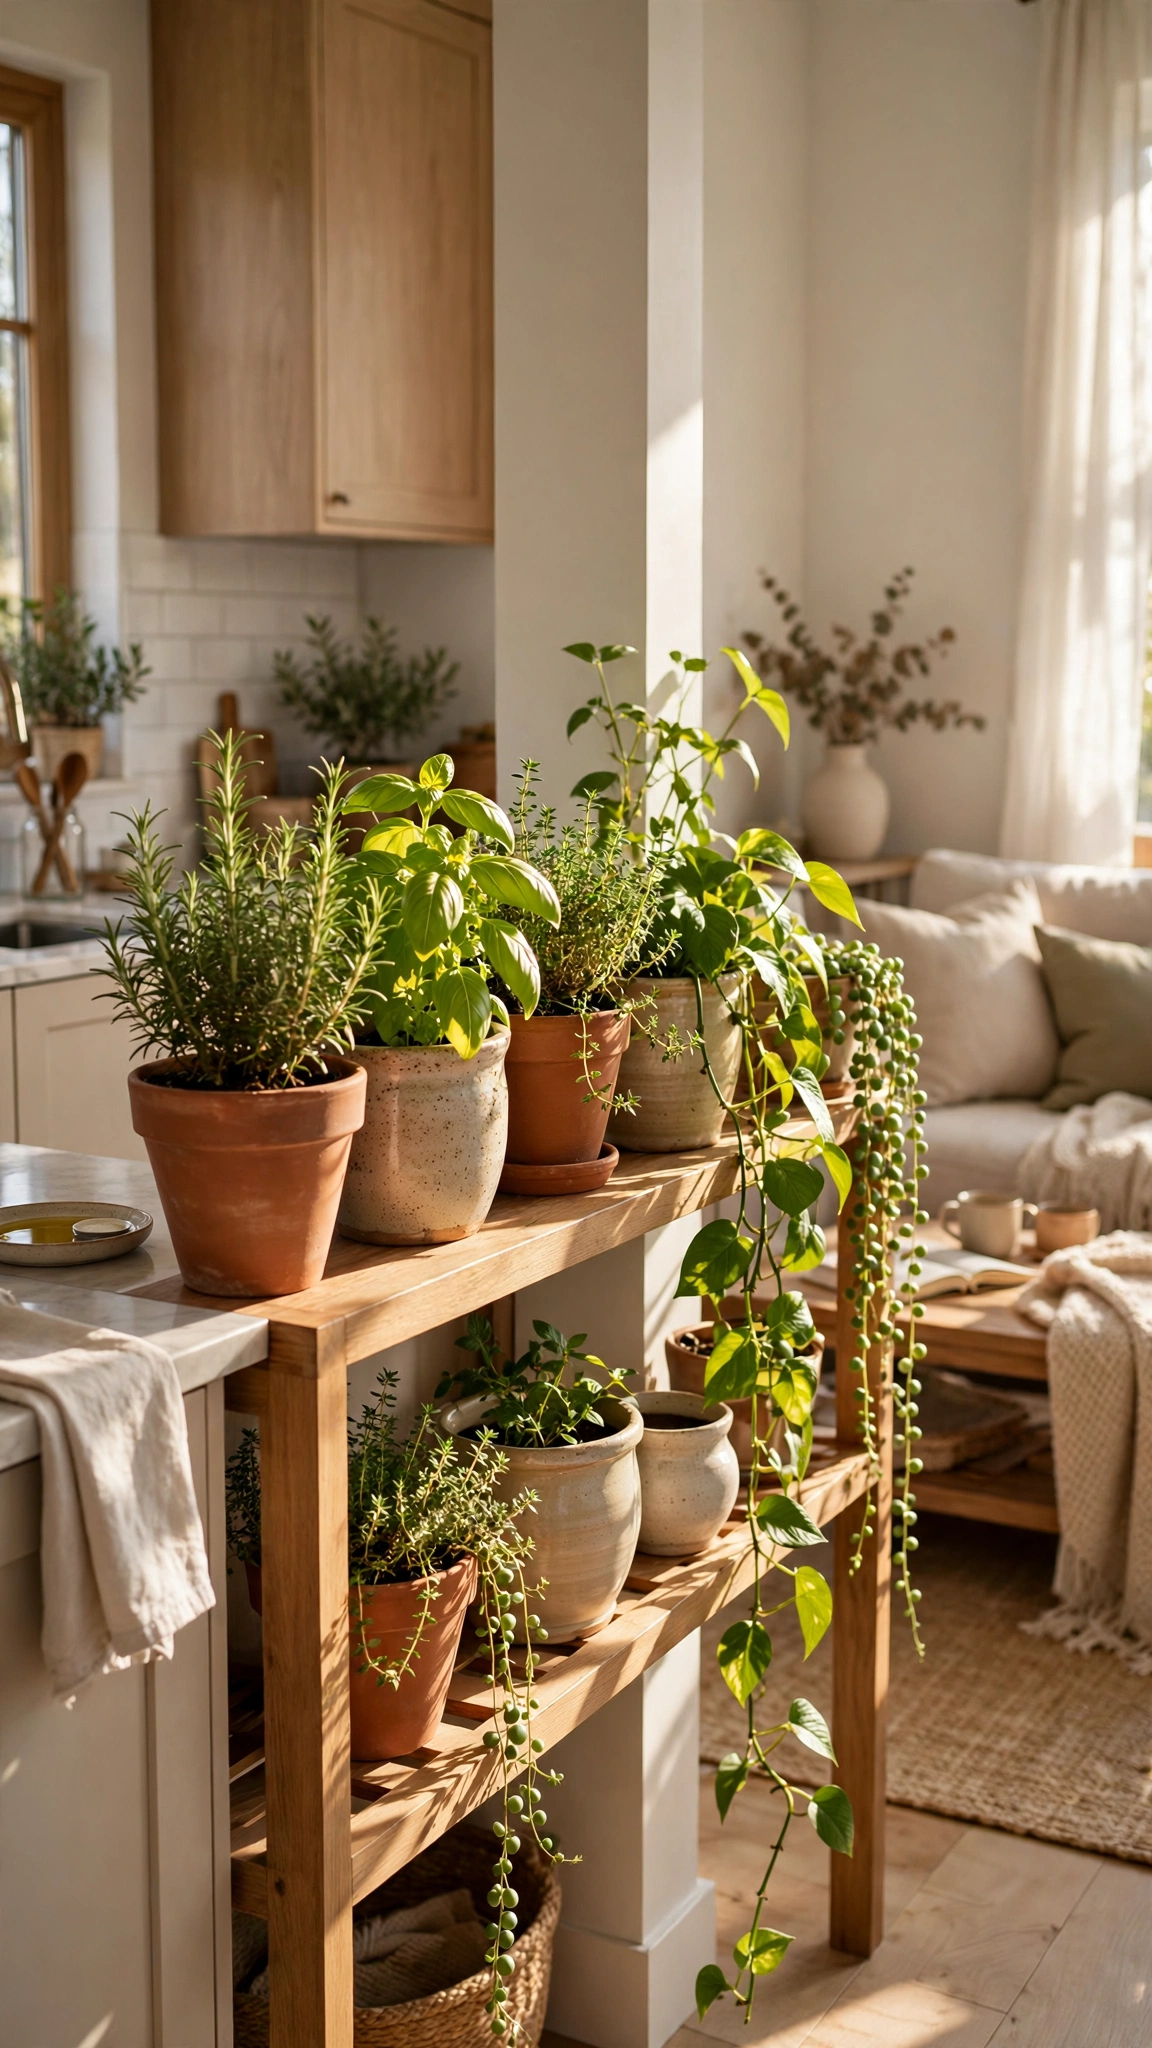
A line of greenery is the softest room divider there is. A low open-backed shelving unit or console table placed between the zones, filled with trailing pothos, potted herbs and a small olive tree, marks the boundary while adding the colour and texture that open-plan rooms so often lack. Unlike a solid screen, plants filter the view rather than blocking it, so both zones stay connected.
On the kitchen side, make the divider work for its living: basil, rosemary and mint in terracotta pots are beautiful and useful, and a tiered stand lets you garden vertically where floor space is tight. On the living side, lean into the ornamental — sculptural snake plants and cascading ferns read as decor, not groceries.
Start with five to seven pots in two or three repeated materials — terracotta, glazed ceramic, woven baskets — for around £50–£100. Repetition keeps the jungle looking curated rather than chaotic.
Tip: Take your container styling cues from these stunning balcony planter ideas for a beautiful small-space escape — grouped planters in odd numbers look just as good dividing a room as they do dressing a railing.
8. Run a Storage Wall Along One Side
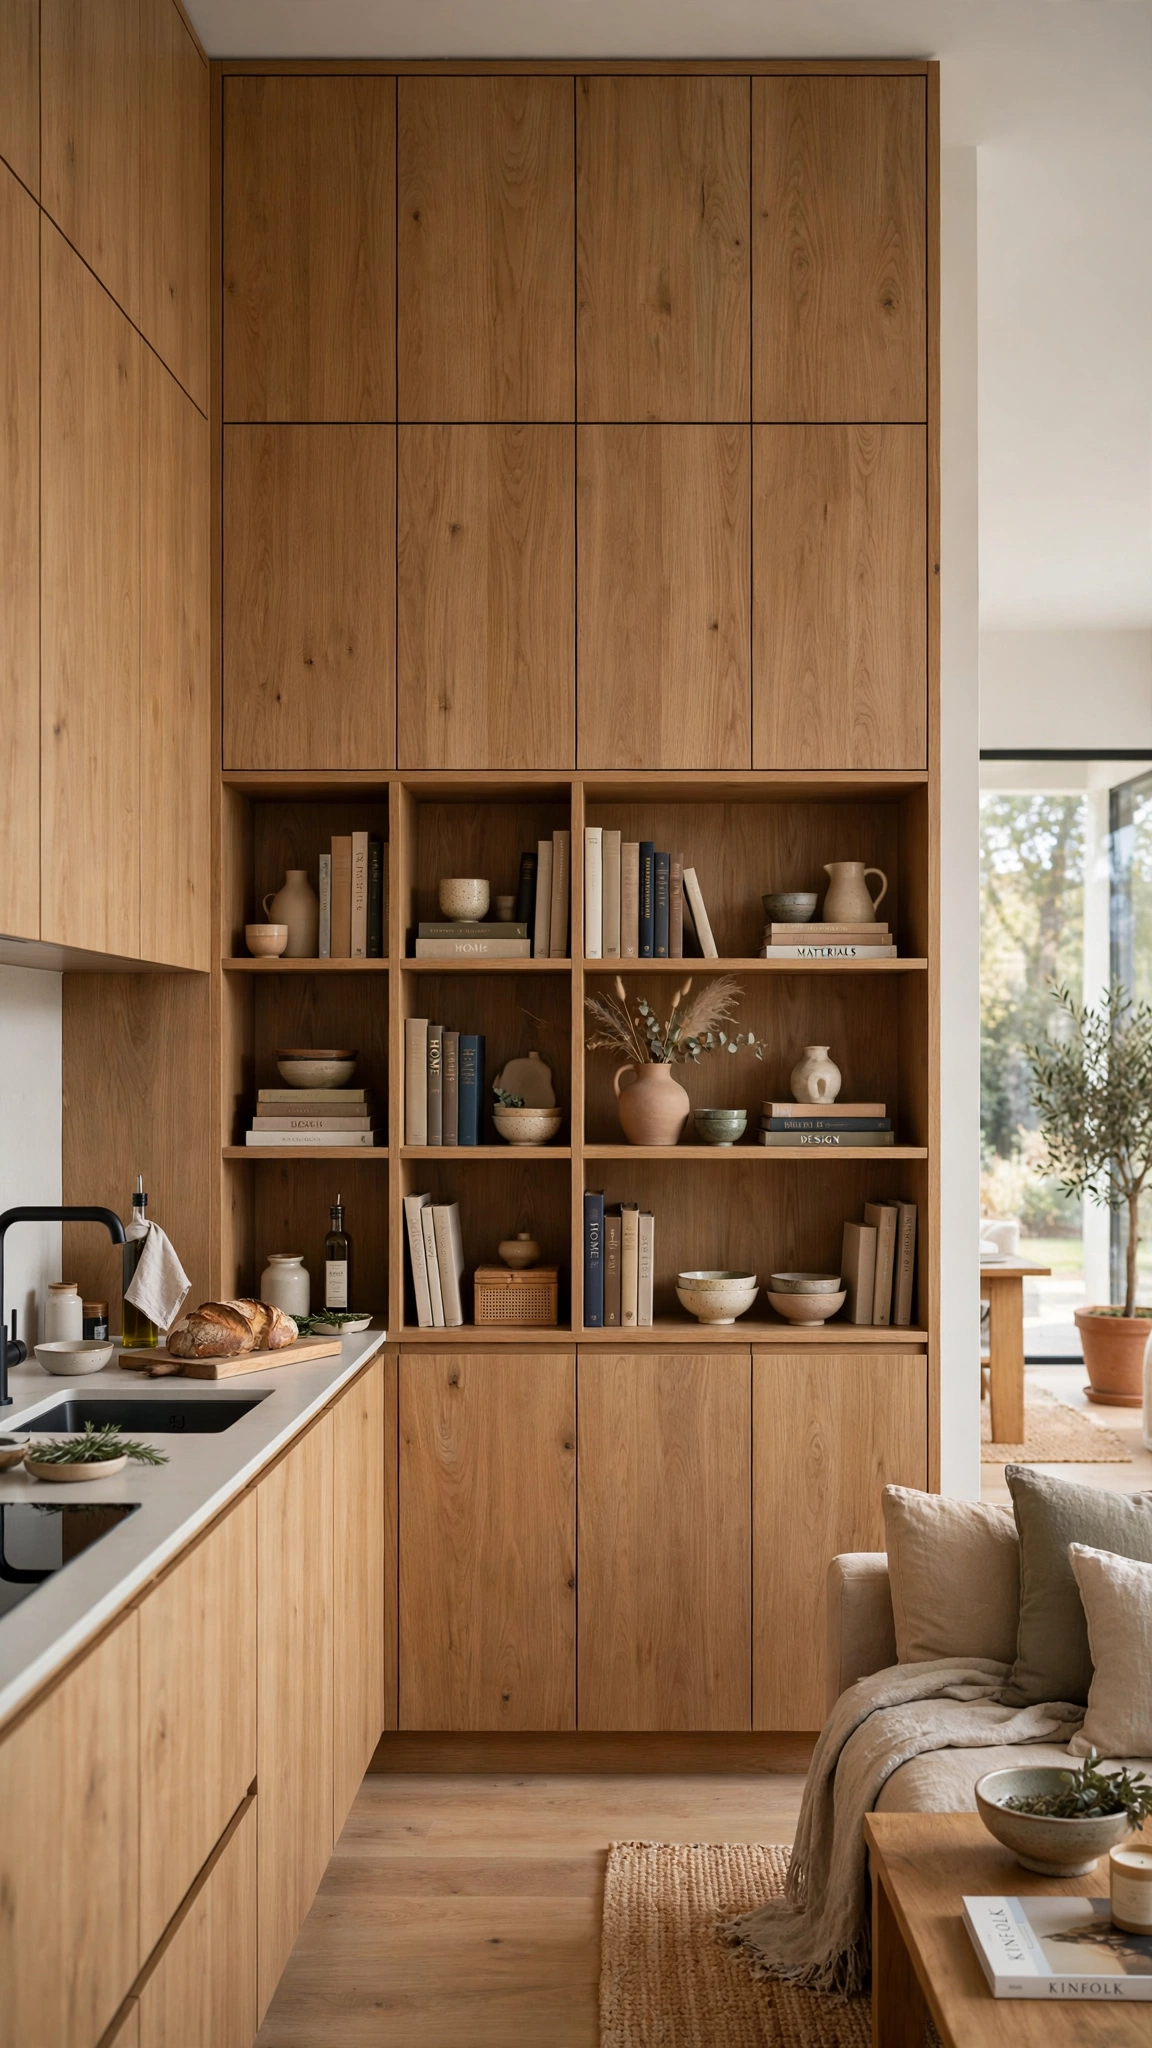
Open-plan rooms fail when there is nowhere for anything to go — every surface becomes a dumping ground because the whole room is on show. A full-height storage wall along one side quietly solves it: closed cupboards swallow coats, toys, the slow cooker and the paperwork, while a few open niches display the pretty things. One wall of joinery serves both zones and keeps the rest of the room blissfully clear.
Paint or veneer the wall to match the kitchen cabinetry and it becomes part of the architecture rather than furniture. Build in a desk niche or a media section on the living end and the wall works even harder, giving you a home office and TV unit without stealing floor space.
Bespoke joinery is an investment, but flat-pack carcasses with made-to-measure doors fake the look convincingly for a fraction of the price. Even a disciplined row of matching tall units from the kitchen range will read as a designed storage wall.
Tip: Plan the inside as carefully as the outside — the shelf-by-shelf logic in these smart storage shelves ideas that turn clutter into a functional setup will stop your beautiful new wall becoming a beautifully hidden mess.
9. Dress the Shared Wall as One Feature
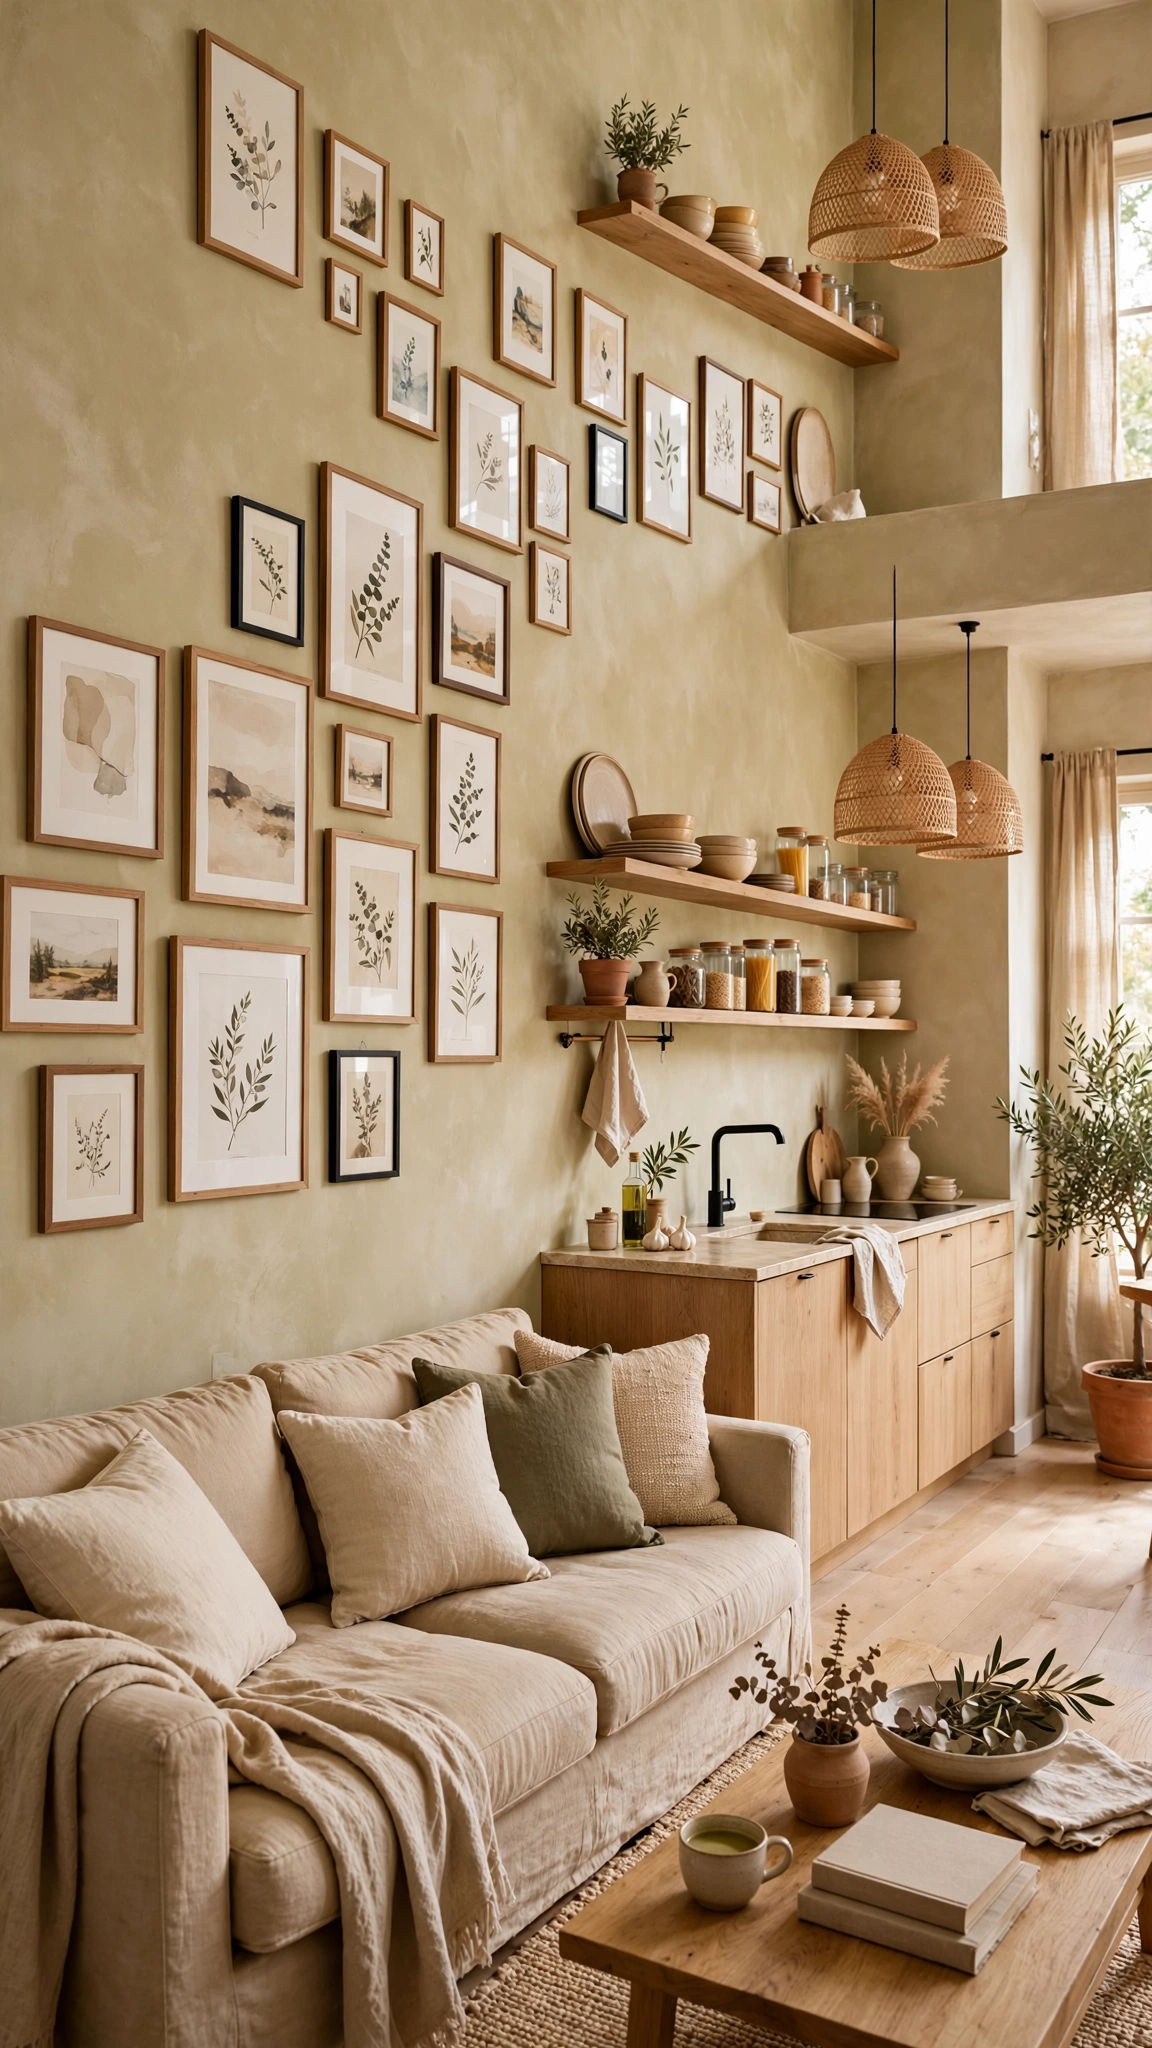
In most open-plan homes one long wall runs the full length of the room, passing behind both the sofa and the kitchen units. Treating it as a single feature — one paint colour, one limewash or one run of panelling from end to end — stitches the two zones together at the architectural level, so even mismatched furniture starts to look deliberate.
Hang with the flow of the wall rather than stopping at the invisible border. Continue a gallery of framed prints from above the sofa along to the kitchen end, letting open shelves and a clock join the composition, and the eye travels the whole length of the room as one picture.
Panelling one long wall is a satisfying weekend project with MDF strips and paint for under £200, while limewash or a colour-washed plaster effect costs little more than the paint itself. It is remarkable how much more expensive a room looks when its longest wall has clearly been considered.
Tip: For finishes that add texture without shouting, take inspiration from these gorgeous interior wall ideas for a cleaner, smarter setup — panelling and paint effects that smarten a utility space will look downright elegant here.
10. Blend the Decor So Both Zones Speak the Same Language

The finishing touch is in the small things. When the kitchen’s open shelves hold the same woven baskets, handmade ceramics and linen textures that appear on the sofa and sideboard, the two zones stop looking like neighbours and start looking like family. Decor is the cheapest design glue you can buy, and in an open-plan room it works overtime.
Build a simple repeat list and shop both zones at once: three materials (say oak, rattan and aged brass), two textiles (linen and wool), one plant family. Every new purchase gets checked against the list, which keeps the room cohesive as it evolves and stops impulse buys from fragmenting the scheme.
Most of this is styling, not spending — regrouping what you own into deliberate clusters across both zones costs nothing but an hour. Swap a few pieces between the kitchen shelves and the living room every season and the whole space feels refreshed without a single new purchase.
Tip: Aim for that layered, collected feel in both halves of the room; these creative decoration ideas that make a home feel cosy and expensive prove how far repeated textures and warm metals can take even the smallest corner.
Conclusion
A kitchen living room that is both stylish and functional is never an accident — it is the result of clear zones, one shared palette, layered lighting and storage that works for the whole room at once. Start with the rug and the colour palette, let the island and the plants draw your boundaries, and finish by blending the decor until both ends of the room tell the same story. Your open-plan space will finally feel like the best room in the house — because it is two of them, working beautifully together.