
18 Stunning Kitchen Appliances Ideas That Make Your Kitchen Look More Expensive

The fastest way to make a kitchen look expensive isn’t new cabinets or marble counters — it’s the appliances. A professional-style range, a panel-ready refrigerator, or even a beautifully finished stand mixer can instantly shift the whole room from builder-basic to designer-curated, because appliances are the largest, most visible surfaces in the space.
The good news is you don’t need a full renovation or a five-figure budget to get that high-end look. A few strategic swaps, smarter finishes, and better styling choices can make the appliances you choose feel like they came straight out of a luxury showroom — so which upgrades deliver the biggest designer impact for your money?
1. Choose a Professional-Style Range as the Focal Point
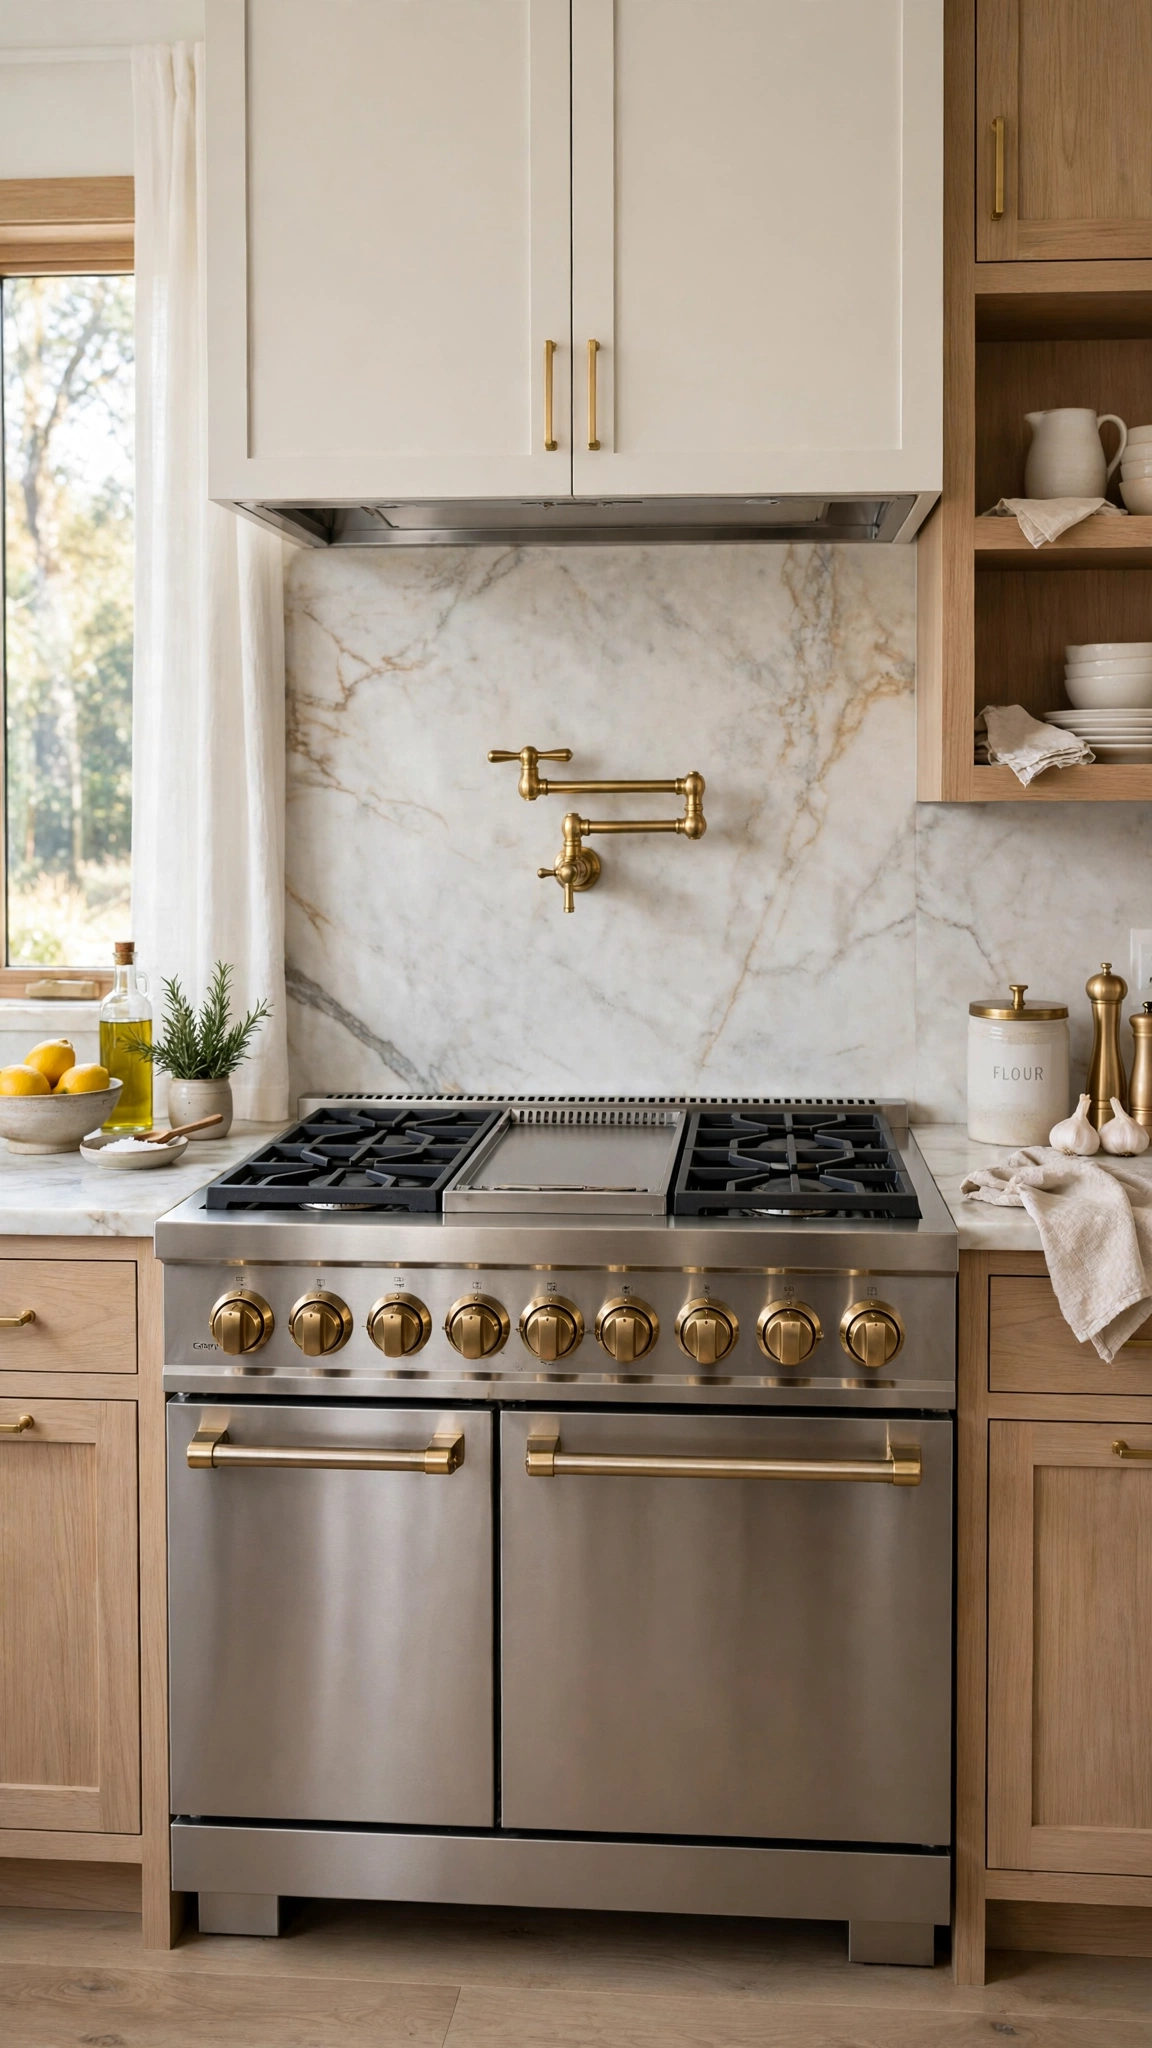
A professional-style range is the single most powerful appliance upgrade you can make. Oversized control knobs, heavy-duty grates, and a substantial stainless or enamel finish give the cooking zone the presence of a chef’s kitchen, and every other element in the room suddenly looks more intentional by association.
It works because the range is naturally where the eye lands first. A standard slide-in stove reads as an appliance; a pro range reads as furniture and architecture combined. Even a 30-inch model with pro styling delivers most of the visual payoff of the larger versions.
Expect to spend more than a basic range — entry-level pro-style models start where premium standard ranges leave off — but installation is usually a like-for-like swap if you match the width and fuel type. Measure carefully and confirm your gas line or electrical supply suits the new unit.
Tip: Keep the counters flanking your new range almost bare so it stays the star of the room — this guide on how to decorate kitchen counters without clutter shows exactly how much styling is enough.
2. Upgrade to a Panel-Ready Refrigerator
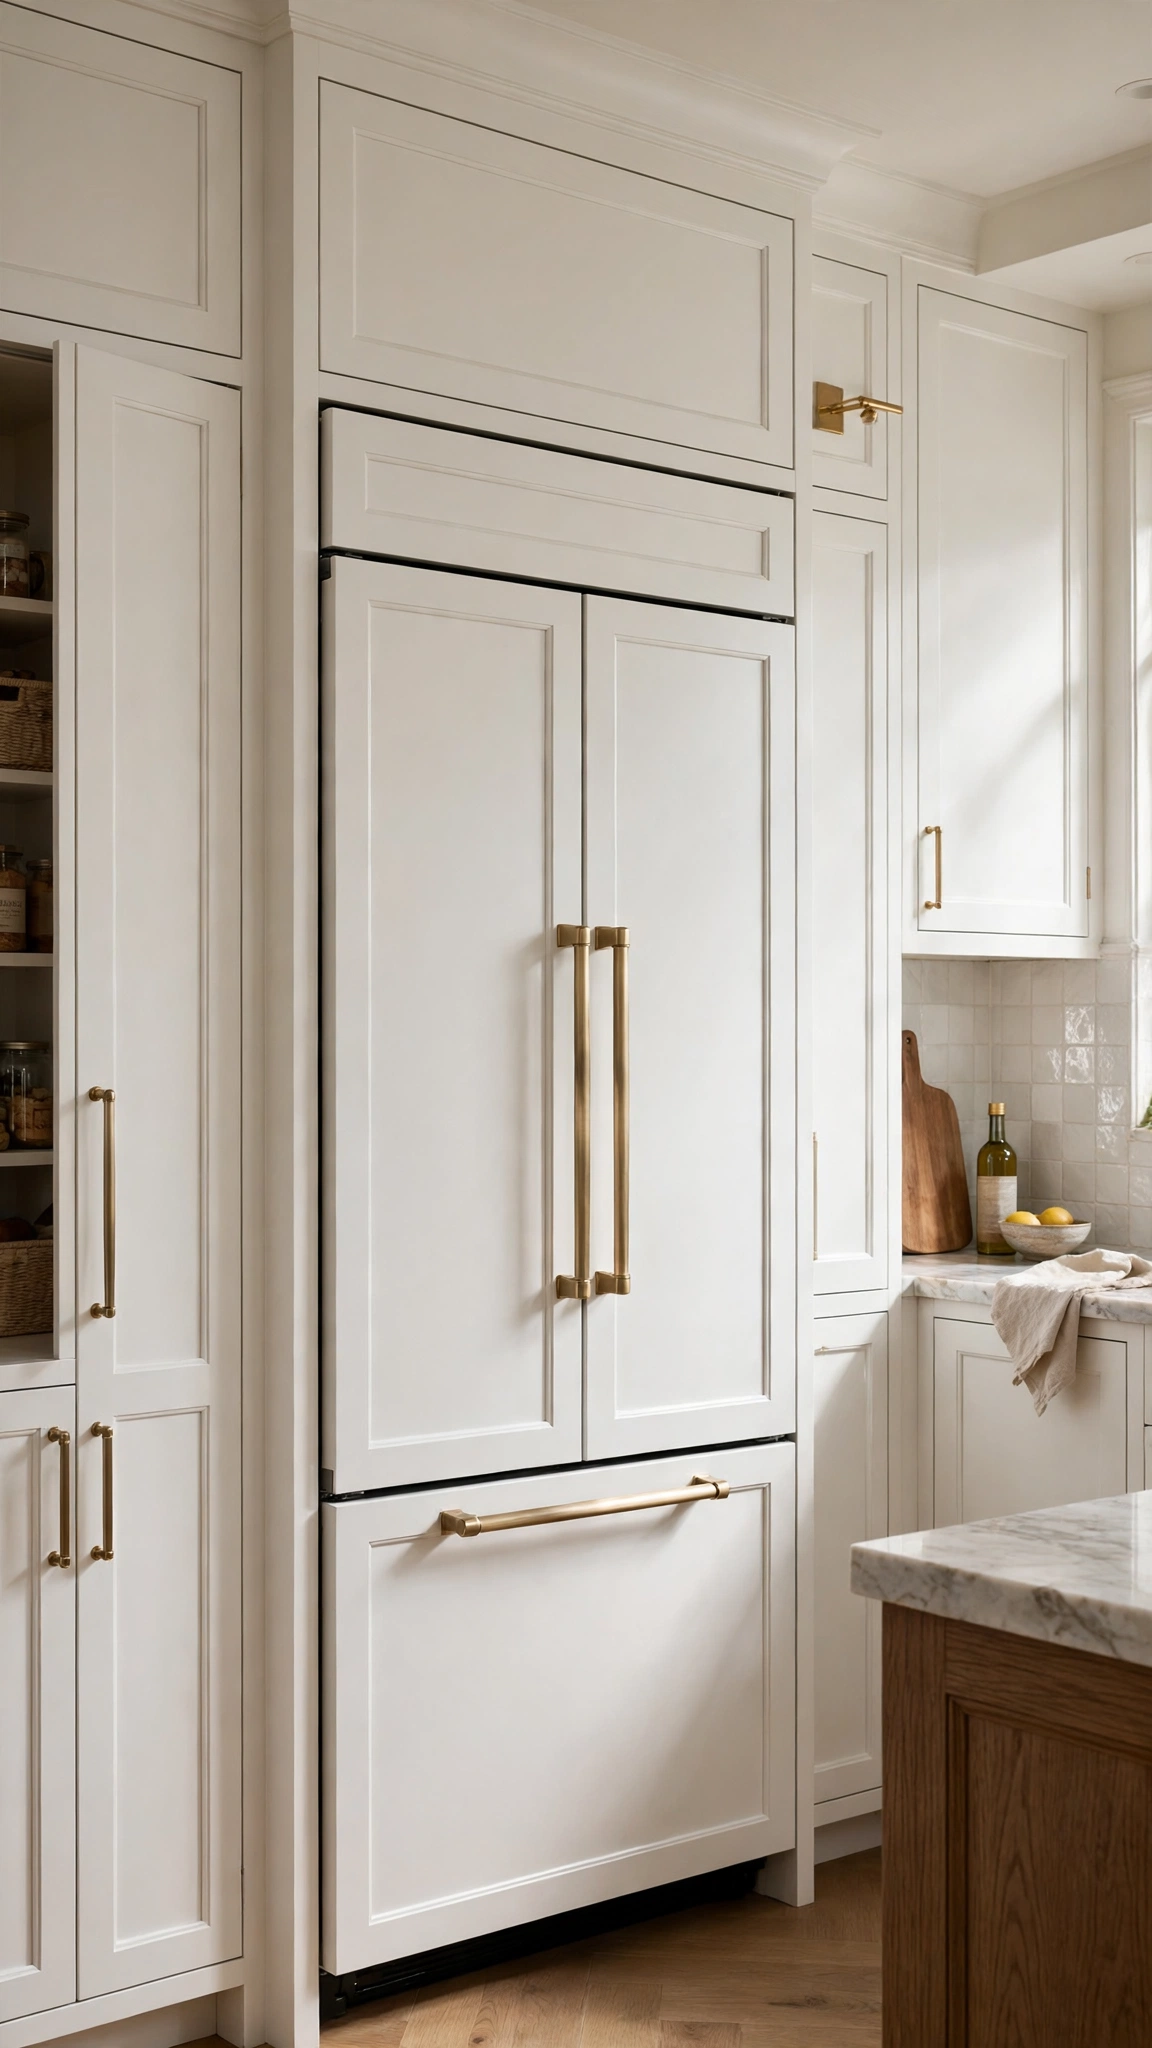
Nothing says custom kitchen like a refrigerator that disappears into the cabinetry. Panel-ready models accept cabinet fronts that match your doors, so the largest appliance in the room stops looking like a metal box and starts reading as part of a bespoke built-in wall.
The effect is especially dramatic in smaller kitchens, where a big stainless fridge can visually dominate. With panels, the sightline stays calm and continuous, which is precisely the trick high-end designers use to make modest spaces feel serene and expensive.
Panel-ready fridges cost more than standard models, and you’ll need a cabinetmaker or kitchen supplier to produce the panels. If a full panel-ready unit is out of reach, a counter-depth model in a soft matte finish gets you halfway to the same tailored look.
Tip: A disappearing fridge makes your window wall the new focal point, so dress it properly with these designer kitchen window decorating ideas that keep the whole elevation looking custom.
3. Install a Statement Range Hood

A sculptural range hood turns a functional necessity into the kitchen’s crowning feature. Custom metal hoods in brass, copper, zinc, or matte black — or a plastered chimney-style hood — add height, texture, and a unmistakable sense of craftsmanship above the cooktop.
Designers love this move because the hood occupies the vertical center of the most-photographed wall in the kitchen. Swap a flat under-cabinet microwave-hood combo for a real statement piece and the entire cooking wall reads as a designed composition rather than a row of boxes.
Ready-made decorative hoods range from a few hundred dollars upward, while fully custom metalwork costs more but fits your ceiling height exactly. Always size the hood at least as wide as the range and check the CFM rating matches your cooktop’s output.
Tip: A bold hood competes with busy window treatments nearby, so keep them simple — these trendy kitchen window blind ideas offer clean-lined options that won’t fight for attention.
4. Swap the Slide-In for a Built-In Wall Oven

Separating the oven from the cooktop is a hallmark of serious, expensive kitchens. A built-in wall oven installed at eye level in a tall cabinet run looks architectural, frees your range to be a cooktop-only statement, and makes lifting heavy roasting pans far easier.
The flush, handleless designs available now — especially in black glass or matte finishes — read more like technology products than appliances. Paired with a matching warming drawer or steam oven stacked below, the whole column feels like it was specified by an architect.
This is a cabinetry project as much as an appliance purchase, so budget for the cabinet modification and electrical work. It pays off most during a remodel, but a single wall oven can often replace a tall pantry cabinet with modest carpentry.
Tip: Wall ovens usually land near a window wall, where glare can wash out their displays — see how to add privacy to a kitchen window without blocking natural light while keeping the glass looking high-end.
5. Choose a Counter-Depth Refrigerator for a Built-In Line
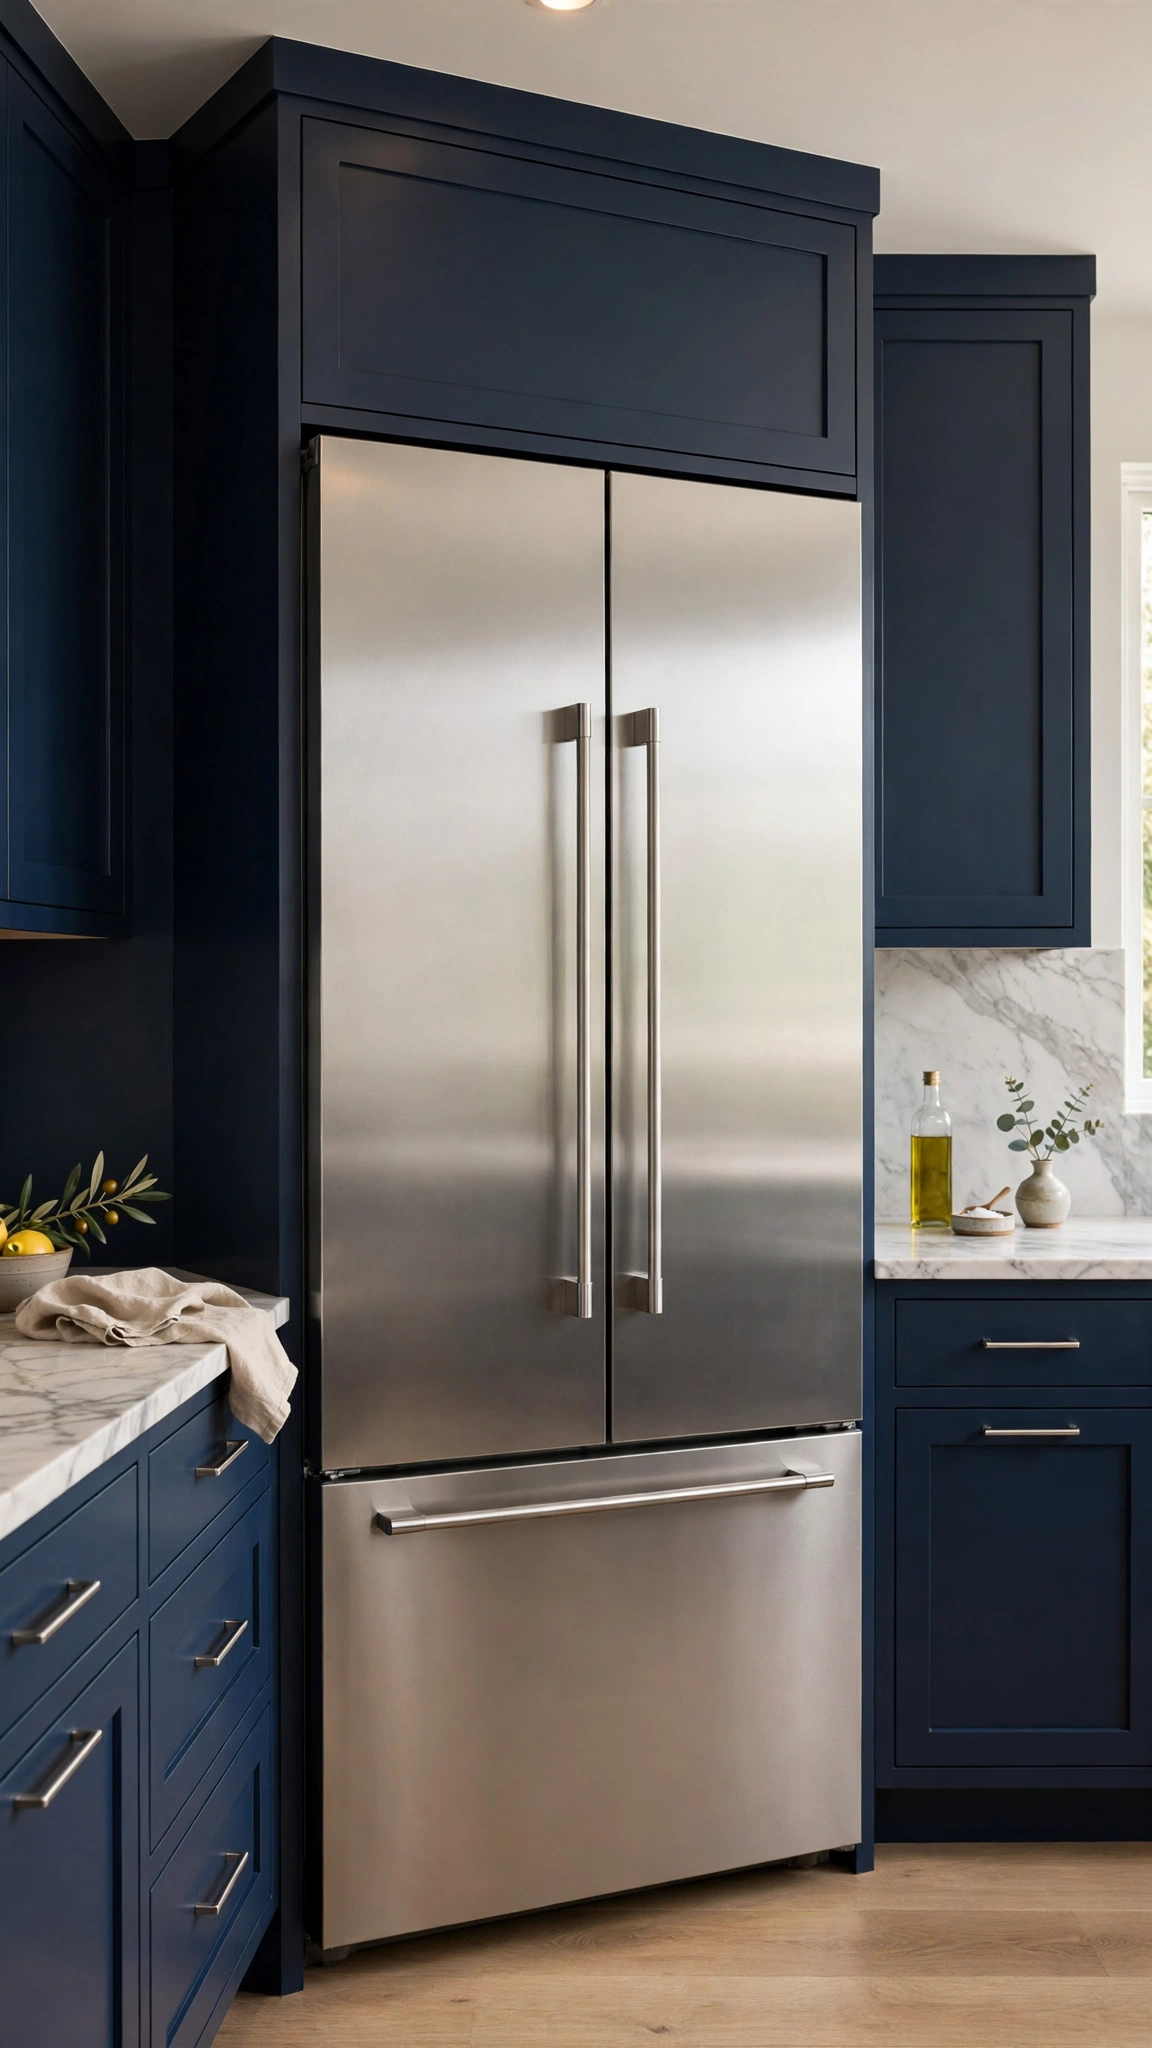
Standard refrigerators jut several inches past the counter, and that one awkward protrusion quietly cheapens an otherwise lovely kitchen. A counter-depth model sits nearly flush with your cabinets, restoring the clean, continuous line that makes kitchens photograph like showrooms.
The trade-off is a little interior volume, but most households never miss it — and the visual gain is enormous. The fridge stops interrupting the counter run, walkways feel wider, and the whole wall of cabinetry reads as one composed unit.
Counter-depth models carry a modest premium over standard-depth equivalents and come in every major finish. Measure your doorway and hallway widths before ordering, since these units are wider than they are deep and delivery angles can be tight.
Tip: With the fridge line cleaned up, style the counter run beside it sparingly — a single tray and one plant is plenty, as shown in these aesthetic kitchen window sill decor ideas for balanced, uncluttered surfaces.
6. Pick a Statement Stand Mixer in a Designer Finish
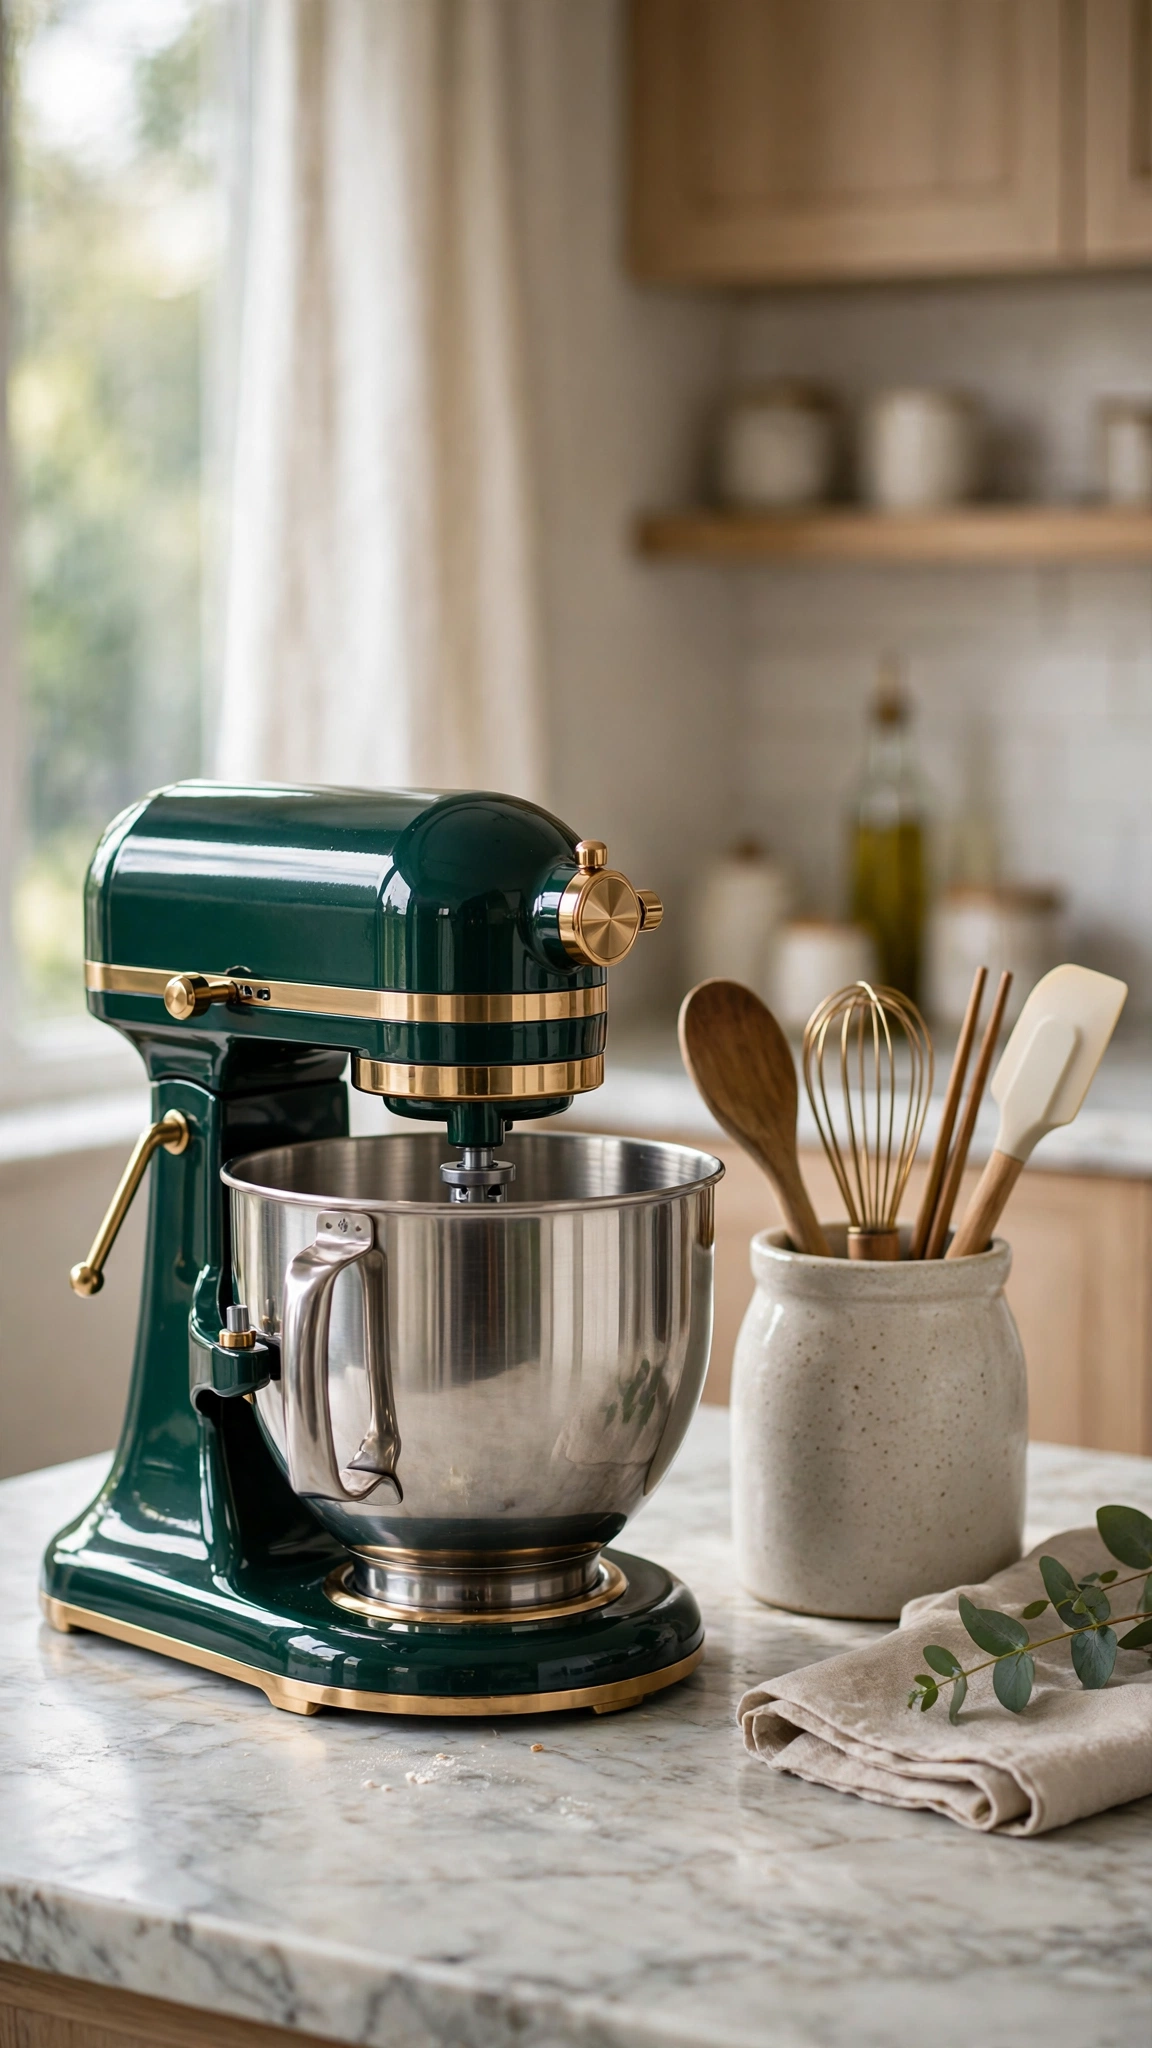
Small appliances live on your counters full-time, so they function as decor whether you intend it or not. A stand mixer in a rich color — deep green, matte black, cream with brass accents — acts like a piece of sculpture and signals that every detail in the kitchen was chosen.
Limited-edition and design-collaboration finishes have turned mixers, kettles, and toasters into collectible objects. Choosing one hero piece in a deliberate finish is far more effective than a counter full of mismatched chrome basics competing for attention.
This is one of the cheapest upgrades on the list: you may already own the mixer, and a special finish typically adds little or nothing over the standard colors. If yours is a bold shade that clashes with your kitchen, a neutral replacement often looks instantly more expensive.
Tip: Give your hero small appliance a styled moment rather than a crowded corner — a small herb pot beside it works beautifully, as these kitchen window plant ideas show for counters near the light.
7. Add an Under-Counter Wine or Beverage Fridge
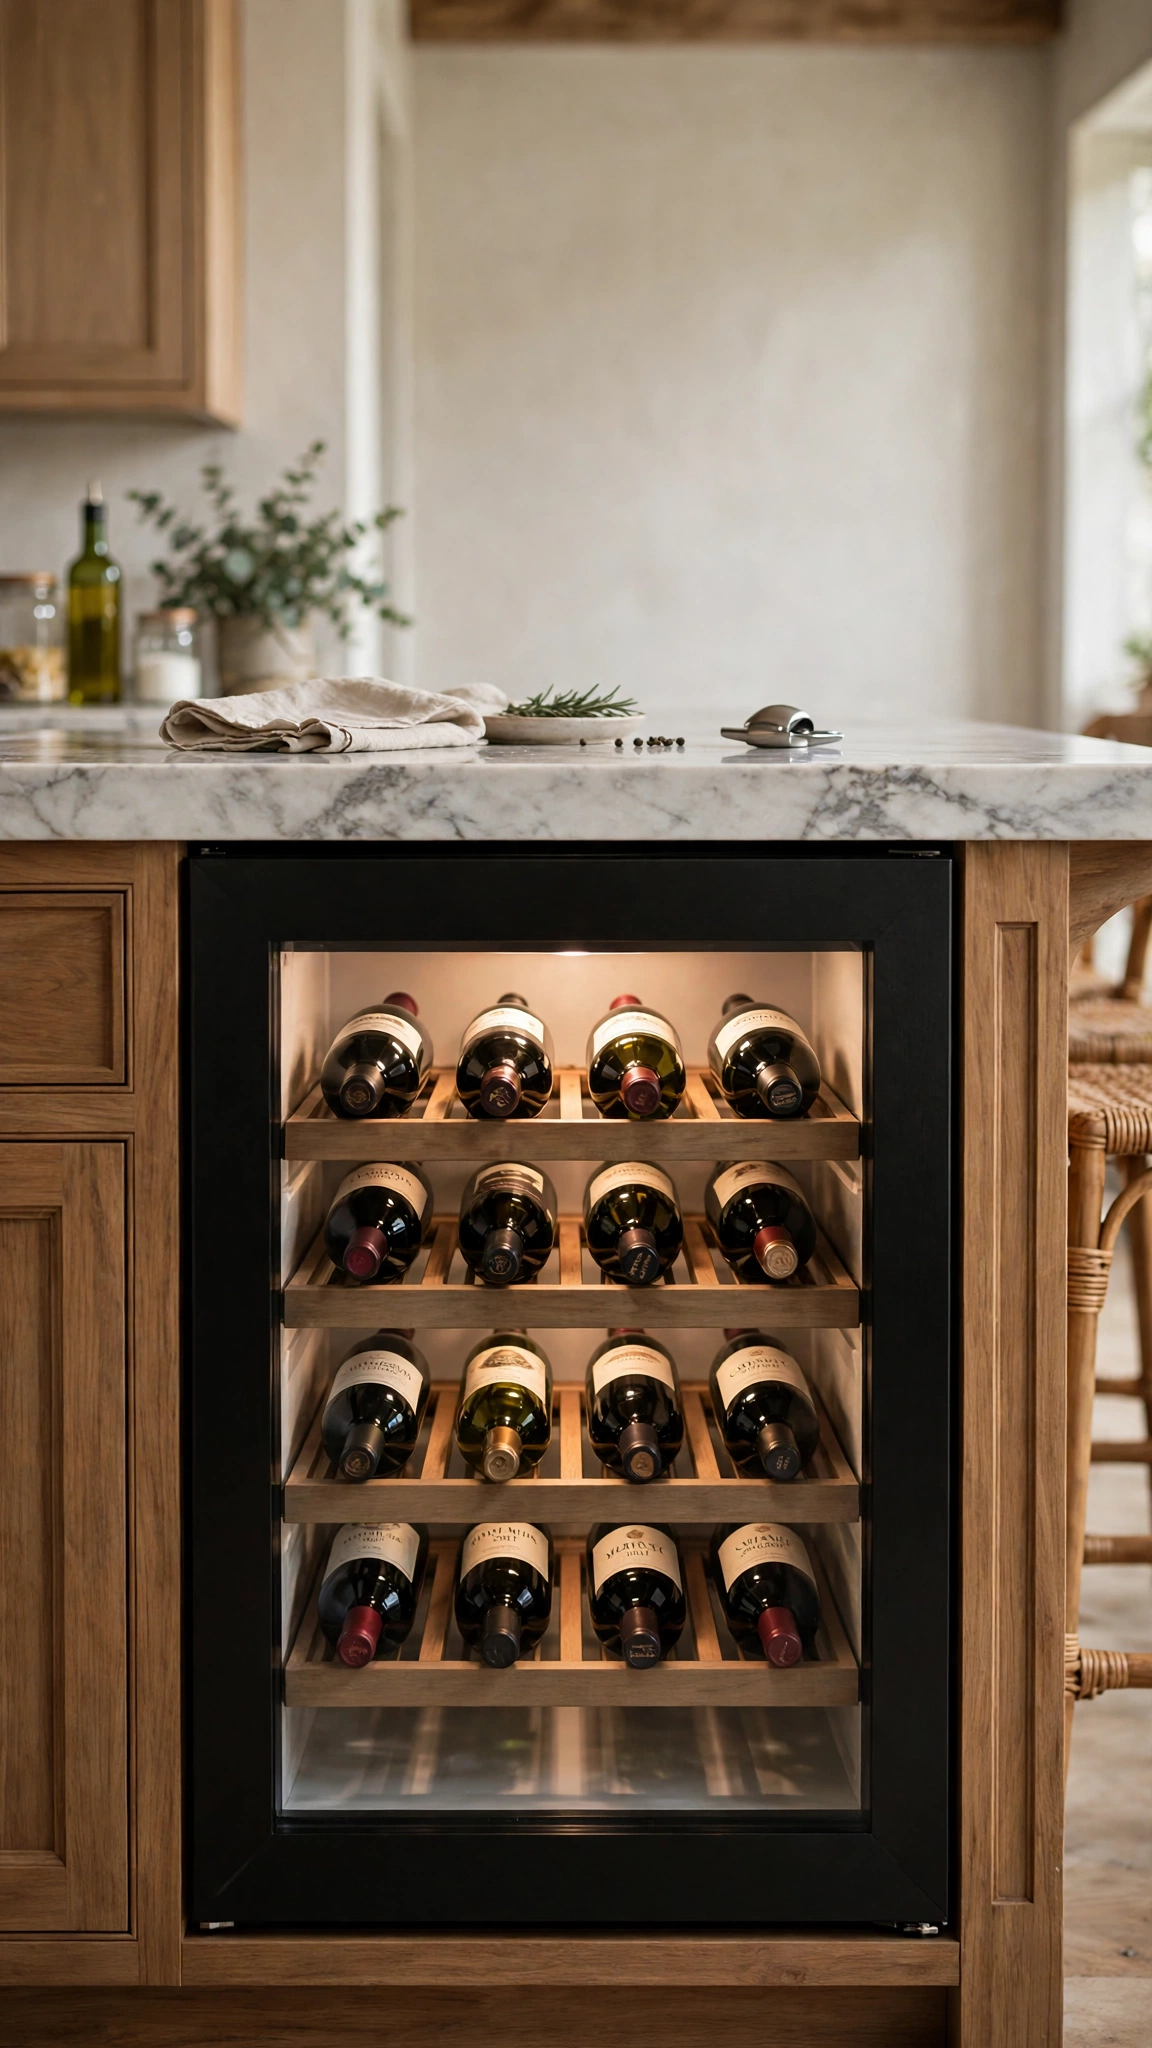
A glass-front beverage fridge glowing softly under the counter is pure boutique-hotel energy. It instantly suggests entertaining, abundance, and a kitchen designed for pleasure rather than pure utility — the exact associations that make a space feel expensive.
It also performs a practical magic trick: drinks leave the main refrigerator, freeing shelf space and ending the visual chaos of cans and bottles piled in the fridge door. Guests can help themselves without wandering into the cook’s workspace.
Compact under-counter units are surprisingly affordable and typically slide into a standard cabinet opening or the end of an island. Choose a model with a finished front frame and interior lighting in a warm tone so the glow flatters rather than glares.
Tip: A beverage fridge near the breakfast area makes mornings feel like a café — pair it with one of these cozy kitchen window breakfast nook ideas for the full boutique effect.
8. Build In a Proper Espresso and Coffee Station
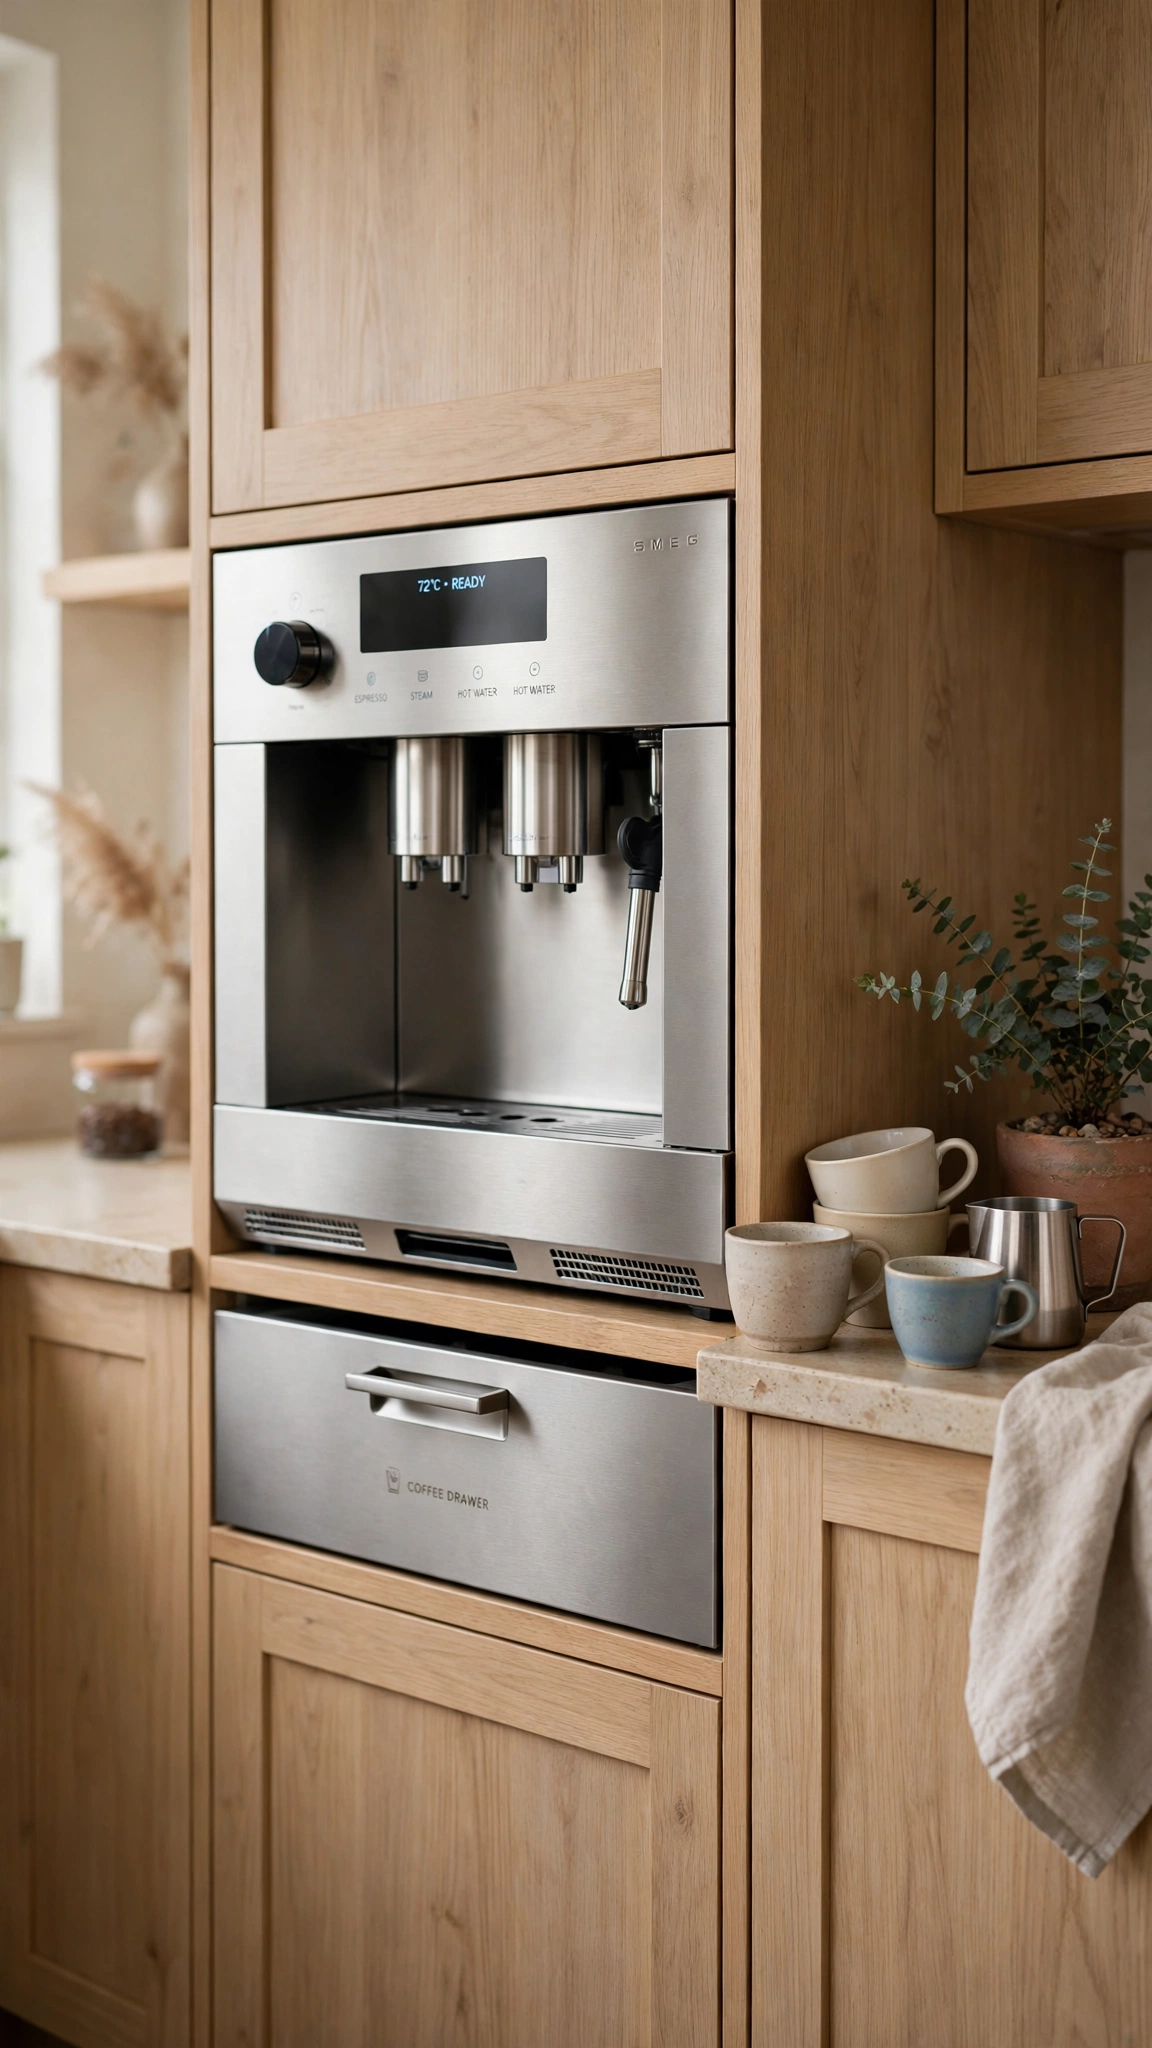
Few things read “luxury daily ritual” like a built-in coffee system. Plumbed espresso machines with steel fronts sit flush in the cabinetry, grind and brew at a touch, and eliminate the tangle of cords and pods that make countertop coffee corners look messy.
If a built-in unit is beyond the budget, the same principle applies on the counter: choose one beautiful machine with a metal body, give it a dedicated zone with a drawer for cups and beans beneath, and banish everything else from that stretch of counter.
Built-in coffee systems are a premium purchase and may need a water line, so plan them during other kitchen work where possible. Countertop machines in die-cast metal finishes cost a fraction as much and still deliver most of the visual upgrade.
Tip: Position the coffee station where morning light falls if you can — and finish that window with one of these cozy kitchen window curtain ideas so the whole ritual feels styled.
9. Match Every Finish for a Cohesive Appliance Suite

Mismatched finishes are the number one reason kitchens look assembled rather than designed. When the fridge is stainless, the dishwasher black, and the range white, the eye reads three competing objects; when they share one finish and handle style, they read as a single intentional suite.
Manufacturers sell coordinated suites for exactly this reason, often with bundle pricing. Matte white with gold handles, matte black, and classic stainless all work — the secret is commitment. Even cabinet hardware and the faucet should echo the appliance metal.
You rarely need to replace everything at once. Start with the most visible offender, match its finish going forward, and replace pieces into the same family as they age out. Within a couple of swaps the kitchen transforms.
Tip: A unified suite deserves a unified backdrop — these elegant kitchen window treatment ideas keep window dressing at the same polished level as your appliances.
10. Install a Pot Filler Above the Range

A pot filler is a small fixture with an outsized luxury signal. Found almost exclusively in high-end kitchens, the articulated arm mounted above the range says the kitchen was planned by someone who cooks seriously — and guests register that instantly.
Functionally, it saves hauling heavy pots from sink to stove, and the folded arm doubles as a piece of jewelry for the backsplash. In brass, matte black, or polished nickel, it also gives you a deliberate metal accent to echo in cabinet hardware.
The fixture itself is moderately priced, but it needs a water line run to the range wall, so the true cost depends on your plumbing access. It’s most economical during a backsplash replacement or remodel, when the wall is already open.
Tip: Keep the cooking wall’s styling as considered as the sink wall — this guide on how to style a kitchen window over the sink helps both work zones look equally finished.
11. Choose a Flush Induction Cooktop

A frameless induction cooktop that sits flush with the counter is the appliance equivalent of a tailored suit. When it’s off, the surface disappears into the stone like a sheet of black glass; when it cooks, it outperforms gas for speed and precision.
The seamless look is what sells it visually. No raised grates, no knobs breaking the line — just one continuous plane that makes islands look longer and kitchens look calmer. It’s a favorite in European designer kitchens for exactly this reason.
Induction sits at the premium end of cooktop pricing, and you’ll want to check your pans are magnetic-compatible. Offset that against lower cleaning effort and the fact that a flush install makes even mid-range counters look custom-cut and expensive.
Tip: Flush glass surfaces deserve an equally sleek window backdrop behind the island — browse these gorgeous modern kitchen window ideas for pairings that keep the lines clean.
12. Tuck a Microwave Drawer into the Island
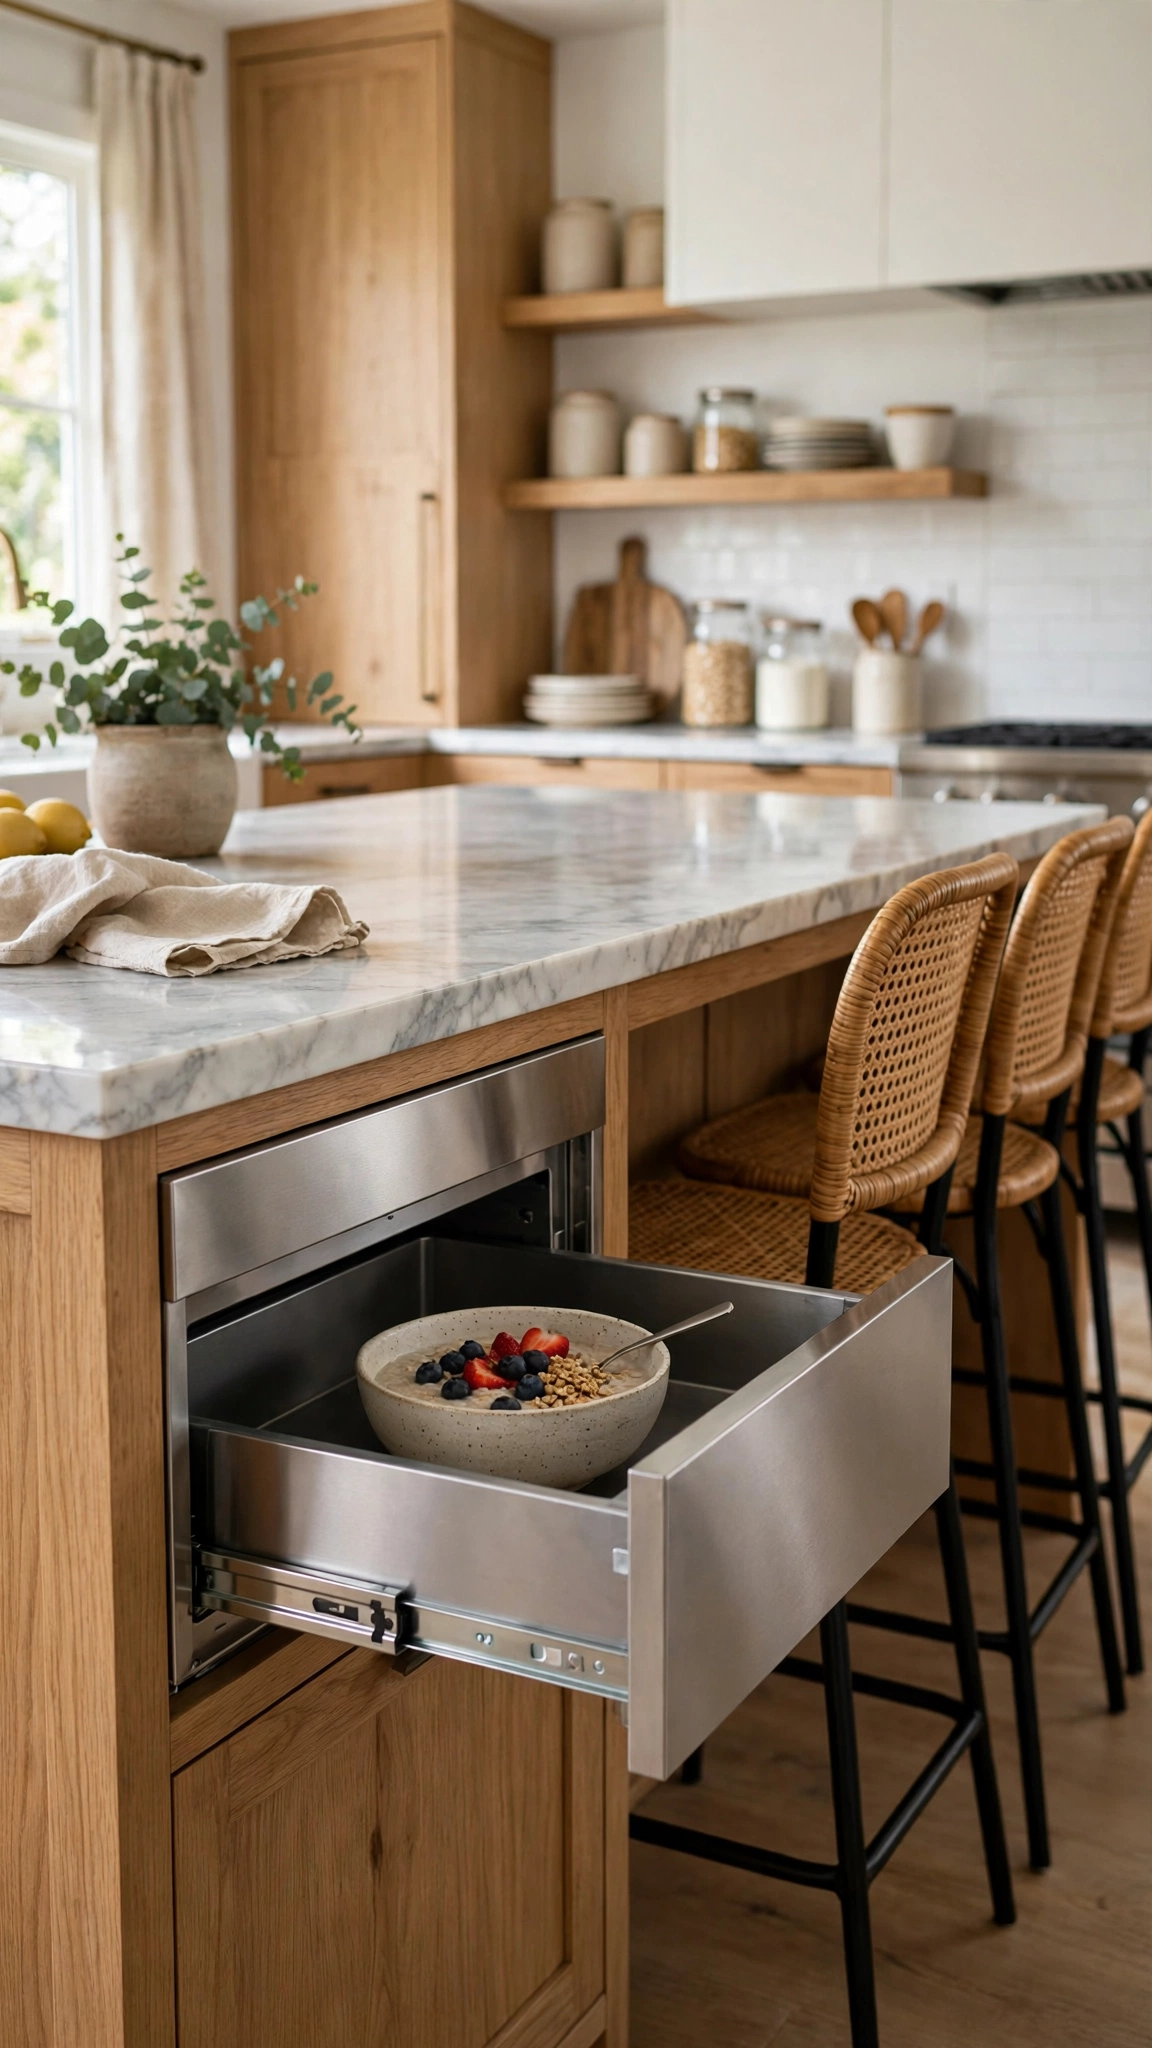
Nothing cheapens a kitchen faster than a bulky microwave hogging counter space or looming over the range. A microwave drawer built into the island or a lower cabinet run hides the most utilitarian appliance in the room behind a sleek, motorized front.
The drawer format is genuinely better to use, too — you lift dishes straight down into it instead of reaching overhead with hot soup. With the microwave gone from the wall, your range hood can become the statement piece it should be.
Microwave drawers cost more than countertop models and need a cabinet opening and outlet, but no structural work. If a drawer isn’t feasible, even moving a standard microwave into a dedicated appliance cabinet with a door transforms the sightlines.
Tip: Clearing the wall above the range opens up the view to the window — make the most of it with these genius kitchen window over sink ideas adapted for any kitchen window.
13. Hide Small Appliances Behind an Appliance Garage
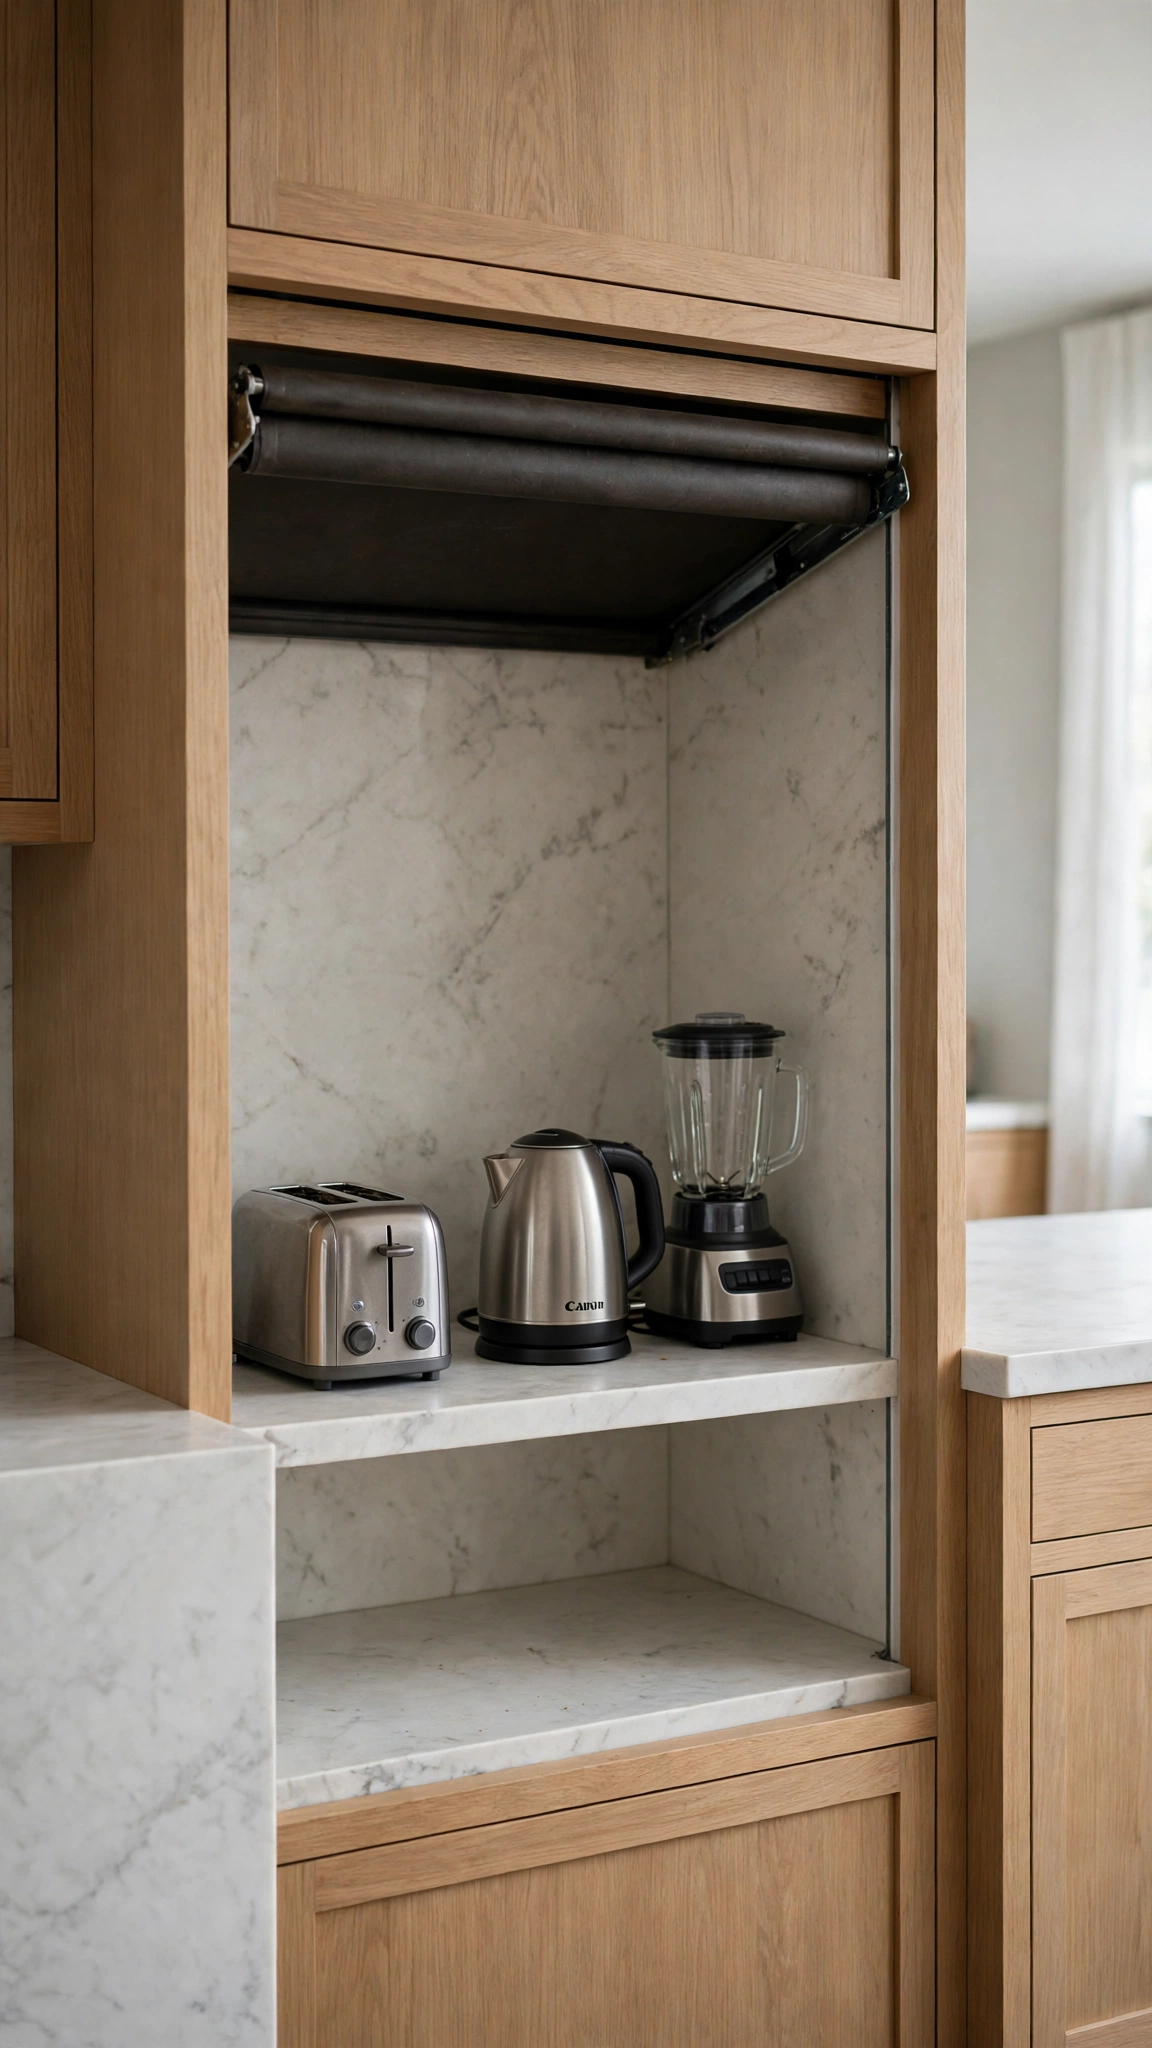
Expensive kitchens share one trait: empty counters. An appliance garage — a counter-level cabinet with a lift-up or tambour door — swallows the toaster, blender, and kettle while keeping them plugged in and seconds from use, so surfaces stay bare without sacrificing convenience.
The psychology is simple: visual calm reads as luxury. When guests see long, clear stretches of stone instead of a small-appliance parking lot, they assume the kitchen is larger, newer, and more custom than it is.
A garage can be added during a remodel as part of the cabinet plan, or improvised later with a countertop cabinet box that matches your uppers. Budget-wise it’s one of the cheapest ideas here relative to the transformation it delivers.
Tip: Extend that calm to the sink zone too — these genius kitchen window shelf ideas move everyday items off counters and onto stylish storage.
14. Upgrade to a Dishwasher with a Custom Panel Front
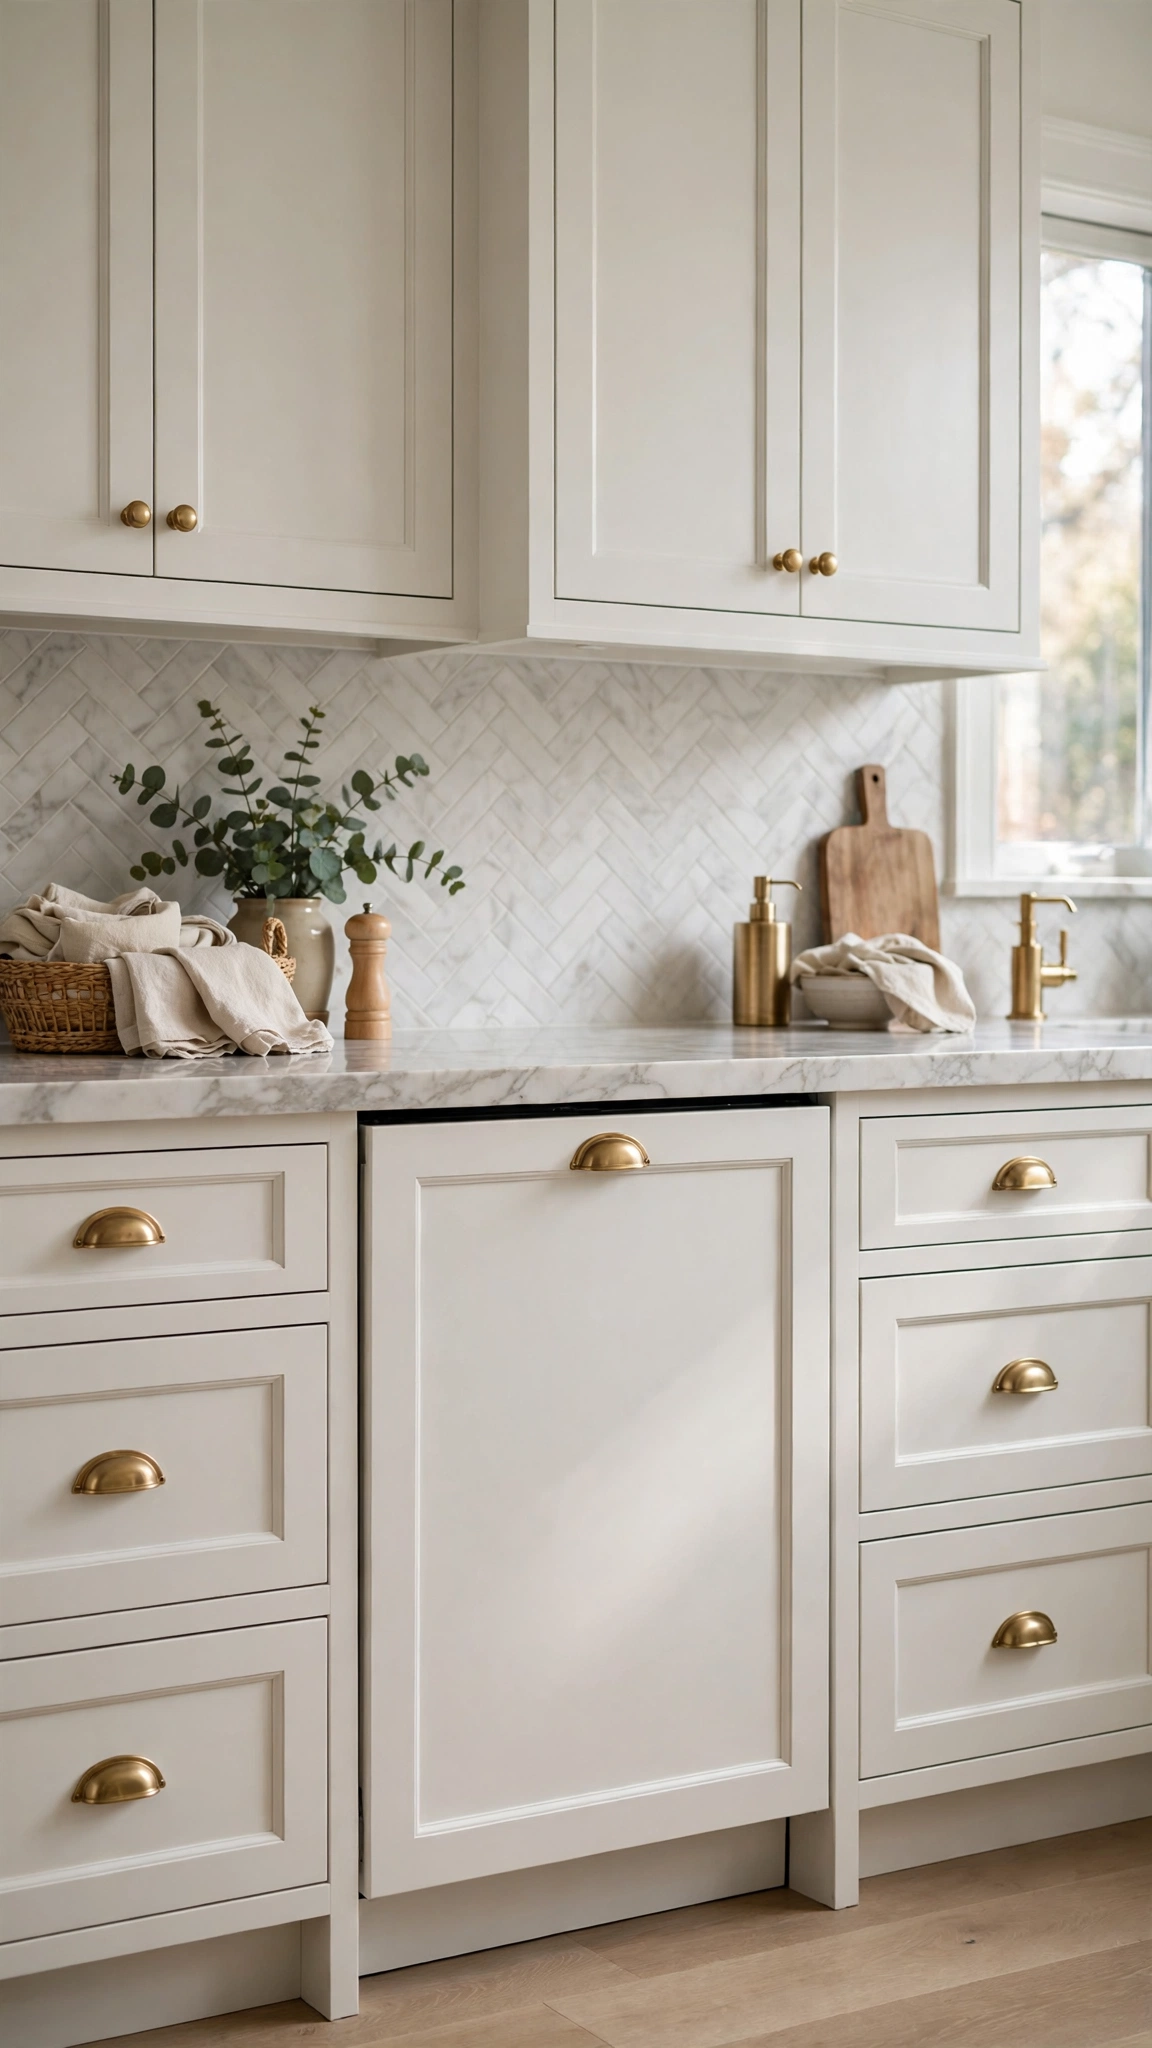
The dishwasher is usually the appliance that breaks the cabinet run — a slab of stainless or black interrupting your beautiful doors. A fully integrated, panel-ready dishwasher hides behind a cabinet front so the entire lower run reads as uninterrupted custom cabinetry.
Top-control models are essential here: with the controls hidden on the door’s edge, there’s no visible strip to give the game away. Add the same handle as your drawers and even you will occasionally open the wrong front.
Integrated dishwashers cost somewhat more than standard front-control models, plus the panel itself. The payoff compounds with a panel-ready fridge — together they can make a stock-cabinet kitchen look fully bespoke.
Tip: While you’re making things disappear into the design, give the window above the sink the same treatment with these kitchen window sill decorating ideas for a beautiful finished look.
15. Install a Professional Spray Faucet and Deep Apron Sink

The sink station is the second visual anchor of the kitchen, and a commercial-style spring faucet over a deep apron-front sink gives it restaurant-grade presence. The exposed spring coil, substantial handle, and tall arc read as professional equipment, not plumbing.
Fireclay and cast-iron apron sinks add the other half of the effect: their weight, gloss, and handcrafted profile make standard stainless drop-ins look flimsy by comparison. Together they turn dish duty into the most styled corner of the room.
A quality spring faucet is a mid-range purchase and usually a straightforward swap. The apron sink may need cabinet modification, so many renovators pair the two during a counter replacement when access is easiest.
Tip: Your sink sits under the most-looked-at window in the house — finish the scene with one of these unique kitchen garden window ideas that frame the view with greenery.
16. Add a Smart Refrigerator with a Glass Door Panel

Knock-twice glass panels that light up to reveal the fridge interior, interior cameras, and door screens that display calendars and art — smart refrigerators are the most overtly “future luxury” appliances you can buy, and they photograph like technology showcases.
Beyond the gadget appeal, the design language matters: these flagship models tend to have the flattest fronts, the most refined handles, and the best interior lighting and shelving of any range. Even with the screen off, they simply look more considered than standard models.
This is a flagship-budget purchase, so it makes most sense if you’re replacing the fridge anyway. Prioritize the exterior design and finish over the software features — the look will still feel premium long after the novelty of the screen fades.
Tip: High-tech appliances suit bright, light-filled kitchens best — these stunning kitchen window ideas help you maximize the daylight that shows them off.
17. Choose Warm Metal Accents on Handles and Trim

Sometimes the upgrade isn’t the appliance — it’s the jewelry on it. Ranges and refrigerators with brass, copper, or gold knobs, handles, and trim kits transform plain white or black boxes into designer pieces, the same way hardware transforms plain cabinets.
Several premium brands sell interchangeable handle and knob kits precisely so owners can coordinate with their kitchen’s metal story. Warm metals against matte white or black appliances is currently the signature combination of high-end kitchen design.
Trim kits are a modest add-on compared with replacing an appliance, and they’re reversible when trends shift. Start with the range knobs and fridge handles, then echo the same metal in your faucet and cabinet pulls for a fully resolved look.
Tip: Warm metals love a rustic backdrop — if your kitchen leans that way, these cozy farmhouse kitchen window ideas complete the picture beautifully.
18. Style the Gaps with Integrated Lighting and Open Display

The final layer is presentation. Under-cabinet lighting that washes your counters in warm light makes every appliance beneath it look like it’s on display in a showroom — because showrooms use exactly this trick to make their displays feel expensive.
Pair the lighting with ruthless editing: one or two beautiful appliances on display, everything else stored. A sculptural kettle beside a steel espresso machine, lit from above, reads as a curated vignette rather than a workspace.
LED strip or puck lighting is inexpensive and often DIY-friendly with plug-in options, making this the highest-impact, lowest-cost idea on the list. Choose warm-white light around 2700–3000K so stainless steel glows instead of glaring.
Tip: Balance artificial light with your window’s natural light — these creative small kitchen window ideas show how to maximize both style and daylight in compact spaces.
Conclusion
A designer-looking kitchen rarely requires designer-level spending on everything — it requires choosing the right appliances, unifying their finishes, and presenting them with the calm, edited confidence of a showroom. Start with one hero upgrade, match everything to it, and let lighting and clear counters do the rest; your kitchen will look far more expensive long before you’ve replaced it all.


