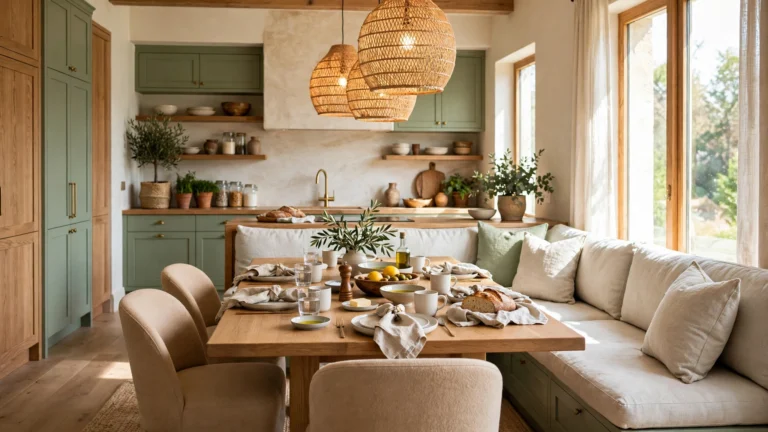
15 Beautiful Kitchen Cooking Ideas That Give Your Kitchen a Designer Look
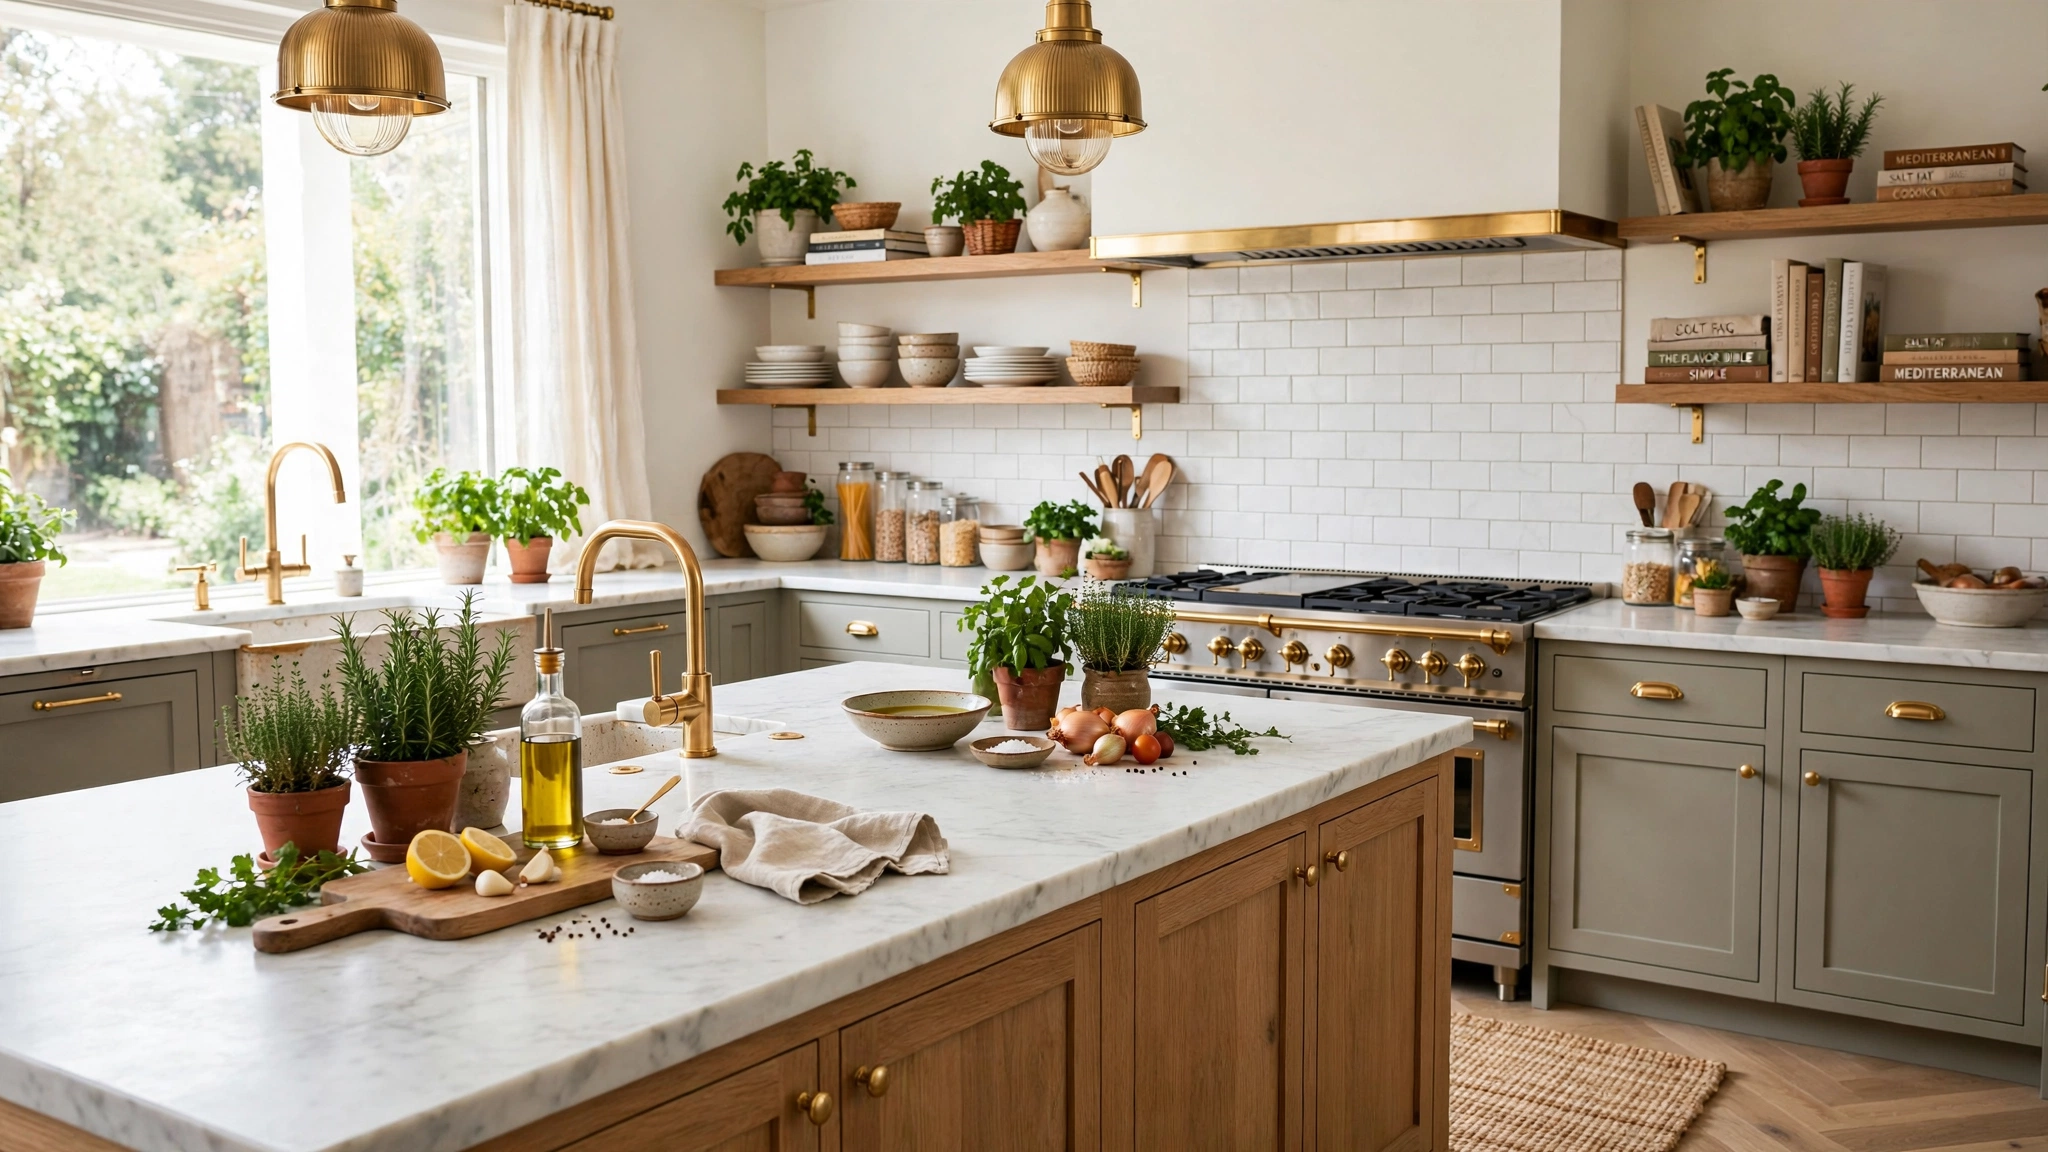
Cooking in a beautiful kitchen simply feels better. Small, thoughtful upgrades to your ingredients, tools and layouts can transform everyday meal prep into a process that looks — and feels — like a professional kitchen.
The best part is that most of these changes cost very little and take an afternoon at most. From a proper prep zone to restaurant-style plating, here are ideas that make cooking easier and your kitchen prettier at the same time. Ready to cook like a designer lives here?
1. Create a Chef-Worthy Prep Zone
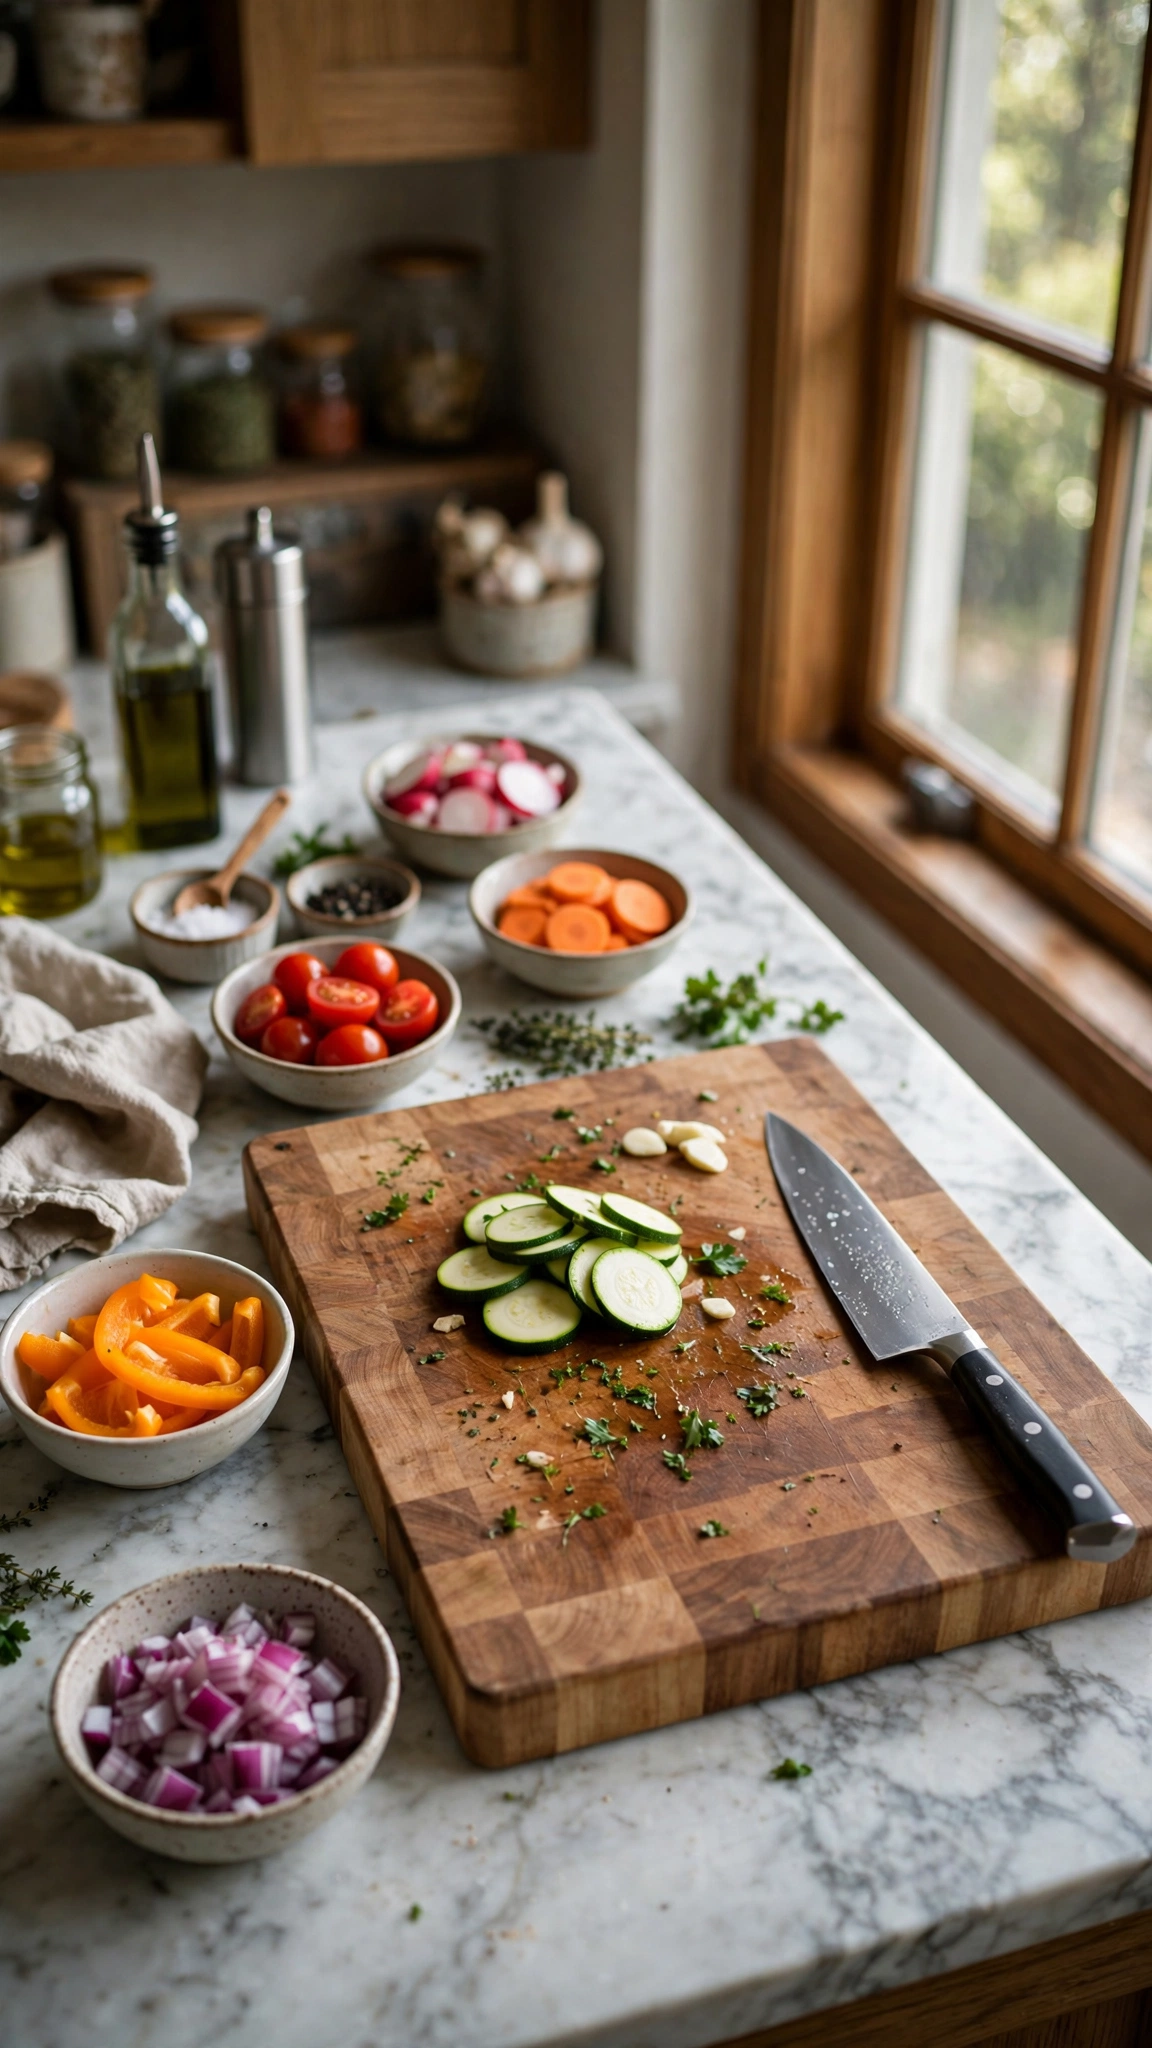
Designate one stretch of counter purely for prep: a big board, your best knife, and small bowls for chopped ingredients. Keeping everything in one zone stops the chaotic hunt for tools mid-recipe.
Chefs call this mise en place, and it works because your brain relaxes when the workspace is ordered. Add a small trash bowl so scraps never pile up on the board.
Choose a board at least 45cm wide and store it upright against the backsplash when not in use — it doubles as decor. Total cost: under $60 if you already own a decent knife.
Tip: A clear prep zone starts with clear counters, so steal a few tricks from how to decorate kitchen counters without clutter before you set yours up.
2. Decant Ingredients Into Glass Jars
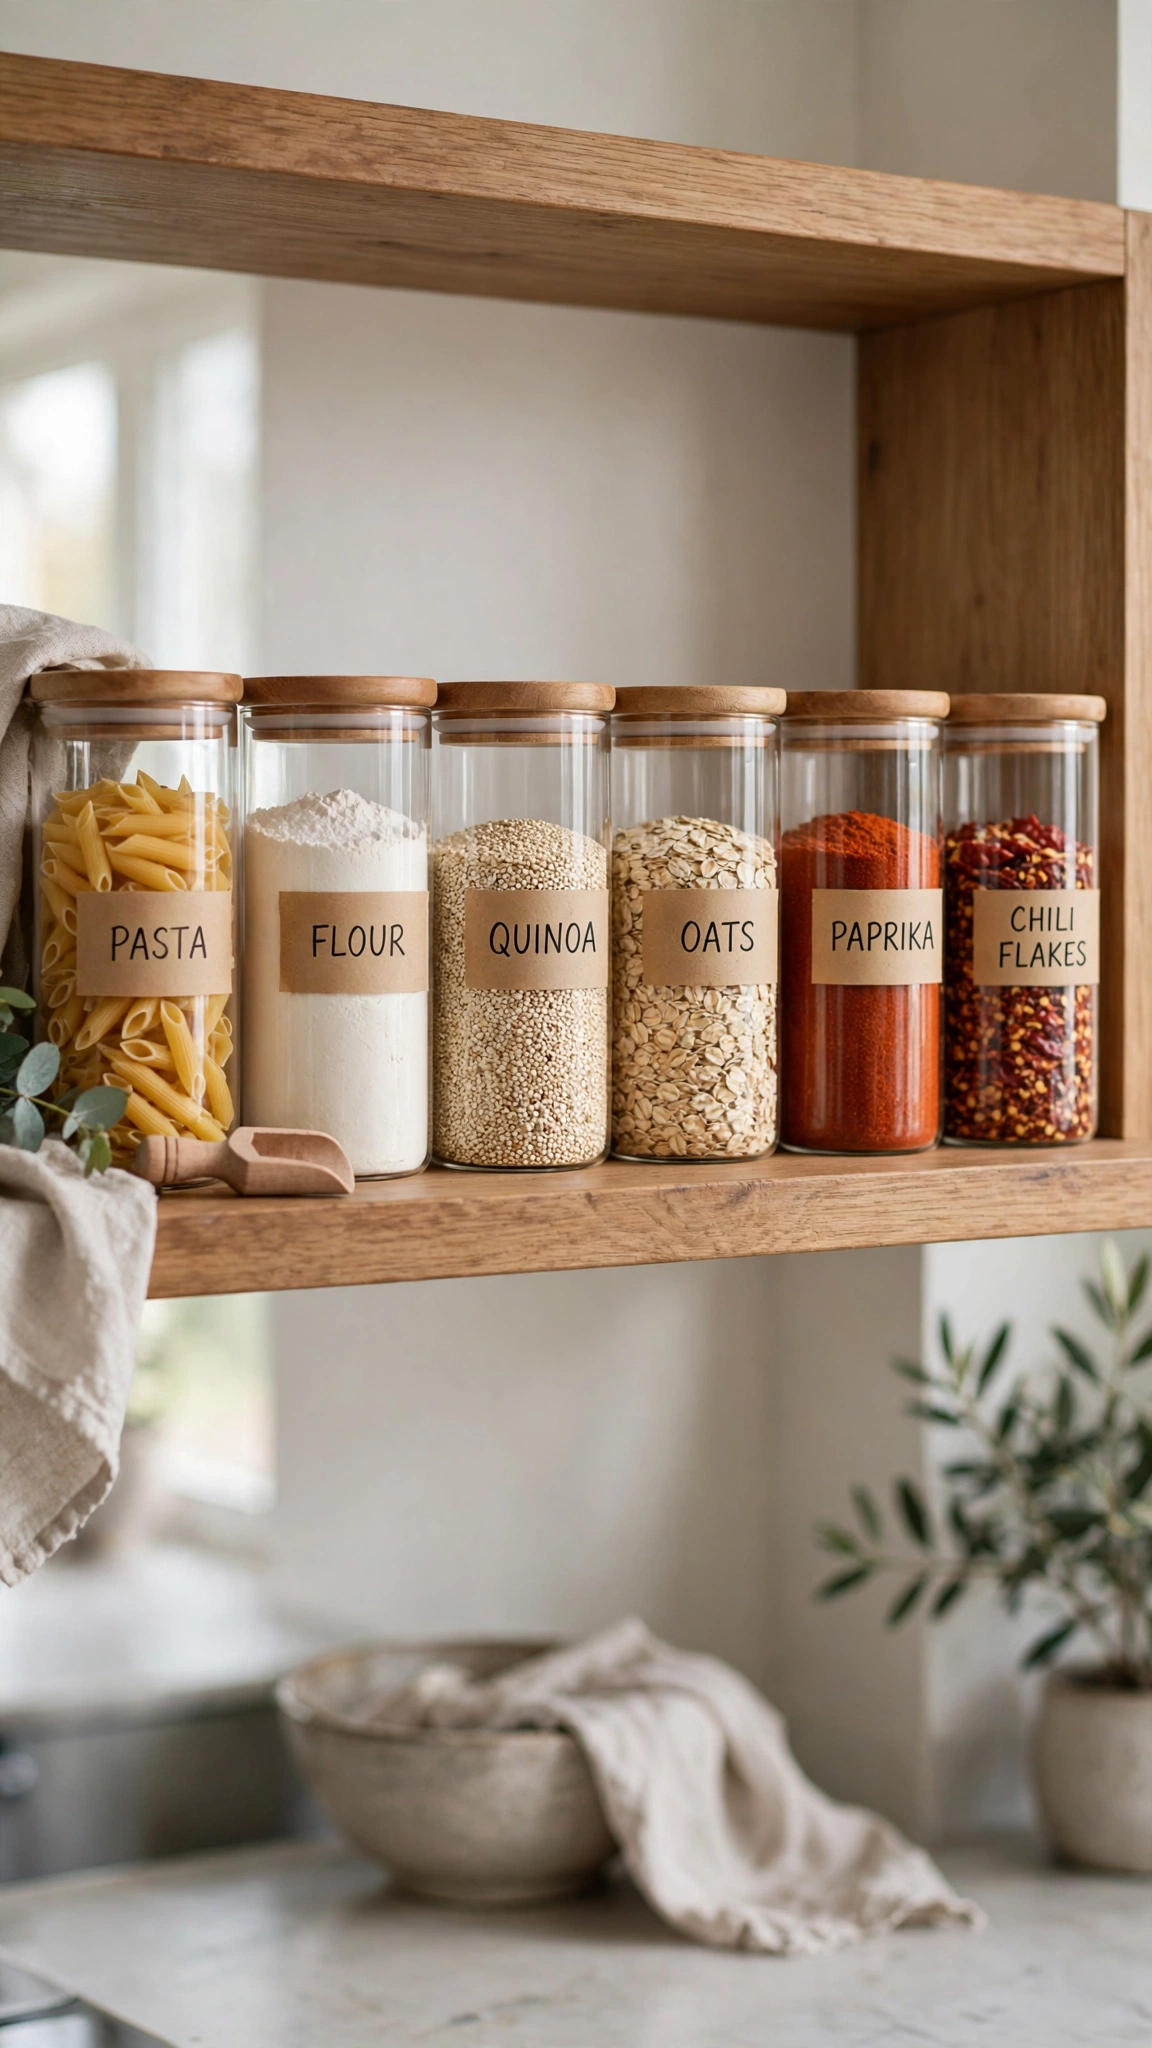
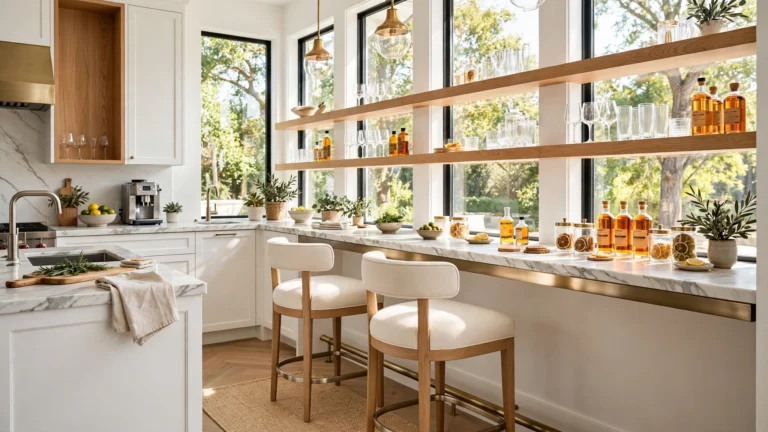
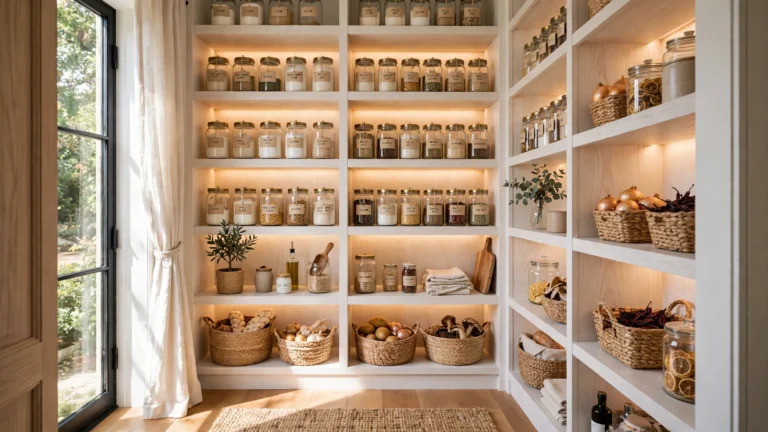
Flour, rice, pasta and lentils look instantly designer-level when they live in matching glass jars instead of crumpled bags. Uniform containers create the calm, boutique-pantry look you see in magazines.
Glass also keeps ingredients fresher and makes it obvious when you are running low. Add simple labels — handwritten kraft tags feel warm, printed ones feel modern.
Start with six to eight jars in two sizes; a full set costs $25–40. Keep everyday items at eye level and bulk refills up high.
Tip: If your jars live on open shelves, balance them with greenery using these gorgeous kitchen window plant ideas nearby.
3. Hang a Rail of Everyday Tools
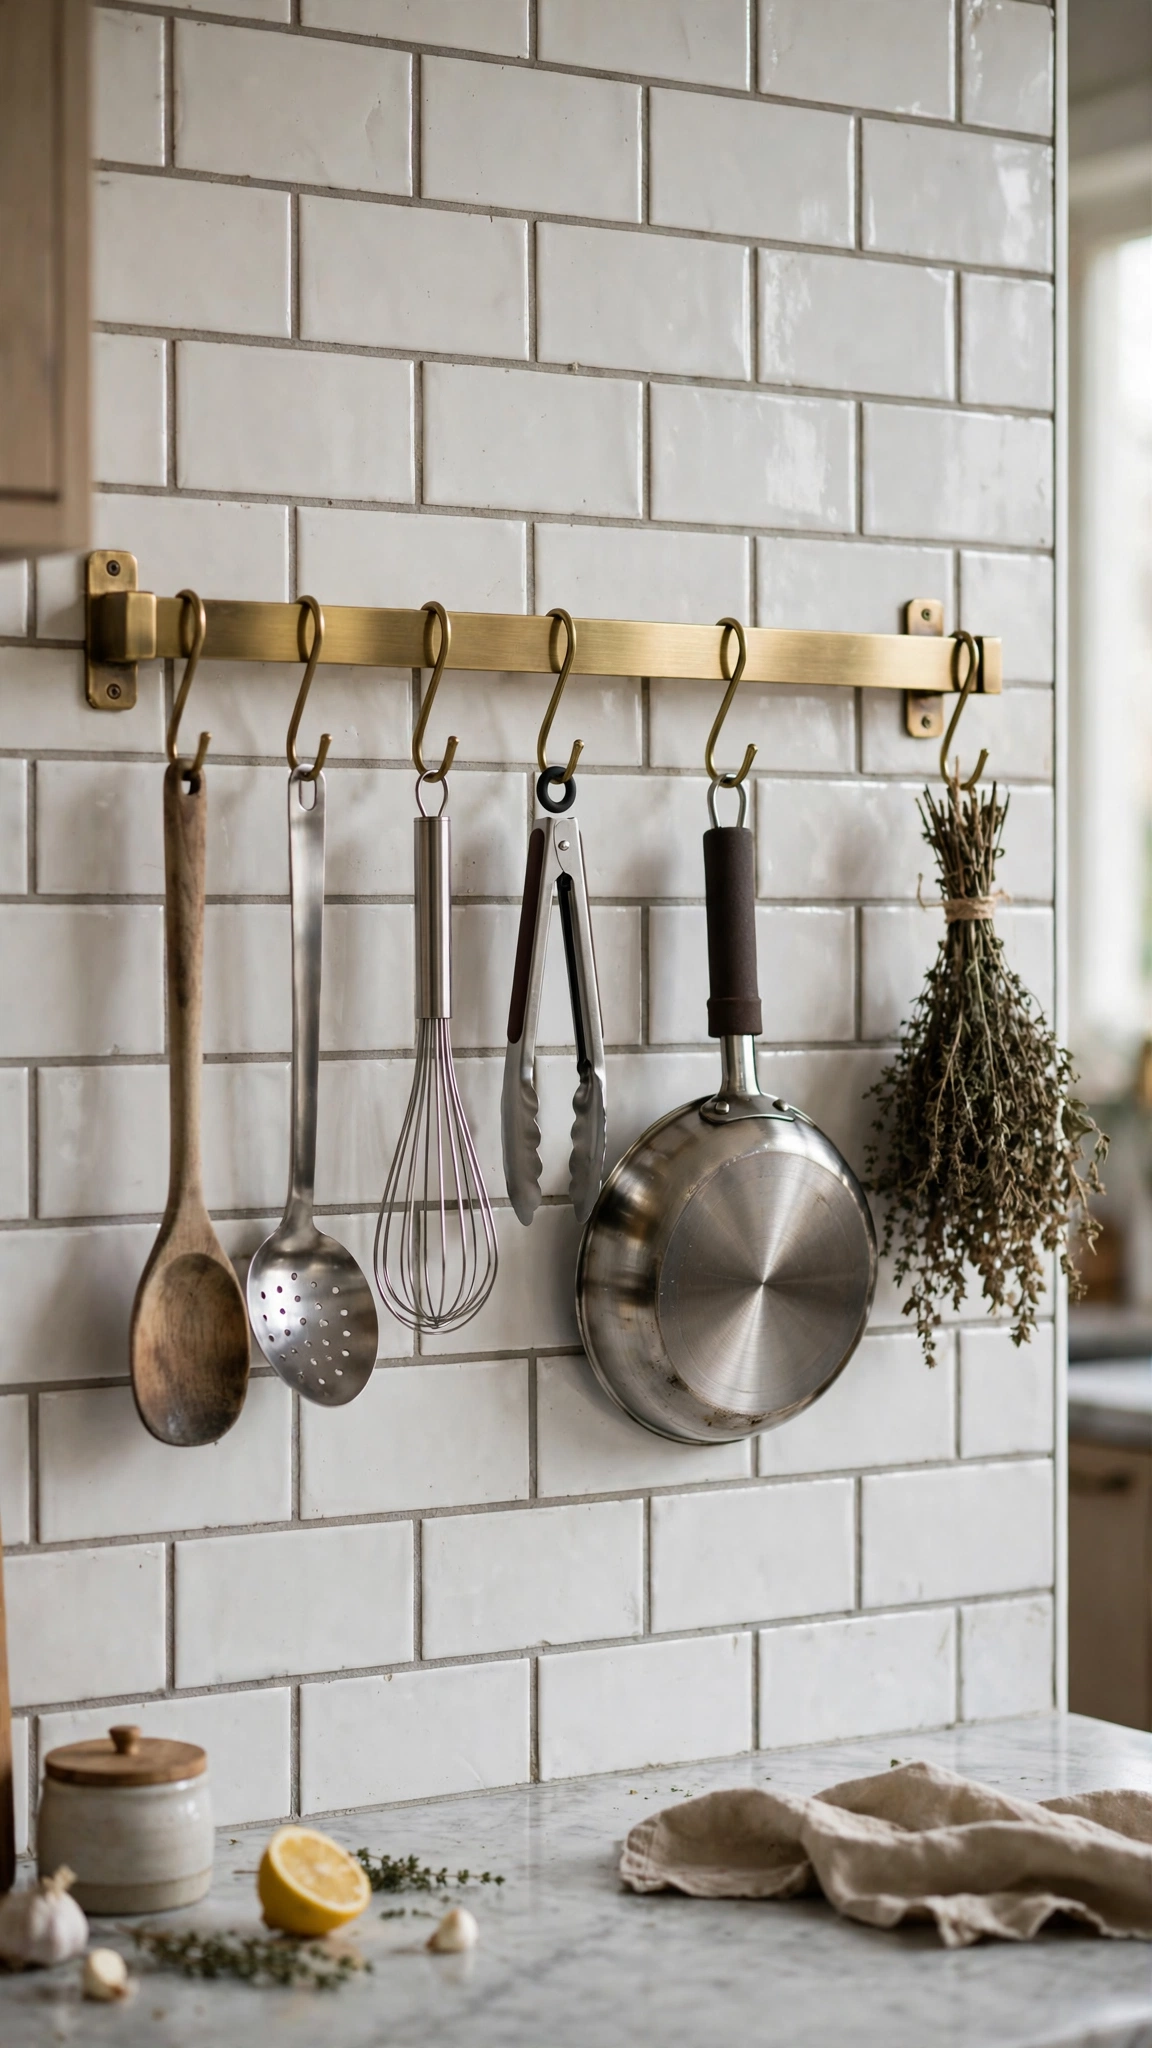
A wall rail beside the stove puts ladles, whisks and tongs within arm’s reach while freeing an entire drawer. It is the single most “working kitchen” detail designers repeat.
Match the rail finish to your faucet or cabinet handles — brass with brass, black with black — so it reads as intentional, not improvised. S-hooks make swapping tools effortless.
Rails start around $20 and install with two screws. Hang only what you use weekly; the rest belongs in a drawer.
Tip: Vertical storage is the secret weapon of small kitchens — see more in these trendy kitchen wall storage ideas.
4. Build a Small Herb Garden by the Window
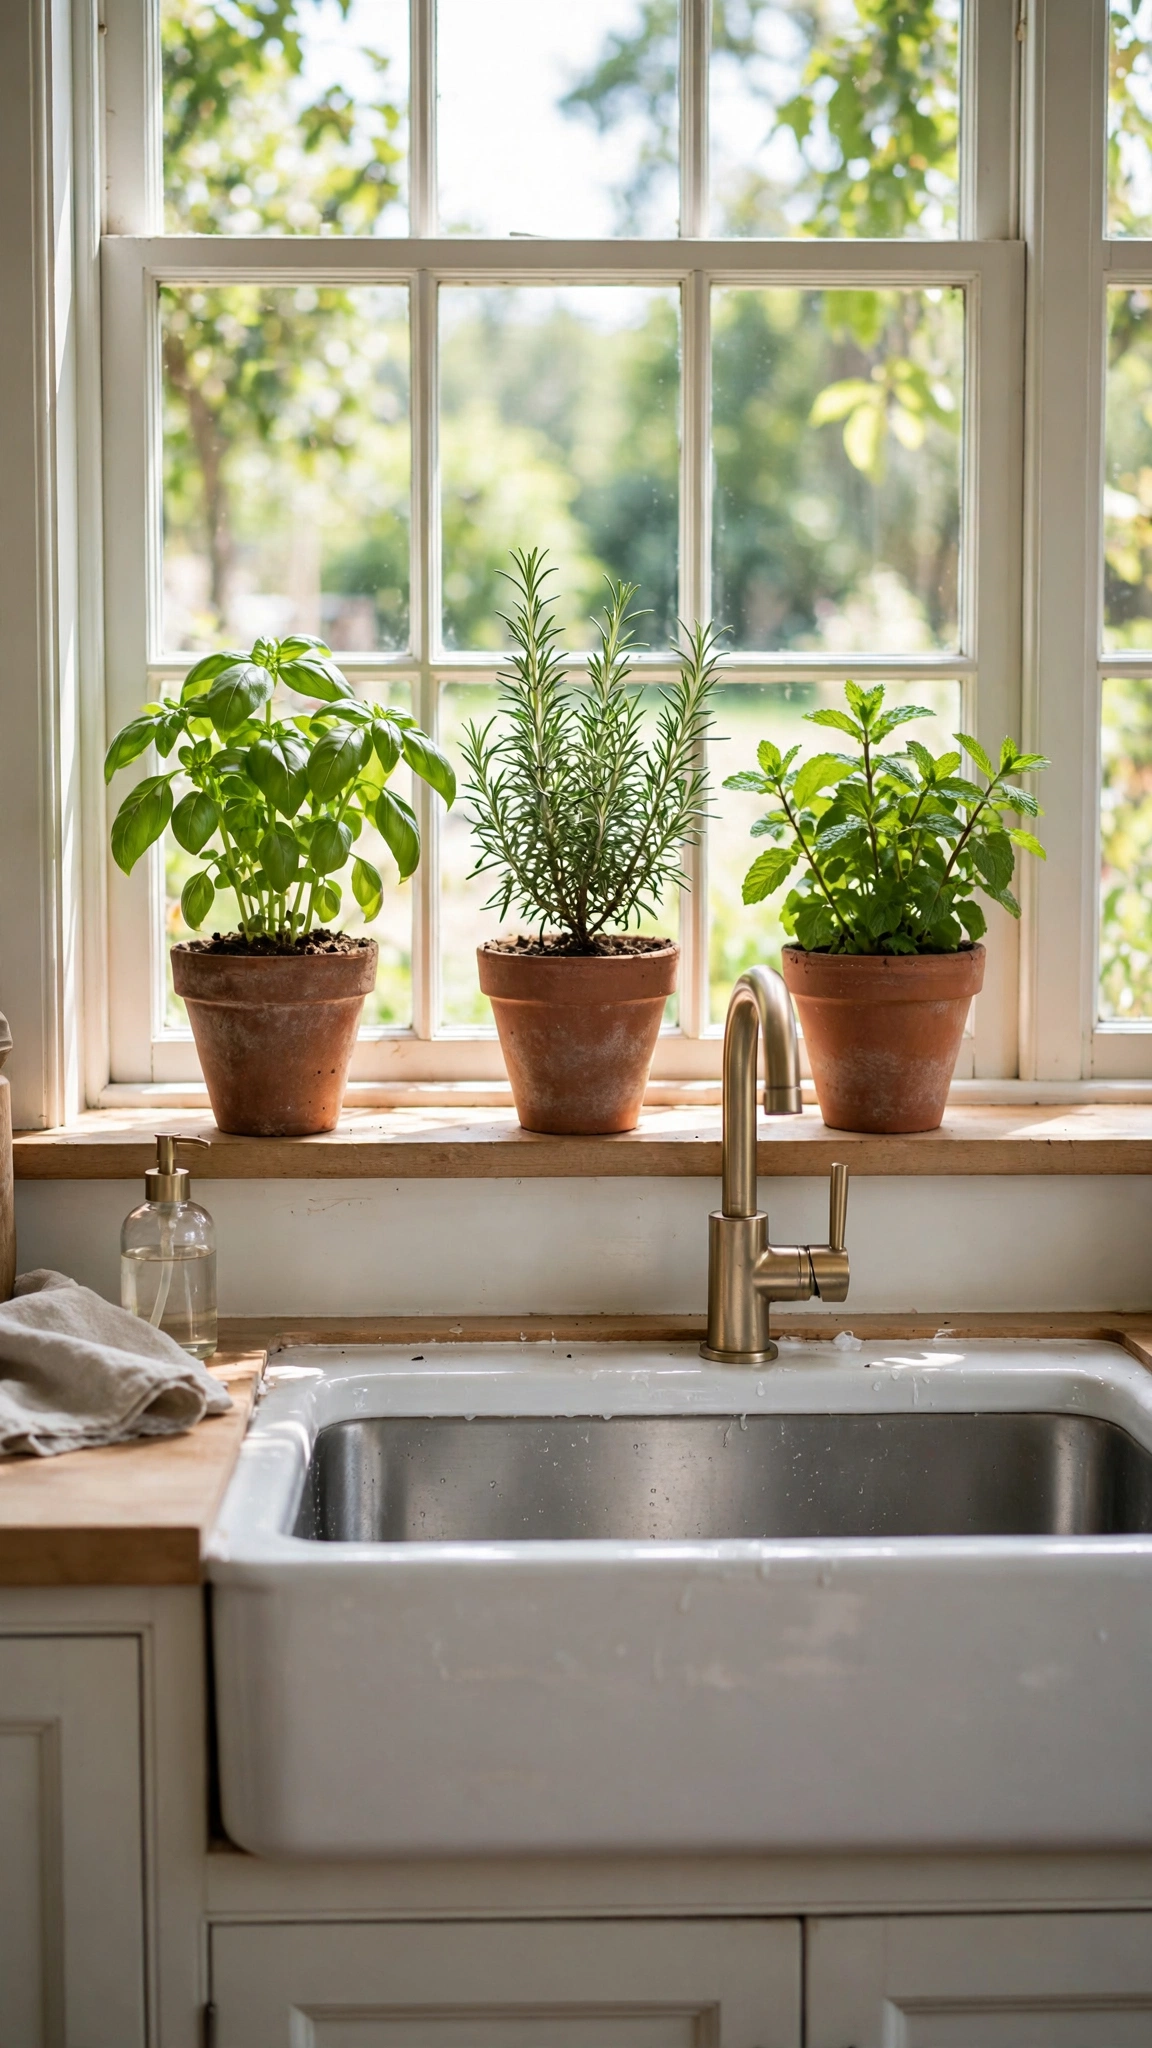
Fresh herbs are the cheapest way to make home cooking taste restaurant-level, and a row of green pots instantly softens a hard-edged kitchen.
Basil, mint, rosemary and thyme thrive on a sunny sill with daily light and weekly watering. Snipping herbs straight into the pan feels luxurious every single time.
Three starter plants cost about $10–15 total. Use pots with drainage trays so the sill stays clean.
Tip: Style the sill itself with the tricks in how to decorate a kitchen window sill so the garden looks designed, not accidental.
5. Add Under-Cabinet Task Lighting
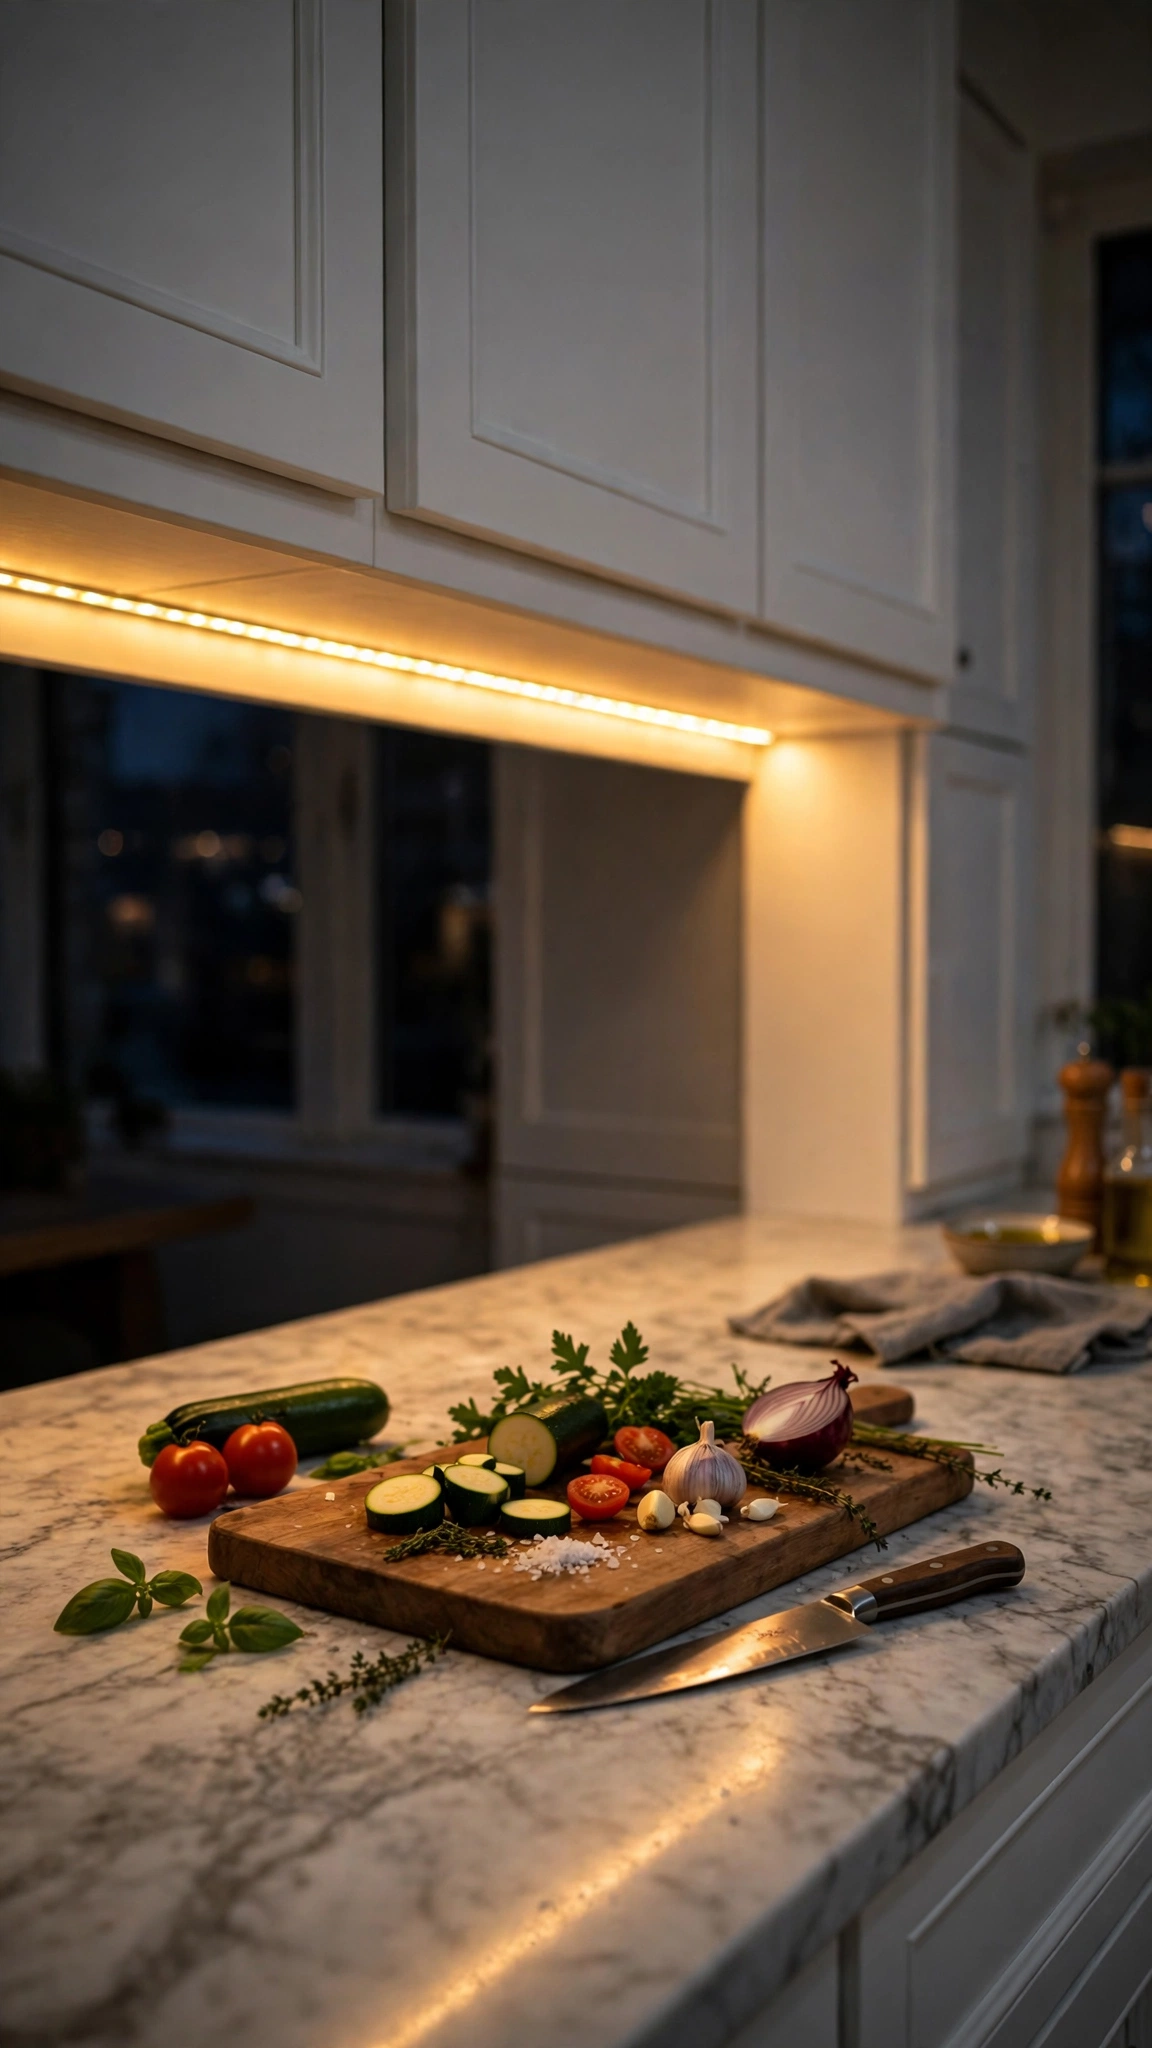
Overhead lights cast shadows exactly where you chop. Slim LED strips under the cabinets flood your worktop with even, shadow-free light — and make the whole kitchen glow at night.
Warm-white light (2700–3000K) flatters food and skin tones. Peel-and-stick strips with a remote dimmer take twenty minutes to install, no electrician needed.
Expect to spend $20–35 for a full run of cabinets. It is the highest-impact cheap upgrade on this list.
Tip: Layered light matters even more in compact spaces — browse these elegant tiny kitchen lighting ideas for more combinations.
6. Style a Wooden Board Collection
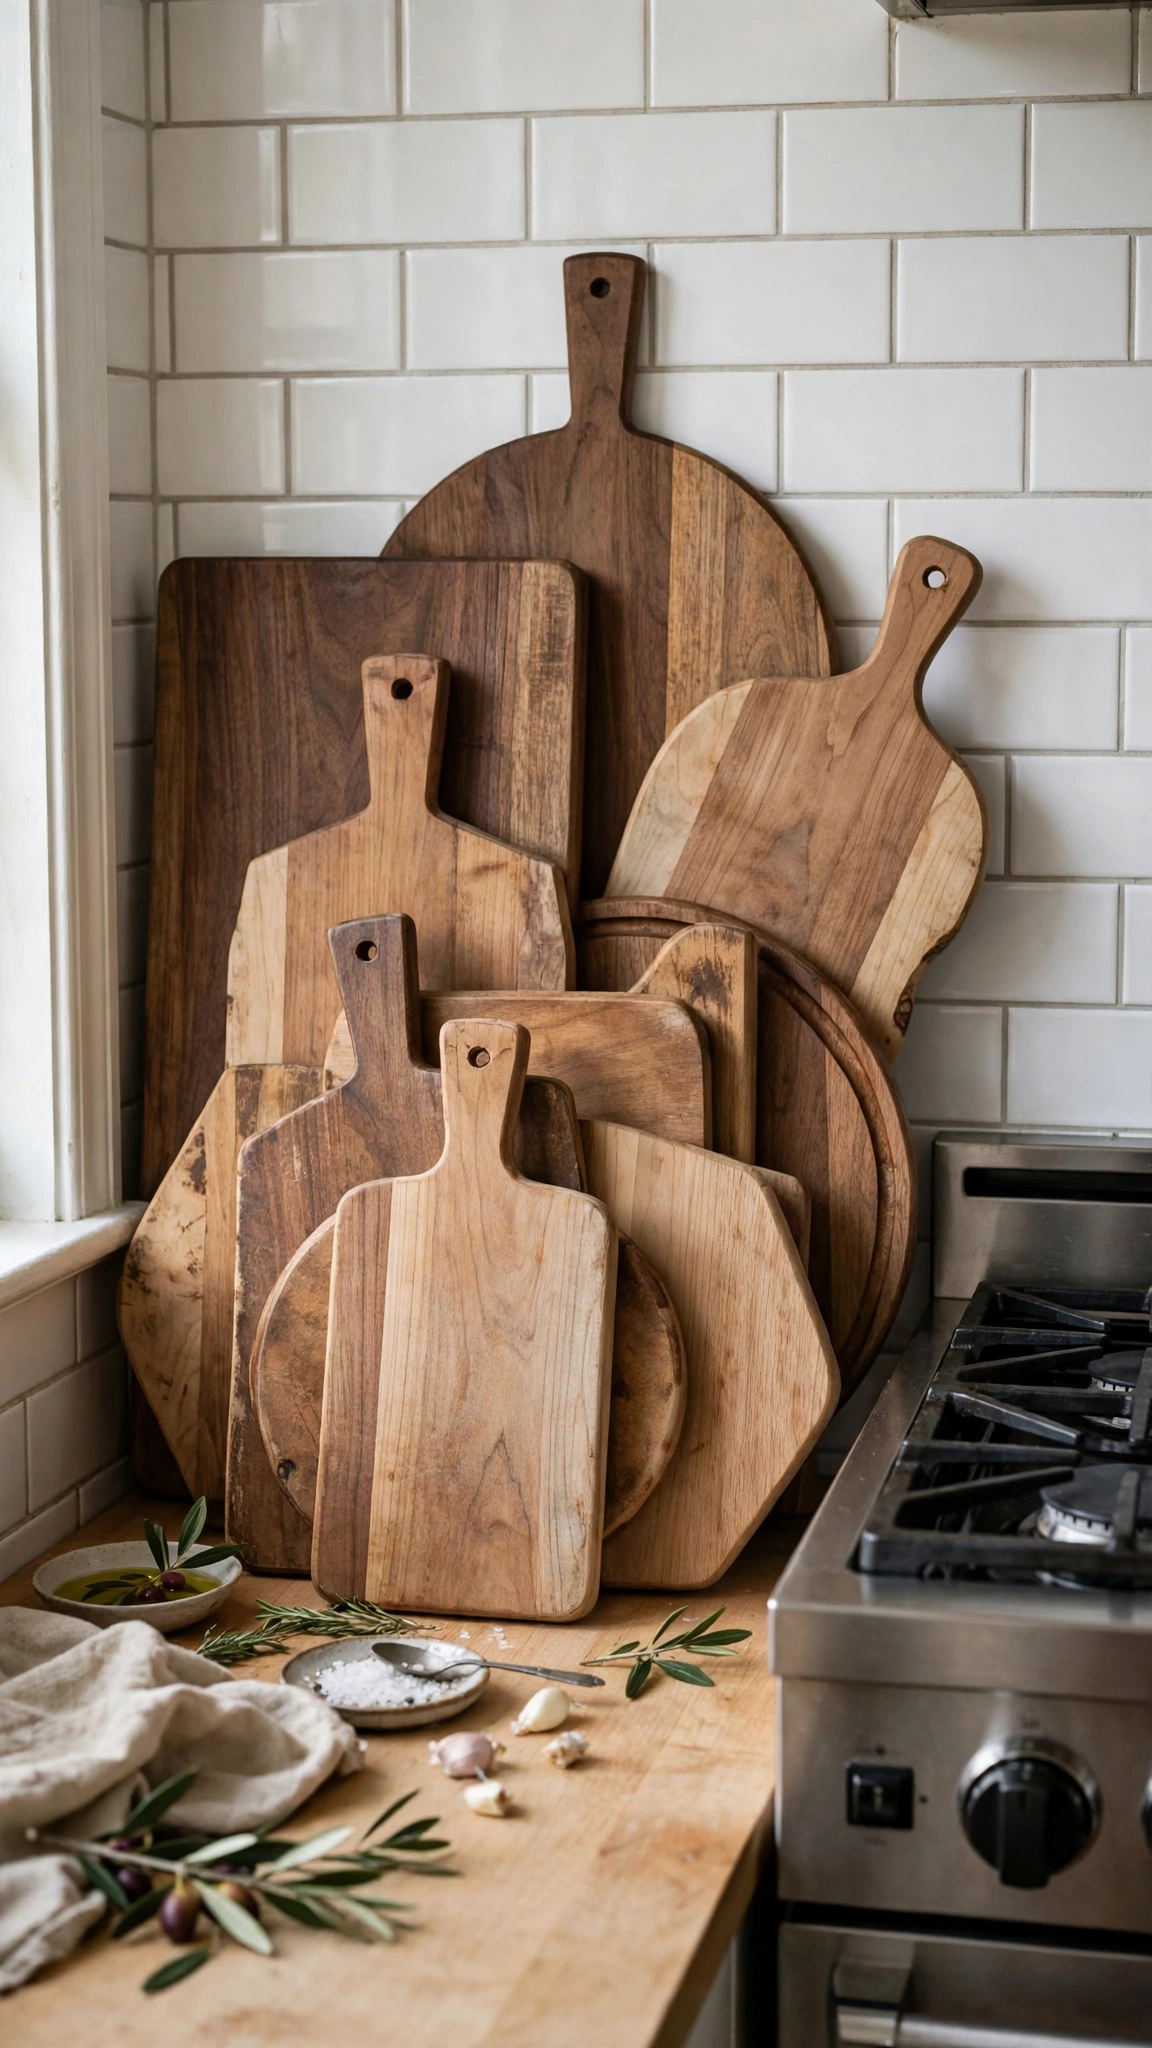
Lean two or three wooden boards of different heights against the backsplash and your cooking area gains instant warmth and texture. Designers use boards as the kitchen equivalent of artwork.
Mix one large rectangular board with a round paddle board for contrast. The wood tones break up cold stone and steel beautifully.
Oil the boards monthly with food-safe mineral oil so they stay rich and crack-free. Thrift stores are gold mines for these, often $5–10 each.
Tip: Boards work hardest on counters that are otherwise minimal — get the base right with these elegant kitchen counter storage ideas.
7. Keep a Dedicated Oil and Salt Station
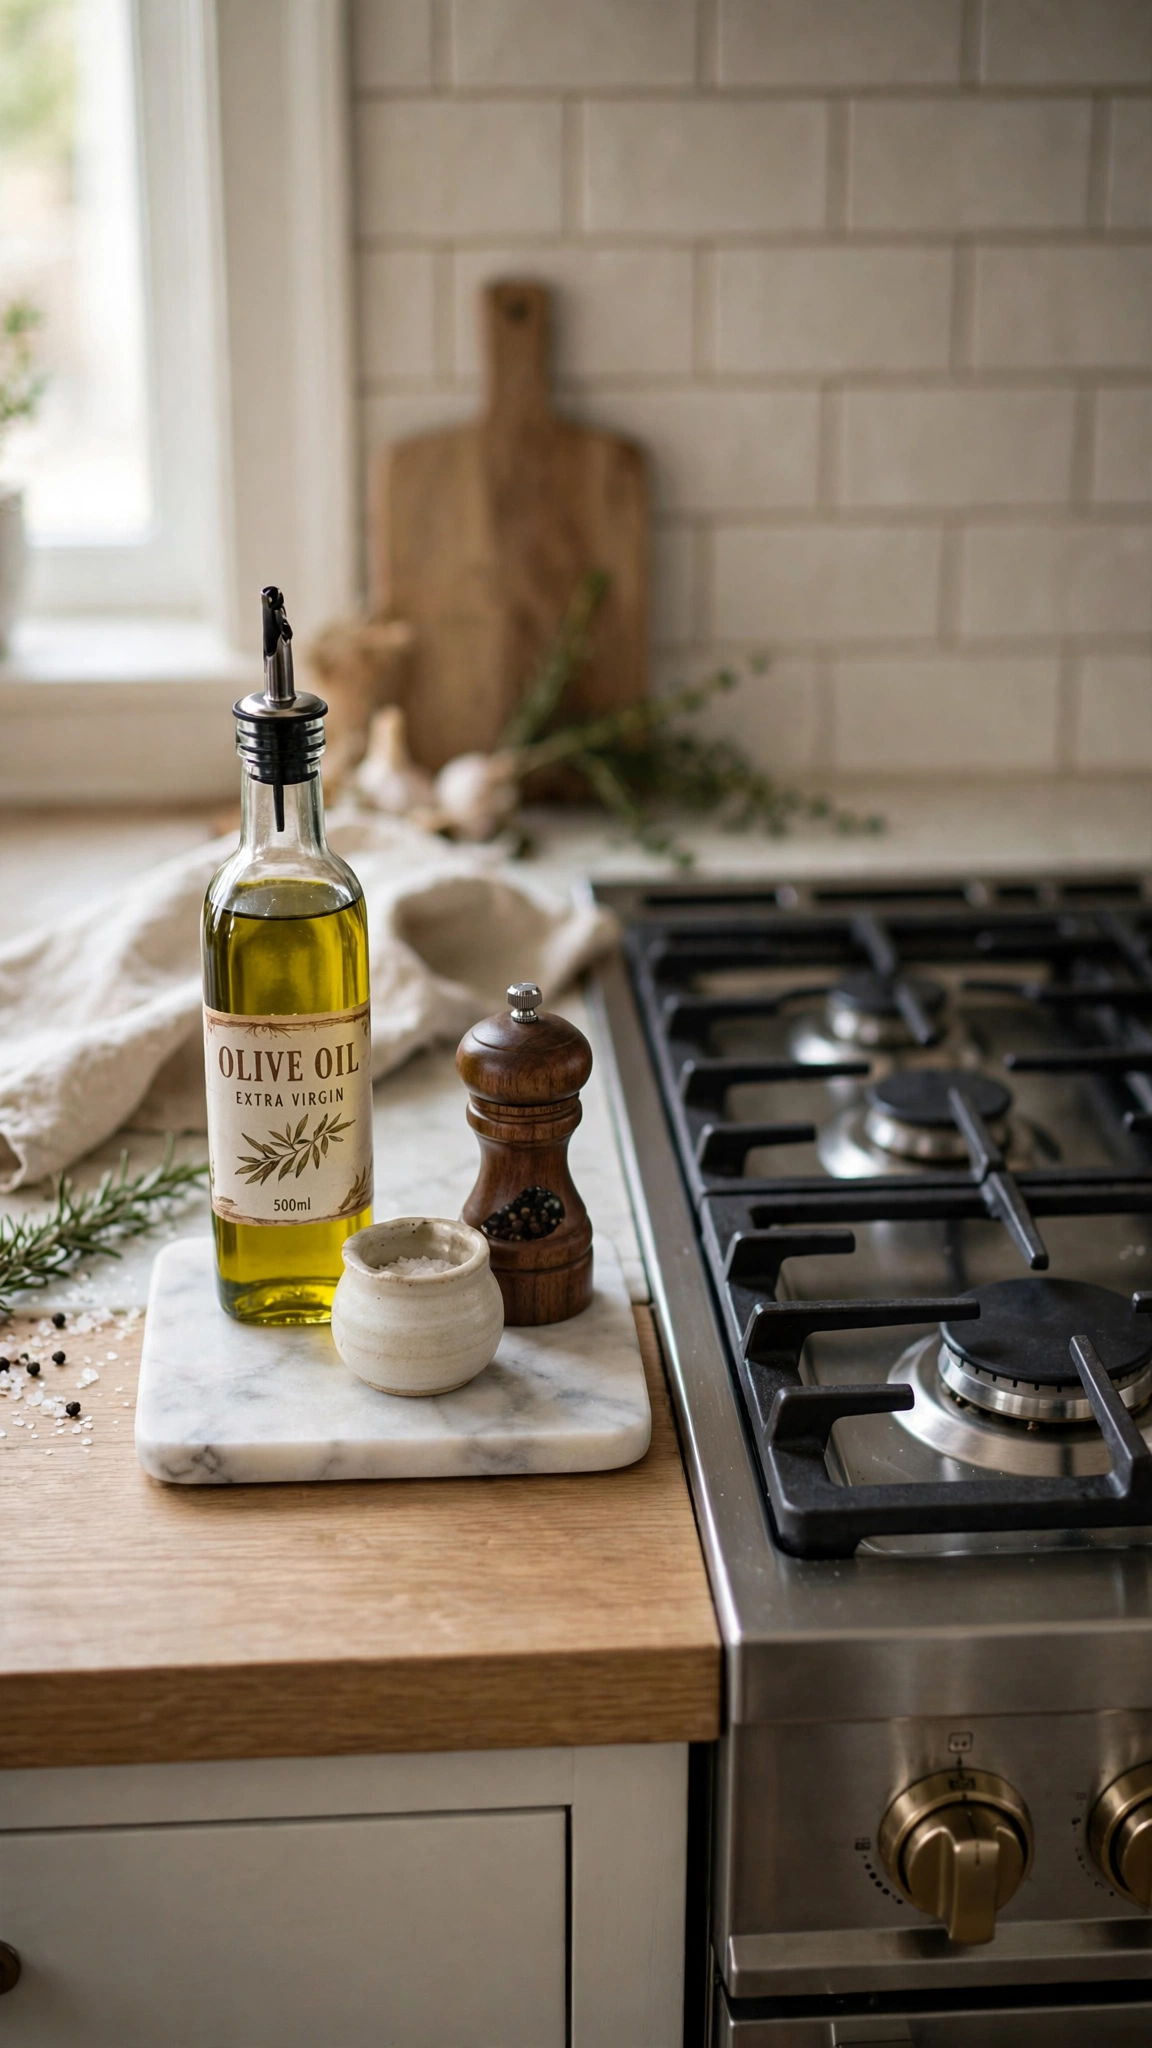
Every cook reaches for oil, salt and pepper dozens of times per meal. Corral them on a small tray beside the stove and seasoning becomes a one-hand move.
A tray turns three random bottles into a styled vignette. Choose one material — marble, wood or ceramic — and let it anchor the group.
A cellar of flaky sea salt makes finishing dishes feel special and costs about $6. Refill the oil bottle from a bulk tin to save money.
Tip: Stations like this are the backbone of aesthetic kitchen organization ideas that keep counters both pretty and practical.
8. Display Cookbooks Like Decor
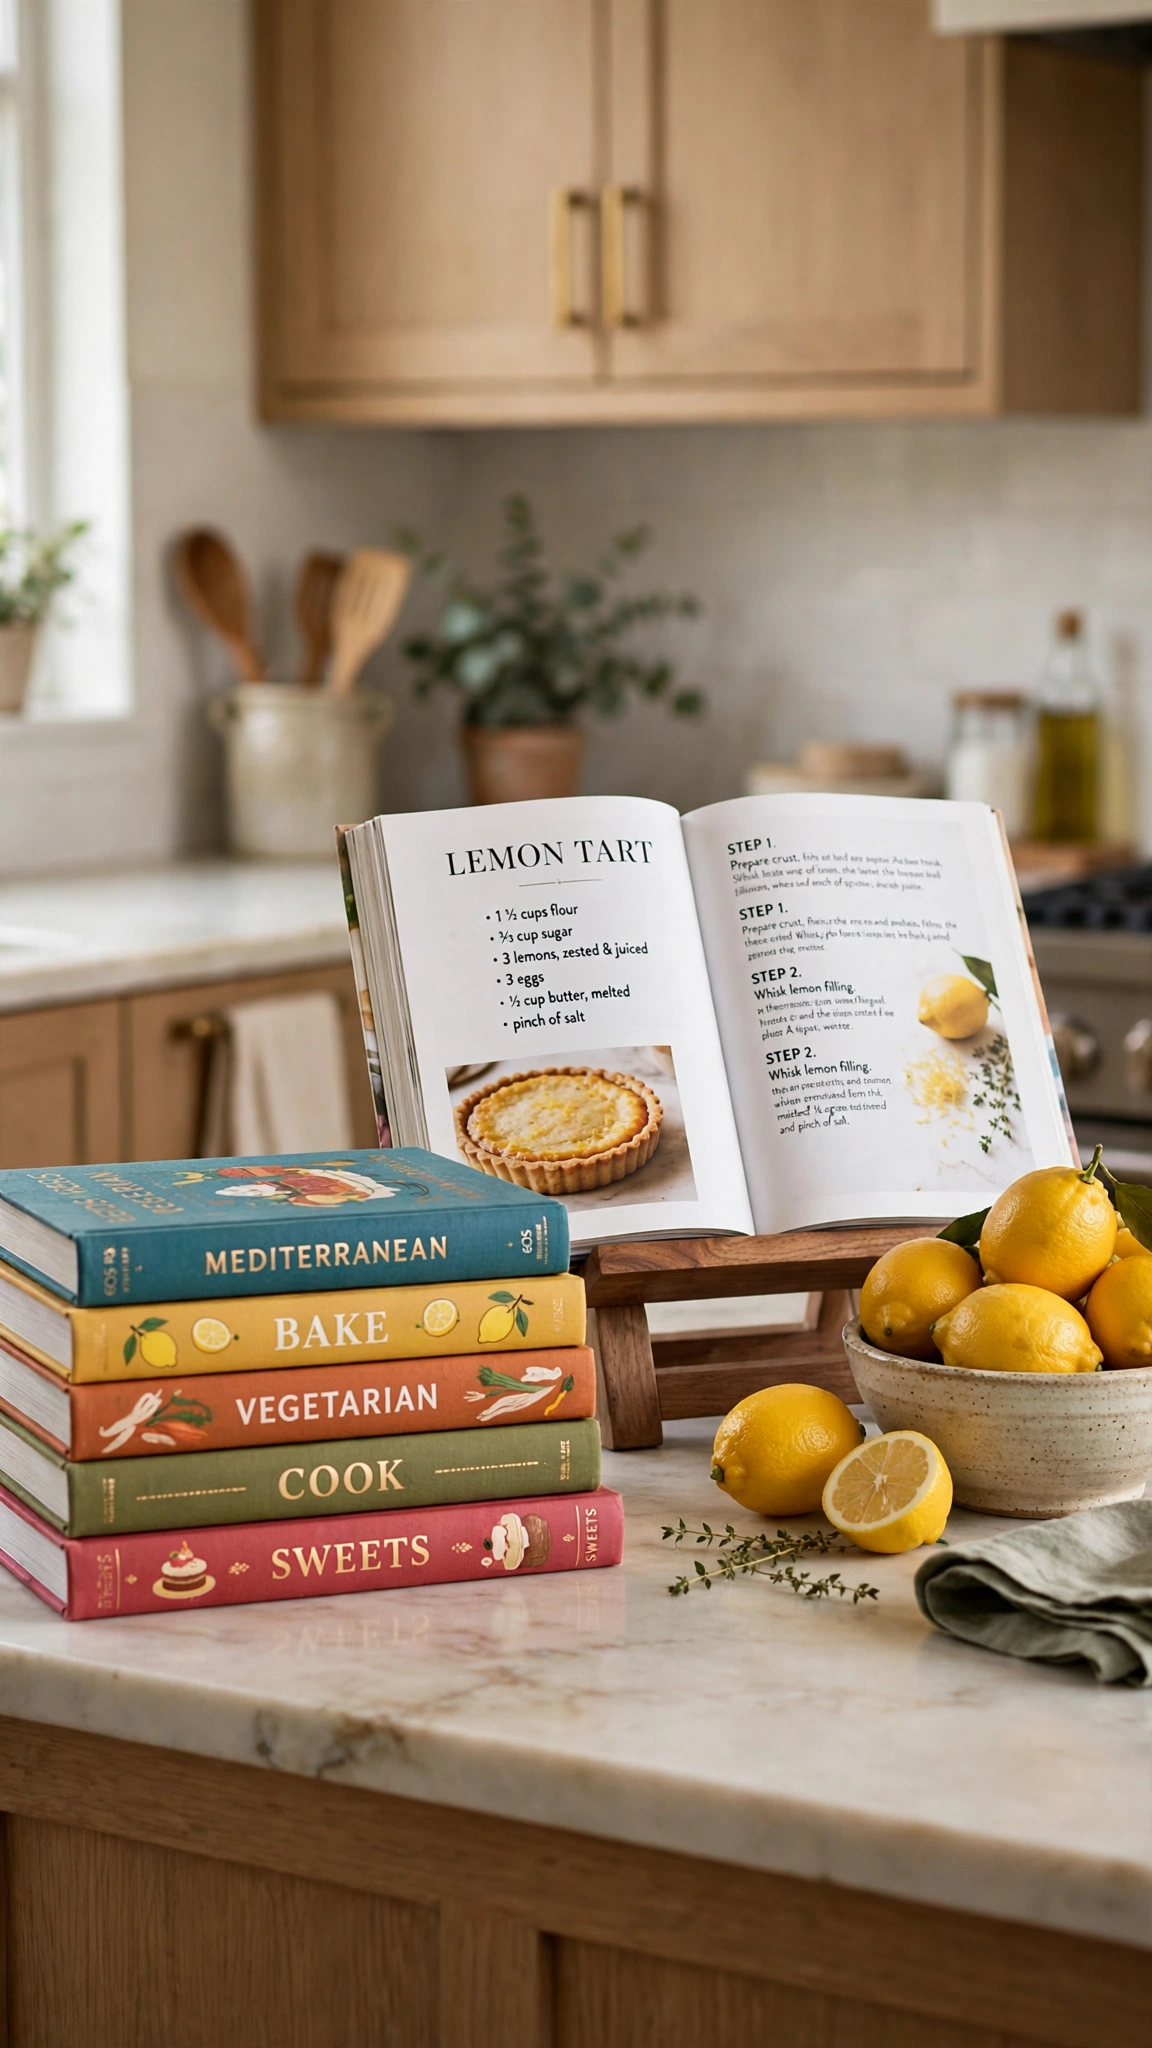
A small stack of beautiful cookbooks signals a kitchen that is loved and used. Keep two or three favorites out, spines or covers facing the room like coffee-table books.
Prop one open on a stand to your current recipe — functional while you cook, and it changes the “artwork” every week. Rotate books seasonally to keep the display fresh.
Library sales and charity shops sell gorgeous cookbooks for a few dollars. Stick to a loose color palette so the stack looks curated.
Tip: An island display works best when the island itself is organized — steal layouts from these kitchen island storage ideas.
9. Upgrade to a Statement Faucet Moment
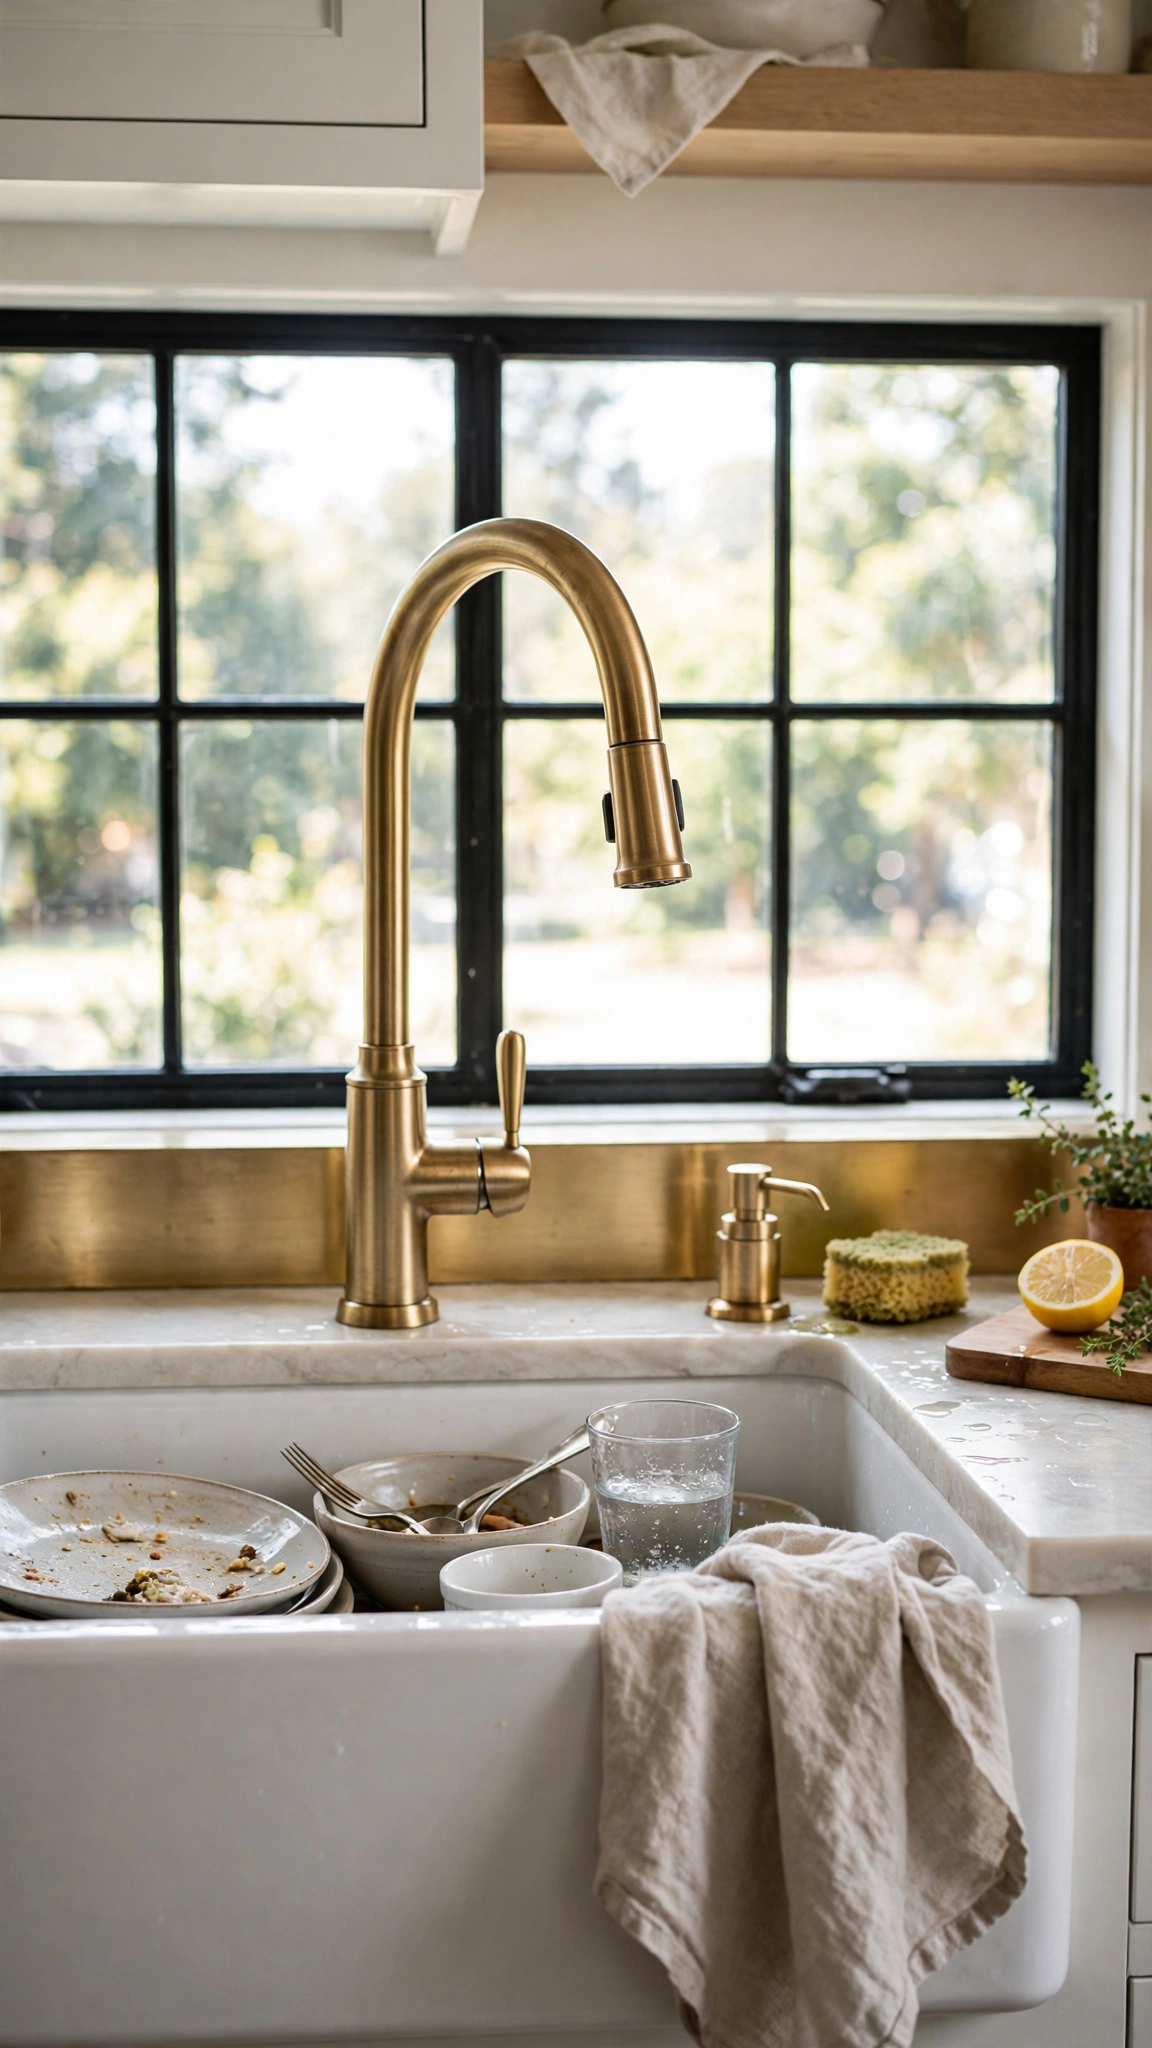
The faucet is the hardest-working fixture in the kitchen and the one your eye lands on first. A tall gooseneck in brass, matte black or polished nickel instantly raises the whole room’s design level.
Pull-down sprayers make rinsing big pots and sheet pans effortless, which you will appreciate every day. Most swaps take under an hour with basic tools.
Good options start around $120. If a swap is not possible, a deep clean and new aerator still refreshes the look noticeably.
Tip: Frame the sink area properly with the advice in how to style a kitchen window over the sink.
10. Create a Breakfast and Coffee Corner
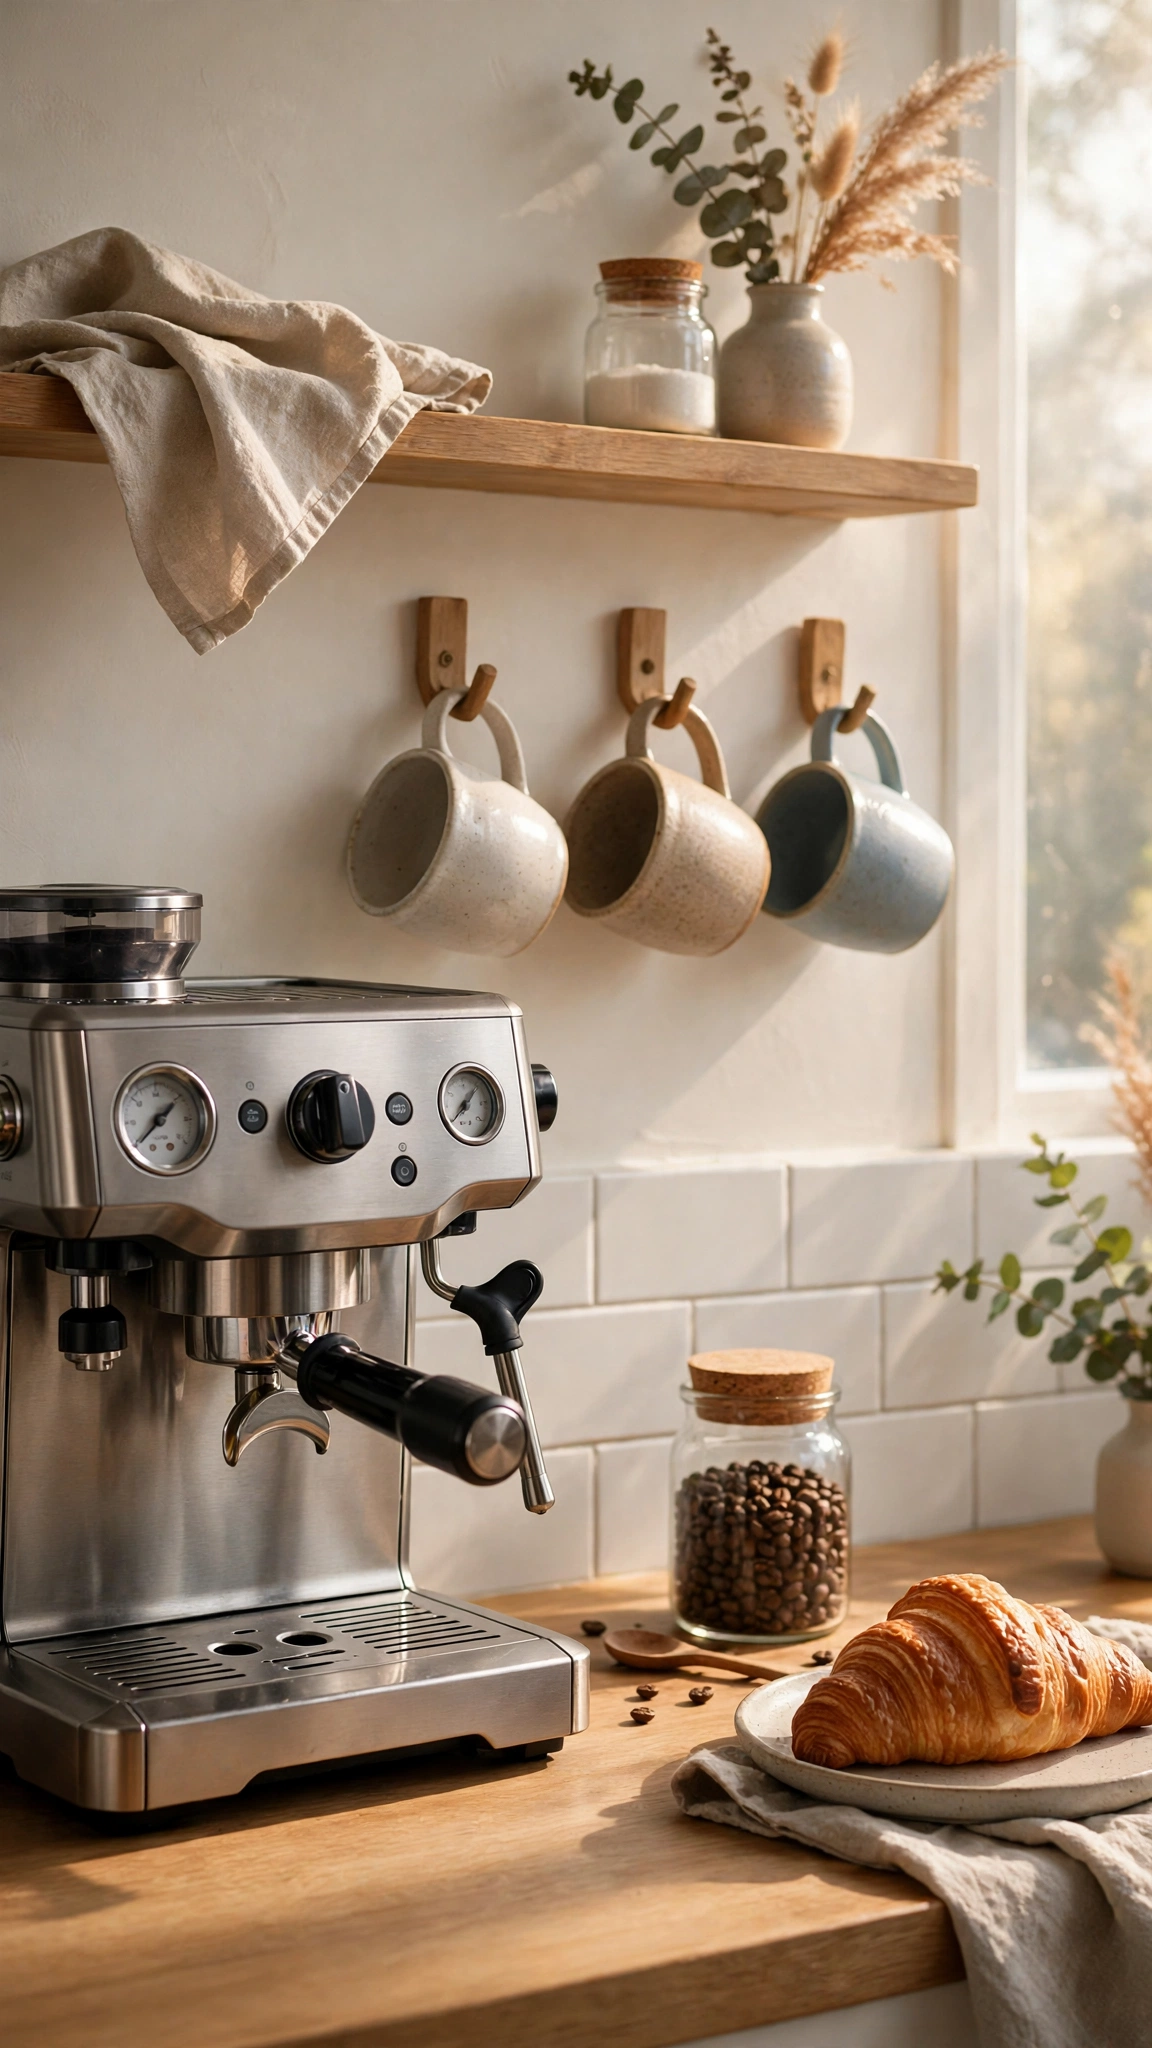
Grouping the kettle, coffee maker, mugs and tea into one corner turns rushed mornings into a calm ritual — and keeps the rest of the counters blissfully clear for cooking.
Use a tray or a small shelf to define the zone. Hooks under a cabinet keep mugs visible and free up cupboard space.
This costs almost nothing to set up because you already own everything. Add one indulgence, like a small milk frother, for café energy at home.
Tip: Morning corners shine near a window seat — get inspired by these cozy kitchen window breakfast nook ideas.
11. Organize Drawers With Dividers
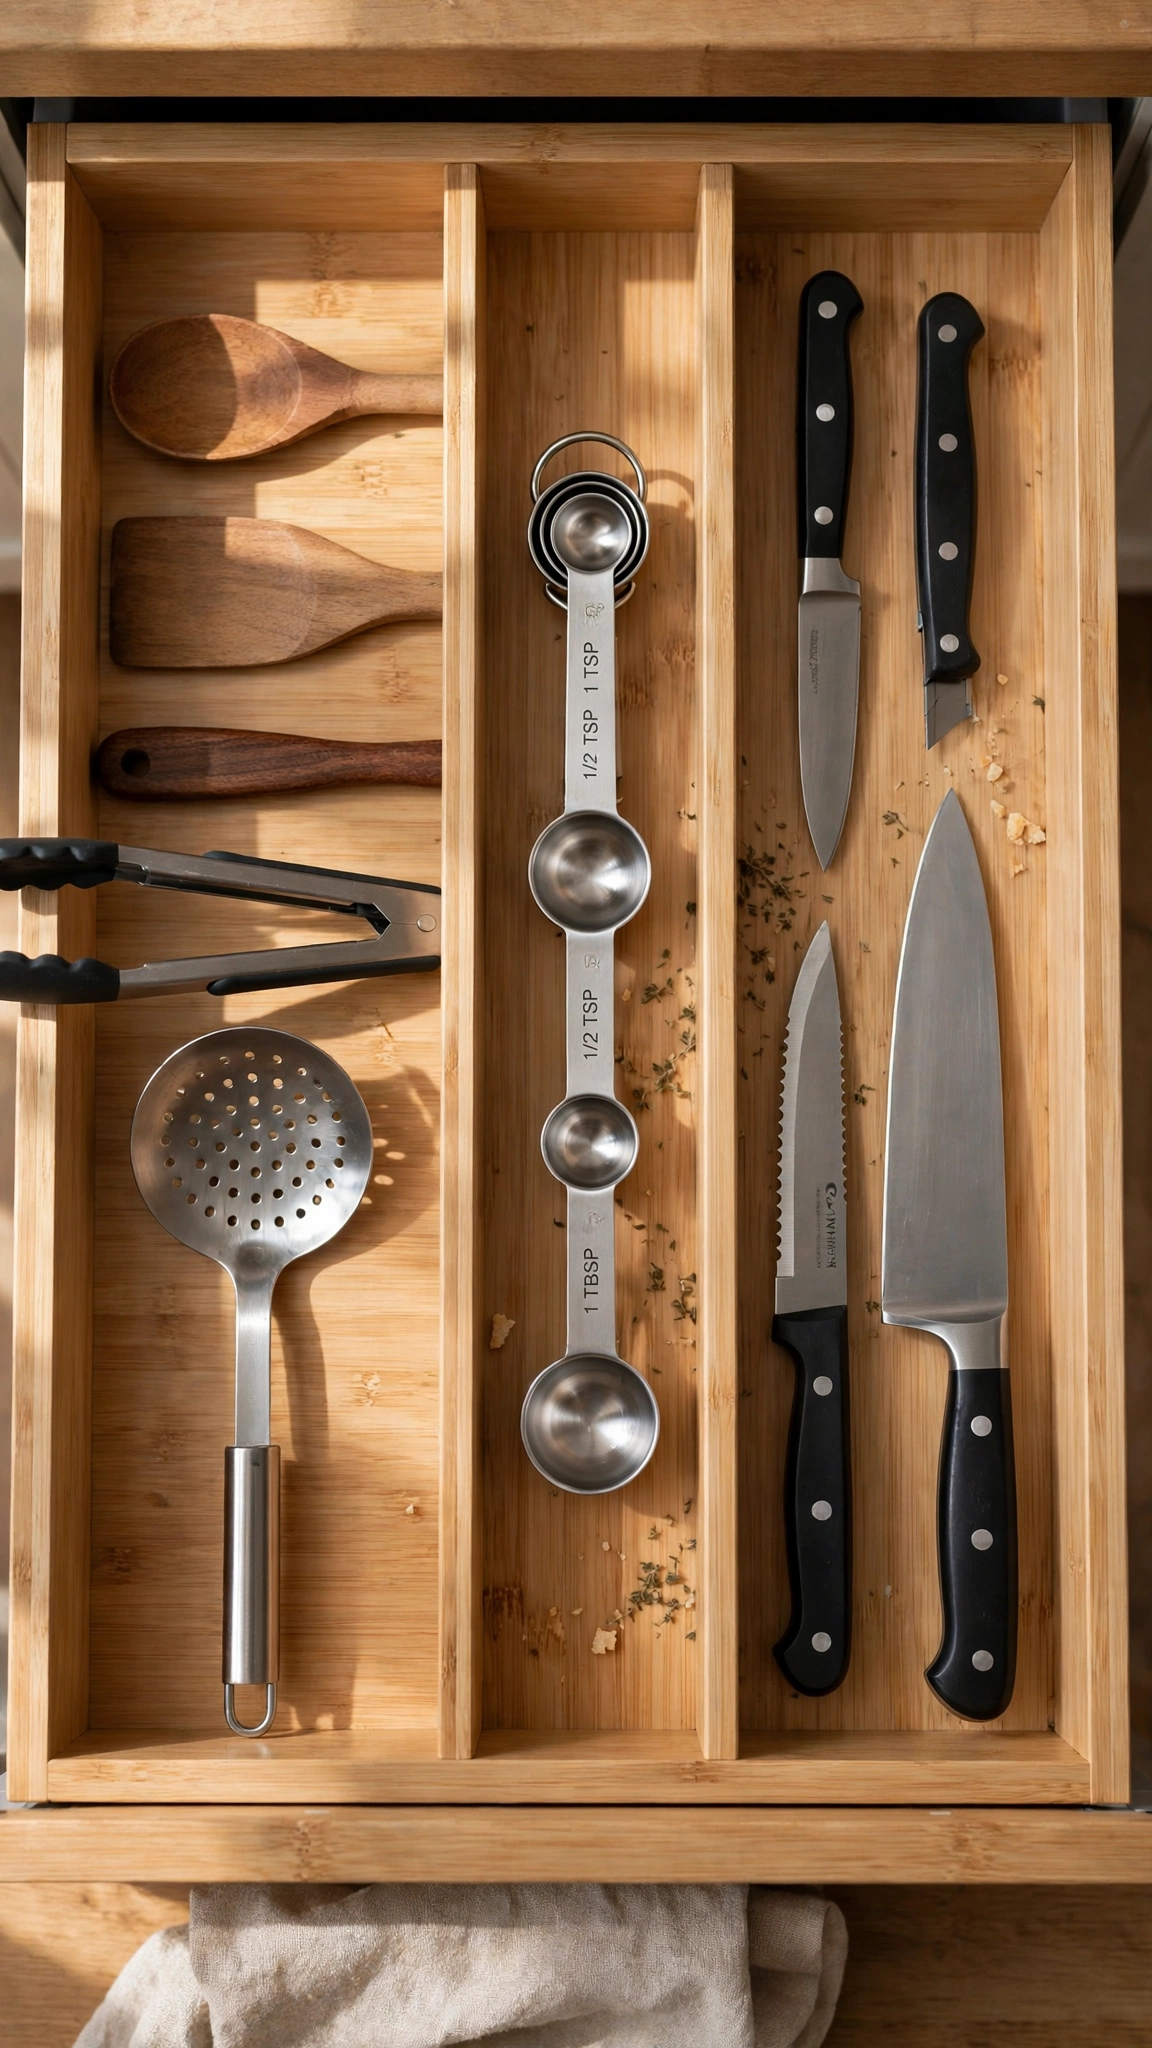
A jumbled utensil drawer slows every recipe down. Simple dividers give each tool a home, so grabbing the right spatula becomes automatic.
Bamboo or clear acrylic dividers both look tidy; expandable ones fit any drawer. Do the utensil drawer first, then the spice and cutlery drawers.
Sets run $15–25 per drawer. Measure before buying and group tools by how you actually cook, not by category labels.
Tip: Drawer systems are just the start — these clever kitchen drawer storage ideas take it further.
12. Add a Rolling Cart for Extra Workspace
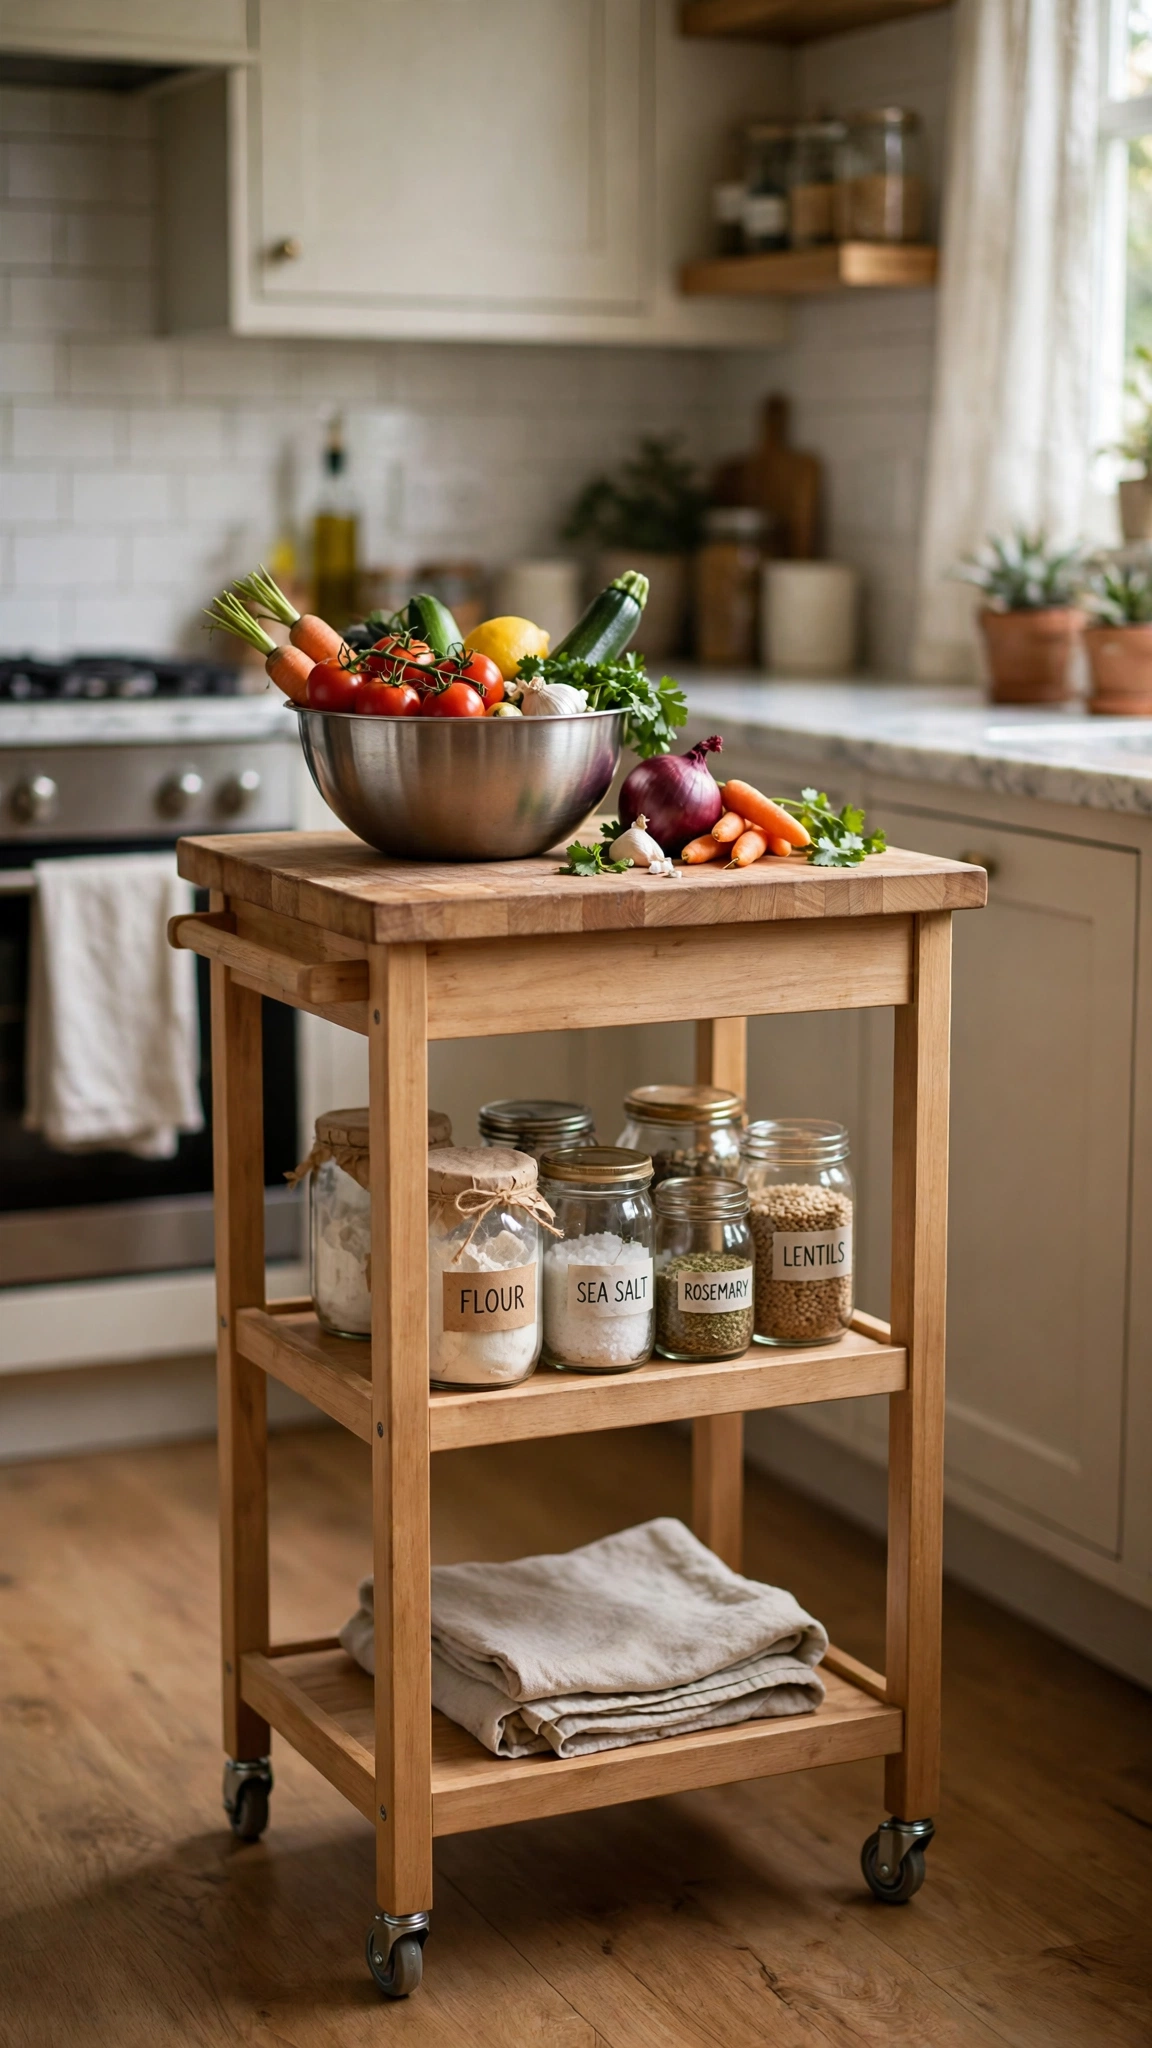
When counter space runs out mid-recipe, a rolling cart becomes a movable island: extra prep surface when you need it, parked against a wall when you don’t.
Choose a butcher-block top so the cart doubles as a chopping station. Lower shelves hold mixing bowls, the slow cooker or a basket of onions and potatoes.
Solid carts start around $70. Locking casters keep it steady while you knead or chop.
Tip: Small kitchens benefit most from flexible pieces — see how to create more storage in a small kitchen without remodeling for more.
13. Plate Meals on Restaurant-Style Dishware
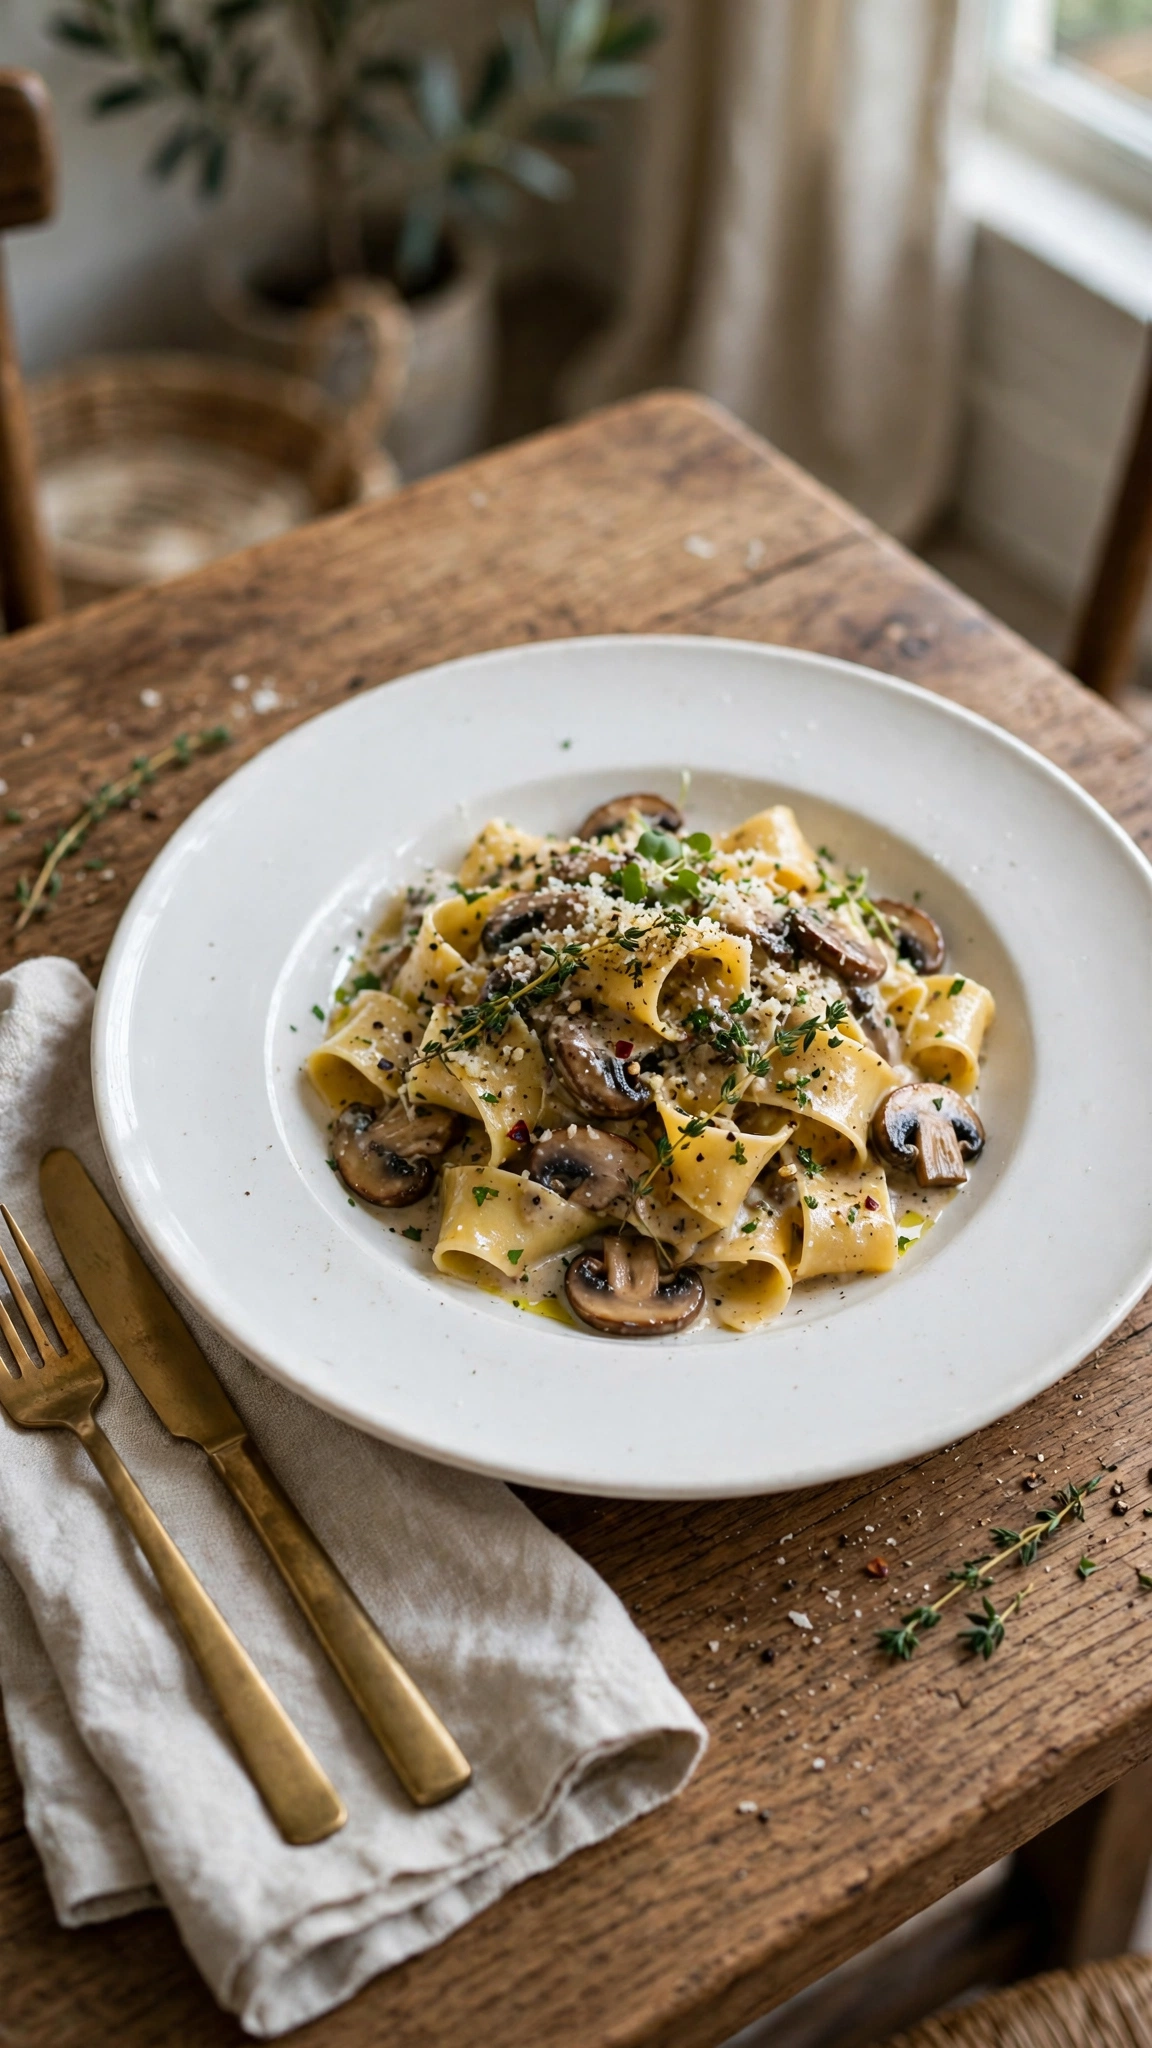
Designer cooking is half presentation. Wide-rimmed white plates make any meal look plated by a professional, because the food becomes the only color on the canvas.
Warm plates in a low oven for ten minutes before serving — restaurants do this so food stays hot, and it makes home dinners feel special instantly.
A set of four restaurant-style plates costs $25–40 and lasts for years. Add cloth napkins to complete the effect for a few dollars more.
Tip: Pretty dishware deserves a pretty backdrop — refresh yours with these high-end kitchen window backsplash ideas.
14. Install a Pot Filler or Pot Rail
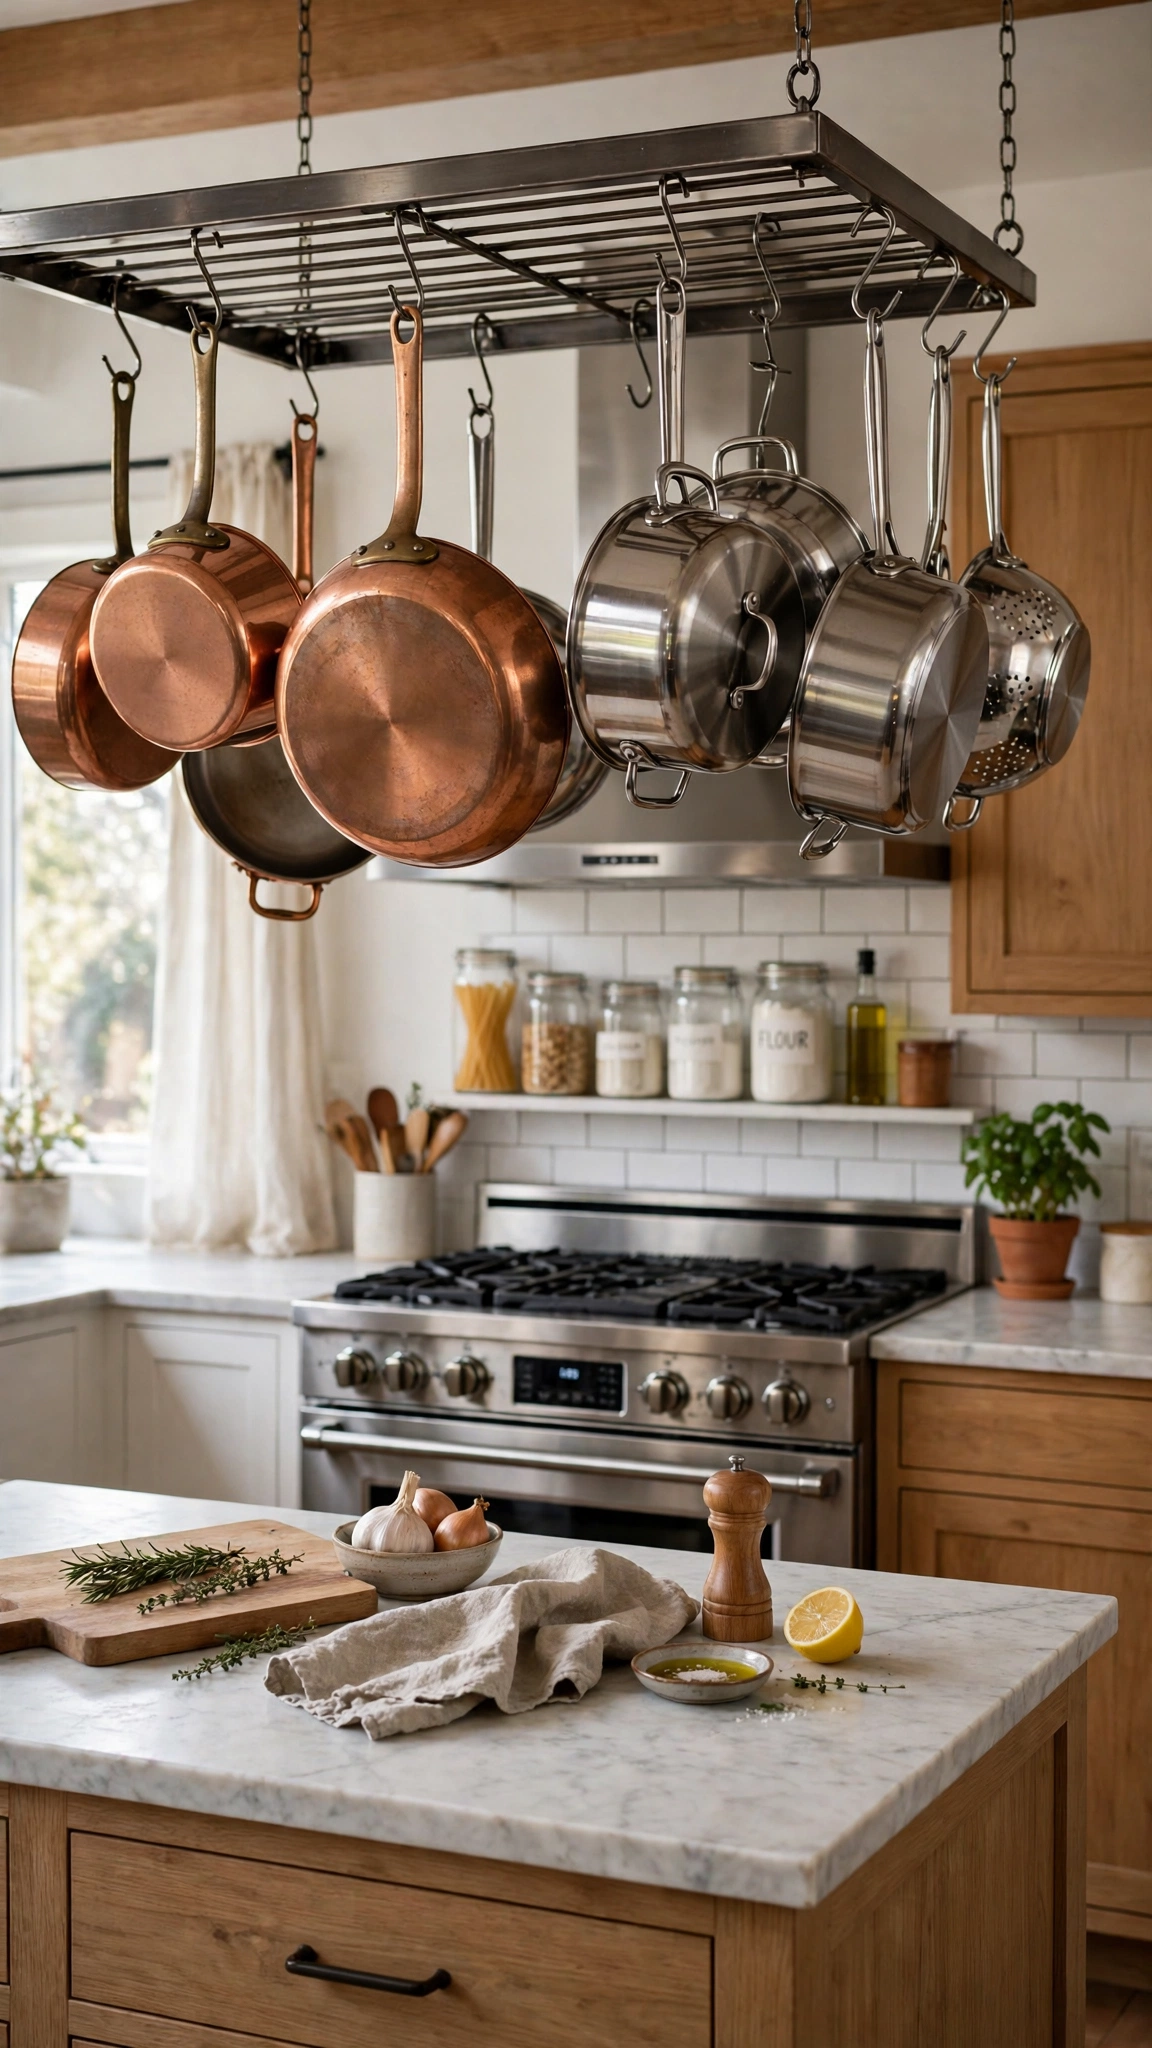
Hanging your best pots where you can see them is both storage and sculpture. A rail above the stove or island keeps heavy pans out of cabinets and within easy reach.
Copper and stainless pieces develop character with use, so do not hide them away. Group pots by size for a rhythm that looks intentional.
An overhead rail costs $40–80 plus hooks. If you are renovating, a swing-arm pot filler by the stove is the ultimate designer cooking luxury.
Tip: Cabinets you free up can be reorganized using how to organize kitchen cabinets for maximum storage.
15. Finish With a Simmer Pot Ritual
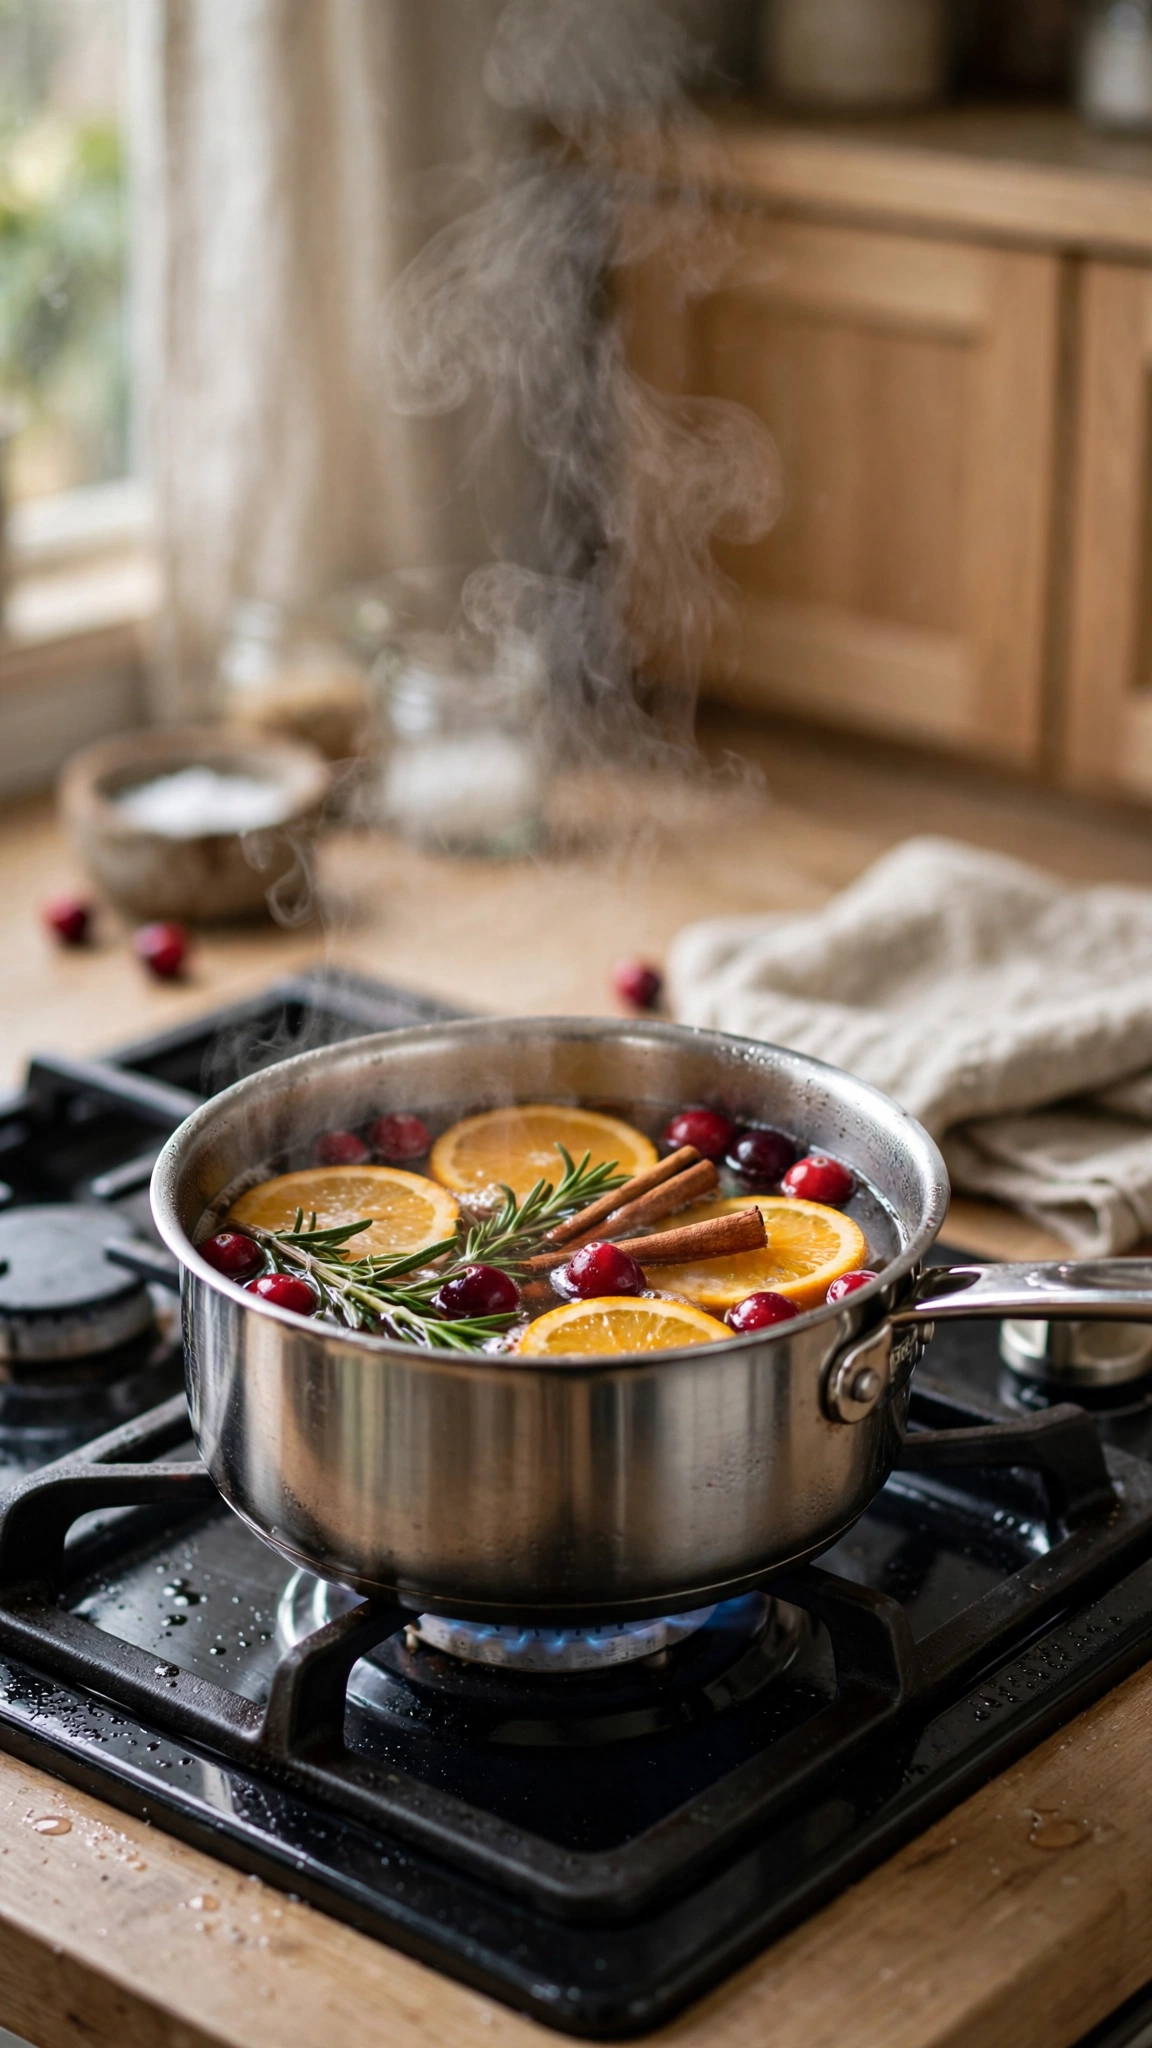
A designer kitchen should smell as good as it looks. A simmer pot of water with citrus slices, cinnamon and herbs makes the whole home smell like a boutique hotel while you cook.
It also uses up the orange peels and herb stems you would otherwise throw away. Keep the pot on the lowest heat and top up the water as needed.
The cost is essentially zero, and guests always ask what the wonderful smell is. In winter try apple, clove and star anise; in summer, lemon and mint.
Tip: Pair the scent with soft window styling from these cozy kitchen window curtain ideas for a full sensory finish.
Conclusion
A designer-look cooking kitchen is not about a full renovation — it is about zones, light, texture and a few rituals that make everyday cooking feel considered. Start with the prep zone and the lighting, add jars, boards and herbs as you go, and your kitchen will quietly start working — and looking — like a professional one.