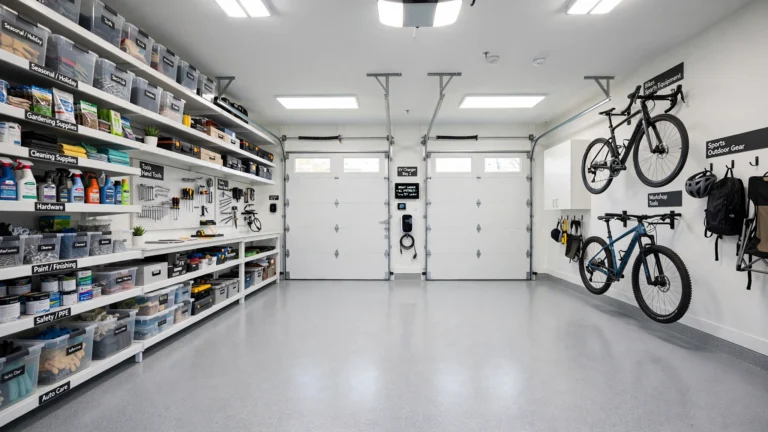
19 Clever Garage Tool Organization Ideas That Maximize Space and Keep Everything in Order
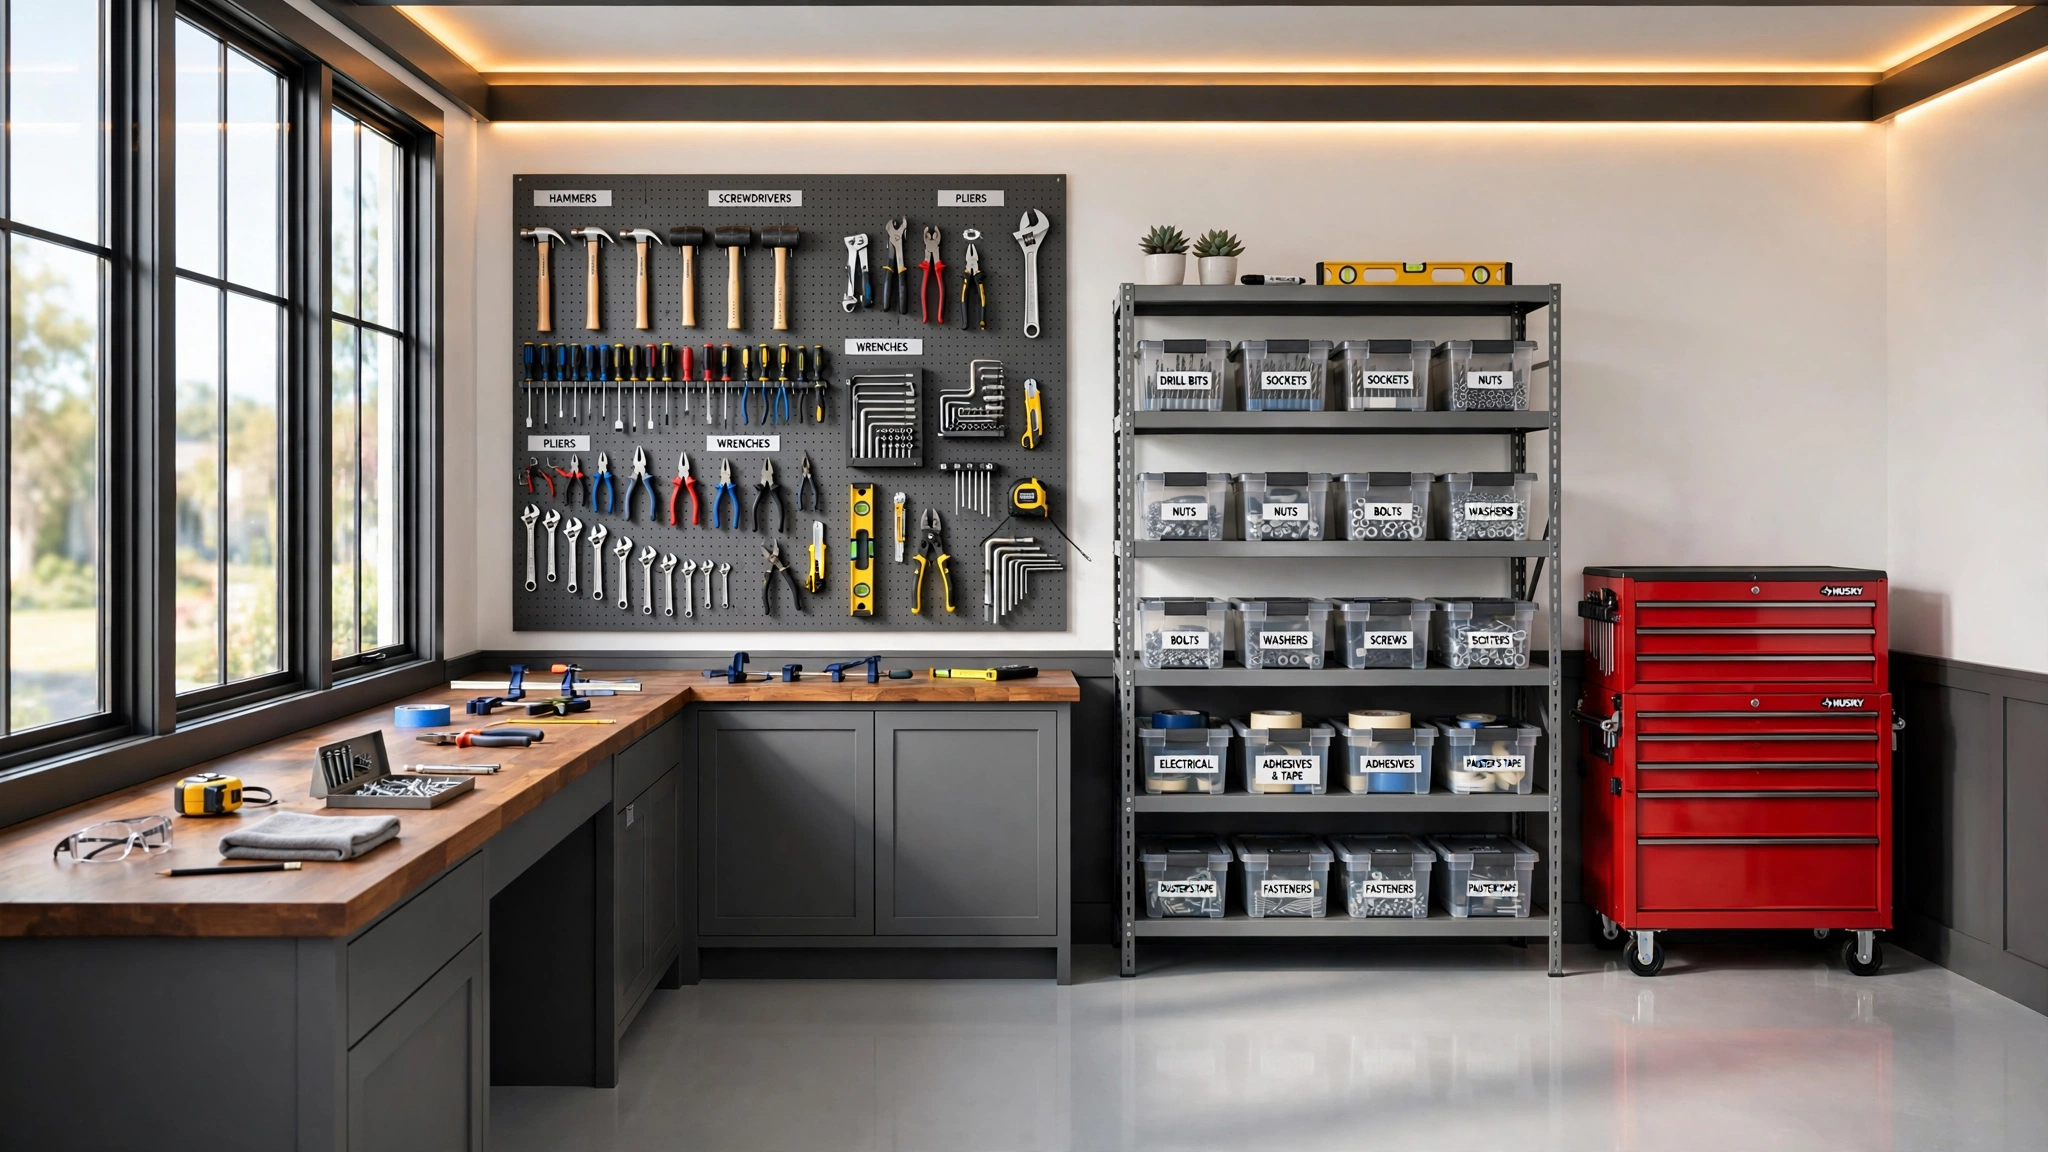
Every garage starts the same way: one toolbox, a few good intentions, and a floor you can still see. Then the tools multiply. Hammers end up on the lawn mower, screws roll under the workbench, and that drill you swore was right here vanishes for three weeks.
A cluttered tool collection doesn’t just slow you down — it steals the joy out of every project. The good news? A little smart organization turns chaos into a setup that practically runs itself. Ready to make every tool earn its spot?
1. Build a Pegboard Tool Wall
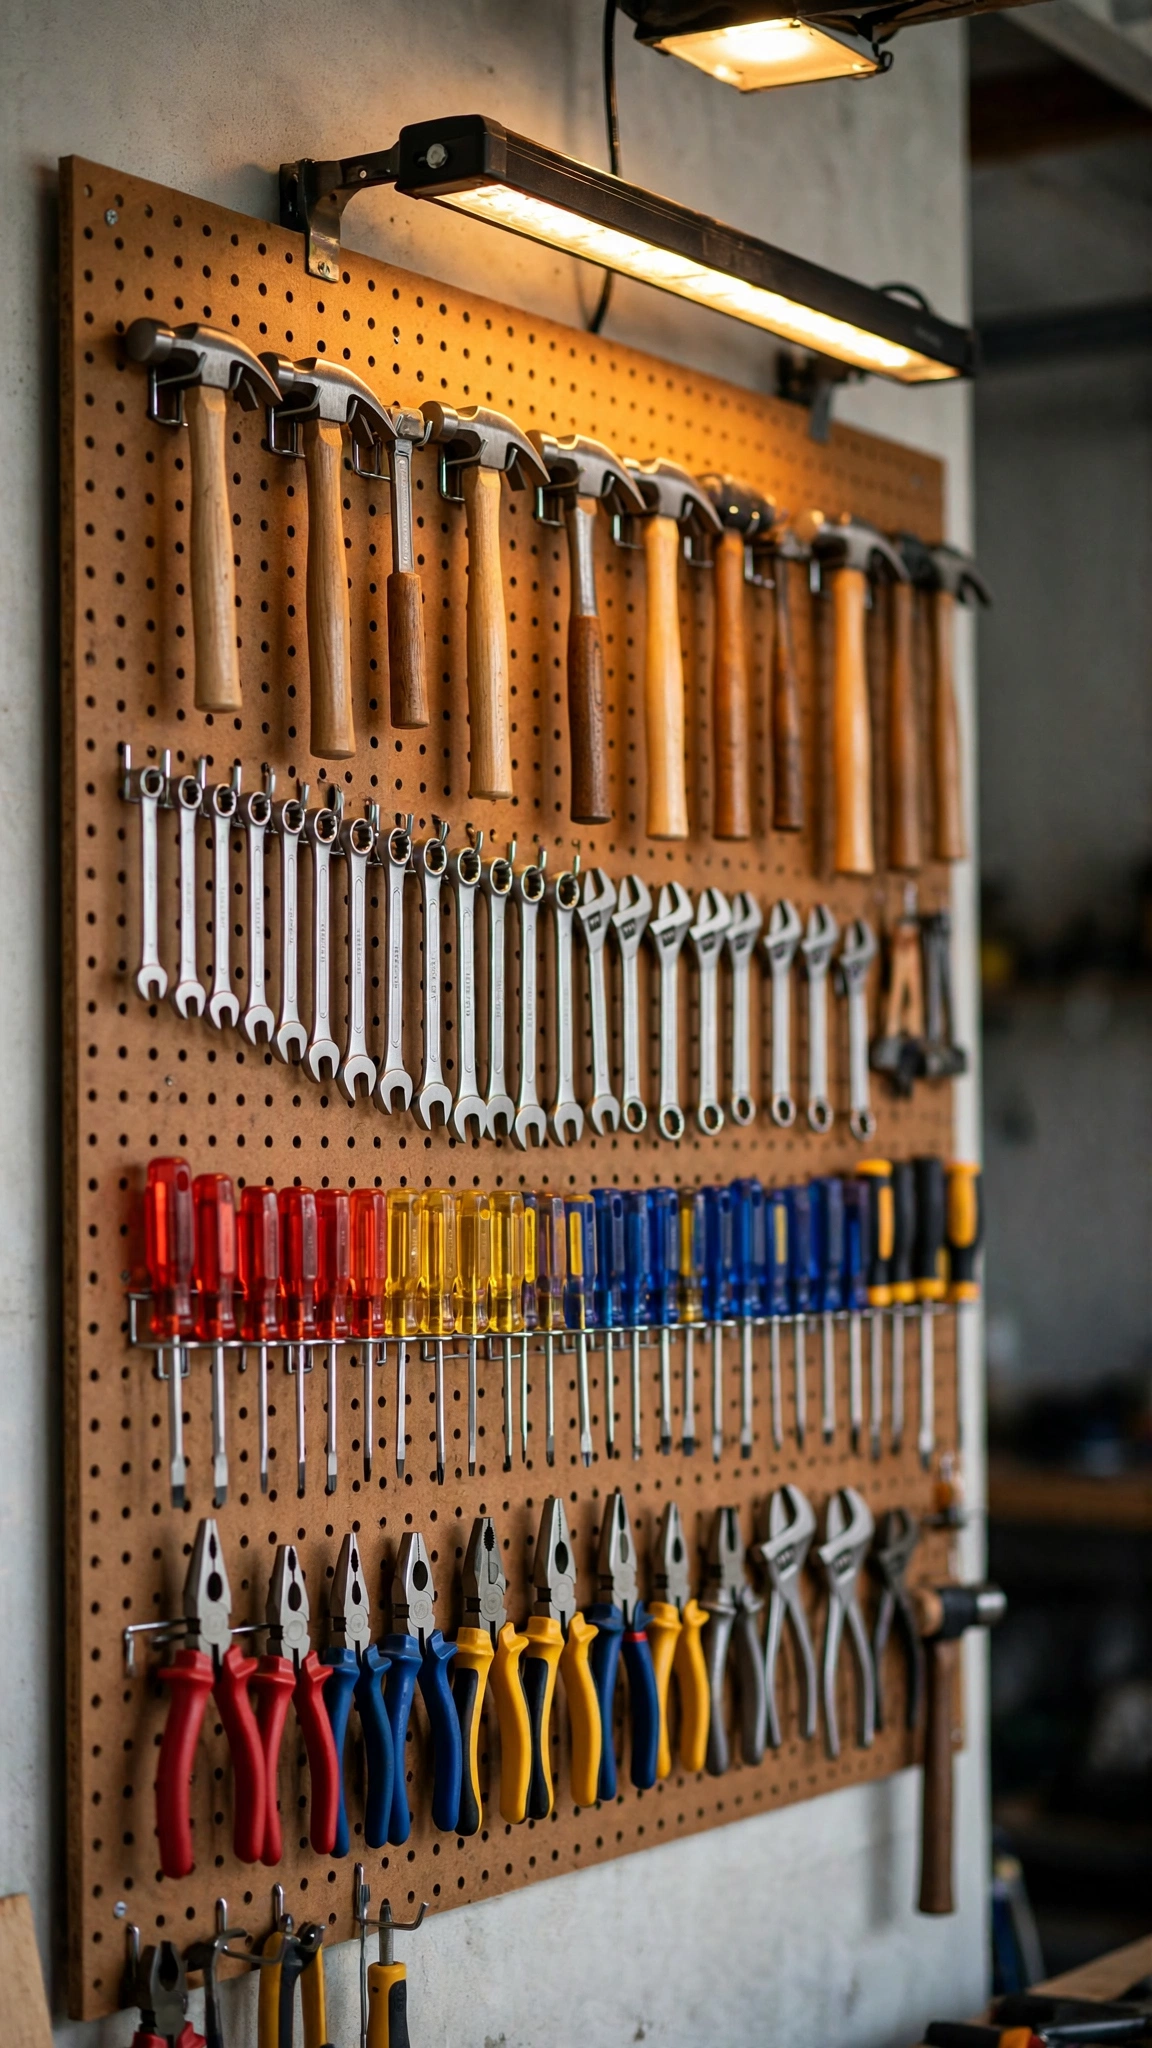
A pegboard tool wall is the single fastest way to take tools off your workbench and put them where you can see everything at a glance. It turns one blank wall into a fully customizable storage zone.
Start with a large 4×8-foot hardboard or metal panel and a variety pack of hooks. Trace each tool’s outline in marker or paint so every item has a visible home — and you’ll spot a missing tool instantly.
Hang heavier items low for easy lifting and keep your most-used tools at arm’s height. Rearranging hooks takes seconds, so the layout grows with your collection instead of fighting it.
Pro tip: Combine your pegboard with the layout strategies in these garage workshop layout ideas so the wall sits exactly where you work, not across the room.
2. Install a French Cleat System
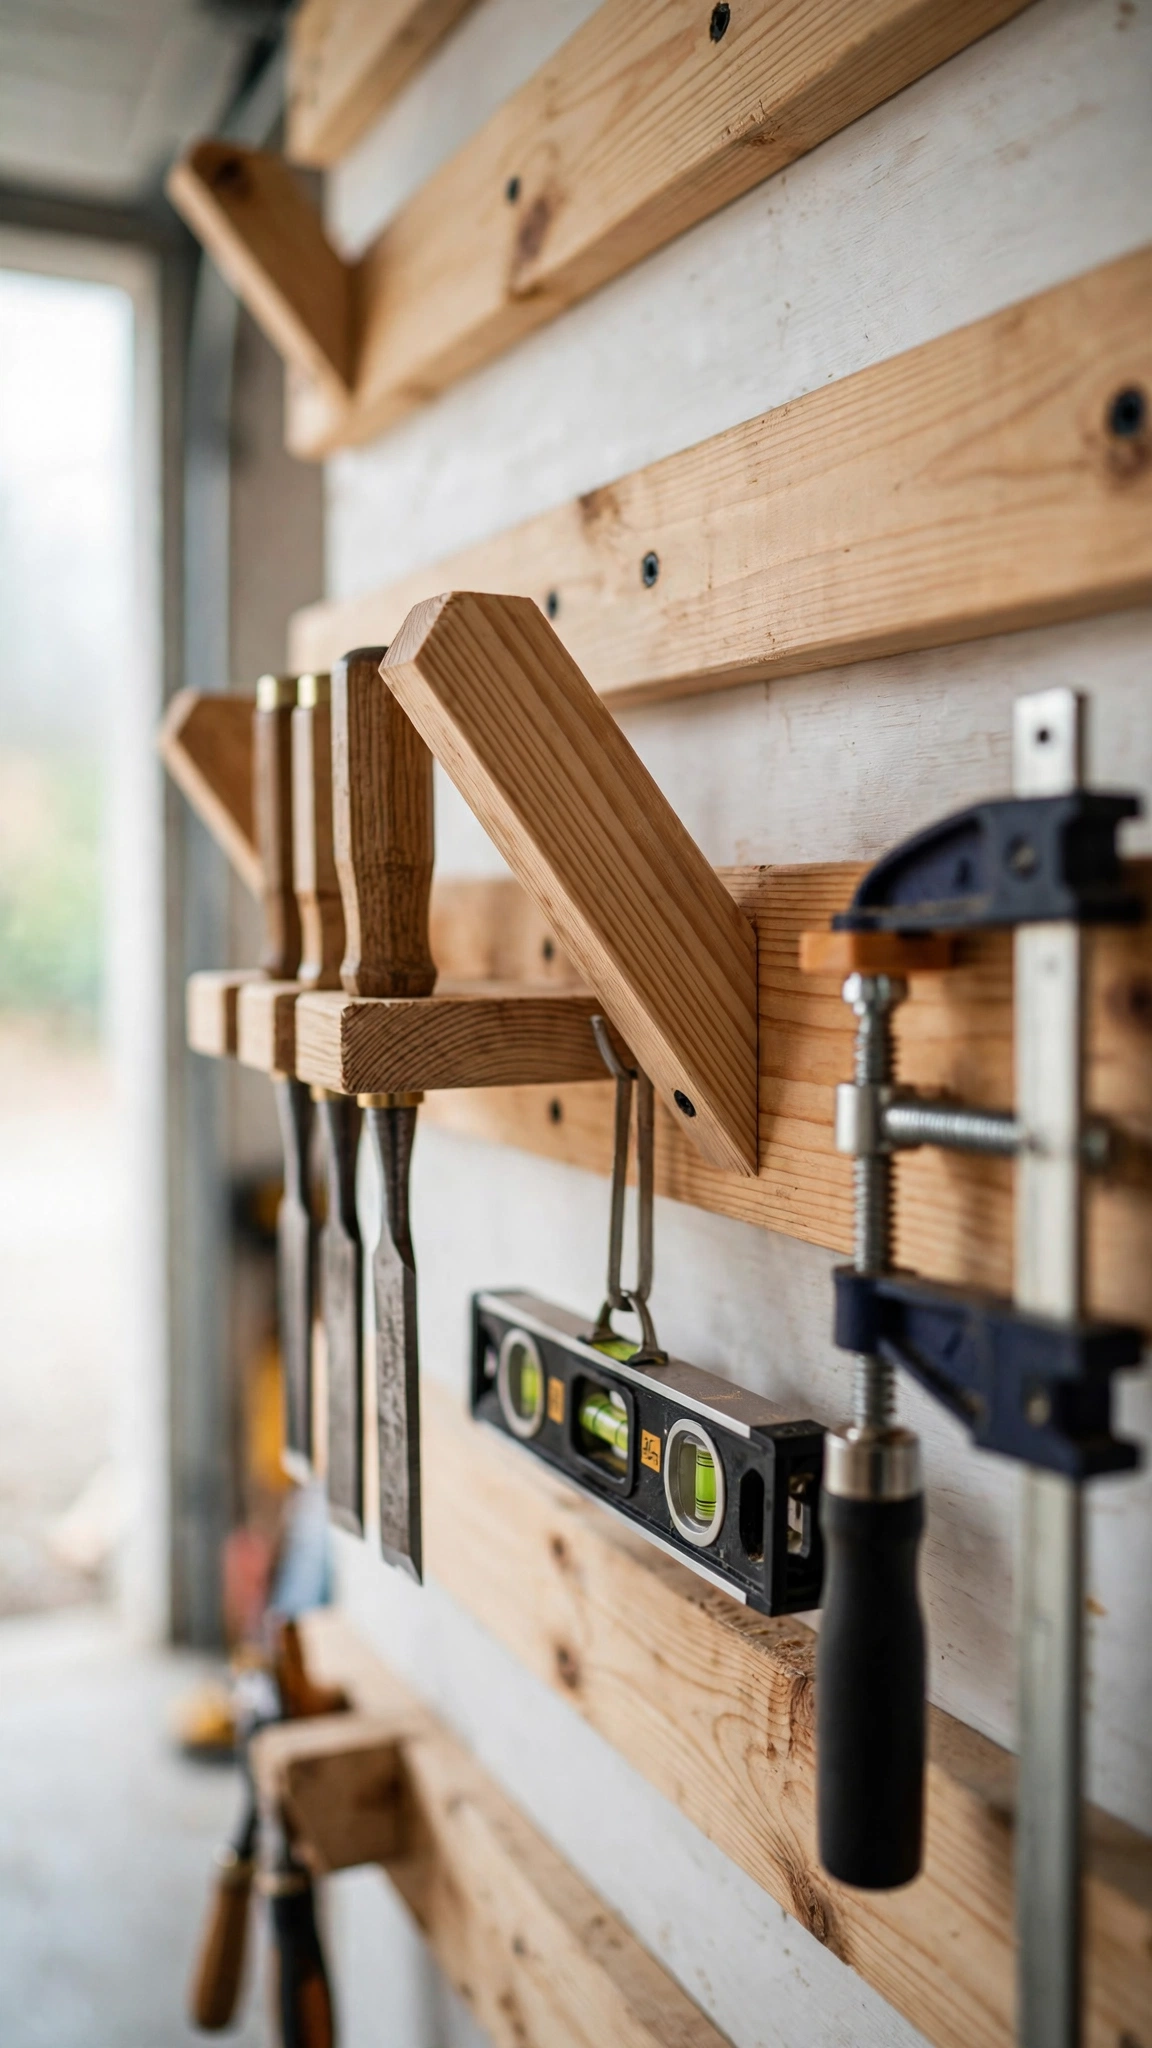
A French cleat system is a wall of horizontal beveled strips that hold custom shelves, racks, and tool holders you can slide on and off. It’s like a pegboard, but far stronger and endlessly reconfigurable.
Cut 45-degree beveled strips from plywood and mount them stud to stud. Then build simple holders — drill holsters, saw slots, bit boxes — each with a matching cleat on the back that drops right onto the wall.
The beauty is flexibility: swap a saw holder for a shelf in seconds when your projects change. It’s also incredibly strong, easily holding heavy routers and circular saws.
Pro tip: Pair the cleat wall with sturdy garage shelving ideas along the opposite wall so bulky supplies stay off the floor while hand tools stay in hand’s reach.
3. Hang Tools on a Magnetic Strip
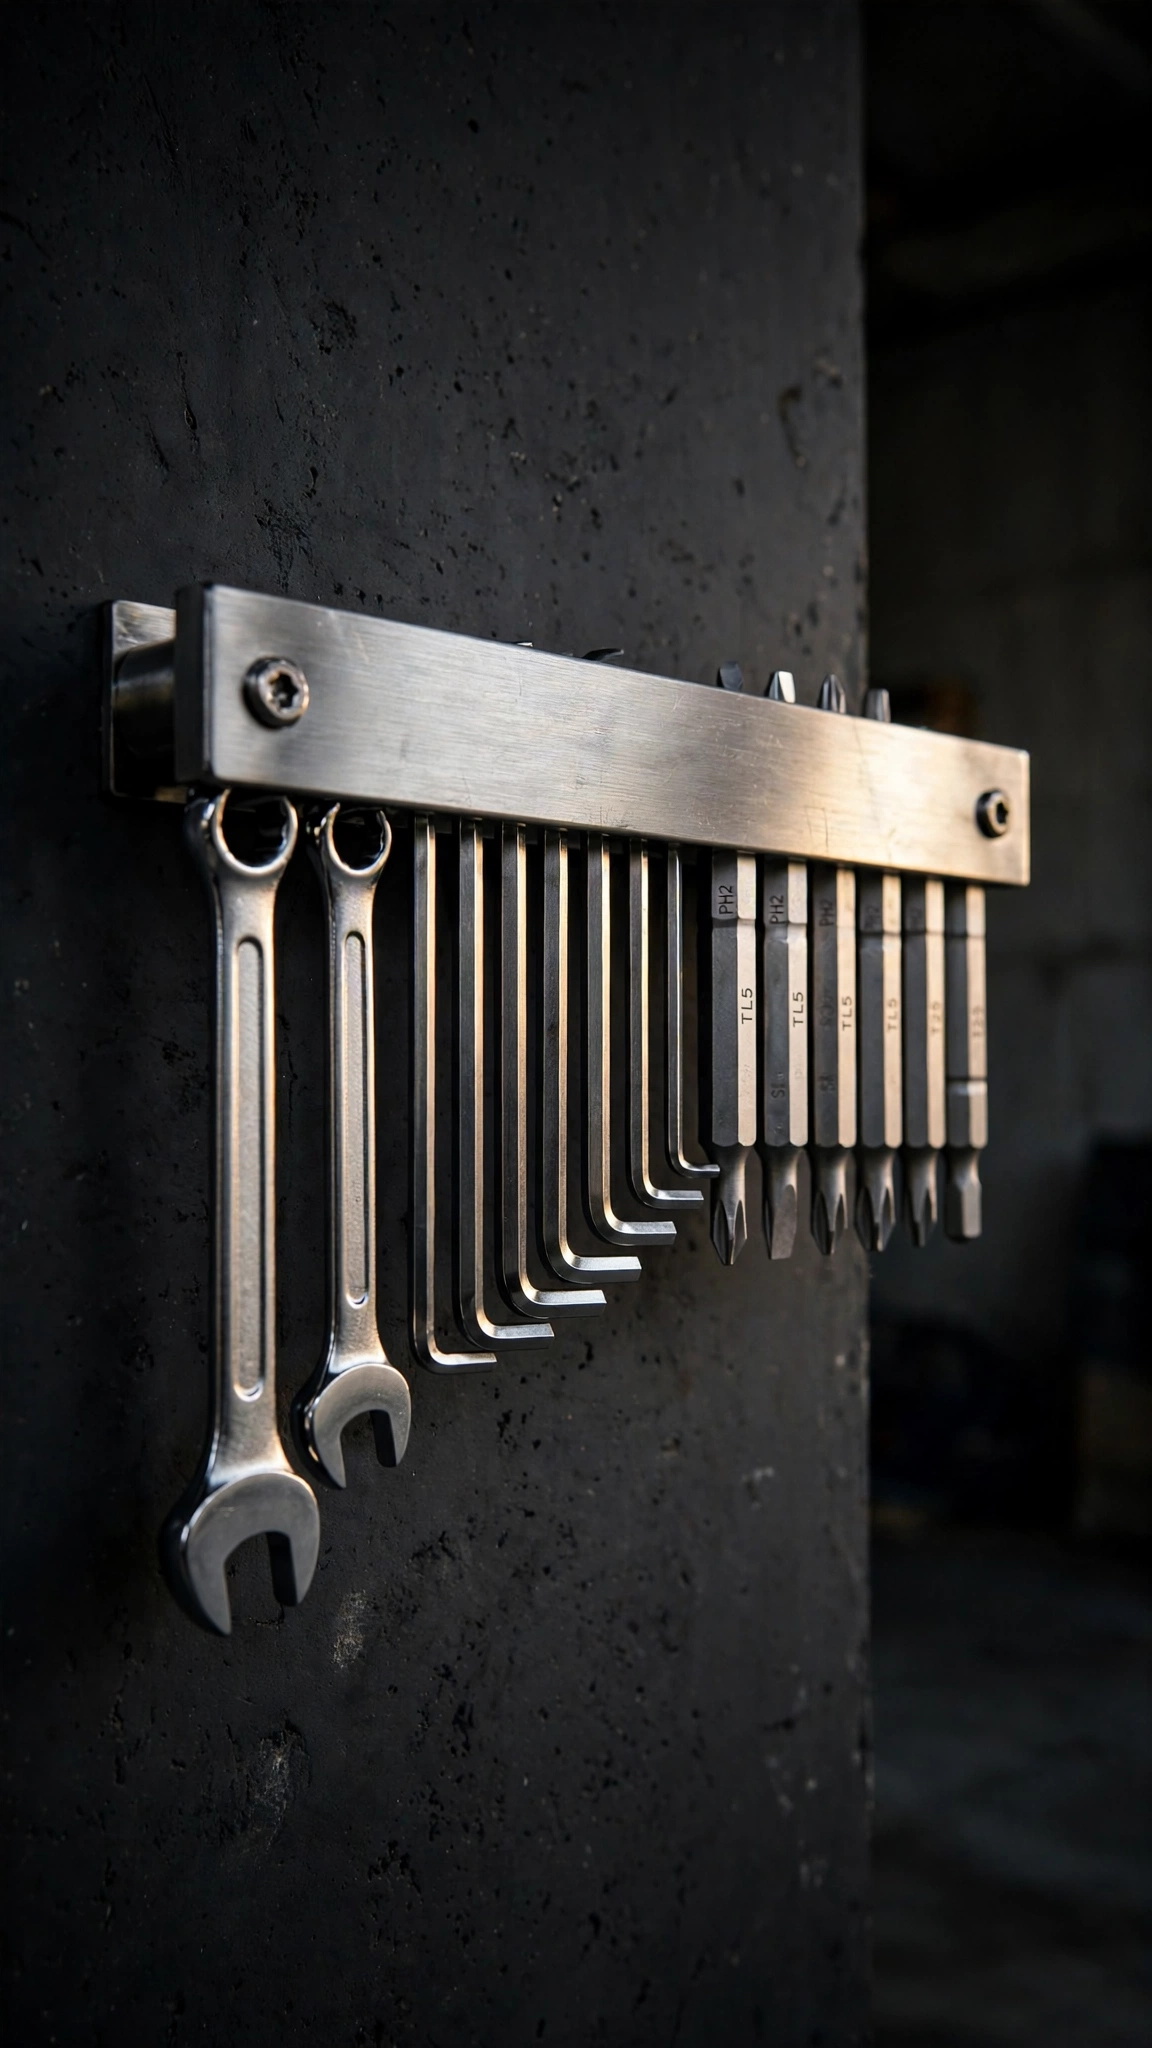
Heavy-duty magnetic strips turn scattered metal tools into a floating display. Screw a strip to the wall and wrenches, bits, and screwdrivers just click into place.
This works beautifully above the workbench or inside a cabinet door — dead space becomes instant storage. Two 18-inch strips hold a surprising number of tools.
Grabbing a tool becomes a one-handed motion: pull it off, use it, snap it back. You’ll never dig through a drawer for the right size again.
Pro tip: Mount a strip inside a tall cabinet door using the ideas from these garage cabinet ideas — your metal tools stay hidden, dust-free, and perfectly ordered.
4. Store Screws in Wall-Mounted Mason Jars
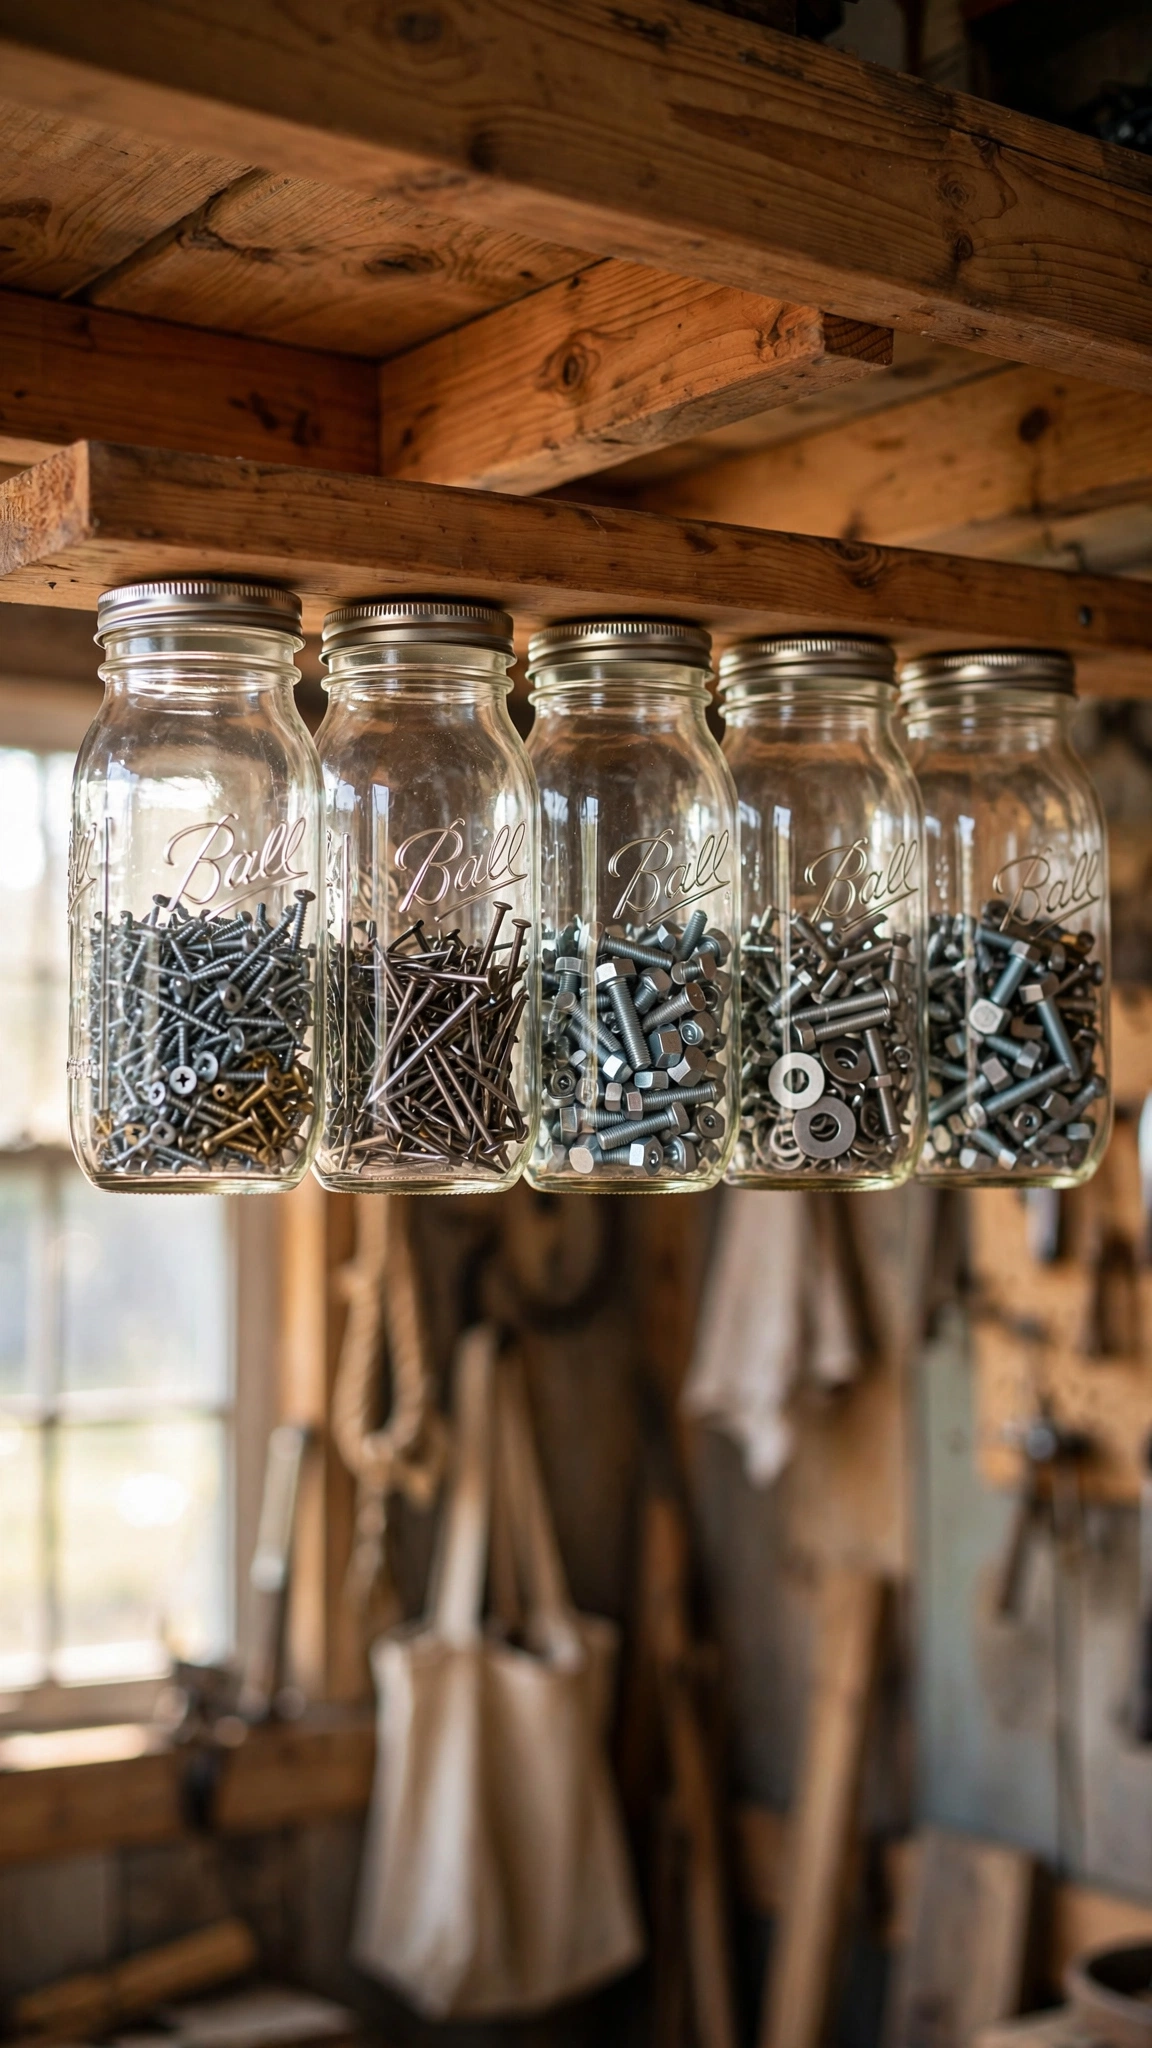
Small fasteners are the hardest things to organize — until you screw mason jar lids under a shelf and hang the jars themselves. Twist one off, grab what you need, twist it back.
The glass lets you see exactly what’s inside each jar, so no more opening six containers to find wood screws. Label the lids with a paint pen for good measure.
This classic workshop trick costs almost nothing and uses the dead space under existing shelves. It works just as well for hooks, anchors, and picture hangers.
Pro tip: Build the shelf above your fastener jars following these garage storage shelf ideas so screws, nails, and the tools that drive them all live in one station.
5. Add a Rolling Tool Cart
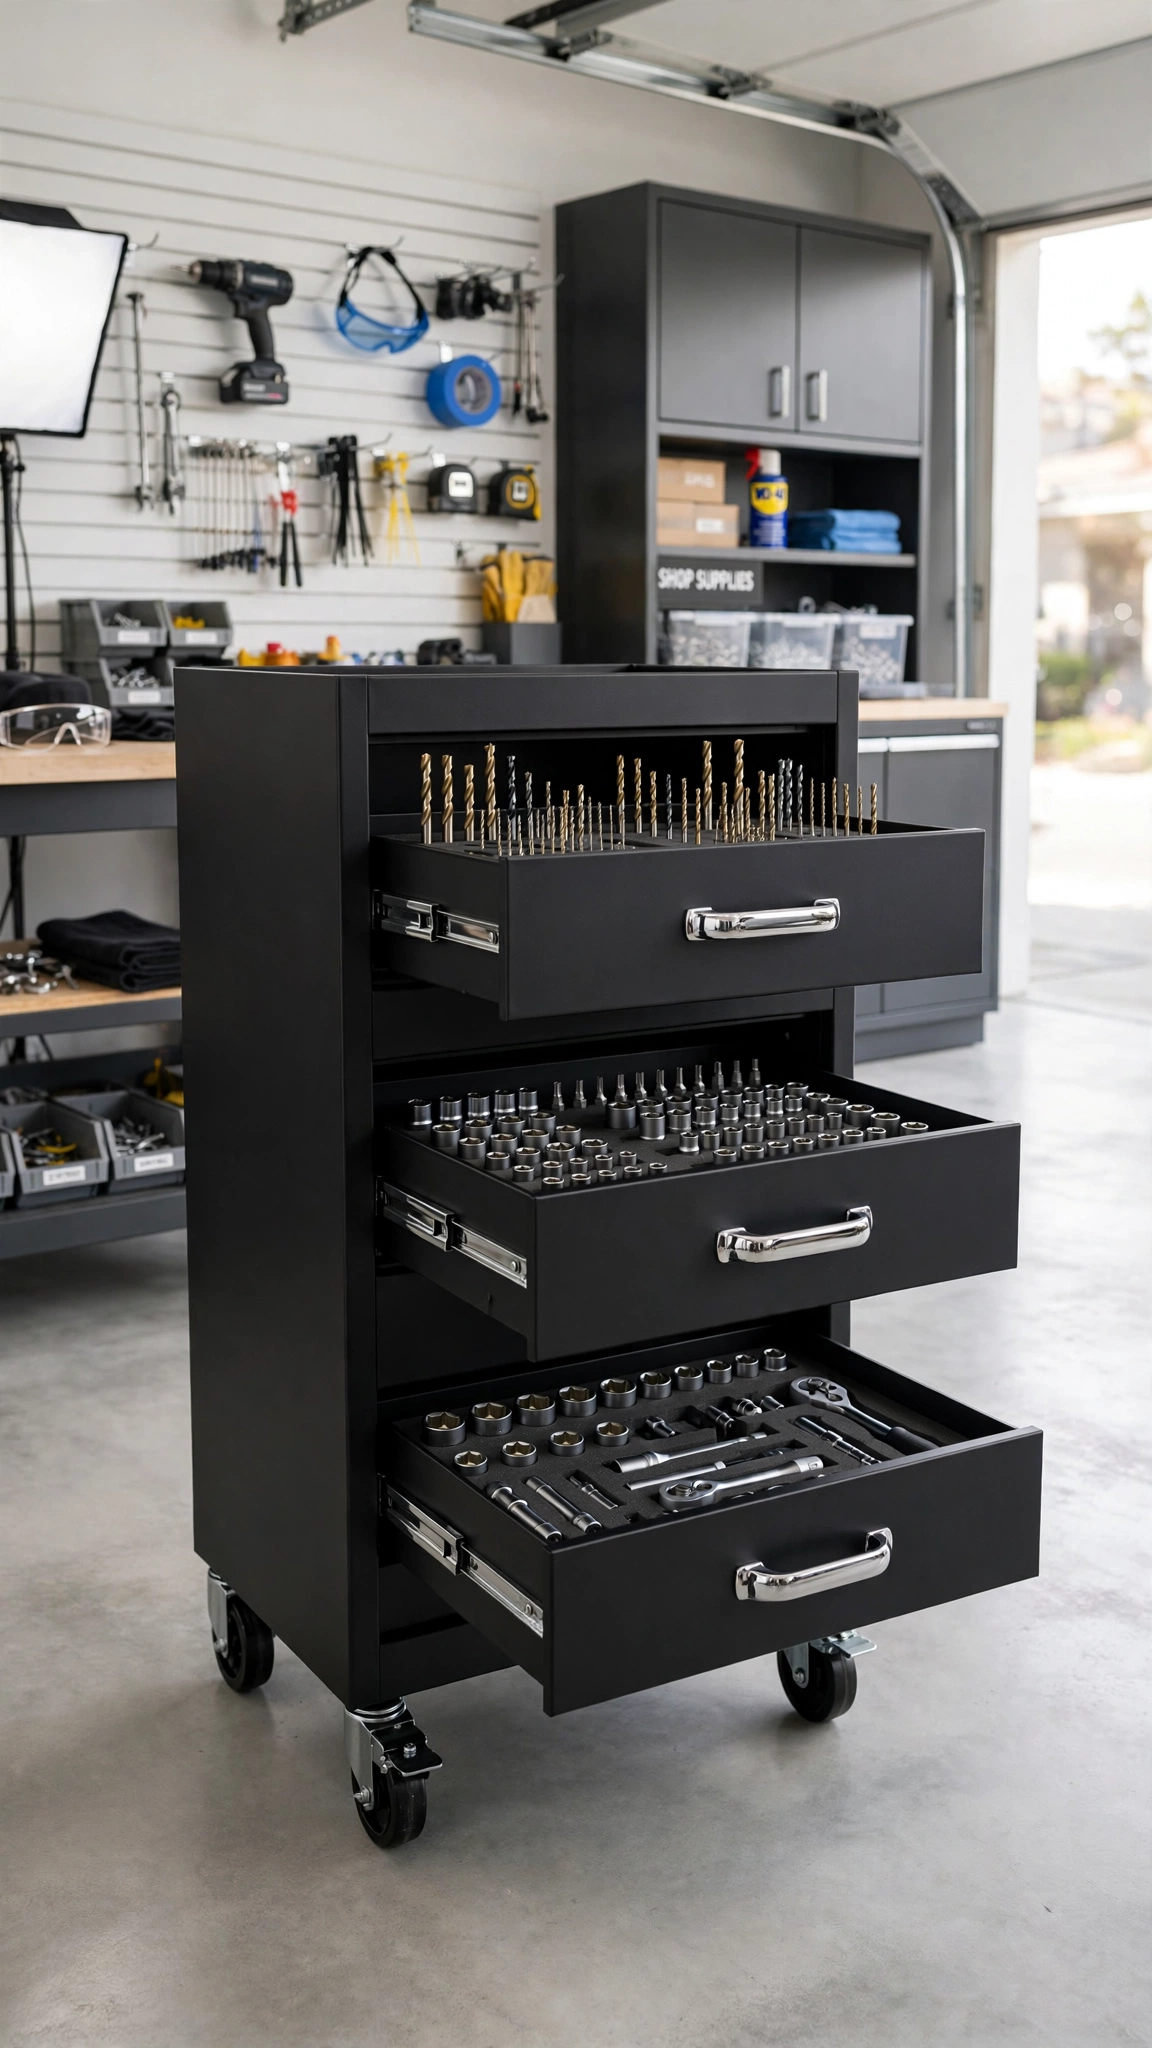
A rolling tool cart brings your tools to the project instead of forcing you to walk back to the bench. Load it with your current job’s tools and wheel it wherever you’re working.
Choose a cart with locking casters, deep drawers, and a top tray for parts. Foam drawer inserts keep sockets and bits from sliding around in transit.
When the job is done, roll it back to its parking spot against the wall. It’s like having a portable toolbox the size of a chest of drawers.
Pro tip: Give your cart a dedicated home zone using the zoning tricks in these garage workshop ideas — every zone gets its own landing pad, so nothing drifts.
6. Use Overhead Ceiling Racks for Bulky Tools
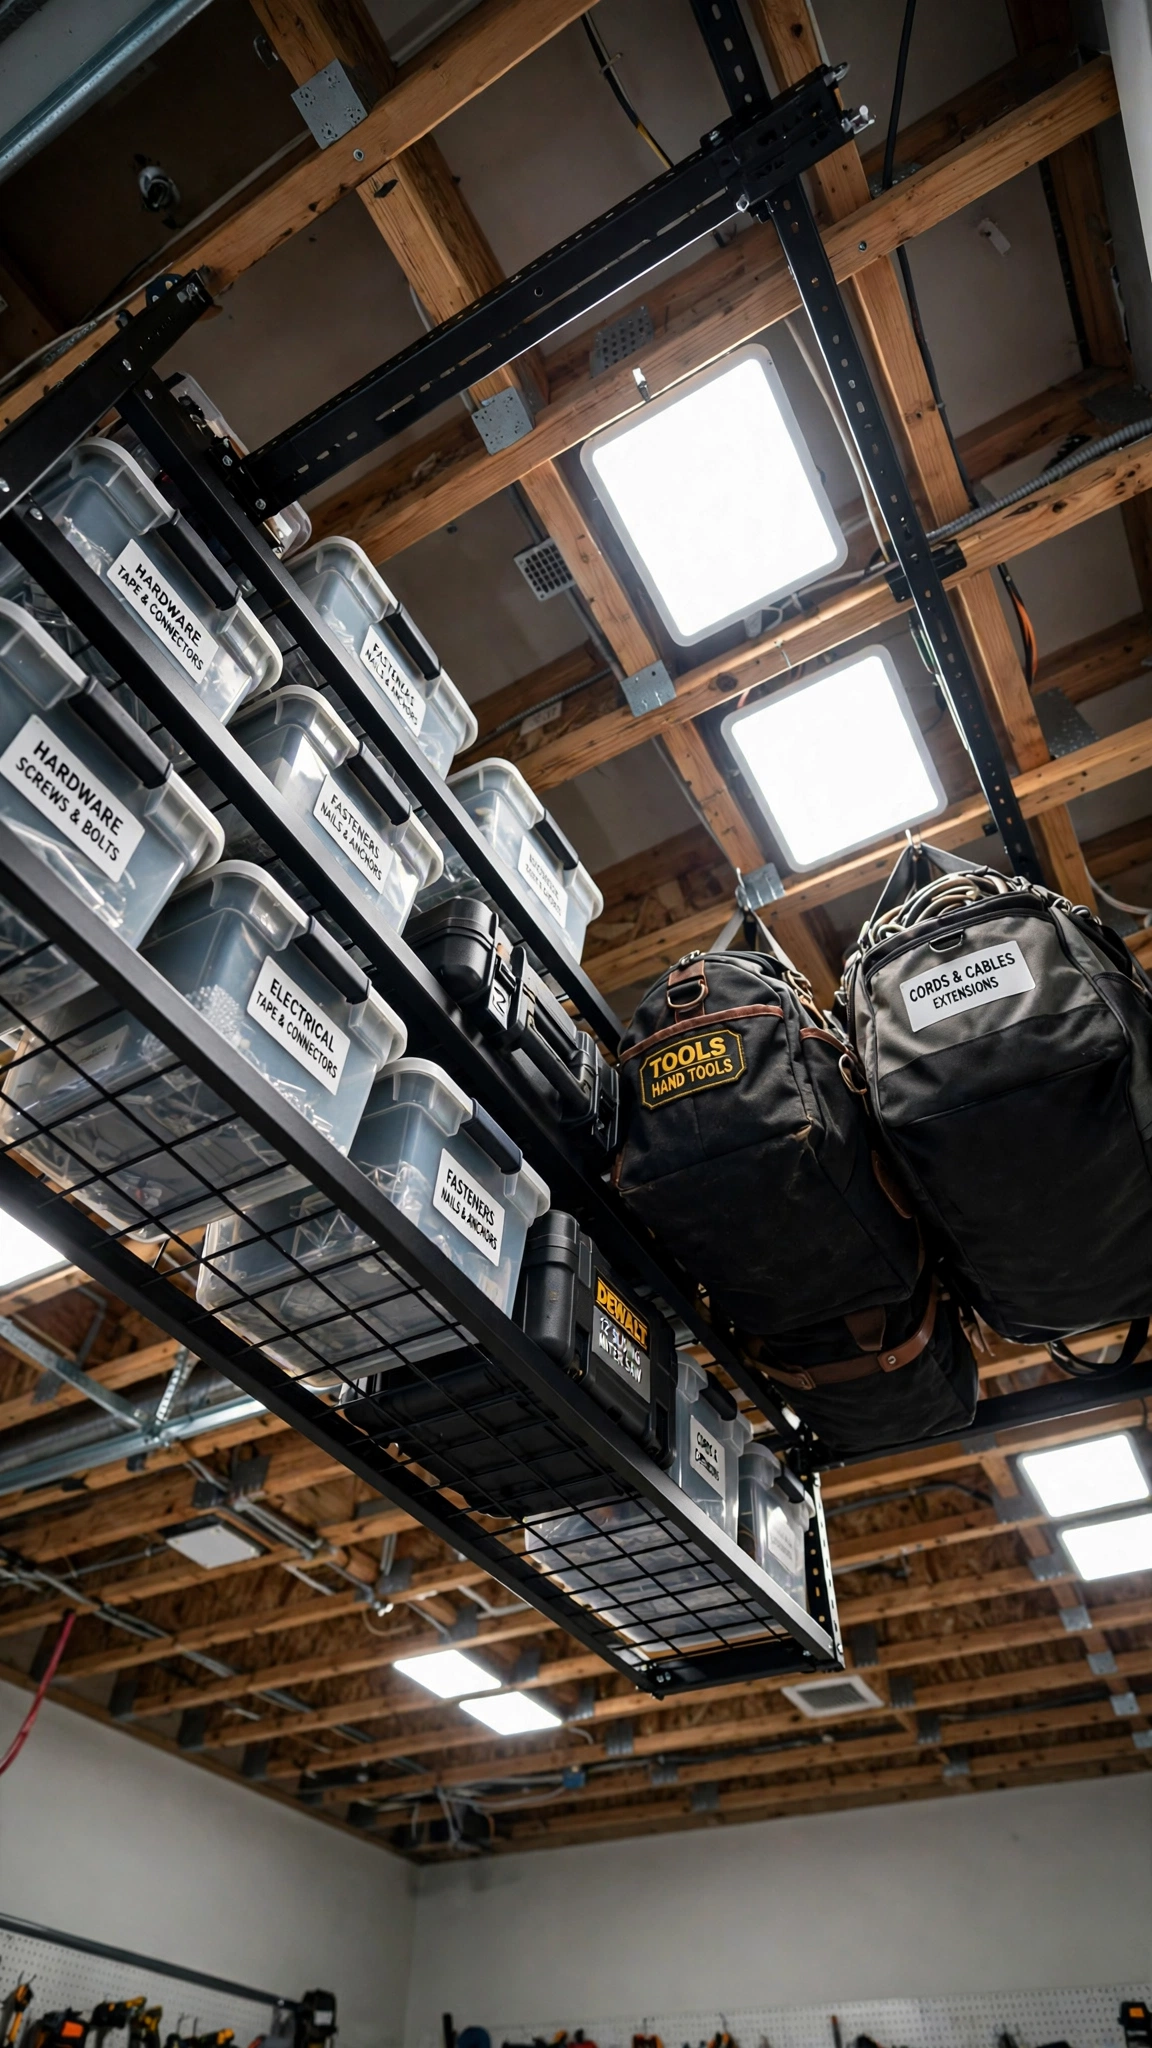
Your ceiling is square footage you’re not using. Overhead racks bolt into the joists and hold bulky tools — miter saws, sanders, rarely-used gear — off the floor entirely.
Stick to items you need monthly rather than daily, and keep everything in labeled bins so you can identify contents from below. A step stool is all it takes to reach them.
Just be sure to distribute weight across multiple joists and check the rack’s load rating. When done right, it’s the safest place in the garage for big, heavy tools.
Pro tip: Overhead storage pairs perfectly with the vertical strategies in these garage interior design ideas for a garage that looks as intentional as it functions.
7. Mount a Slatwall Panel
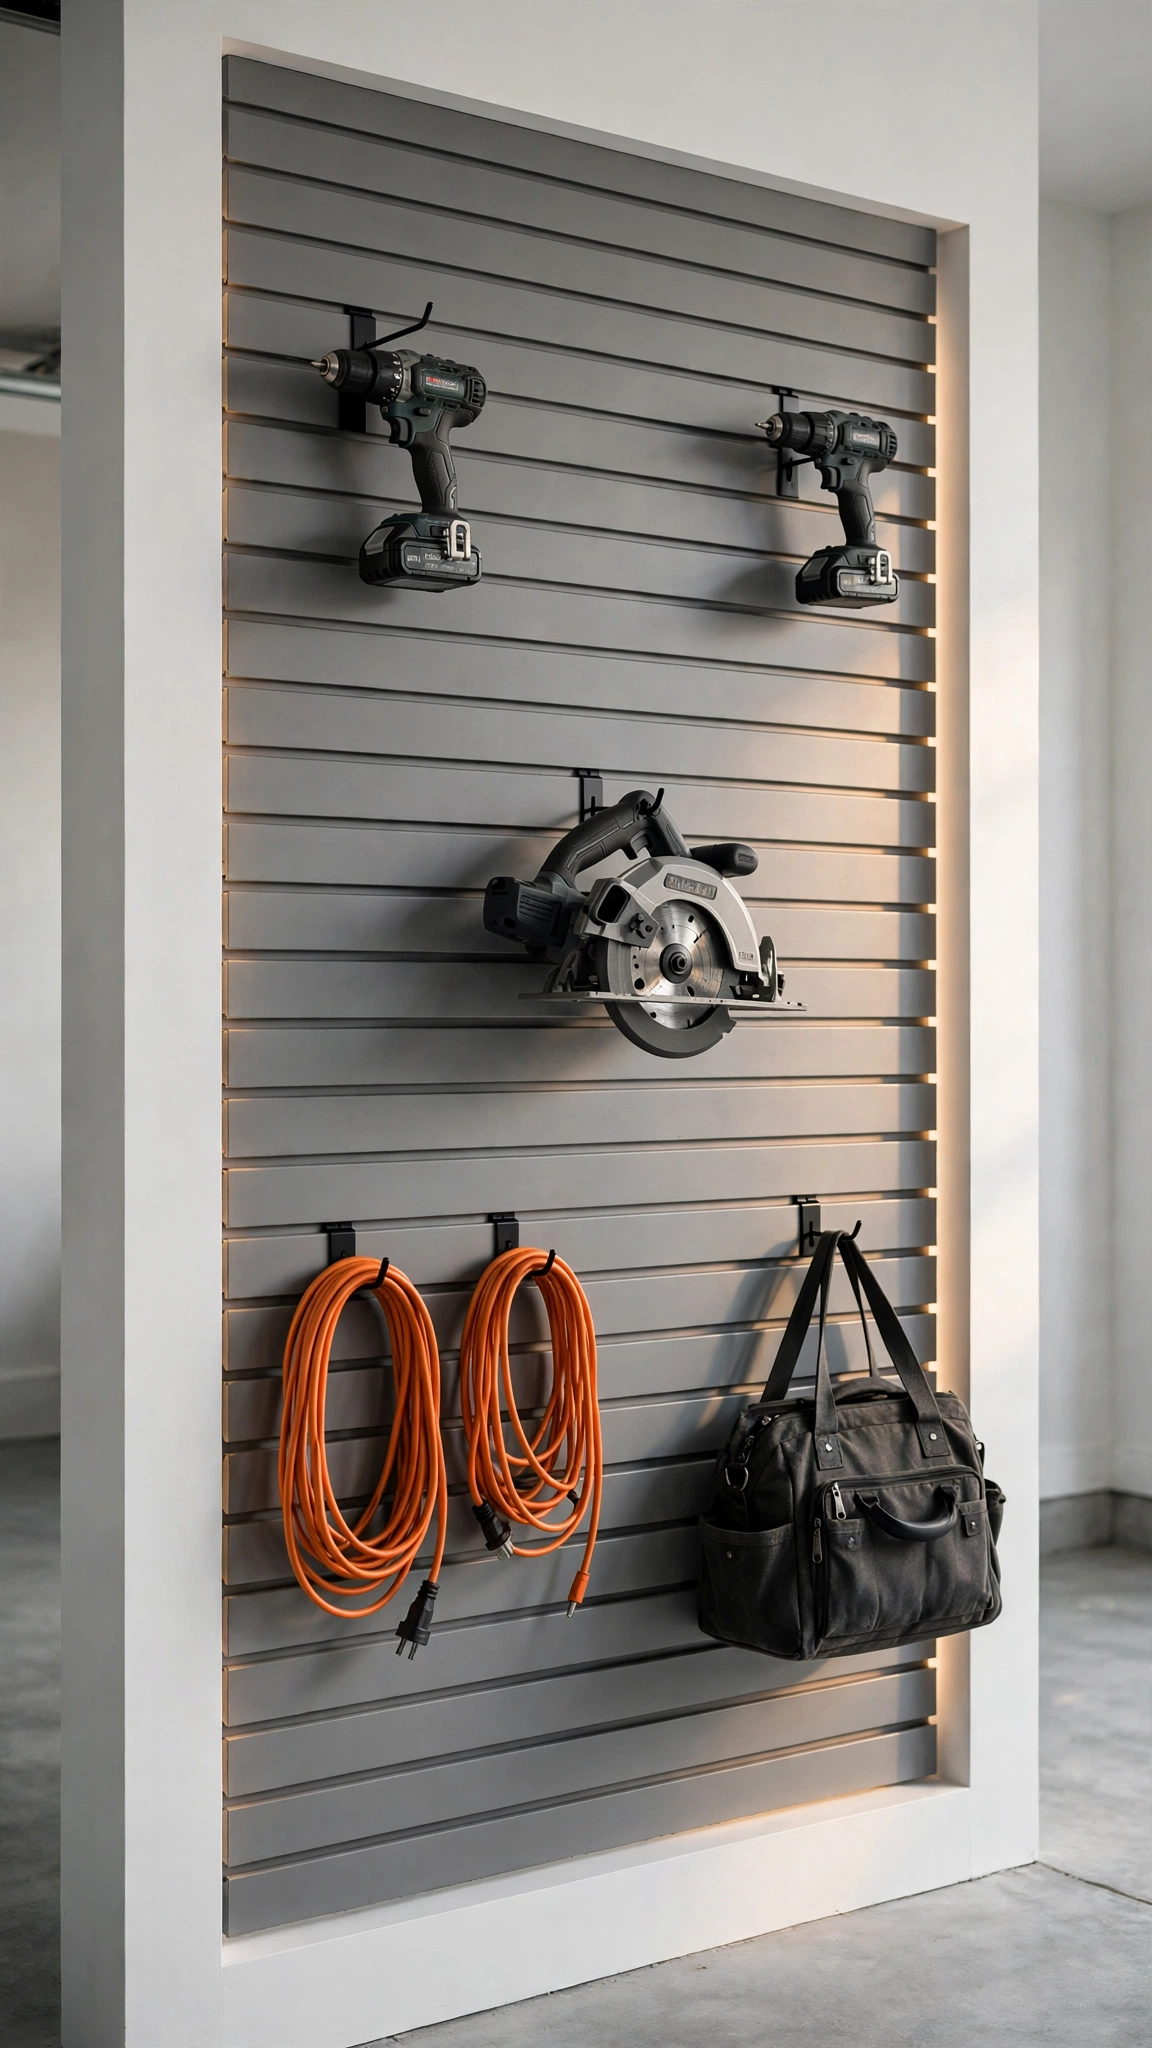
Slatwall is the retail-store secret that makes garages look like pro shops. Horizontal grooves accept hooks, bins, and baskets you can rearrange in seconds.
It’s sturdier than pegboard and handles heavier items — power drills, saws, even full tool bags. The accessories are standardized, so adding more storage is just a click away.
Cover one full wall and you gain a floor-to-ceiling display that keeps everything visible. The clean lines make even a working garage feel designed.
Pro tip: Make your slatwall part of a finished wall treatment with these garage interior wall ideas — storage and style in a single upgrade.
8. Create a Power Tool Charging Station
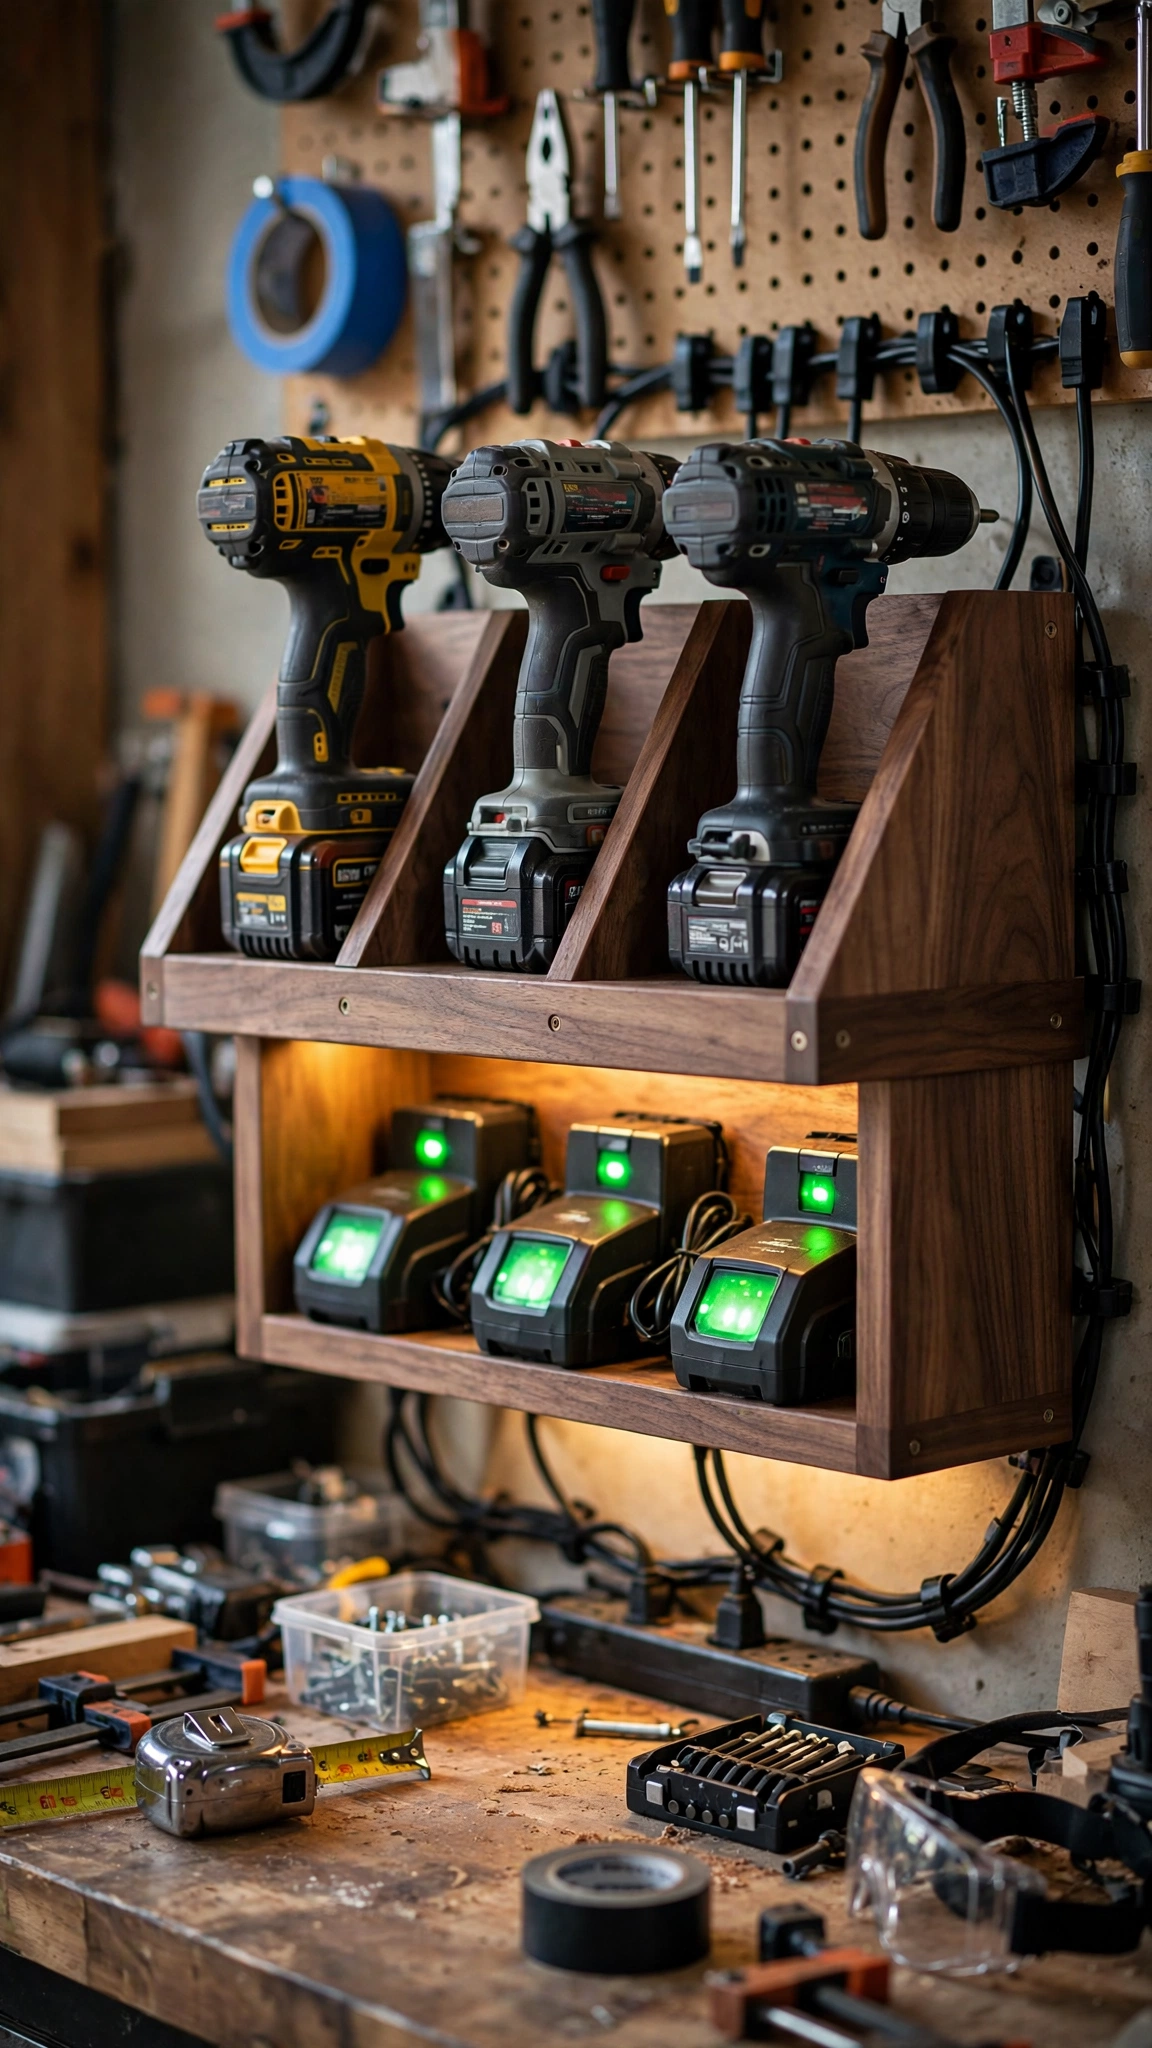
Cordless tools are only as good as their batteries. A dedicated charging station with angled slots keeps drills upright, batteries charging, and cords from tangling.
Build or buy a small shelf with slots sized for your drills and a power strip mounted at the back. Every tool gets a slot, and you always know which batteries are full.
Position it near an outlet but away from dust-heavy areas like the miter saw. Your tools stay charged, upright, and ready instead of slumped in a drawer.
Pro tip: Add task lighting over your charging corner using these garage lighting ideas — you’ll spot a low battery at a glance, even at night.
9. Organize Wrenches with a Shadow Board
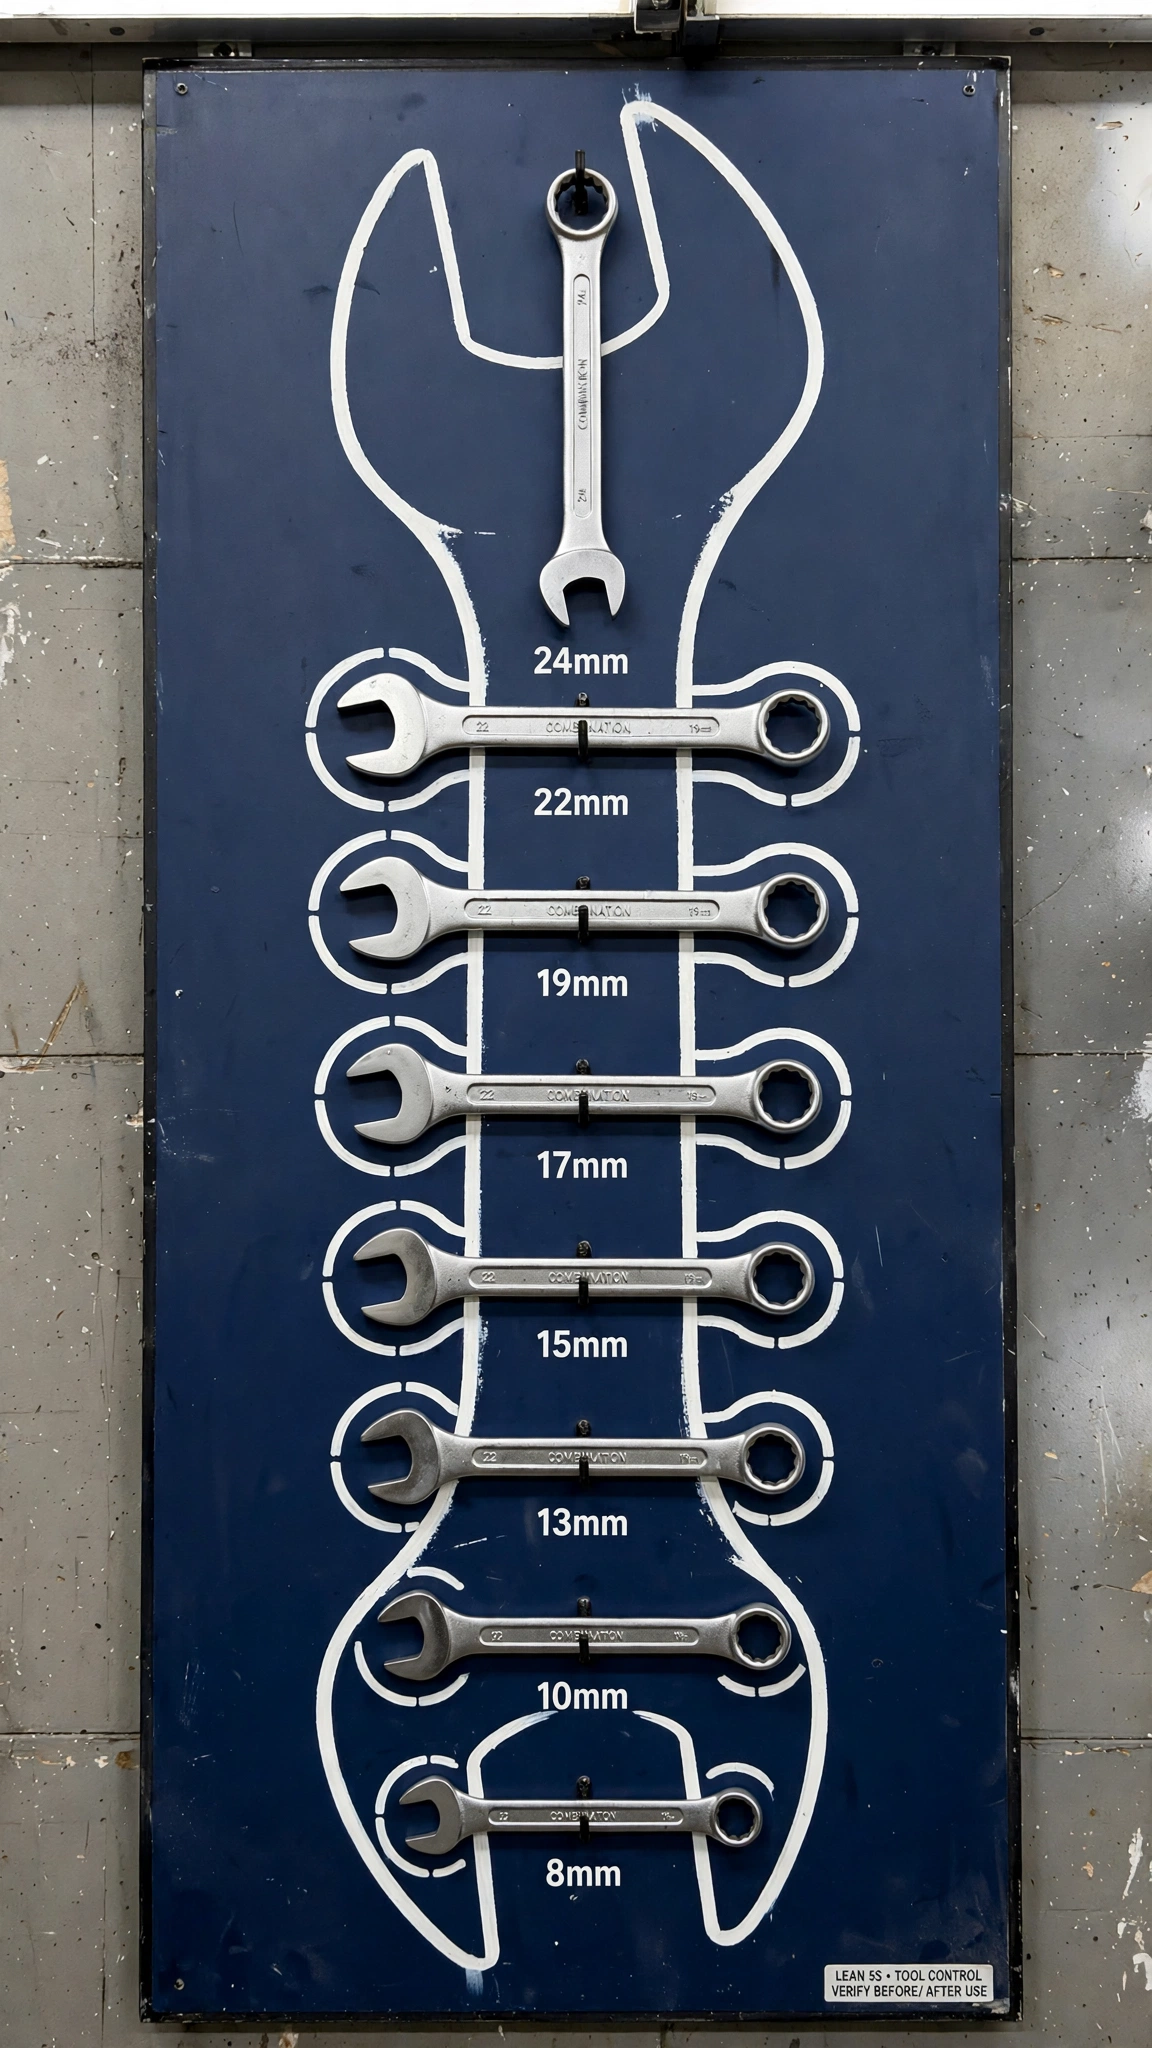
A shadow board is a panel with painted silhouettes showing exactly where each wrench belongs, sorted by size. It’s the system factories use — and it works wonders at home.
Paint a plywood panel, trace each wrench, and hang them on small hooks. When every size has its outline, a missing wrench is obvious at a glance.
This ends the “wrong size” dance forever. You grab exactly the 14mm you need and return it to its shadow without thinking.
Pro tip: Shadow boards shine in a dedicated workspace — see how to arrange one inside these garage workshop layout ideas so your most-used tools live within arm’s reach.
10. Hang Garden and Long-Handled Tools on a Rack
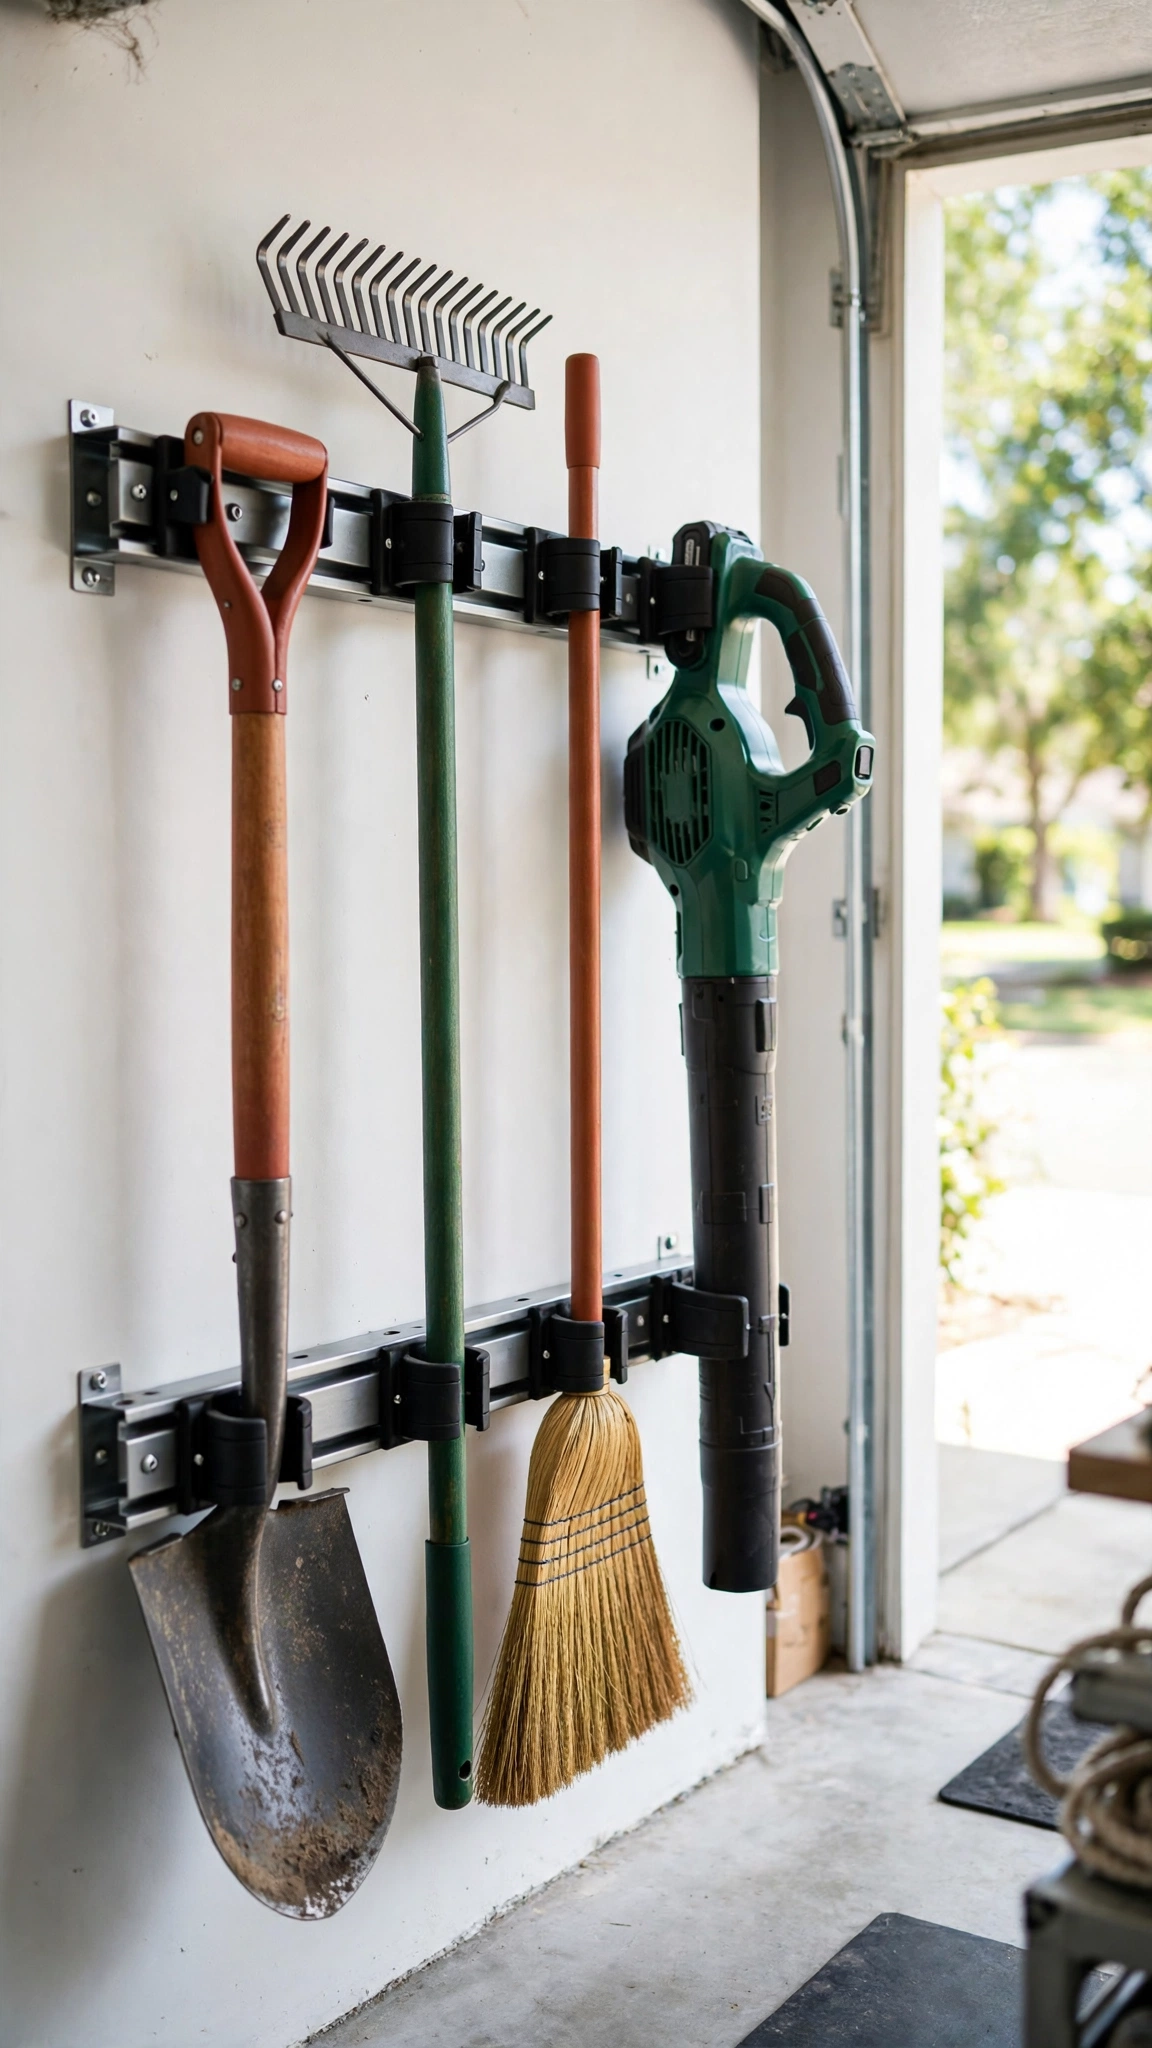
Long-handled tools are the worst offenders for falling over and cluttering corners. A wall rack with grip slots holds each one upright in its own slot.
Mount the rack low enough that handles slide in easily, and leave a slot or two empty for future additions. Everything stands vertical, taking up inches instead of feet.
Group garden tools together near the garage door for grab-and-go convenience. You’ll stop tripping over rakes the moment you walk in.
Pro tip: If your garage doubles as an entry, borrow the drop-zone thinking from these garage mudroom ideas so long-handled tools blend into a tidy entryway flow.
11. Sort Fasteners with Stackable Small-Part Bins

Tiny fasteners deserve better than a coffee can of mixed mystery. Stackable small-part bins with flip-down fronts give every screw size its own labeled compartment.
Mount the bins on a wall frame or set them on a shelf, and sort by type and size. The clear fronts mean you never open the wrong bin twice.
This system scales beautifully — start with one frame of 24 bins and add more as your hardware collection grows. Future you will be grateful.
Pro tip: House your fastener wall inside closed storage from these garage cabinet ideas to keep fine hardware dust-free and out of sight.
12. Build a Fold-Down Workbench

No room for a permanent bench? A fold-down workbench gives you a full work surface when you need it and your floor back when you don’t. It hinges up flat against the wall.
Use a thick plywood or butcher-block top on heavy-duty brackets rated for your heaviest projects. A small vise on top turns it into a serious station.
When folded up, the underside becomes a display board — hang a pegboard panel there and you get double duty from one wall.
Pro tip: A fold-down bench fits perfectly into a compact renovation plan like these garage renovation ideas where every square foot has to pull its weight.
13. Install Drawer Dividers in a Tool Chest
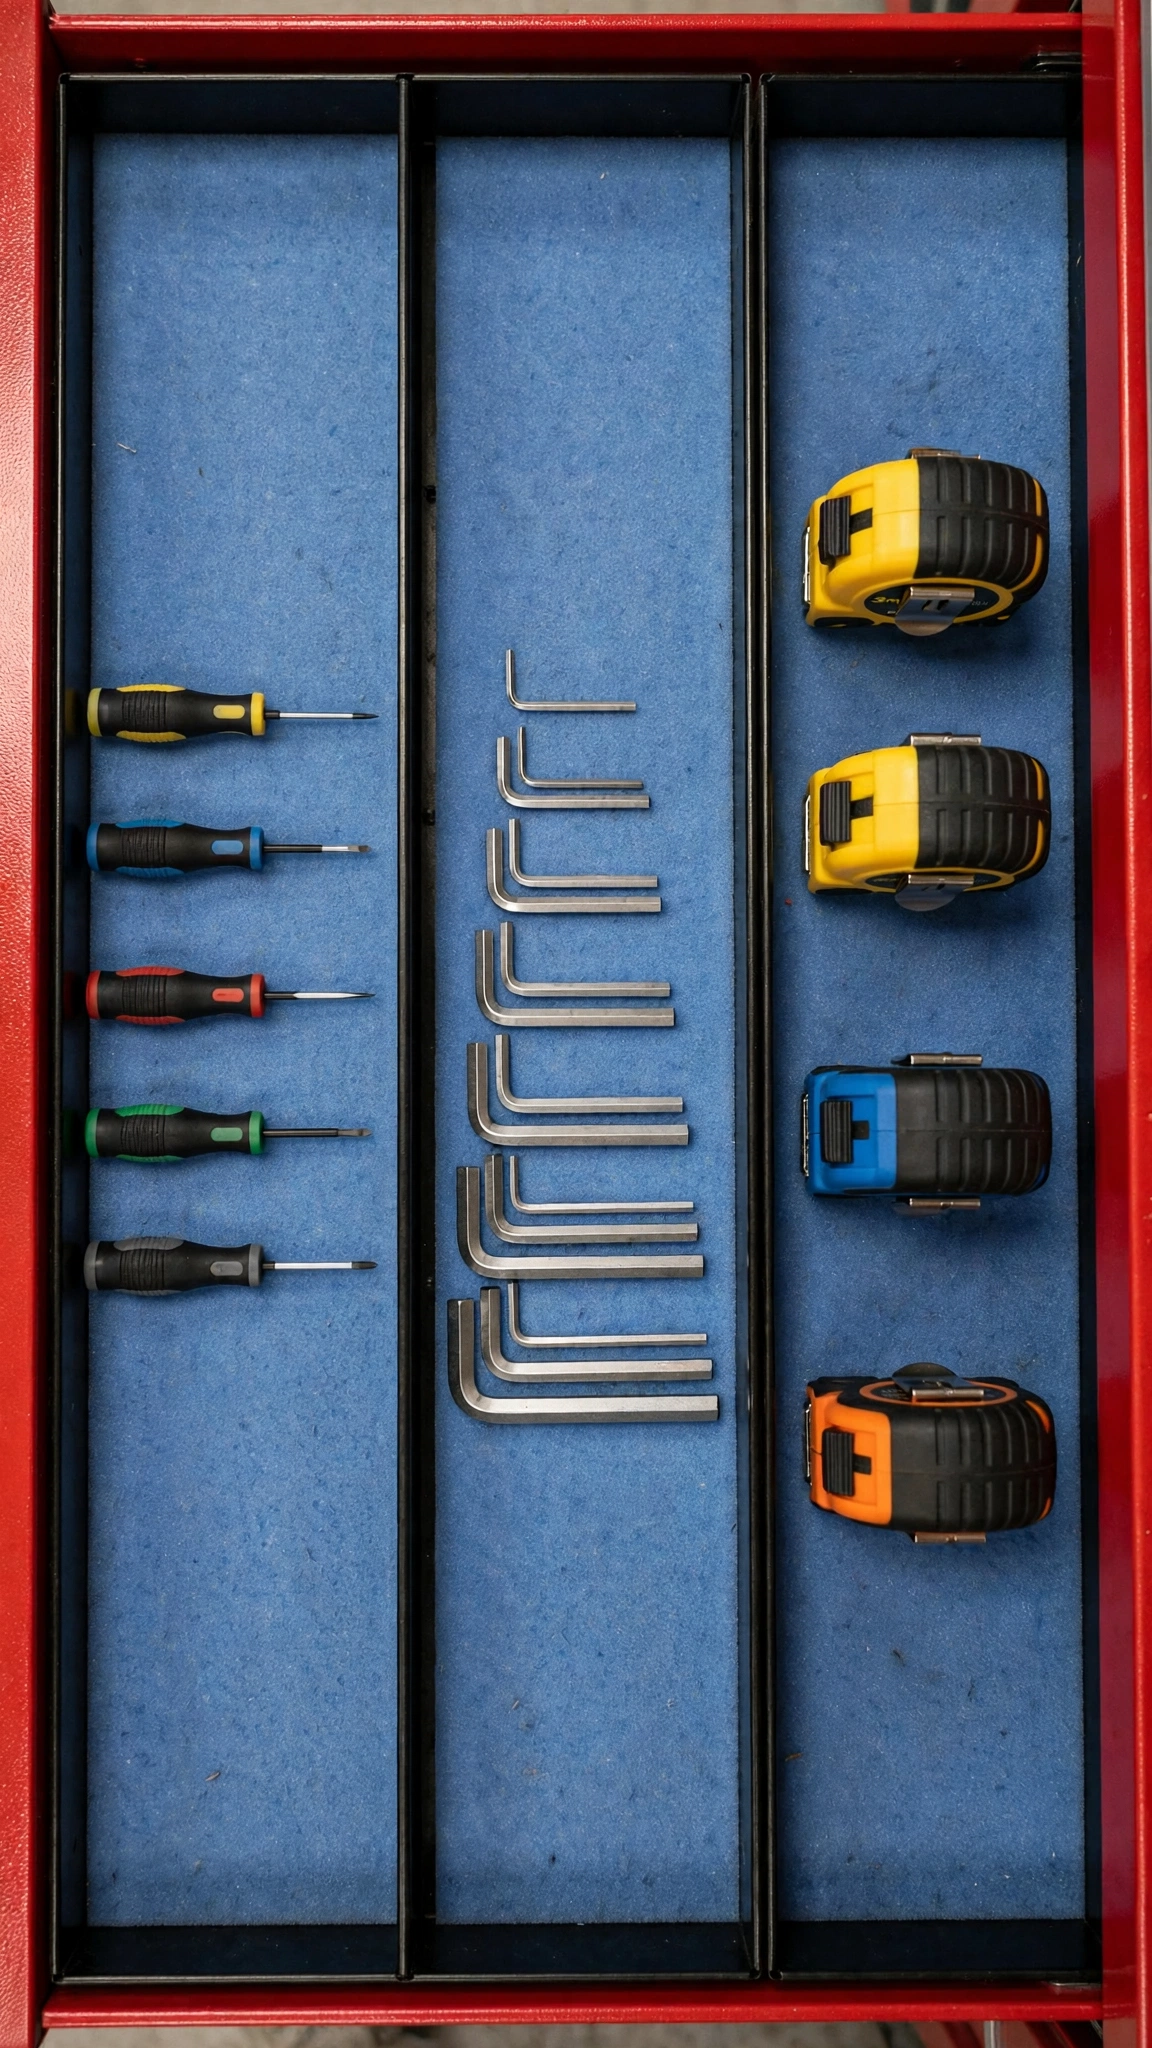
A tool chest without dividers is just a junk drawer with wheels. Adjustable dividers carve each drawer into dedicated compartments so tools stay sorted.
Measure your drawers and buy dividers or cut thin plywood strips to fit. Group by task — measuring tools together, cutting tools together — not just by size.
Add foam liners underneath so tools don’t slide when you roll the chest. Open a drawer and everything is exactly where it should be, every time.
Pro tip: For renters or anyone avoiding permanent changes, these portable systems work alongside the ideas in these garage upgrade ideas — big impact with zero demolition.
14. Hang Extension Cords on Wall Hooks
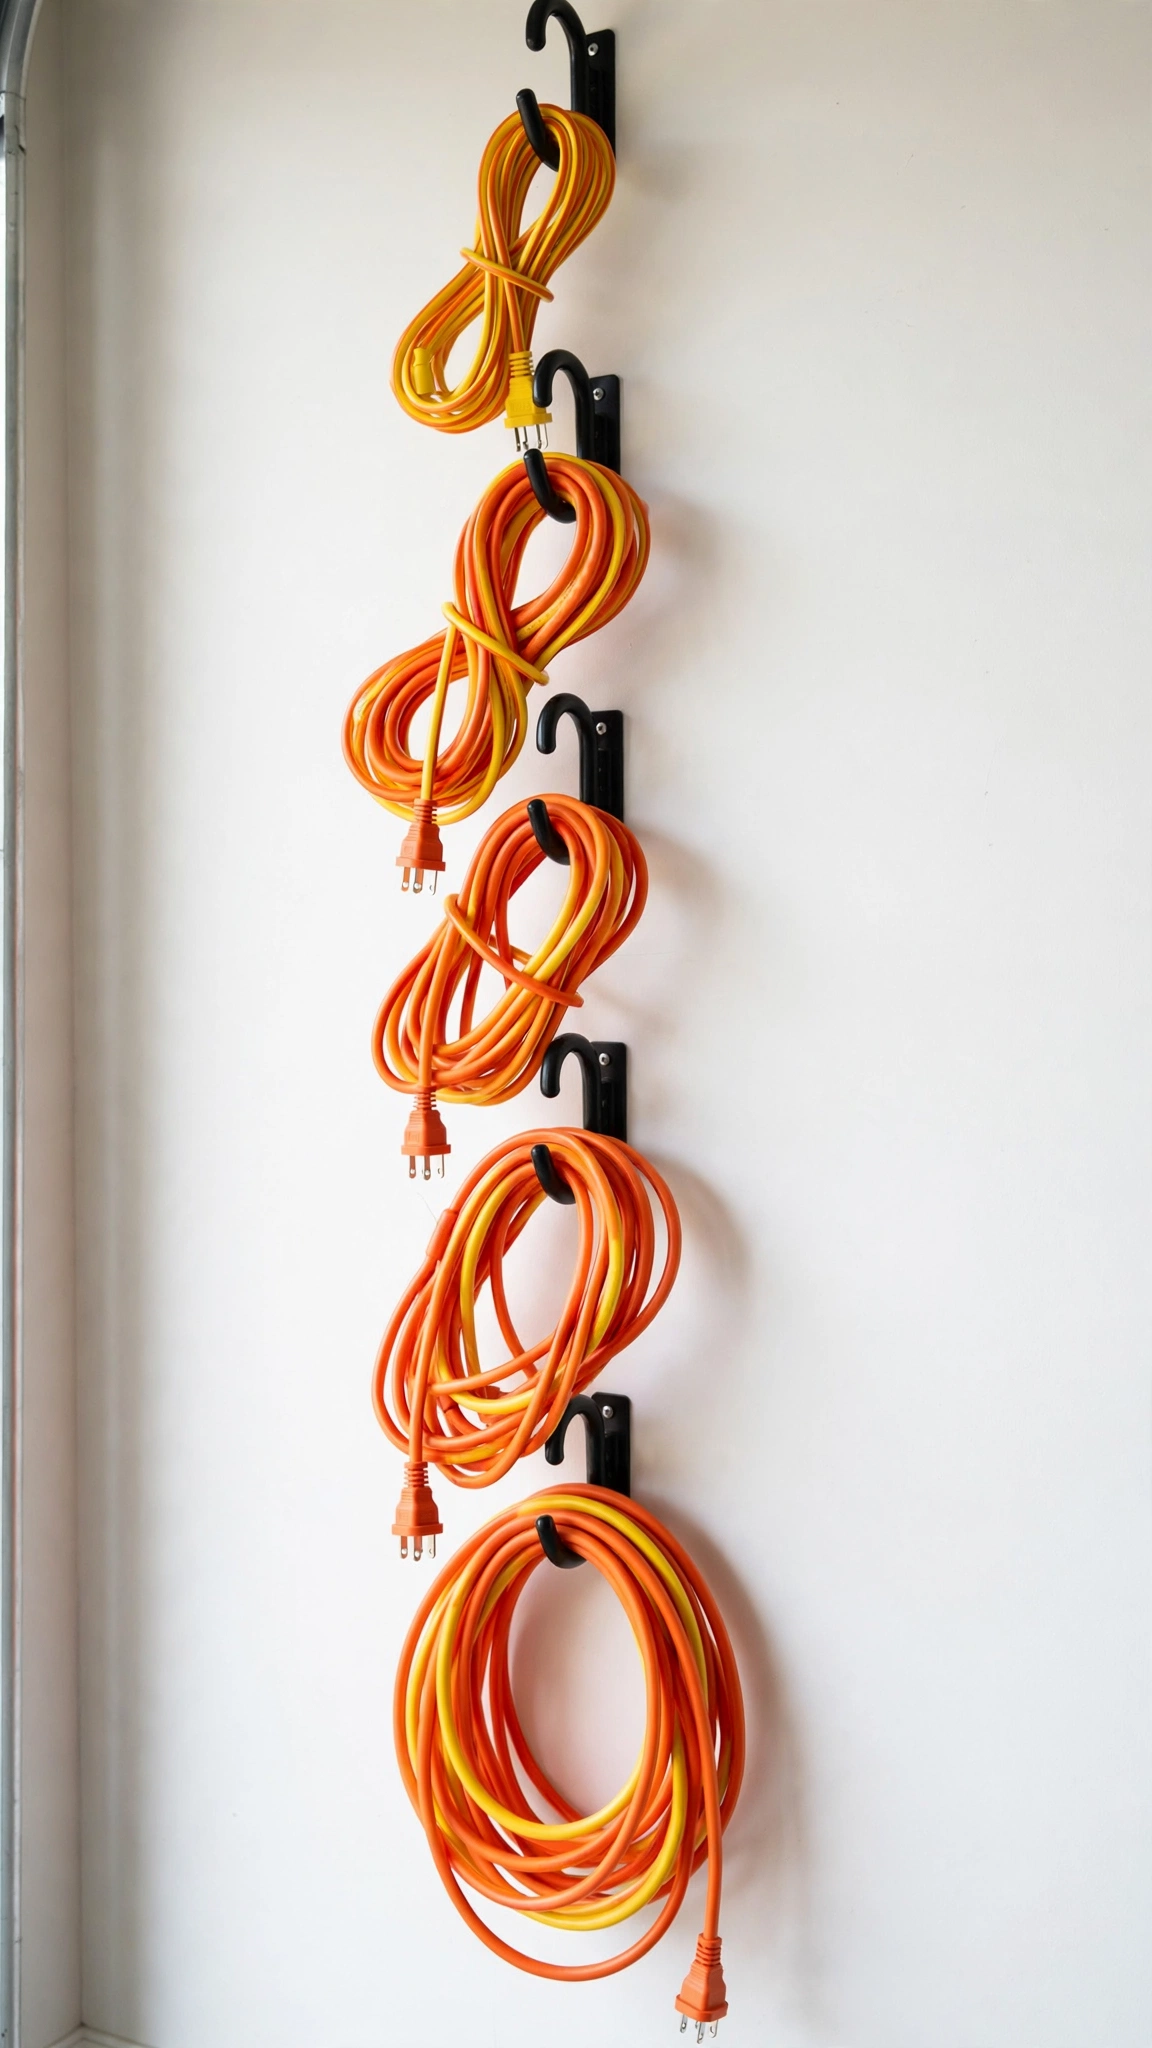
Extension cords have a special talent for tangling themselves into knots. Coil each one in a loose figure-eight and hang it on a dedicated J-hook by the door or bench.
Heavy-duty metal hooks hold even thick 100-foot cords. Hanging them near the garage door means they’re the first thing you grab and the easiest to put back.
Velcro straps keep coils tidy on the hook. Sort by length so you always grab the shortest cord that does the job.
Pro tip: Keep cords alongside other utility gear using these garage storage shelf ideas — one utility wall for cords, hoses, and air lines.
15. Use Pegboard Baskets for Spray Cans
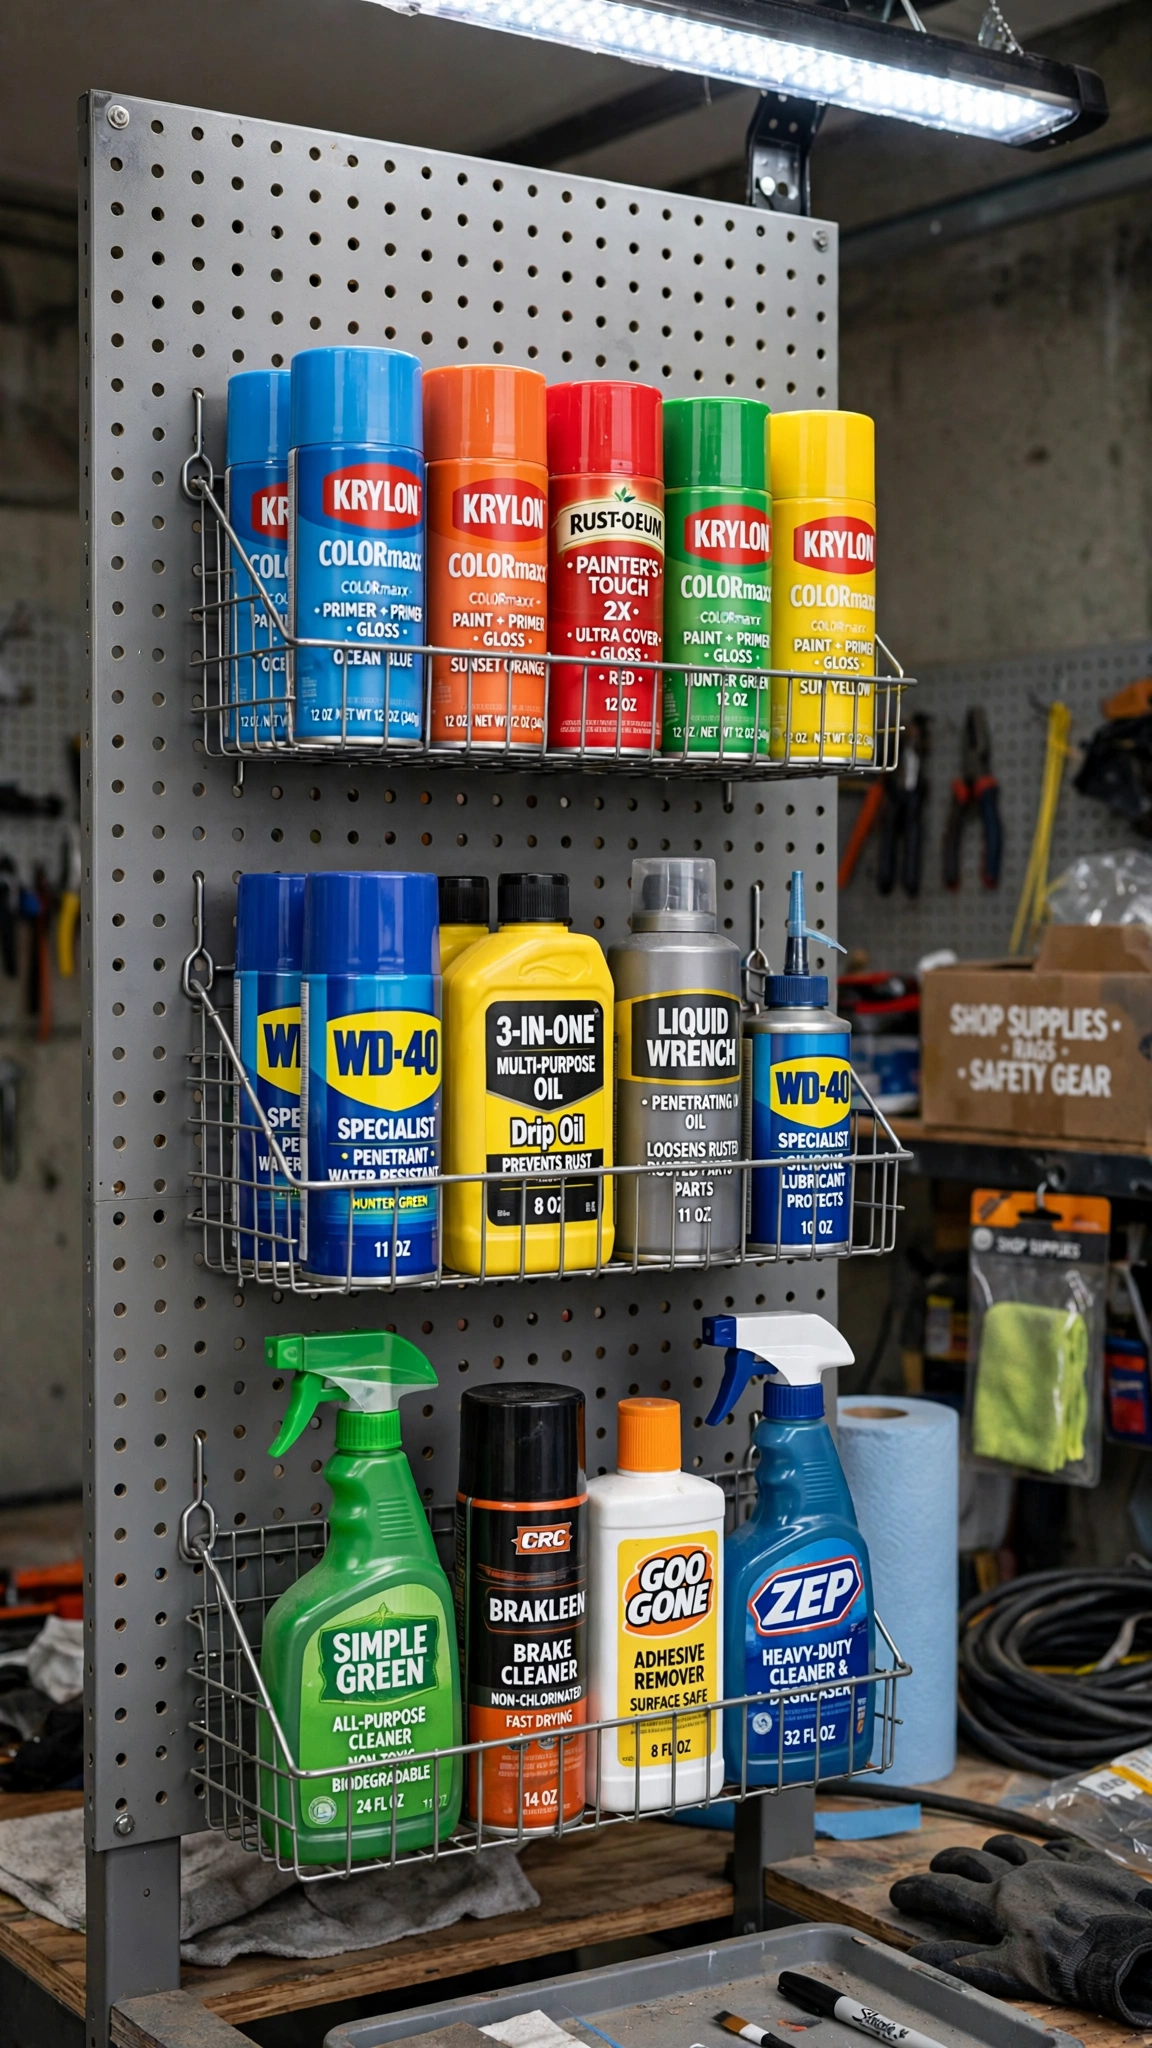
Spray cans and bottles slide around on shelves and vanish behind each other. Wire baskets that hook onto your pegboard hold them upright, visible, and grouped by type.
Two or three baskets turn dead pegboard space into a paint-and-lube station. Everything is readable at a glance — no more shaking five cans to find the primer.
Keep a small tray underneath to catch drips. It’s a tiny addition that makes finishing projects dramatically smoother.
Pro tip: If your garage also houses washers and dryers, borrow the zone logic from these garage laundry area ideas to keep chemical storage safely separated from other gear.
16. Label Every Bin and Zone
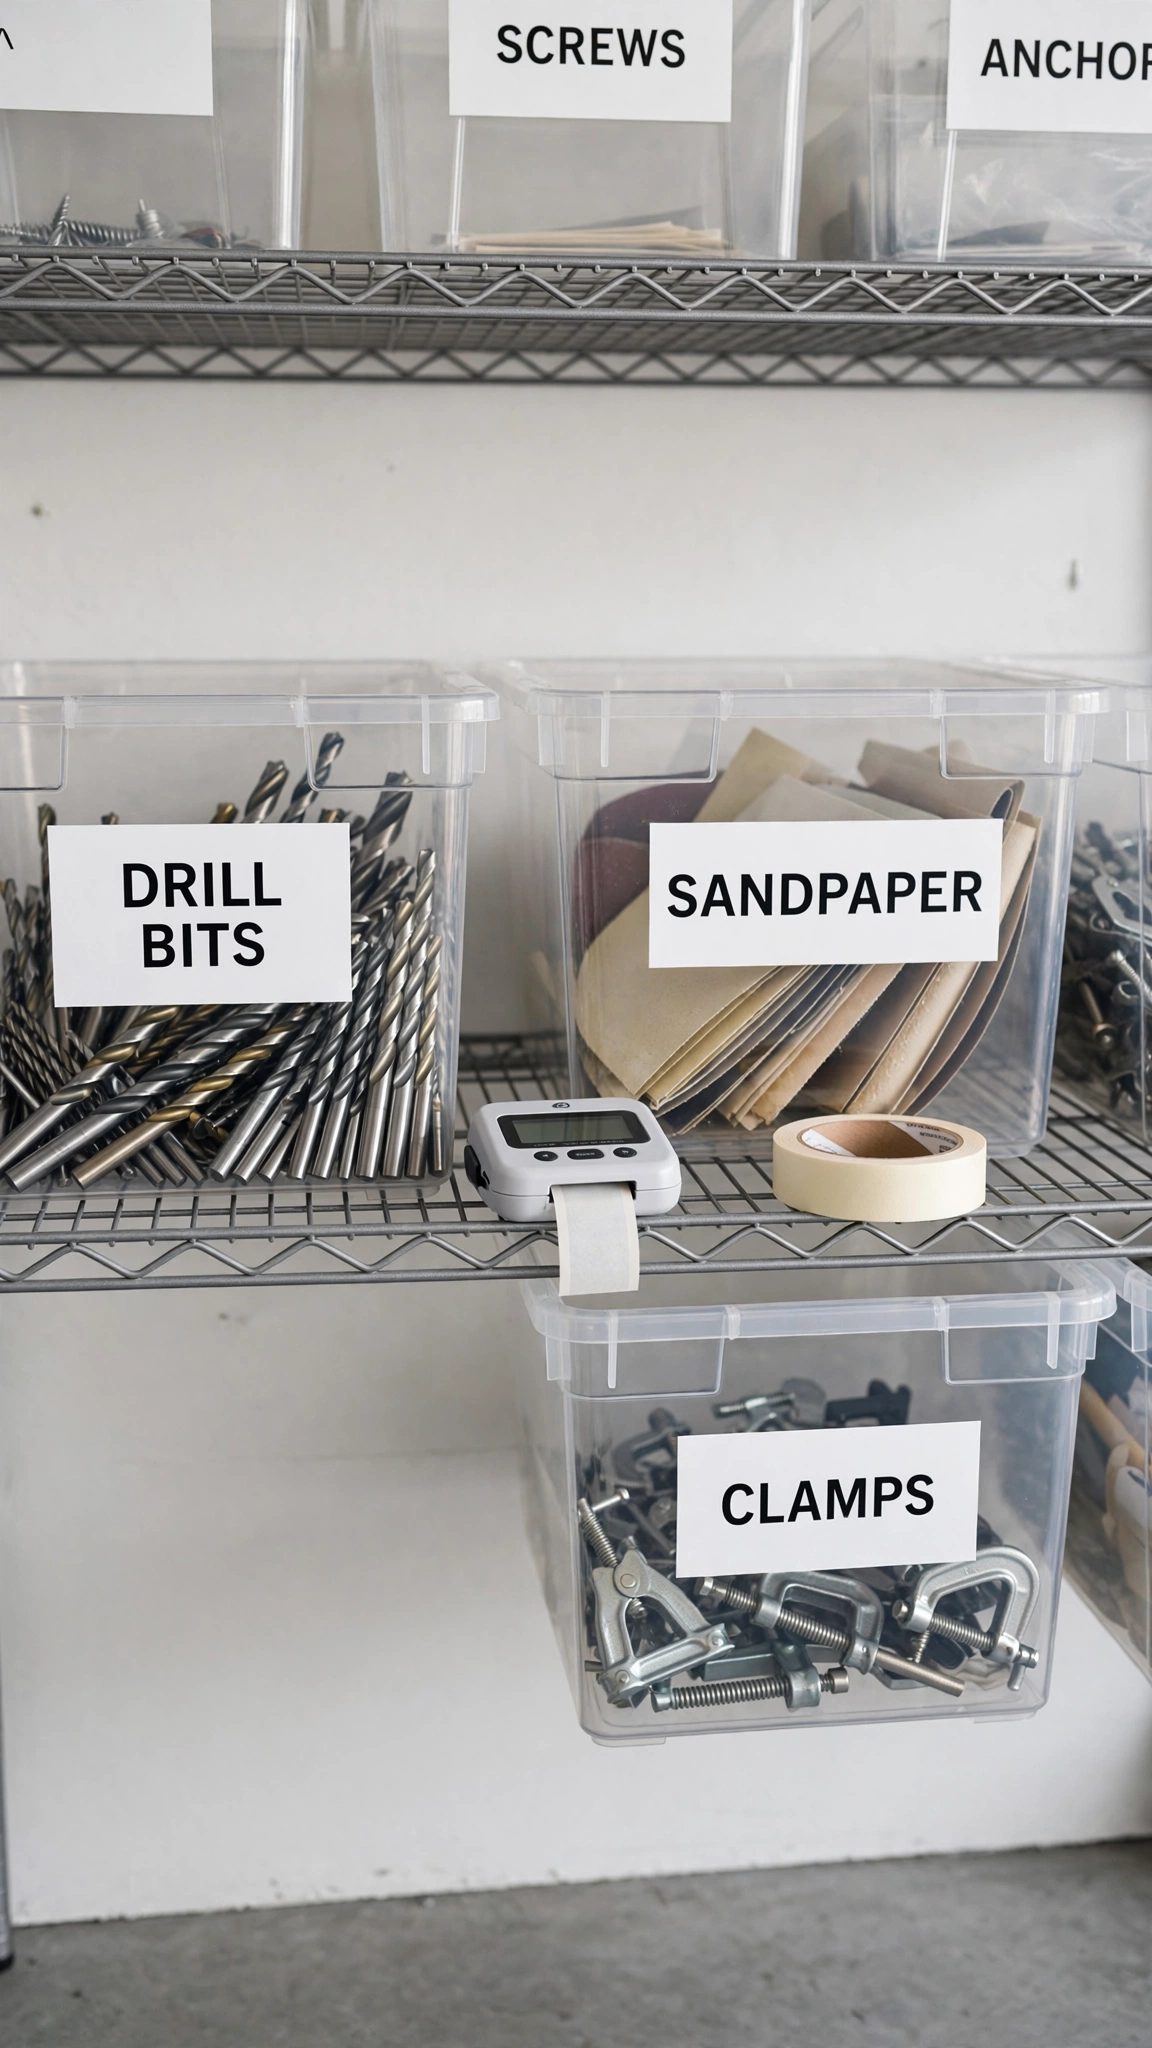
The best organization system fails if nobody knows where things go. A label maker is the cheapest upgrade in this entire list — and arguably the most powerful.
Label every bin, shelf edge, and wall zone with clear, specific names. “Wood screws #8” beats “hardware” every time, especially when someone else is helping.
Labels also make cleanup automatic: when everything has a named home, putting tools away becomes a matching game instead of a decision.
Pro tip: Zone labels work best when the whole garage follows one plan — steal the zone strategy from these garage man cave ideas, where every square foot has a defined purpose.
17. Mount a Clamp Rack Under Shelves
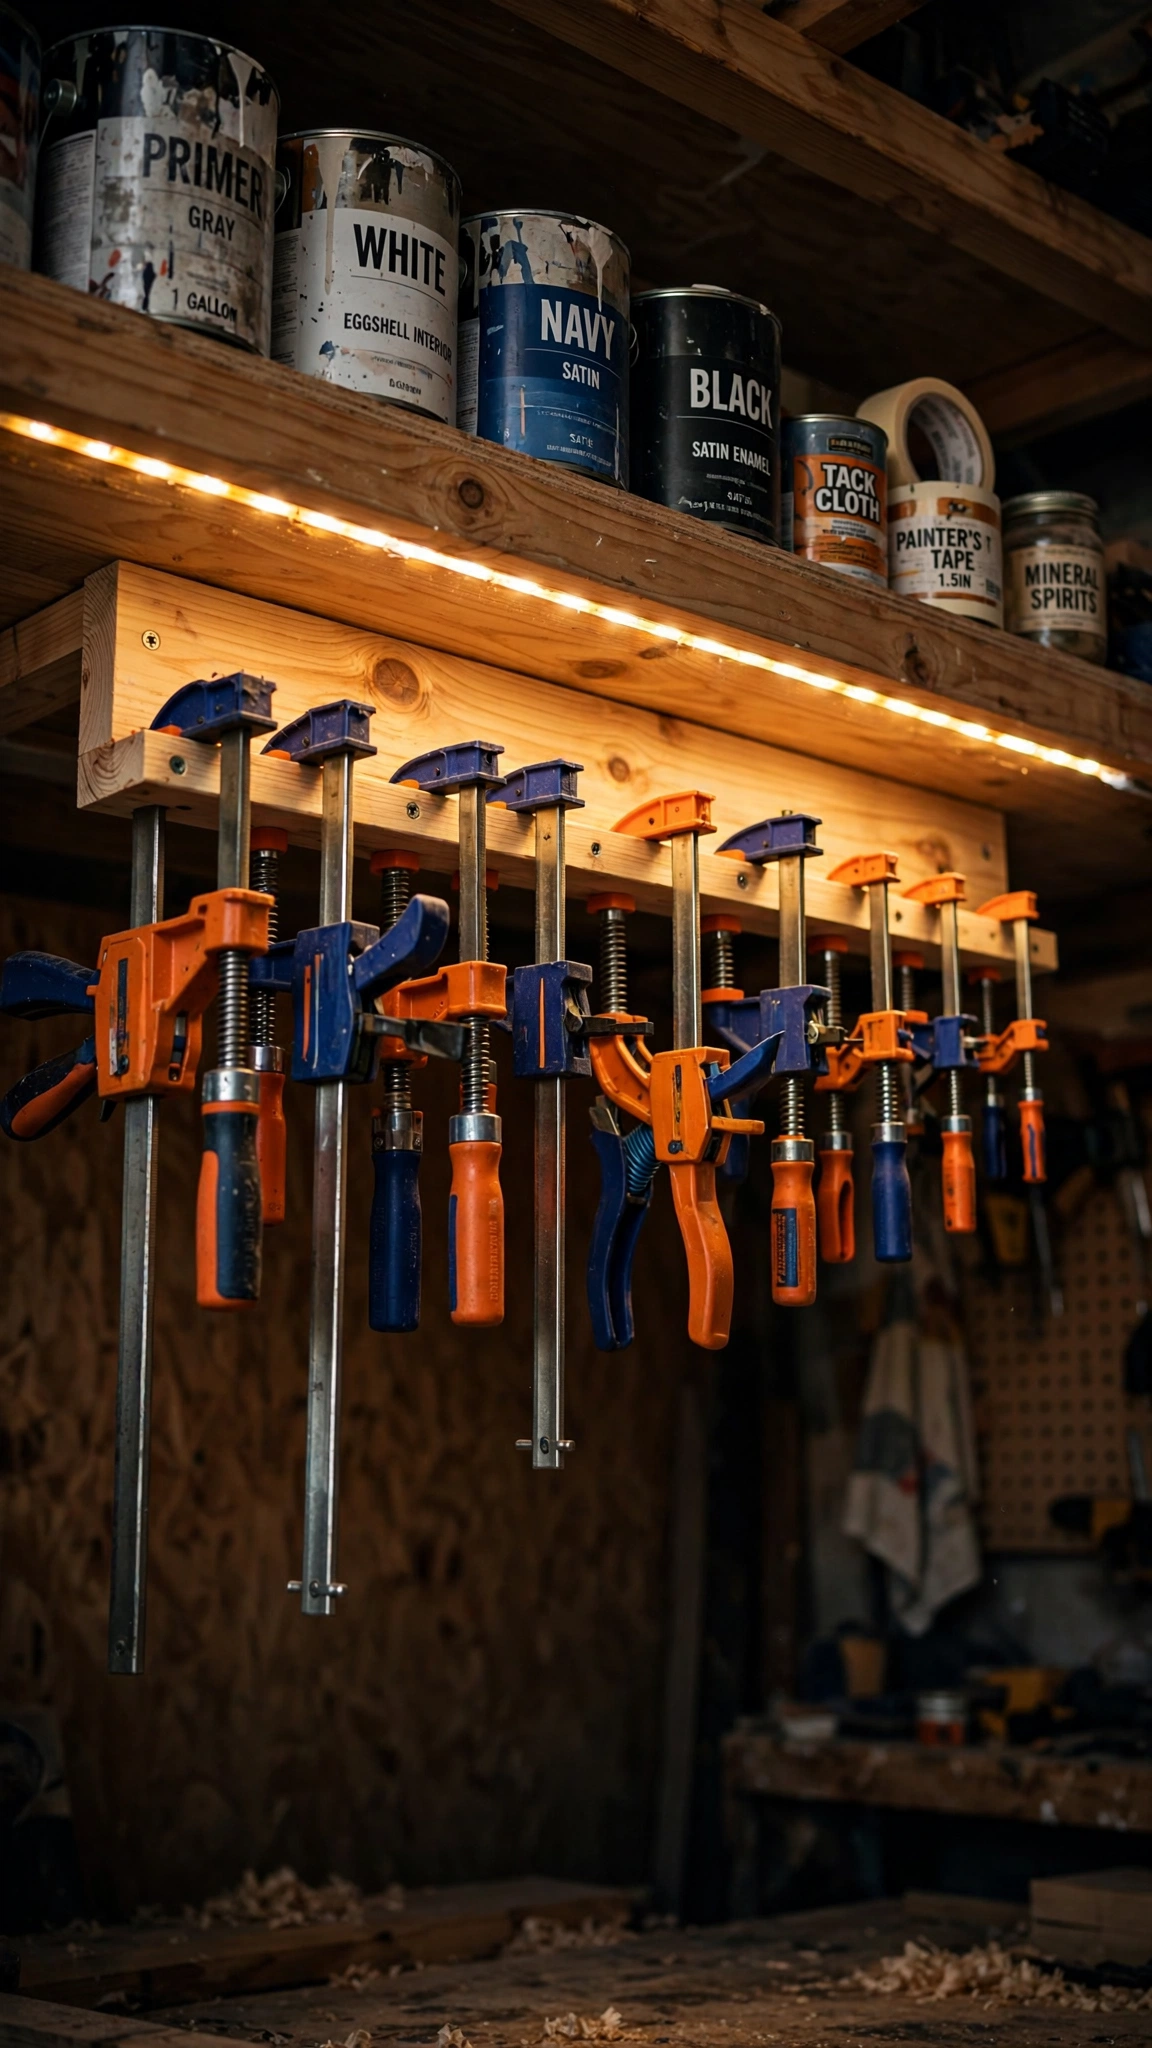
Clamps are essential, bulky, and terrible at staying in a pile. A simple rack screwed under an existing shelf hangs each clamp by its handle in size order.
Use a strip of wood with slots or a row of short dowels. Bar clamps hang from their jaws, spring clamps clip right on — all of them off the bench in seconds.
Under-shelf space is usually wasted, so this adds storage without using a single new inch of wall. You’ll wonder why you ever piled them up.
Pro tip: Under-shelf racks are a natural fit for a polished workshop — see how they slot into these garage workshop ideas for a setup that looks as good as it works.
18. Repurpose a Kitchen Utensil Bar for Pliers

Here’s a brilliant budget hack: the stainless utensil rail sold for kitchens makes a perfect pliers and hand-tool bar in the garage. Mount the rail, add S-hooks, done.
Pliers hang by their handles in a row you can scan in a second. The whole setup costs less than a pizza and installs in fifteen minutes.
It also looks surprisingly good — brushed steel and colorful grips turn a plain wall into something between a workshop and a design feature.
Pro tip: For more outside-the-box storage thinking, browse these garage gym design ideas — repurposing gear across zones is how smart garages stay flexible.
19. Create a Tool Inventory Checklist Board
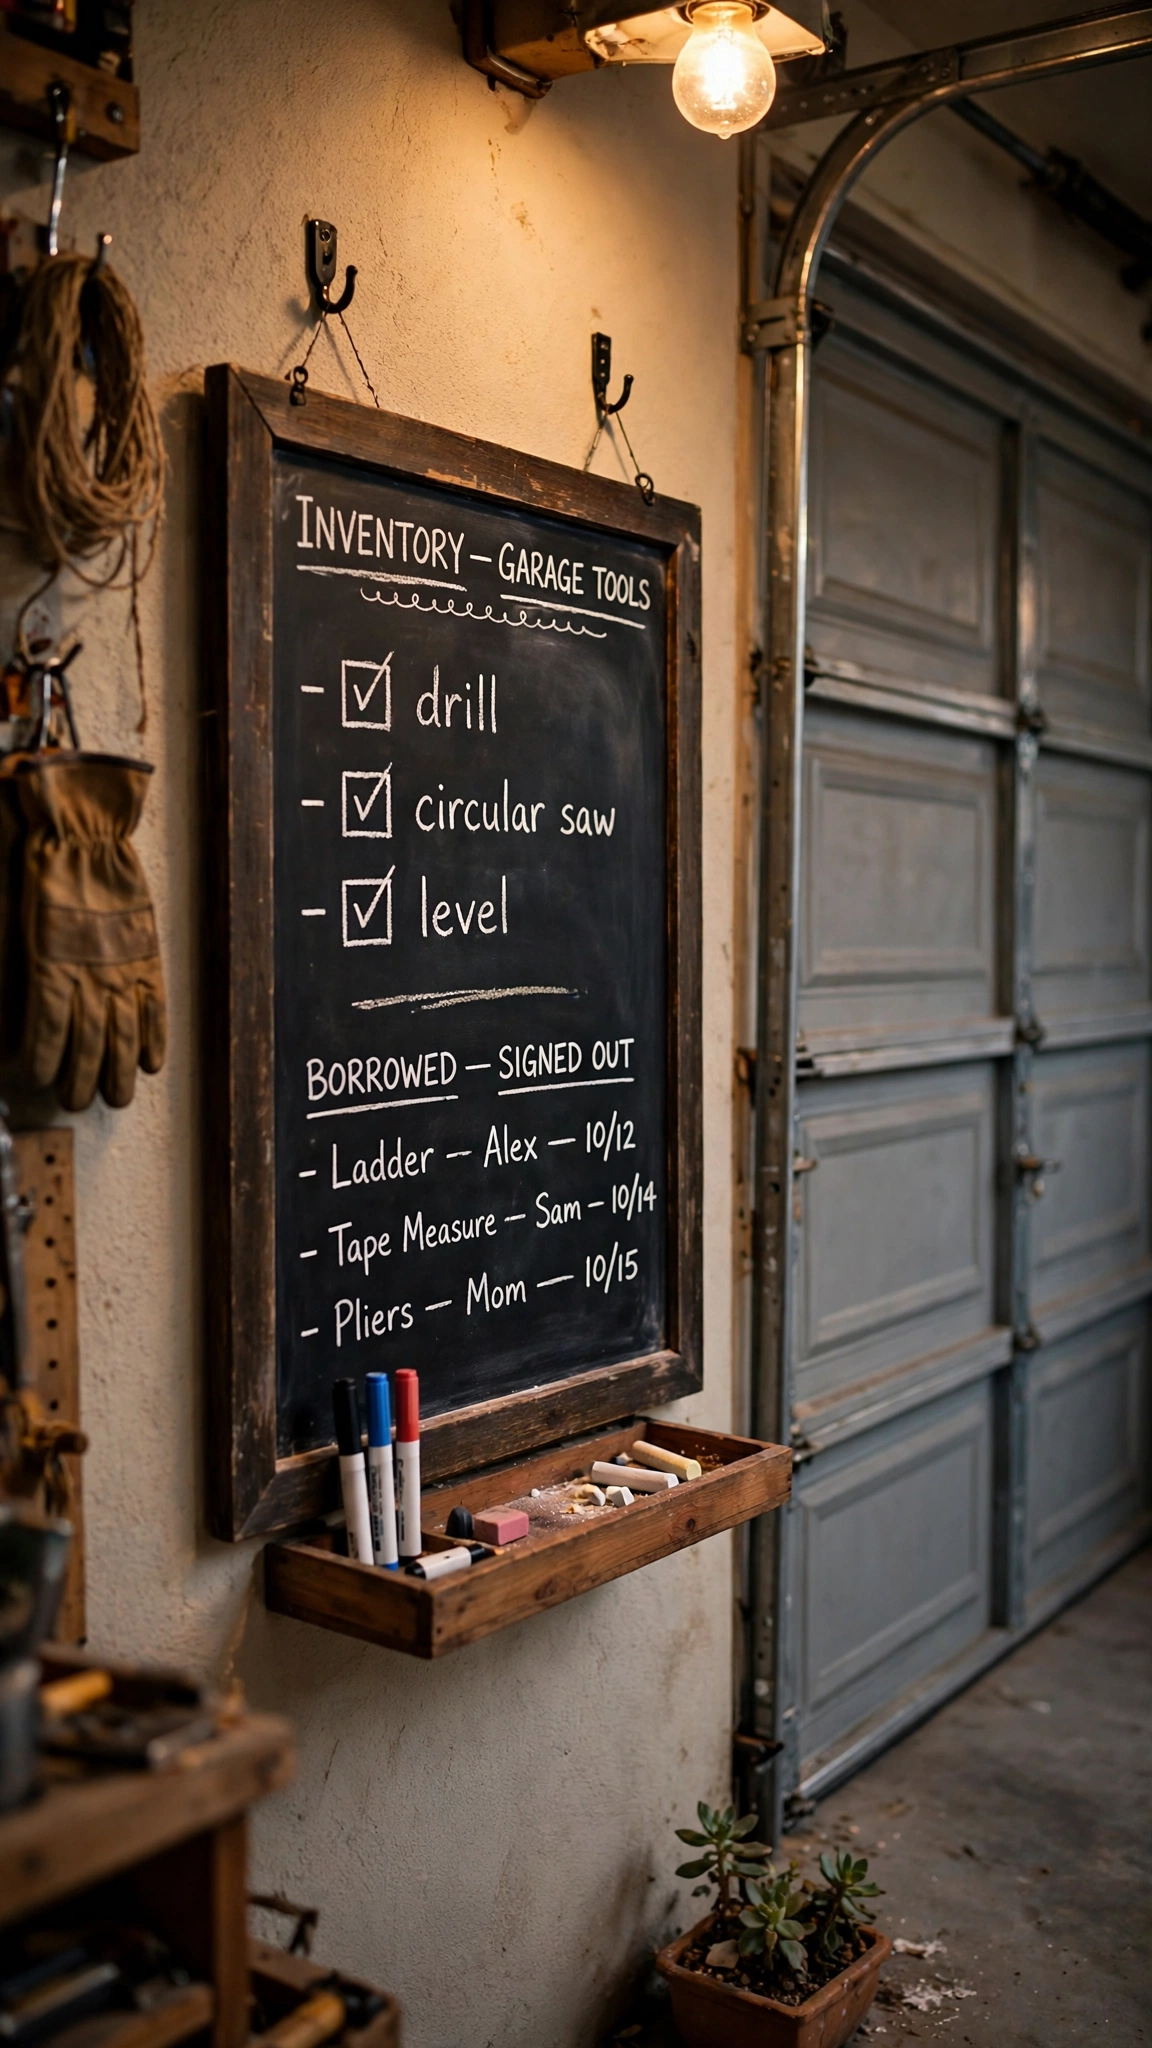
The final piece of the puzzle isn’t storage — it’s knowing what you own. An inventory checklist board by the door tracks your tools and shows what’s out on loan.
List every major tool with a checkbox column for “home” and “borrowed.” When a tool leaves the garage, its name moves columns — no more mystery disappearances.
It also doubles as a shopping list: when you reach for something you don’t have, write it on the board instead of forgetting by next weekend.
Pro tip: A checklist board completes a truly finished space — finish the look with the design polish in these garage interior design ideas so your organized garage feels like part of the home.
Conclusion
Organizing your garage tools isn’t about buying more stuff — it’s about giving every tool a home it can return to. Start with one wall, one rack, or one labeled bin, and the rest will follow. Your future projects will thank you every single time you reach for a tool and it’s exactly where it belongs.