18 Genius Garage Workshop Organization Ideas That Turn Clutter Into a Smart, Functional Setup
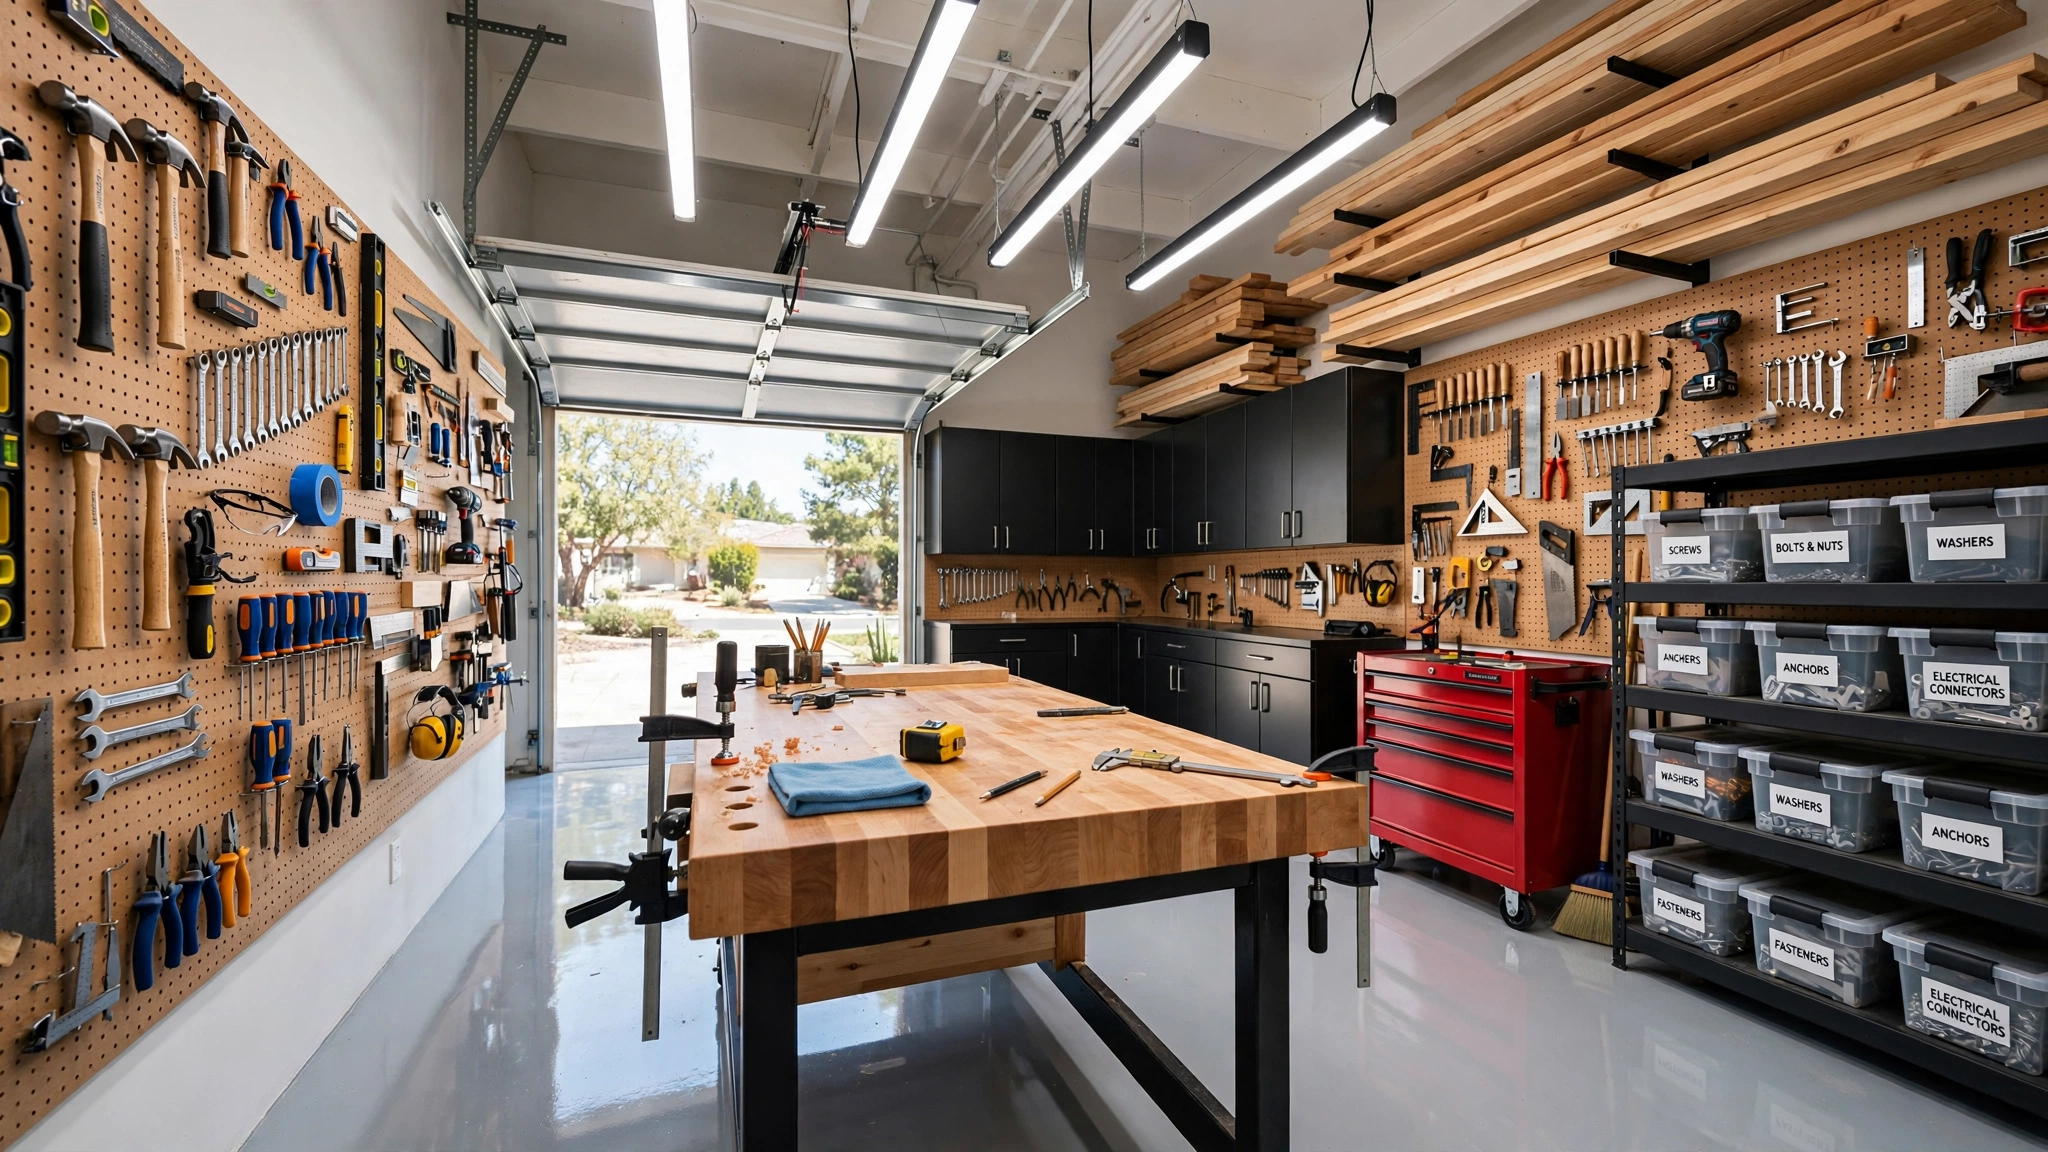
A garage workshop should be the hardest-working room in your home, but too often it becomes a graveyard of half-finished projects, tangled cords, and tools you can never find when you need them. The good news is that a cluttered workshop does not need a bigger footprint — it needs smarter systems.
These 18 genius garage workshop organization ideas turn chaos into a smart, functional setup where every tool has a home and every project gets a clear runway. Ready to fall in love with your workshop again?
1. Set Up a Dedicated Workbench Zone
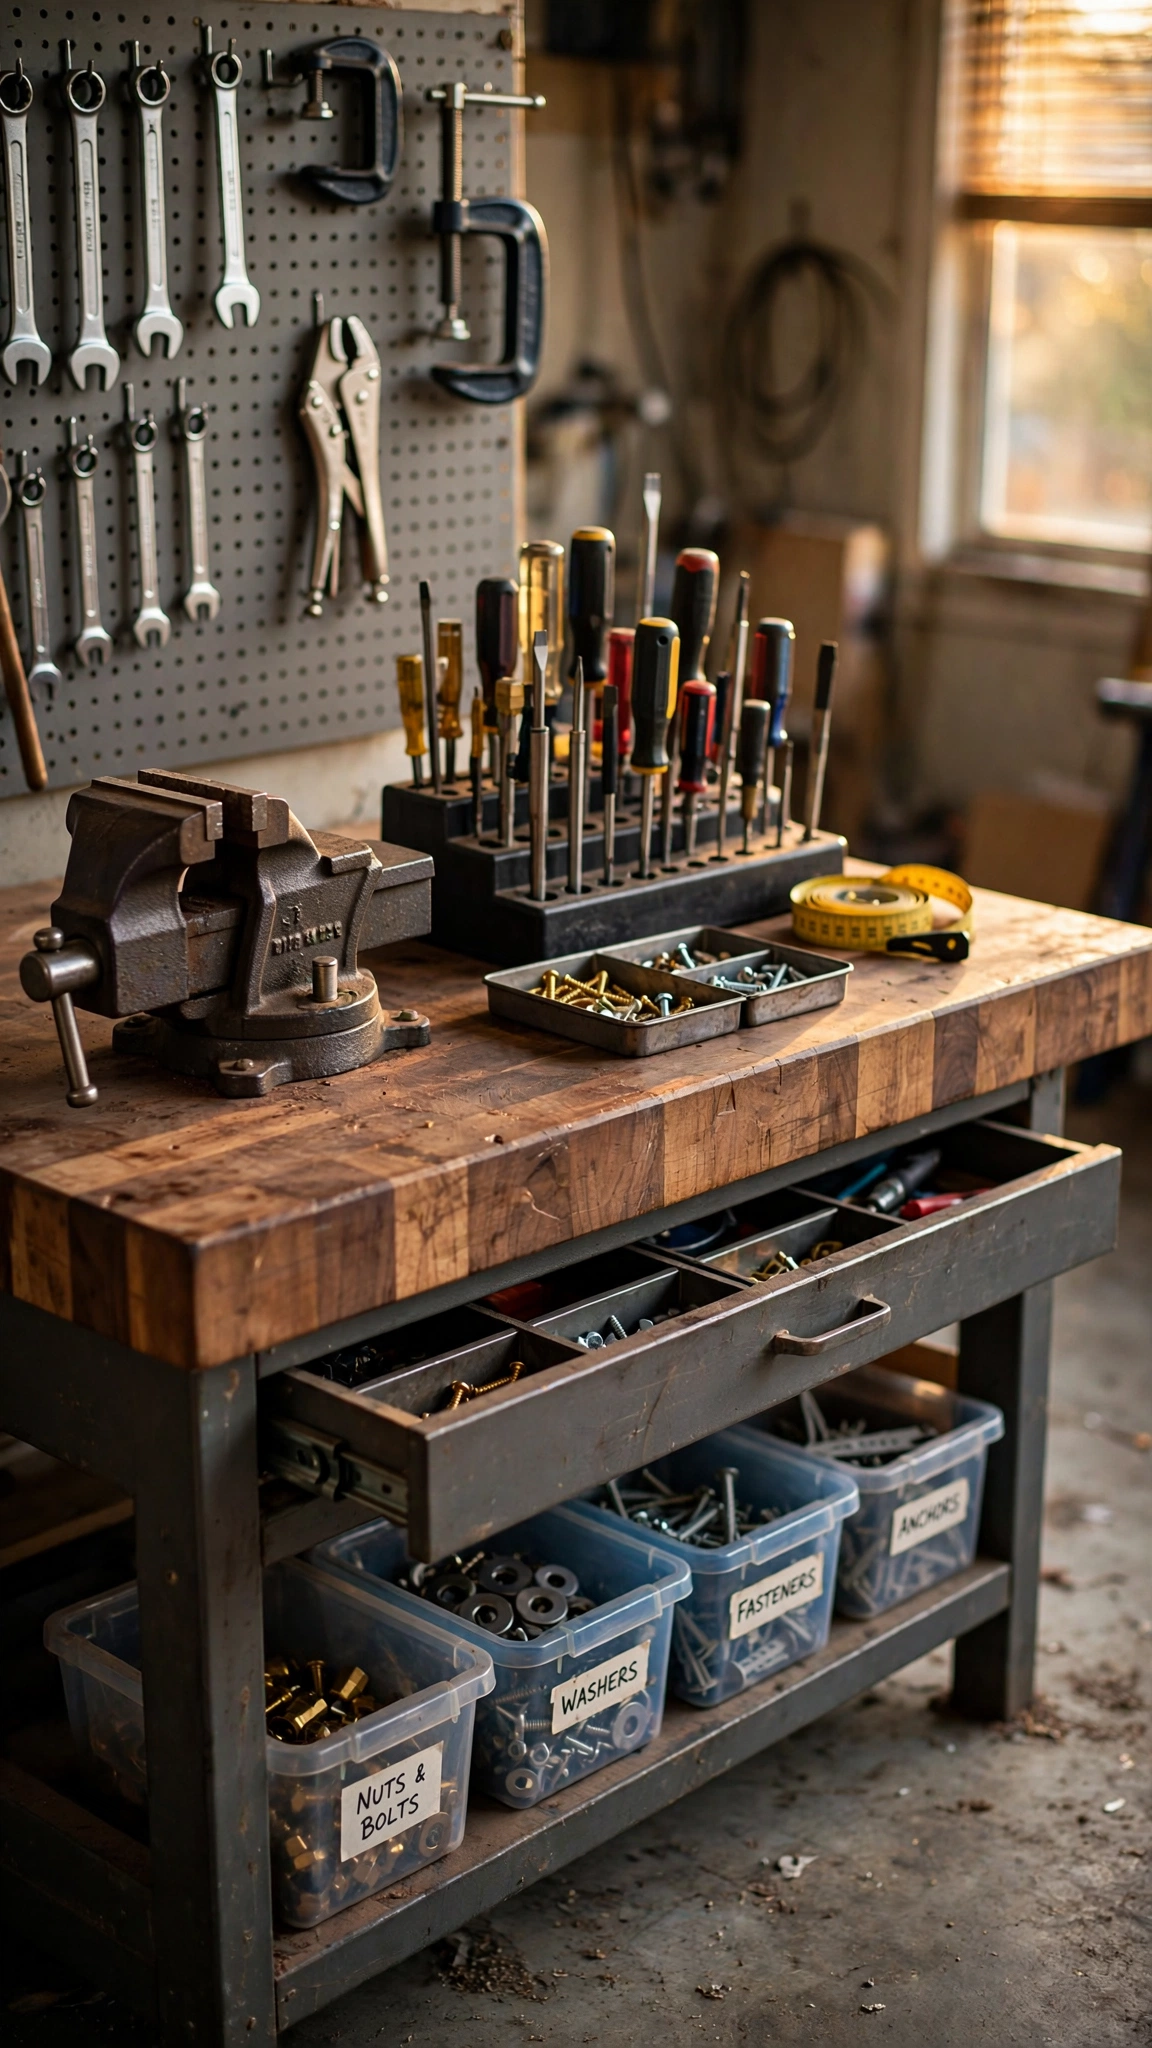
Every great workshop starts with one sacred rule: the workbench is for working, not for storage. Claim one wall or corner as your dedicated build zone and defend it fiercely against anything that does not belong to an active project.
A solid bench with a vise instantly changes how you work — clamping frees both hands and makes sawing, sanding, and gluing dramatically easier and safer. Even a simple plywood-topped bench on sawhorse legs counts if it is flat, sturdy, and always clear.
Keep only daily-use hand tools within arm’s reach of the bench and move everything else to wall or cabinet storage. That single habit keeps your main surface project-ready instead of buried.
Pro tip: plan your bench placement before you build anything else — our garage workshop layout ideas show how the right work triangle saves hours on every project.
2. Build a Full-Height Pegboard Wall
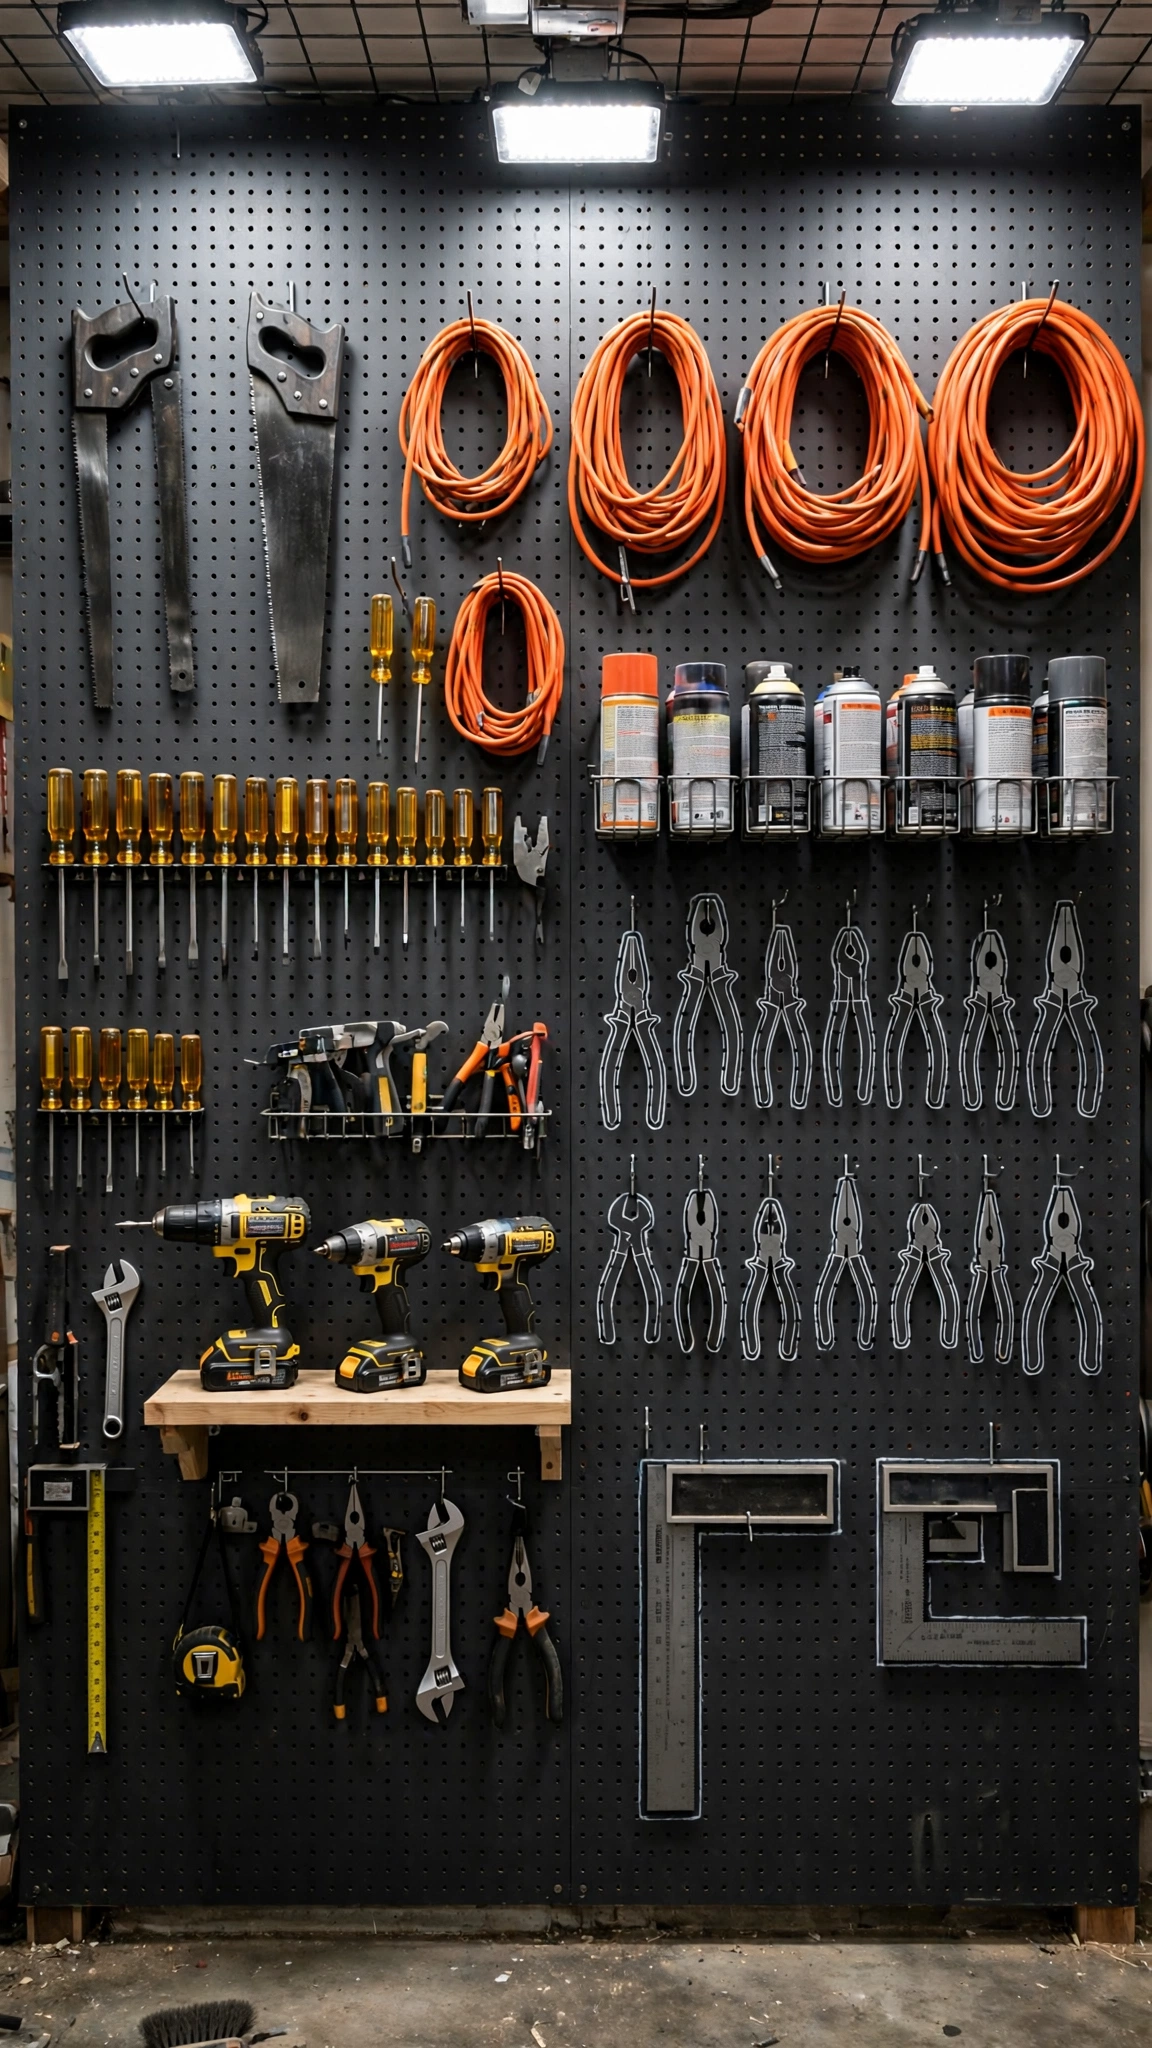
Pegboard is the unsung hero of workshop organization because it turns dead wall space into visible, grab-and-go storage. Going full height — floor to ceiling — can easily hold a hundred tools in the footprint of a single bookshelf.
Trace each tool’s outline with a paint marker so everything snaps back to its exact home. That five-minute trick is what separates a pegboard that stays tidy from one that slowly dissolves into chaos.
Use locking hooks for heavy items and small bins for the fiddly stuff like drill bits and sanding discs. A pegboard that fits your tools beats an expensive cabinet every time.
Pro tip: paint your pegboard a dark charcoal or navy before hanging — tools pop against it and it looks custom, not craft-store. See more wall ideas in our garage workshop ideas roundup.
3. Install Overhead Ceiling Racks
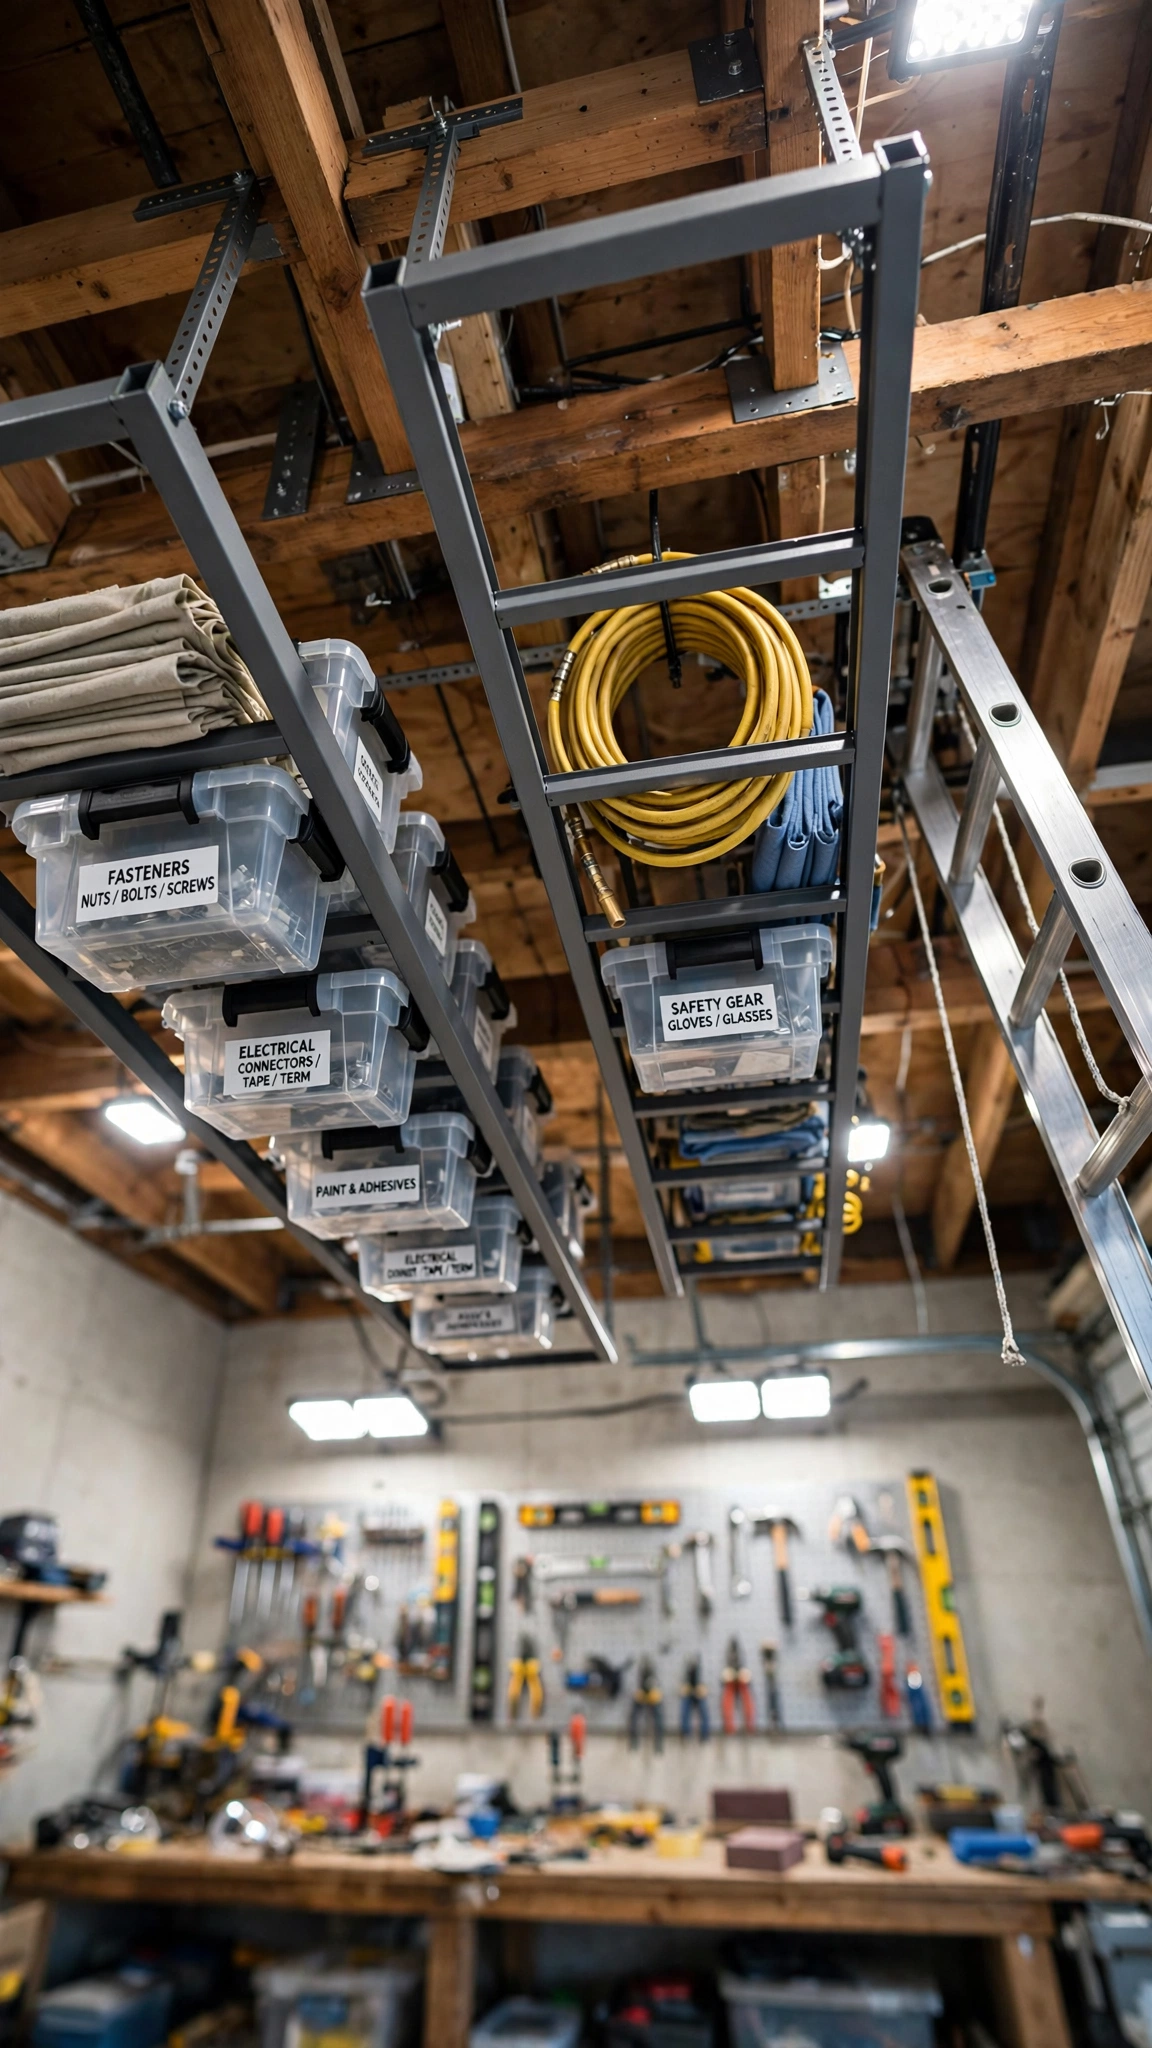
The ceiling is the most underused square footage in any garage workshop. Overhead racks bolt to the joists and swallow seasonal gear, spare lumber, and rarely used tools without touching a single inch of floor space.
This is where bulky, light things live: holiday decorations, camping gear, extra shop towels, and those jigs you use twice a year. Heavy power tools stay low for safety — the ceiling is for volume, not weight.
Labeled bins are non-negotiable up there since you cannot see inside from the floor. A quick label saves the dreaded drag-the-ladder-out guessing game.
Pro tip: leave at least six feet of clearance below your lowest rack so tall projects still fit underneath. Our garage storage shelves ideas cover more ways to exploit vertical space.
4. Roll in a Mobile Tool Cabinet
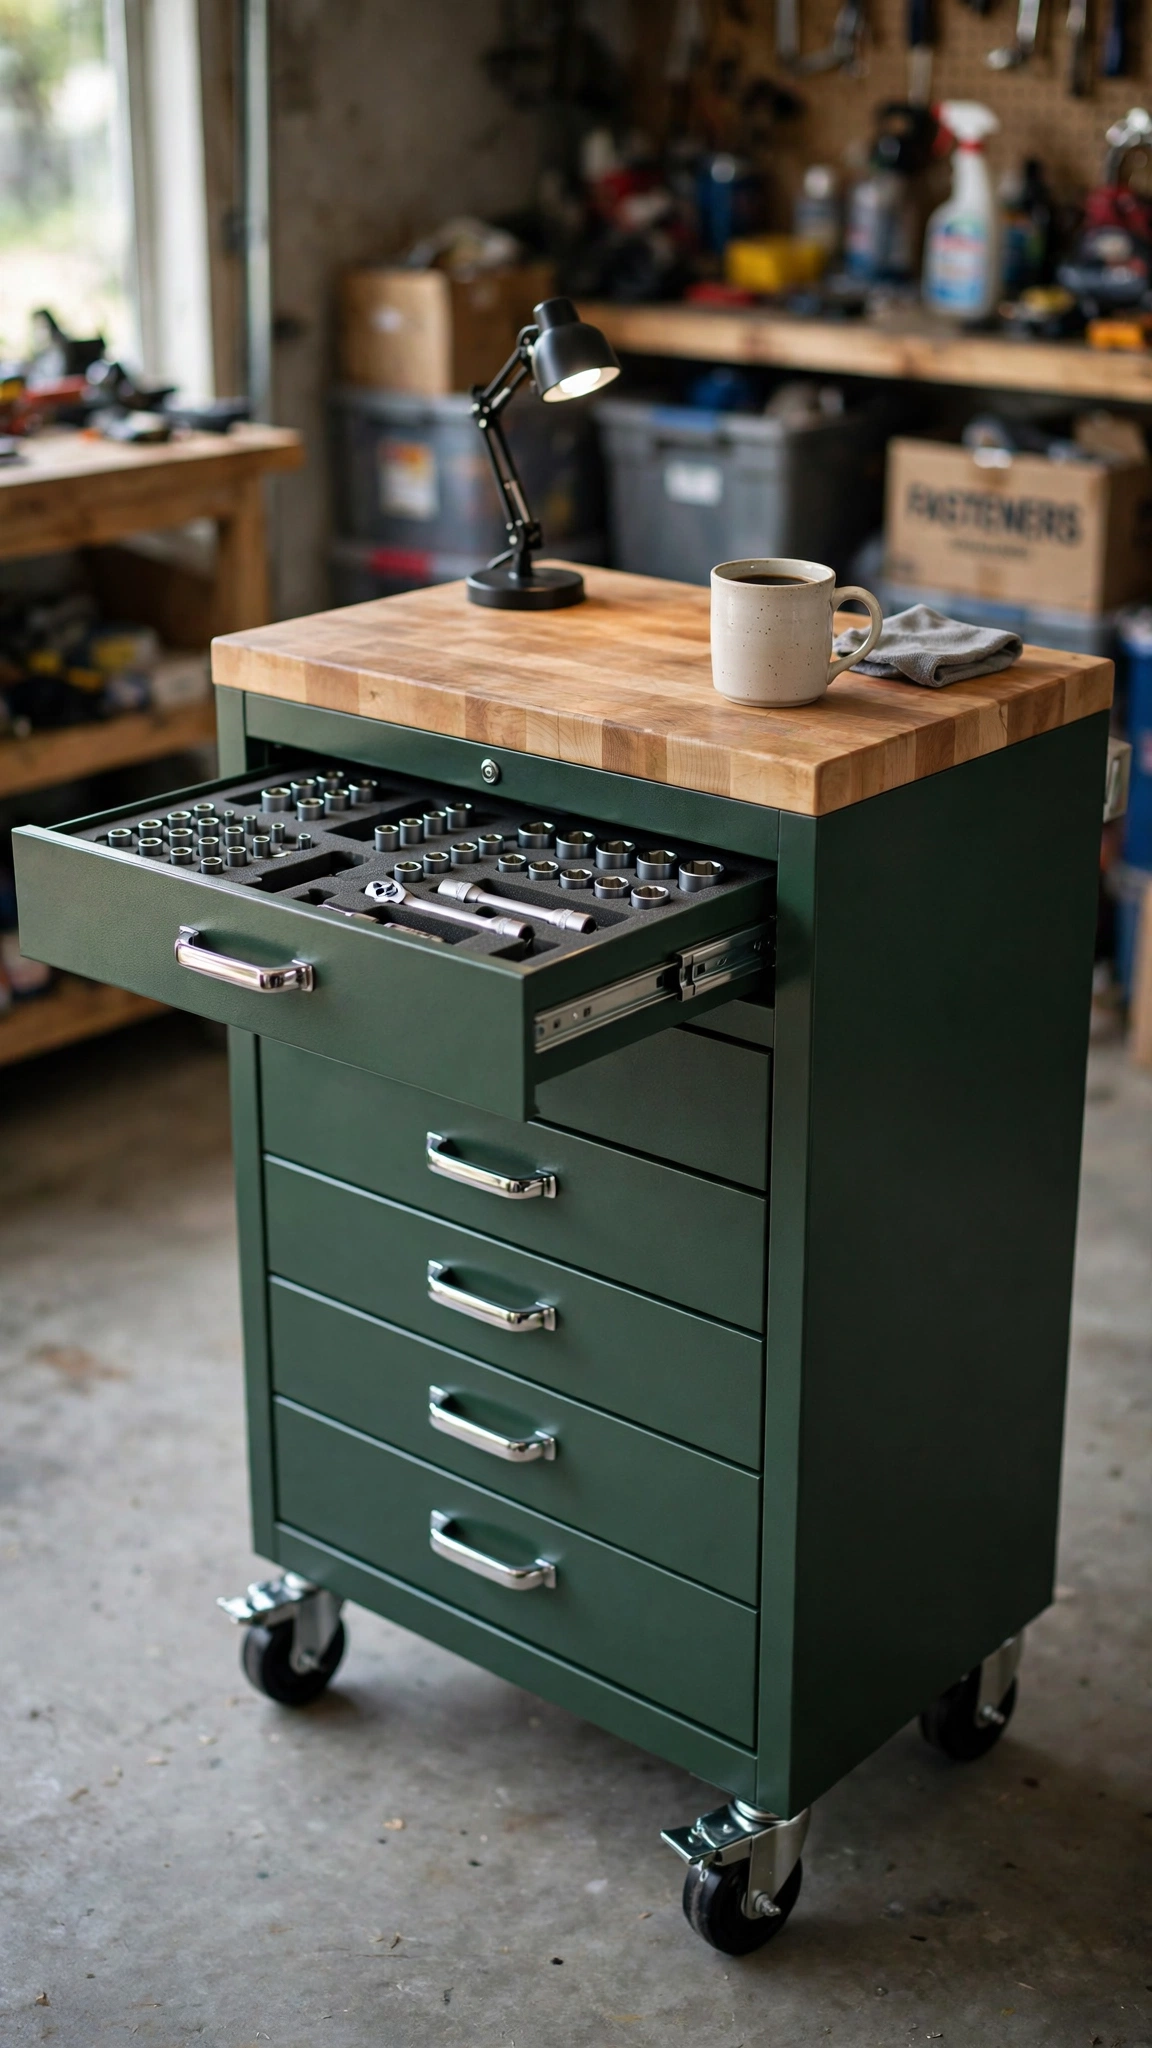
A rolling tool cabinet is the workshop equivalent of a kitchen island: mobile storage plus bonus worksurface in one footprint. Wheel it to the project instead of hauling tools across the garage.
Look for full-extension drawers with foam or molded organizers — sockets, bits, and drivers each get a cutout, so a missing tool is obvious at a glance. That visual inventory saves countless mid-project hunts.
Lock the casters when you are working and unlock them when you need the cabinet against the wall for car space. Flexibility is the whole point.
Pro tip: a hardwood top turns your cabinet into a second bench for glue-ups and small repairs. Browse matching storage in our garage cabinet ideas collection.
5. Hang a French Cleat System
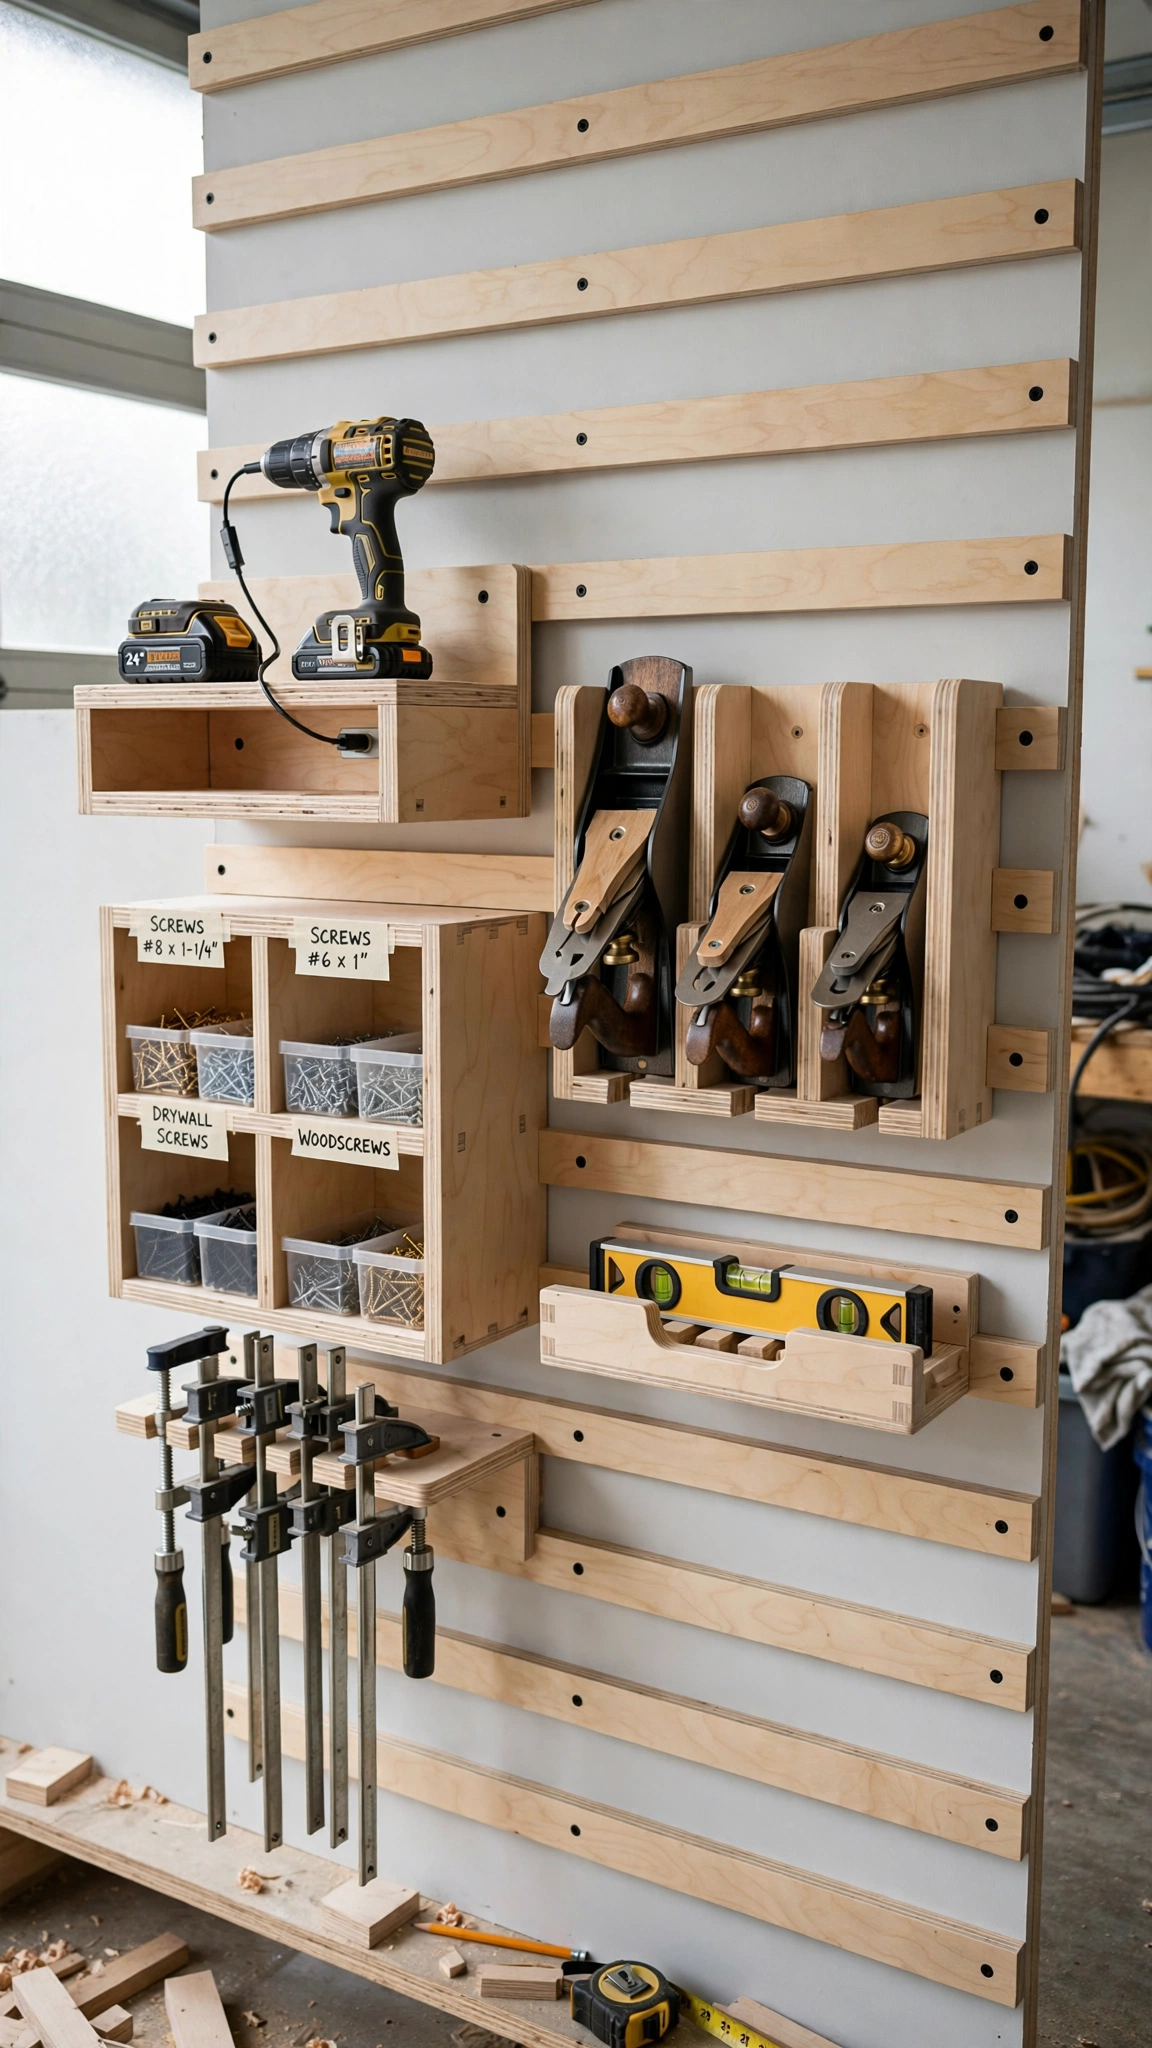
A French cleat wall is like pegboard with superpowers — beveled wooden strips let you build custom holders that slide, lift off, and rearrange in seconds as your tool collection evolves. It is the most future-proof wall storage you can install.
Start with the basics: a drill dock with a charging shelf, a clamp rack, and a few small cubbies for screws and bits. Because every holder is DIY, each one fits your exact tools instead of generic hooks.
The system scales beautifully, too. When you buy a new tool, you build one more holder instead of rethinking your whole wall.
Pro tip: standardize on one cleat angle (45 degrees is classic) so every holder you ever build fits forever. More wall systems in our garage shelving ideas guide.
6. Mount a Magnetic Tool Strip
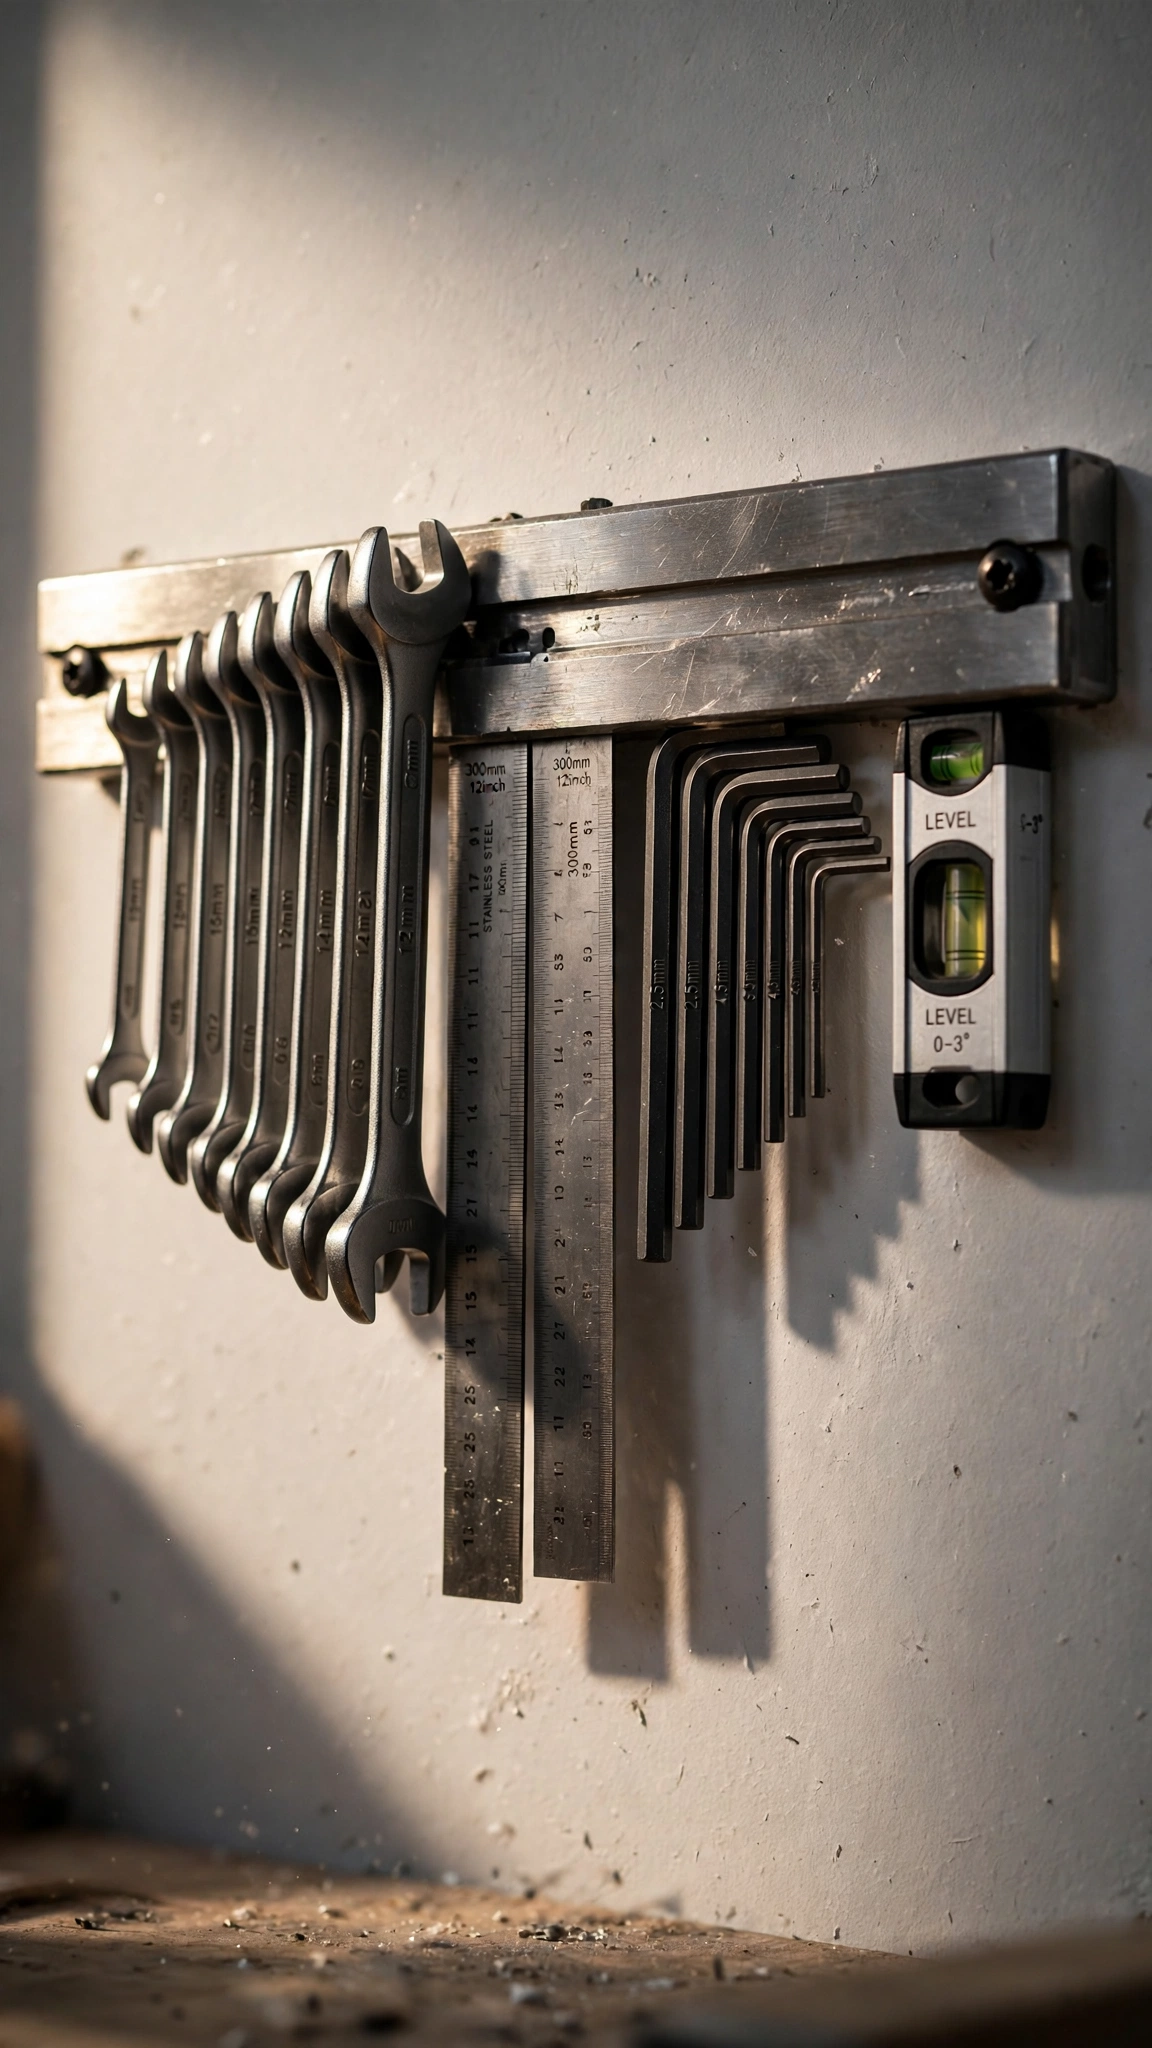
Some tools get grabbed twenty times a day, and they deserve better than a drawer. A magnetic strip keeps your most-used metal tools visible, one-handed, and off the bench surface.
Mount it at eye level right above your workbench — wrenches, drivers, rulers, and squares in size order. The strong magnet holds firmly but releases with a simple twist of the wrist.
This five-dollar upgrade clears surprising bench space and, because everything is visible, you instantly notice what is missing before you close up shop.
Pro tip: keep the strip away from electronics and magnetic drill bits you want to stay demagnetized. For the full bench setup, see our garage interior design ideas.
7. Add a Fold-Down Workbench
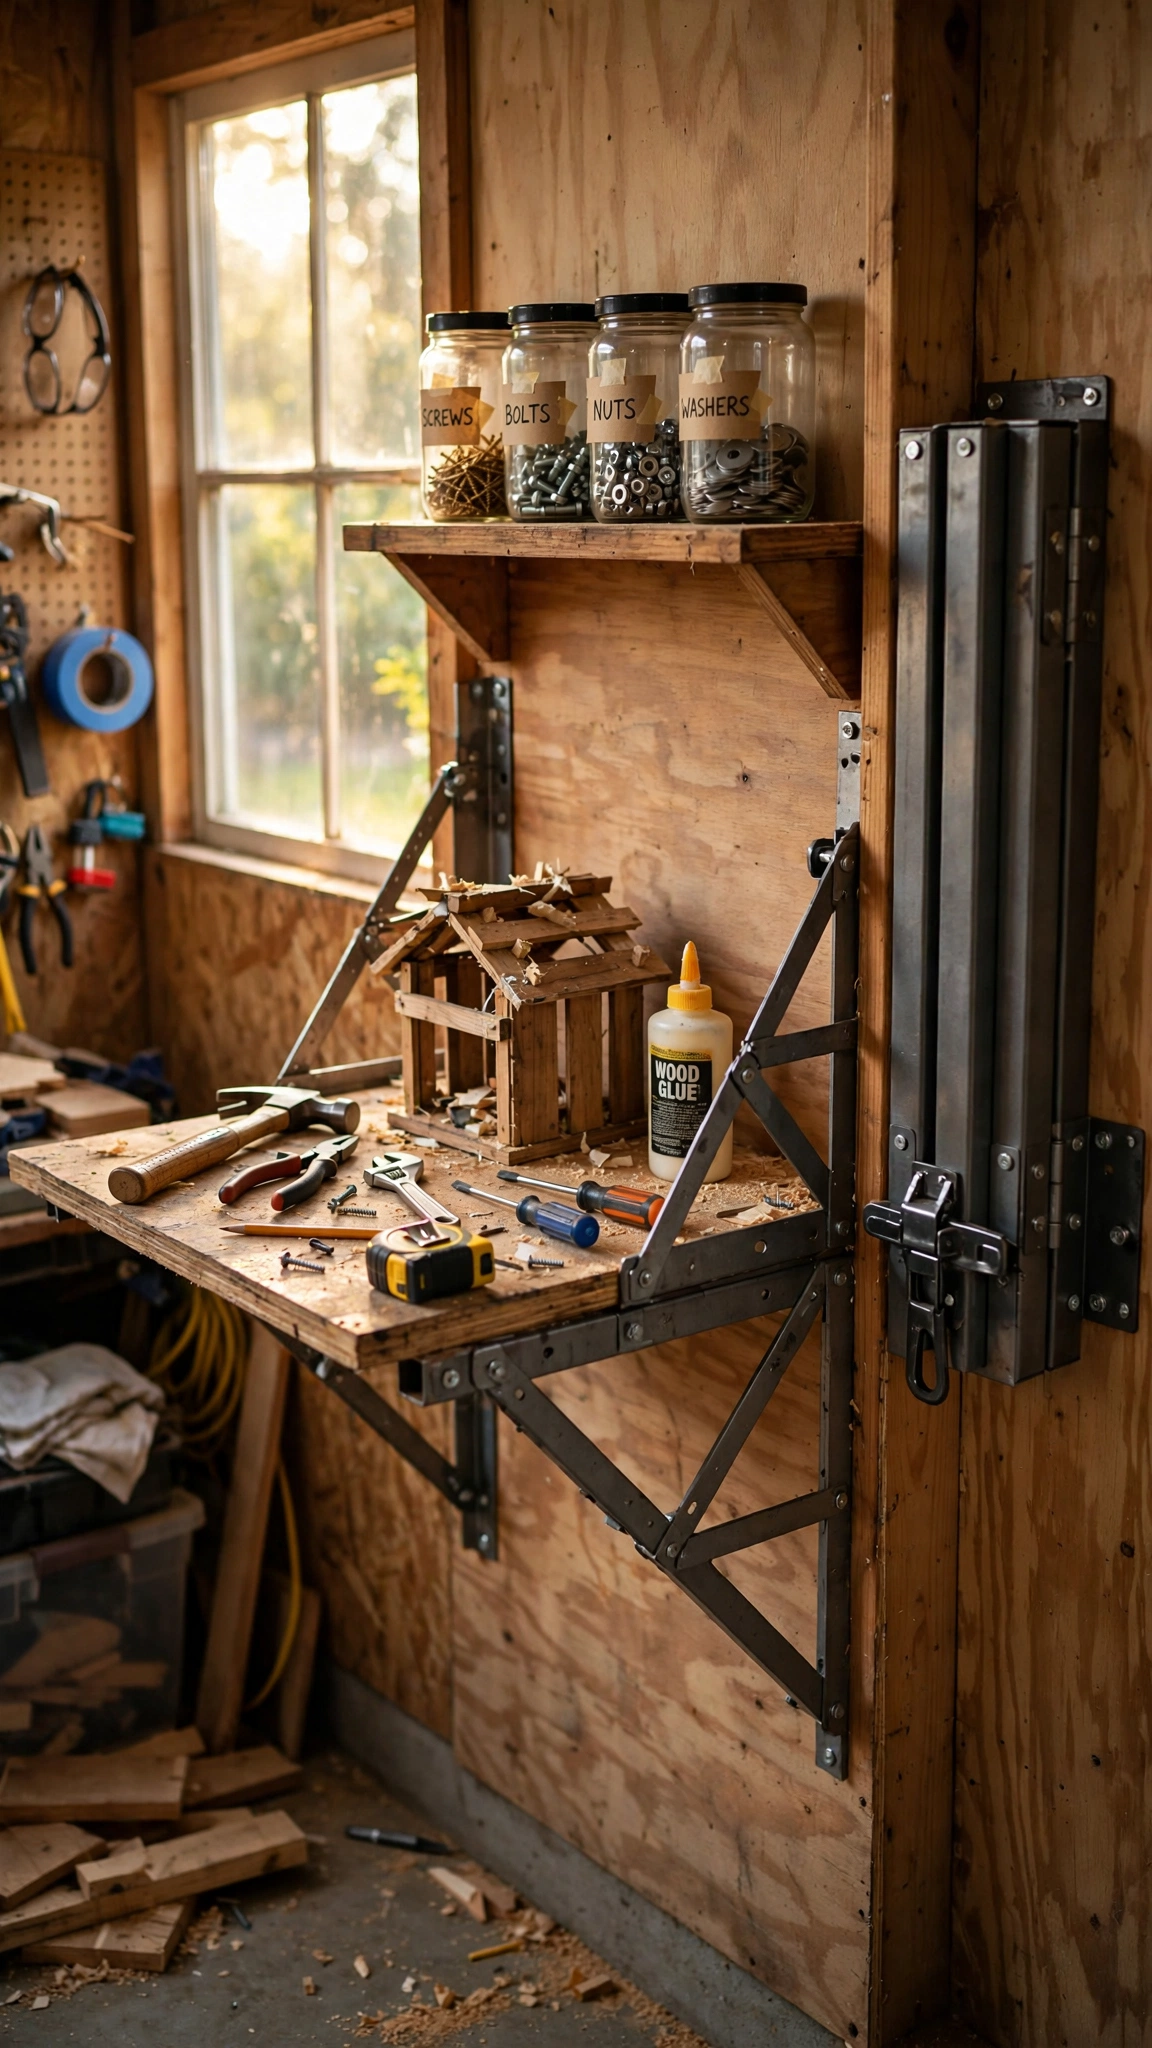
Not every workshop has room for a permanent bench, and that is exactly what fold-down workbenches solve. They give you a full worksurface for the project, then vanish flat against the wall when the car needs the space.
Heavy-duty folding brackets rated for several hundred pounds make these genuinely sturdy — not wobbly camp-table affairs. Add a wall cleat behind for extra rigidity.
Pair each folding bench with a small wall shelf above it for the tools that bench uses most. When the bench folds up, the shelf becomes your visual reminder of where things live.
Pro tip: if your garage pulls double duty, two smaller folding benches beat one big fixed one. See more space-smart renovations in our garage renovation ideas.
8. Upgrade Your Task Lighting
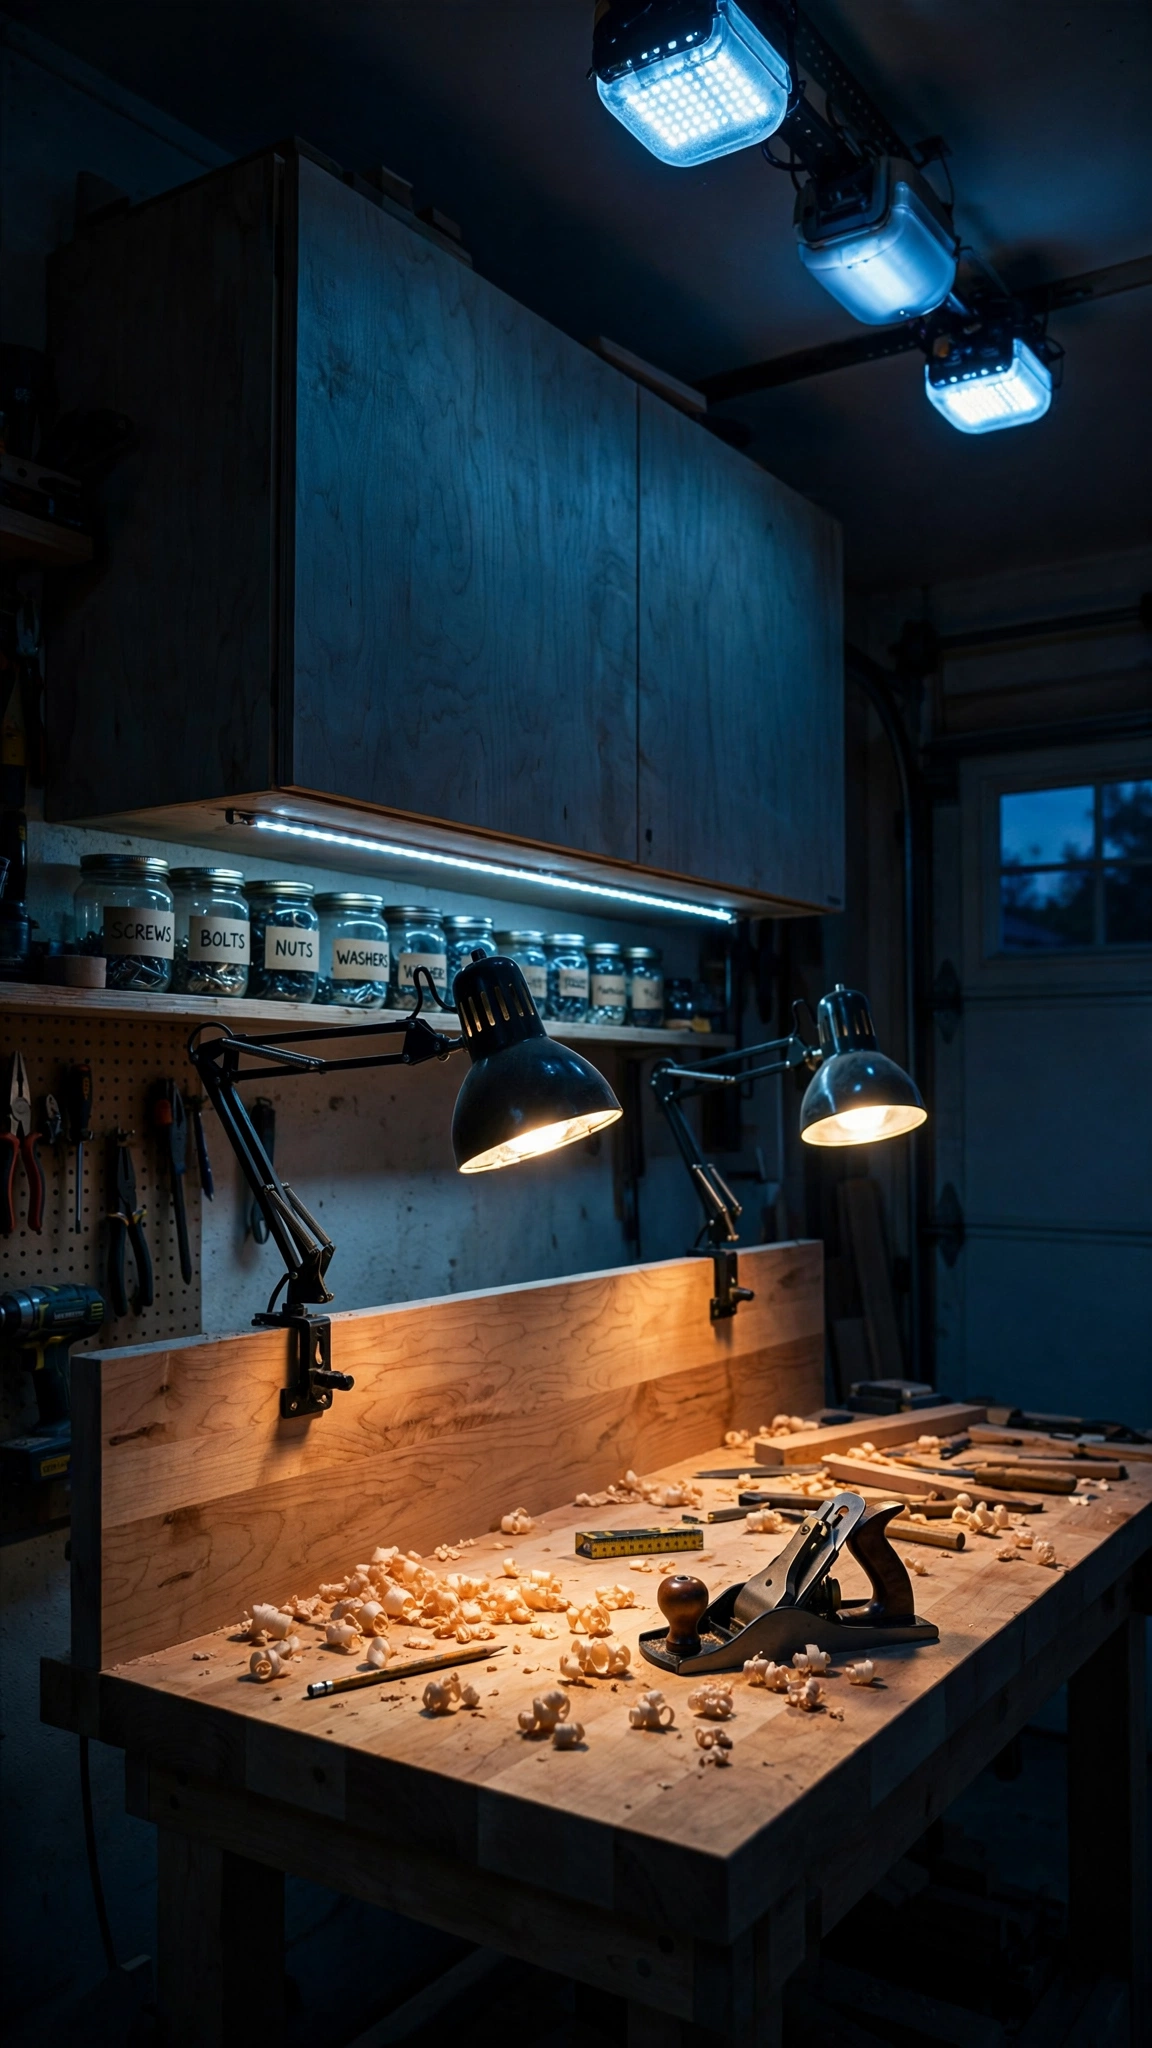
Bad lighting is a hidden productivity killer — squinting at cut lines and misreading measurements costs time and mistakes. Layer your light: bright overheads for the room, focused task lamps for the bench.
Clamp-on articulating lamps put light exactly where the work is and swing away when they are not needed. Under-cabinet LED strips do the same trick for wall storage zones.
Choose 4000K to 5000K bulbs for task areas — daylight-balanced light shows true wood tones and makes pencil lines readable. Save the warm bulbs for the lounge corner.
Pro tip: put task lights on a separate switch from overheads so evening sessions do not blast the whole garage. More lighting schemes in our garage lighting ideas.
9. Sort Small Parts Into Labeled Bins
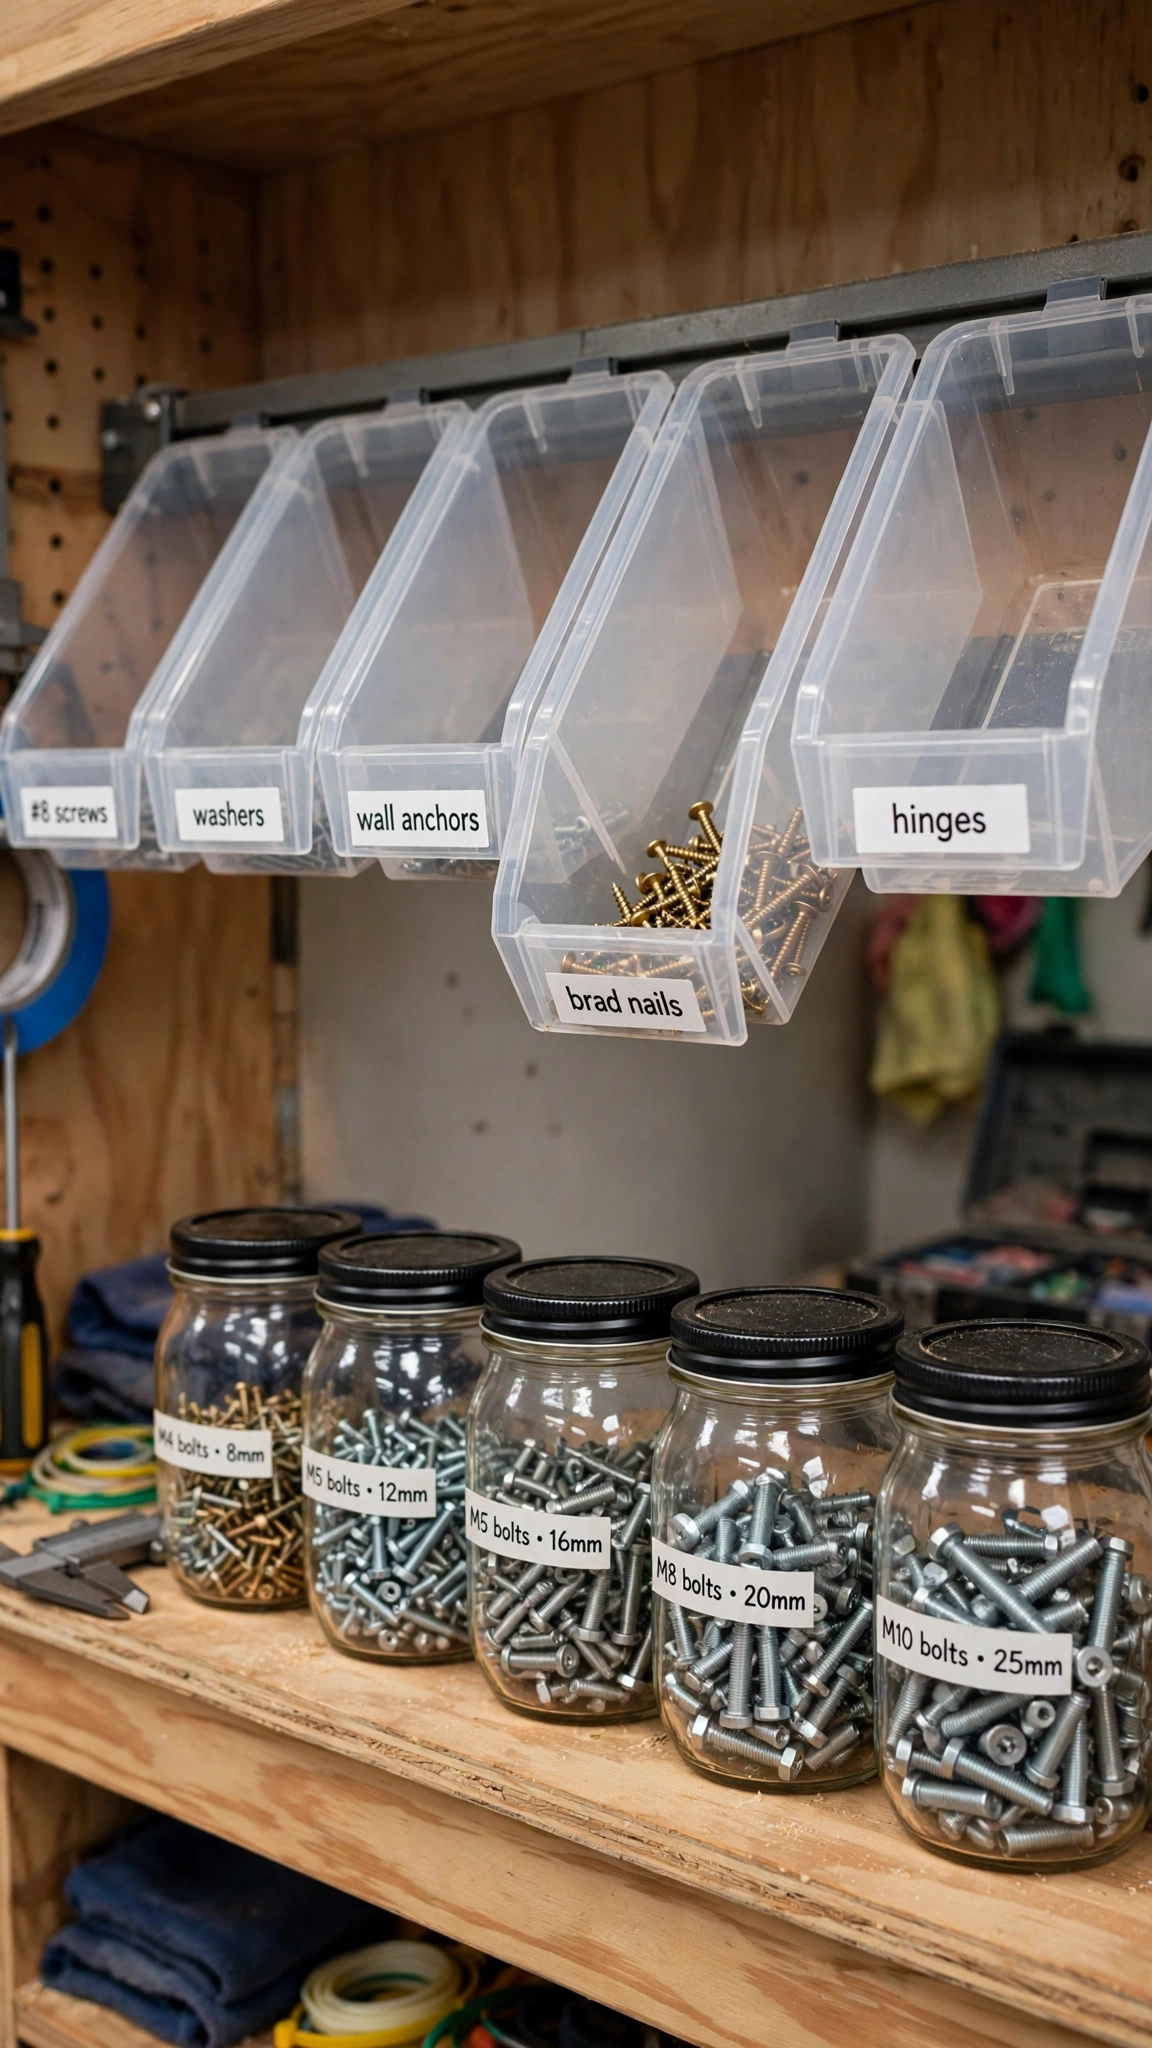
Screws, nails, anchors, and bolts are the glitter of the workshop world — tiny, everywhere, and impossible to find. A wall of small-parts bins ends the chaos in one afternoon.
Tilt-out bins or stackable drawer units both work; the magic is in the labels. Sort by type and size, and suddenly the right fastener is a ten-second grab instead of a twenty-minute dig.
Clear bins or glass jars let you see stock levels at a glance, so you know what to buy before you run out mid-project. Restocking becomes a glance, not a crisis.
Pro tip: label the shelf position too, not just the bin — then anyone can put things back correctly. More small-space systems in our garage storage shelves ideas.
10. Cover Walls With Slatwall Panels
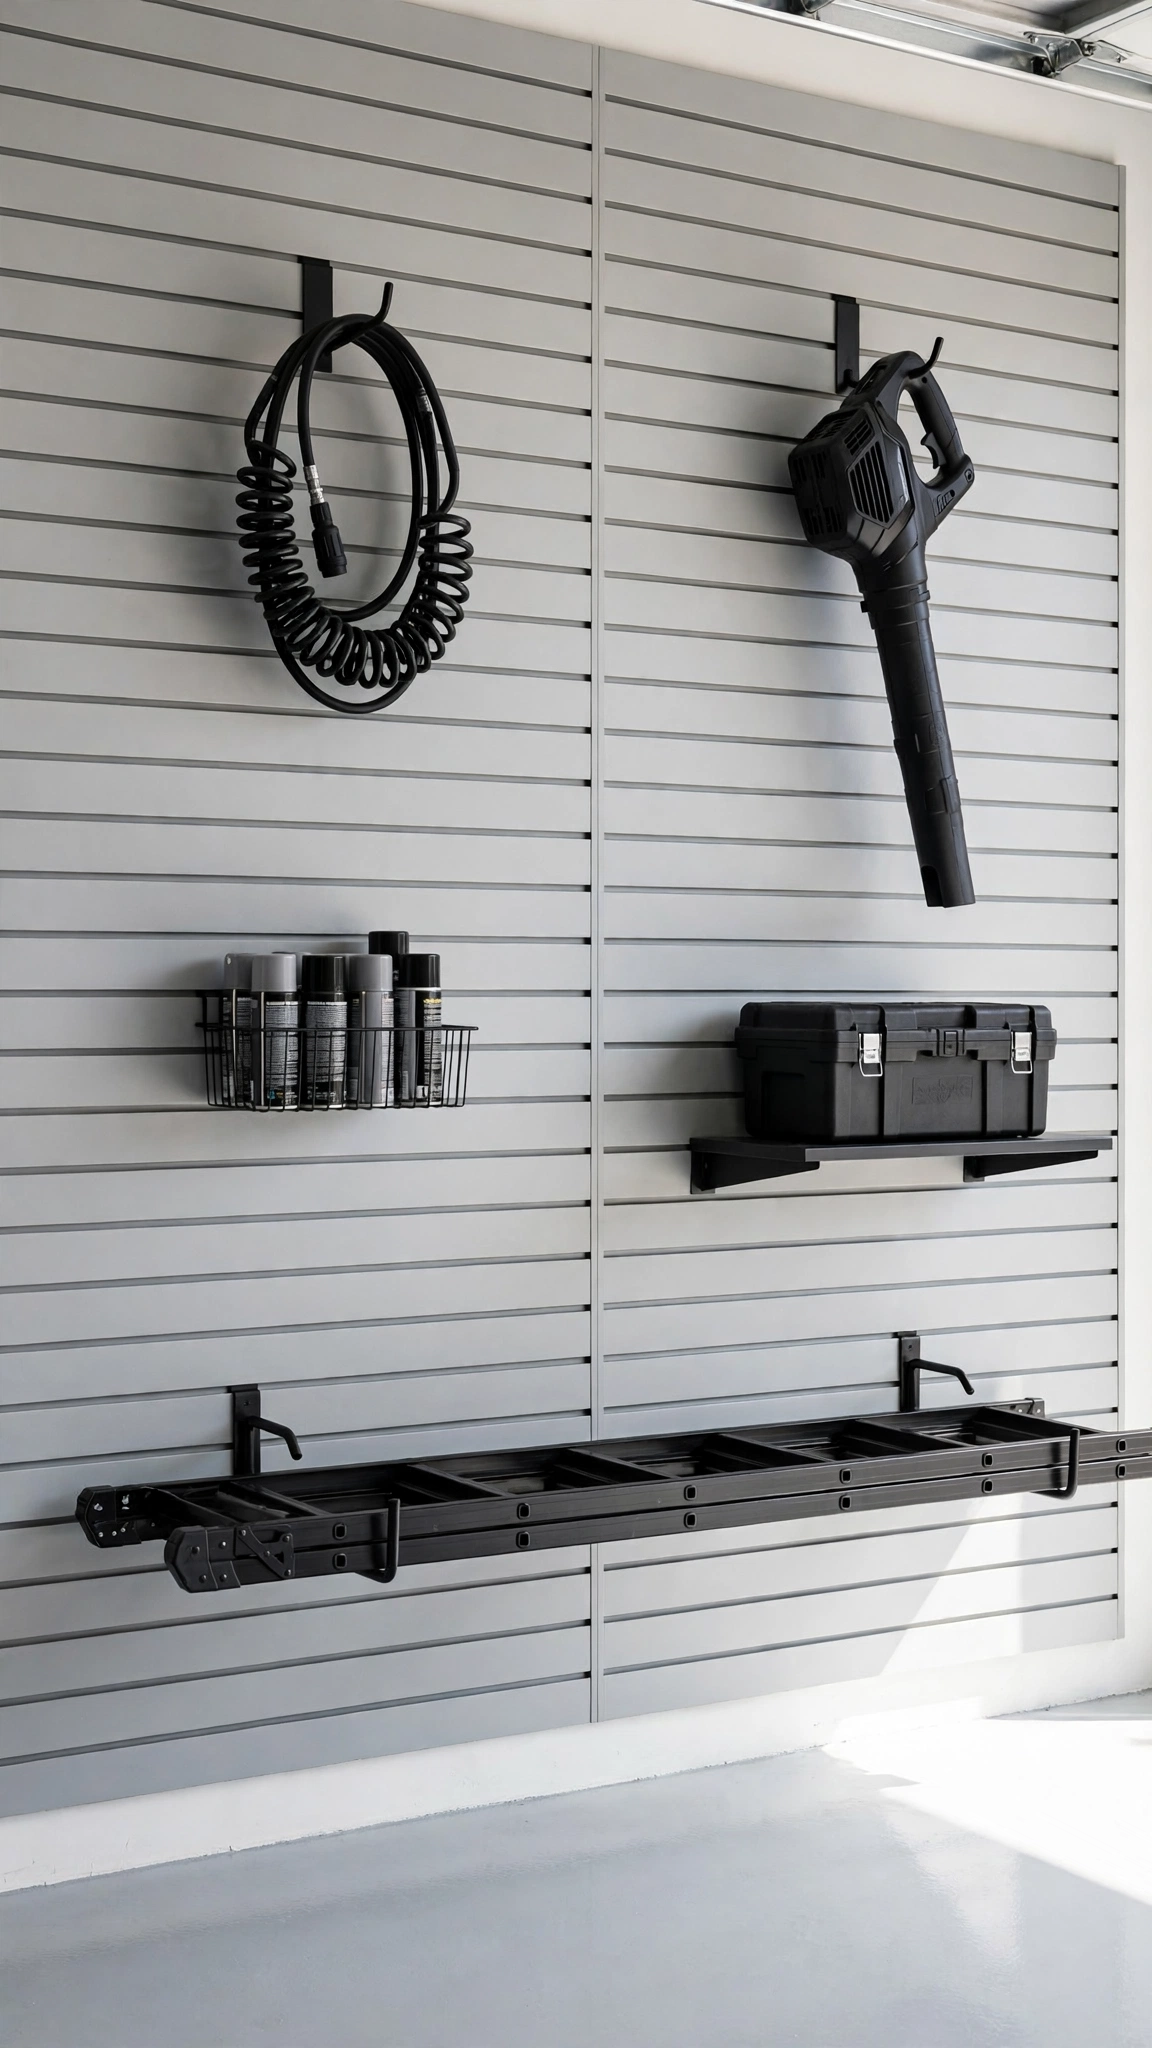
Slatwall is the retail-store secret that belongs in your garage: grooved panels accept hooks, baskets, and shelves anywhere along their length, so the wall reconfigures in minutes without new holes.
It handles heavier loads than pegboard, which makes it ideal for the bulky stuff — leaf blowers, ladders, hose reels, and full toolboxes. The weight spreads across the panel instead of stressing single hooks.
A full slatwall section behind your bench turns the most visible wall into a showroom of organized gear. It looks so clean that guests will ask who your contractor was.
Pro tip: use locking tabs on hooks that hold heavy or vibrating items so they never creep off the panel. More wall treatments in our garage interior wall ideas.
11. Build a Vertical Lumber Rack
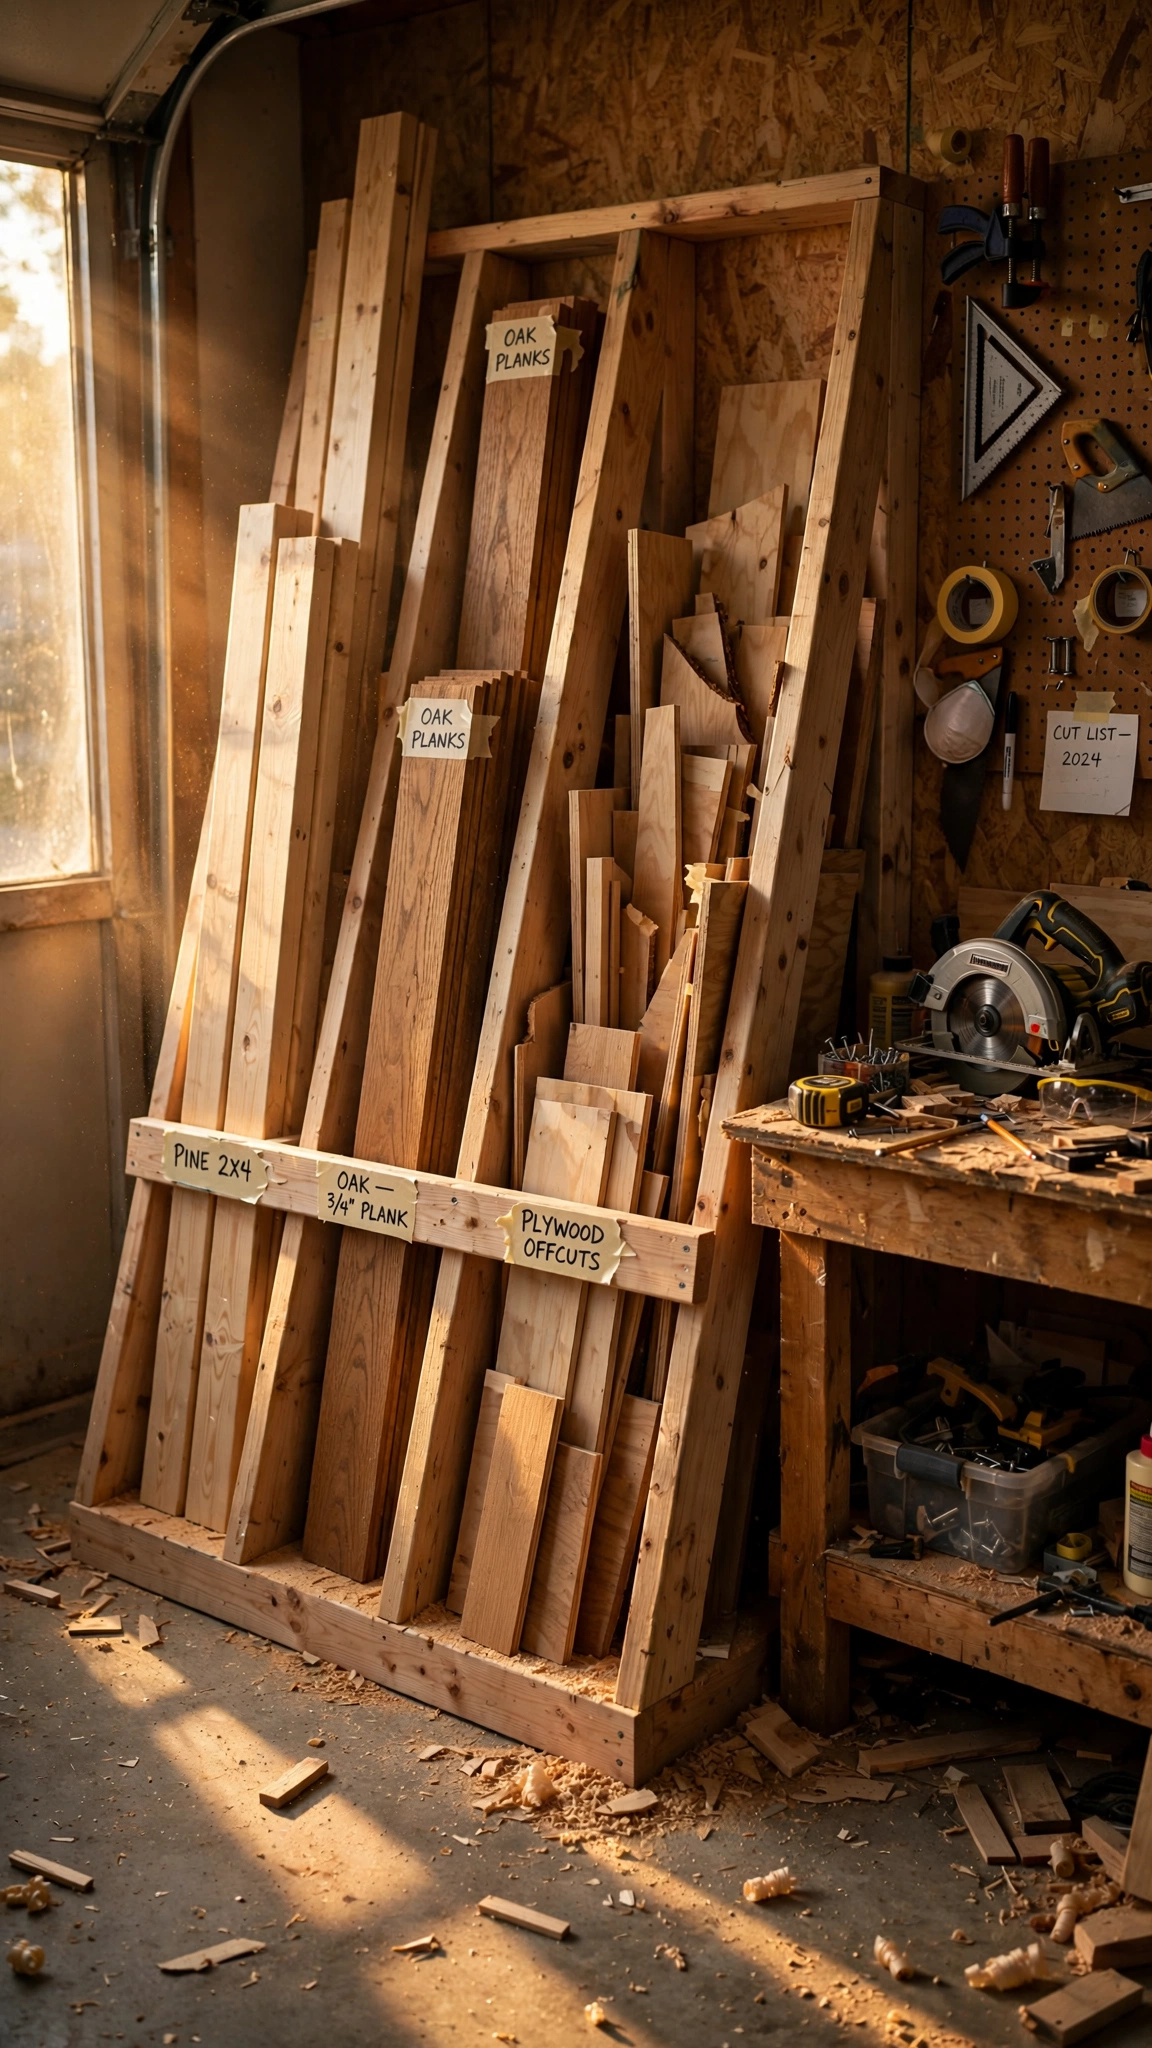
Lumber stored flat eats floor space and warps under its own weight; stored upright in a rack, it stays straight, visible, and out of the way. A simple A-frame rack in an unused corner solves the leaning-board avalanche forever.
Sort slots by species and length so you can see your whole inventory at a glance. Offcuts get their own short bin — that cutoff pile is future project material, not trash.
Keep the rack near your saws so boards travel inches, not across the whole garage. Workflow proximity is the difference between organized and merely stored.
Pro tip: cap the rack height at what you can safely reach — tall boards tip dangerously. See bigger transformations in our garage upgrade ideas.
12. Dedicate a Drawer Bank for Fasteners
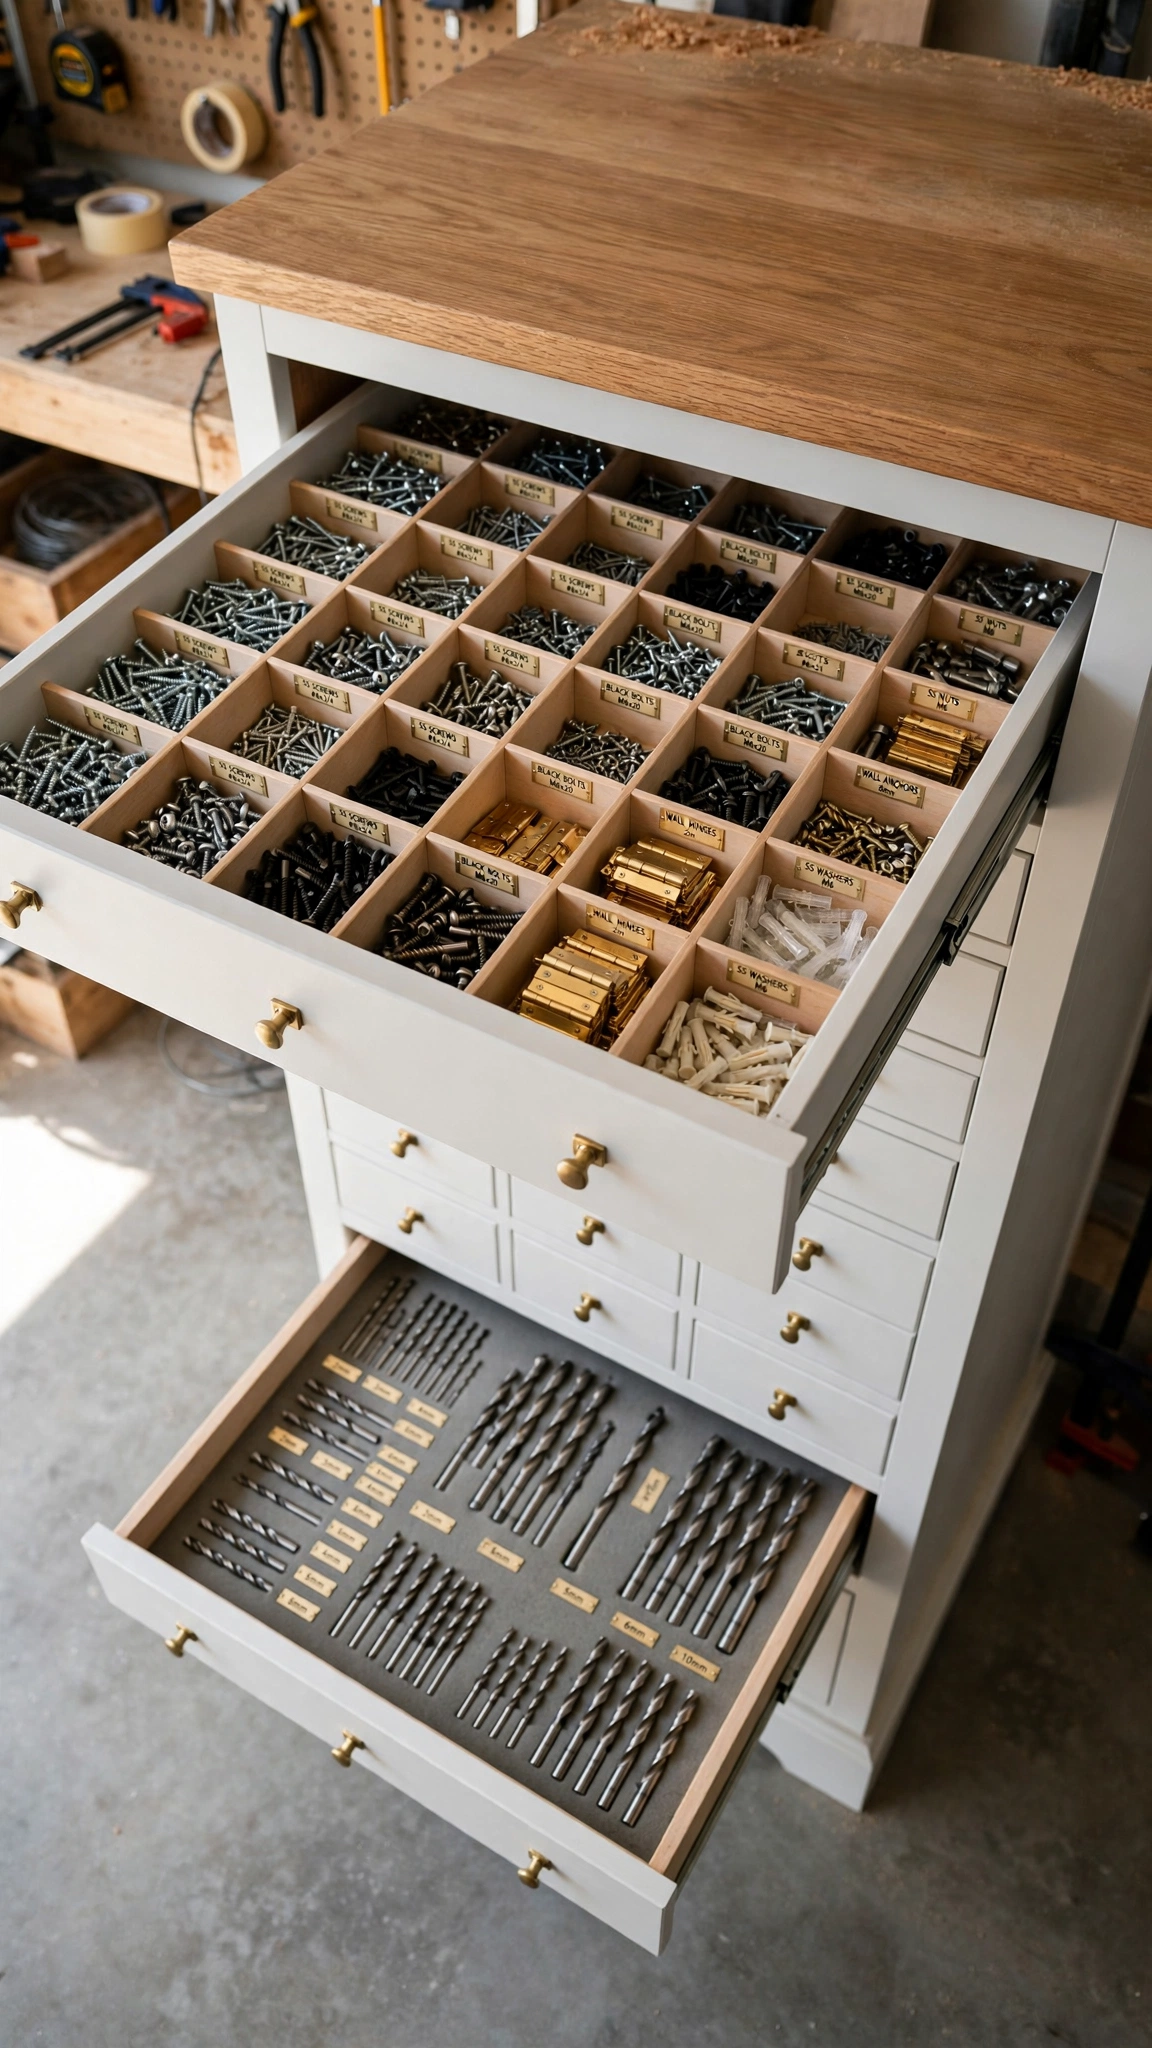
If wall bins are your pantry, a dedicated fastener drawer bank is your spice rack — the deep, organized heart of all the little things. Shallow drawers with dividers keep every screw size in its own compartment.
The genius of drawers is density: one cabinet footprint holds what would cover an entire wall of bins. Everything is protected from dust, too, which matters for threads and finishes.
Go one step further with a printed inventory card taped inside each drawer listing what lives where. Future-you, mid-project and in a hurry, will be grateful.
Pro tip: standardize on one screw brand and drive type across projects so your drawer stock stays lean. Matching cabinets in our garage cabinet ideas.
13. Lift Bikes and Bulky Gear to the Ceiling
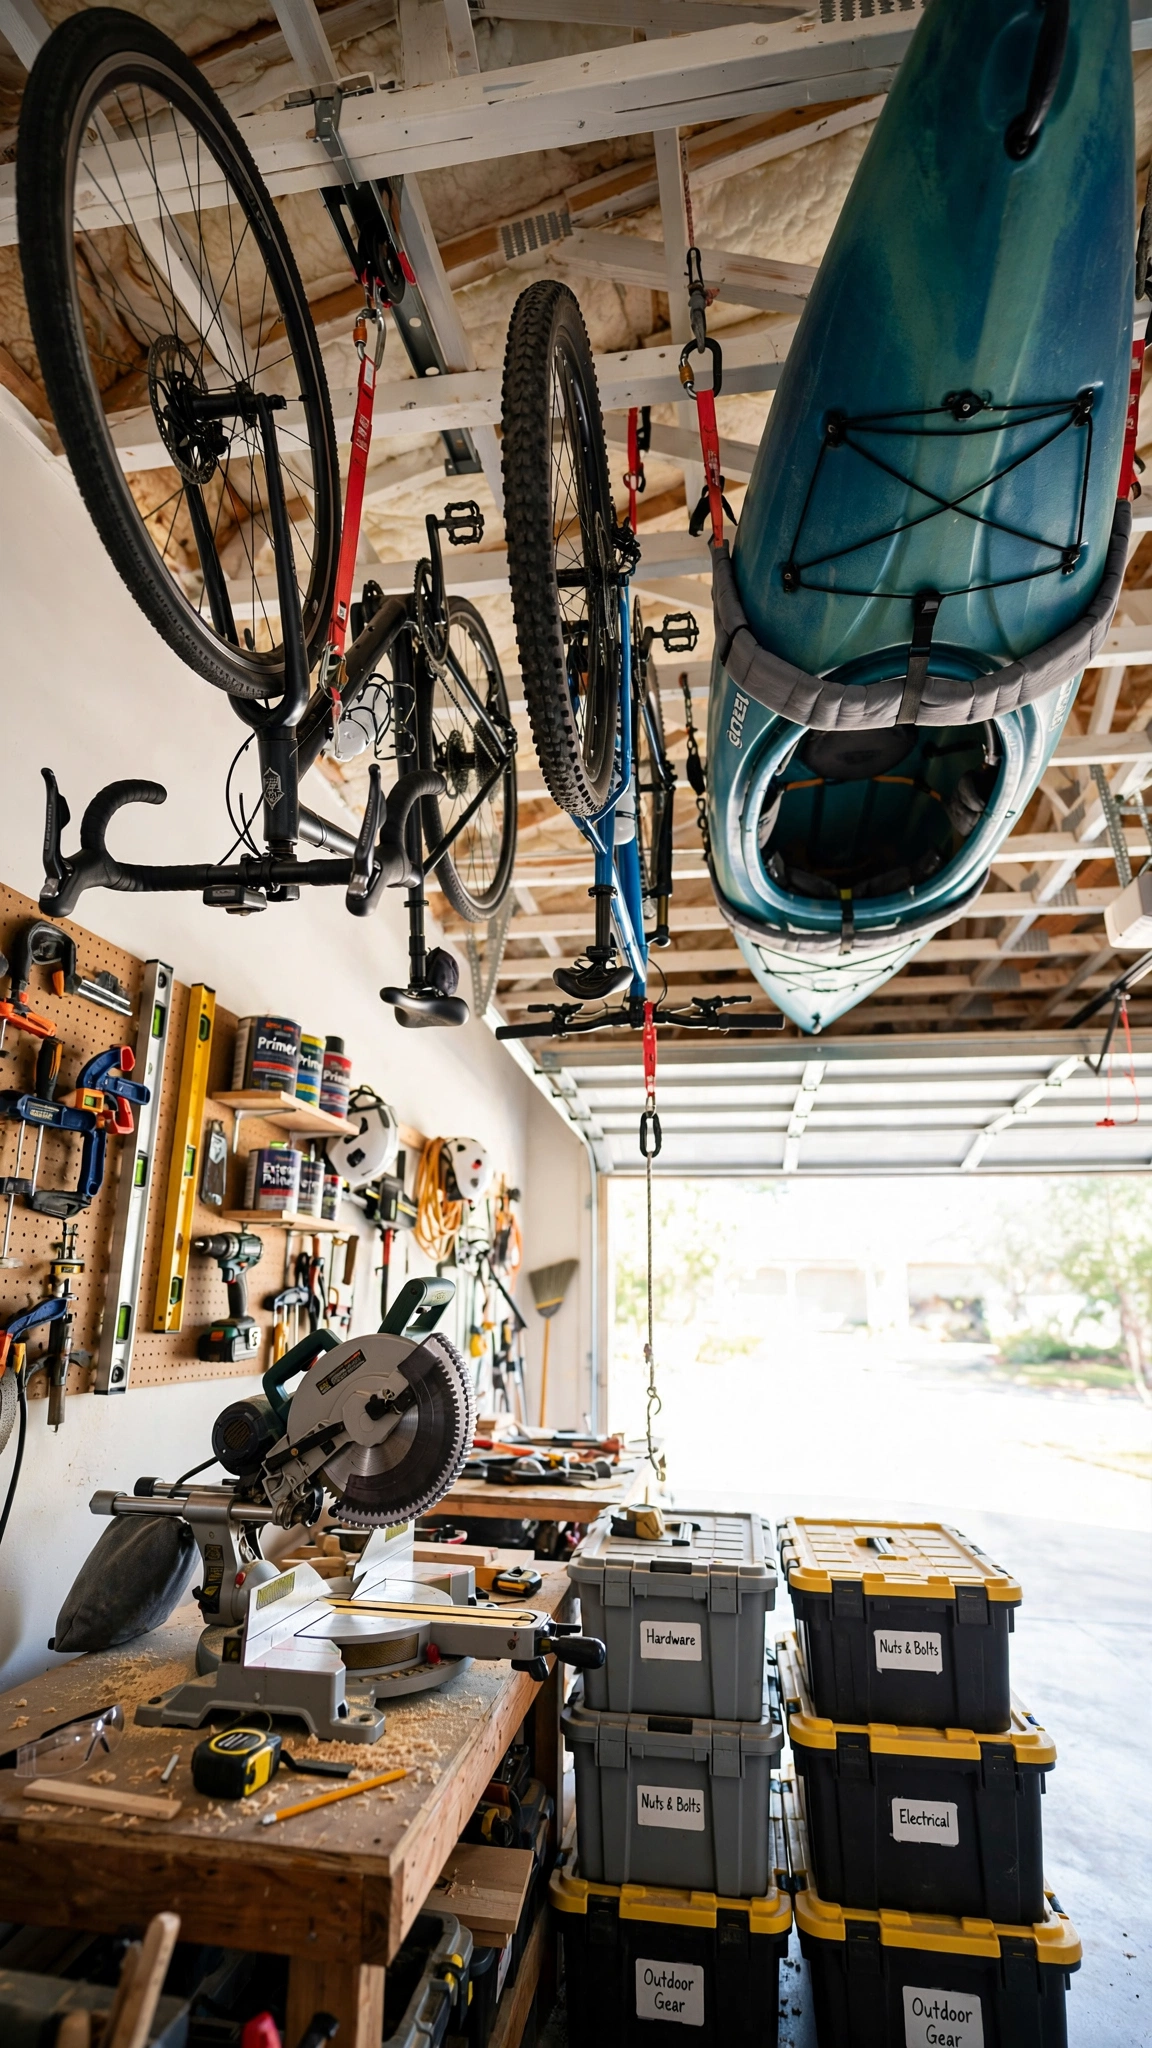
Bikes, kayaks, and paddleboards are workshop space thieves — huge, awkward, and always in the way of the project you actually want to do. Ceiling hoists and wall pulleys lift them flat overhead where they bother nobody.
Pulley systems let one person raise and lower a bike with a simple rope pull, no ladder acrobatics required. Locking mechanisms keep everything secure once it is up.
This single move can reclaim twenty square feet of floor — enough for an assembly table or a proper finishing area. The floor space you free is the real project here.
Pro tip: mount hoists into joists, never just drywall, and test with the heaviest gear first. More ceiling strategies in our garage interior design ideas.
14. Create a Dedicated Assembly Island
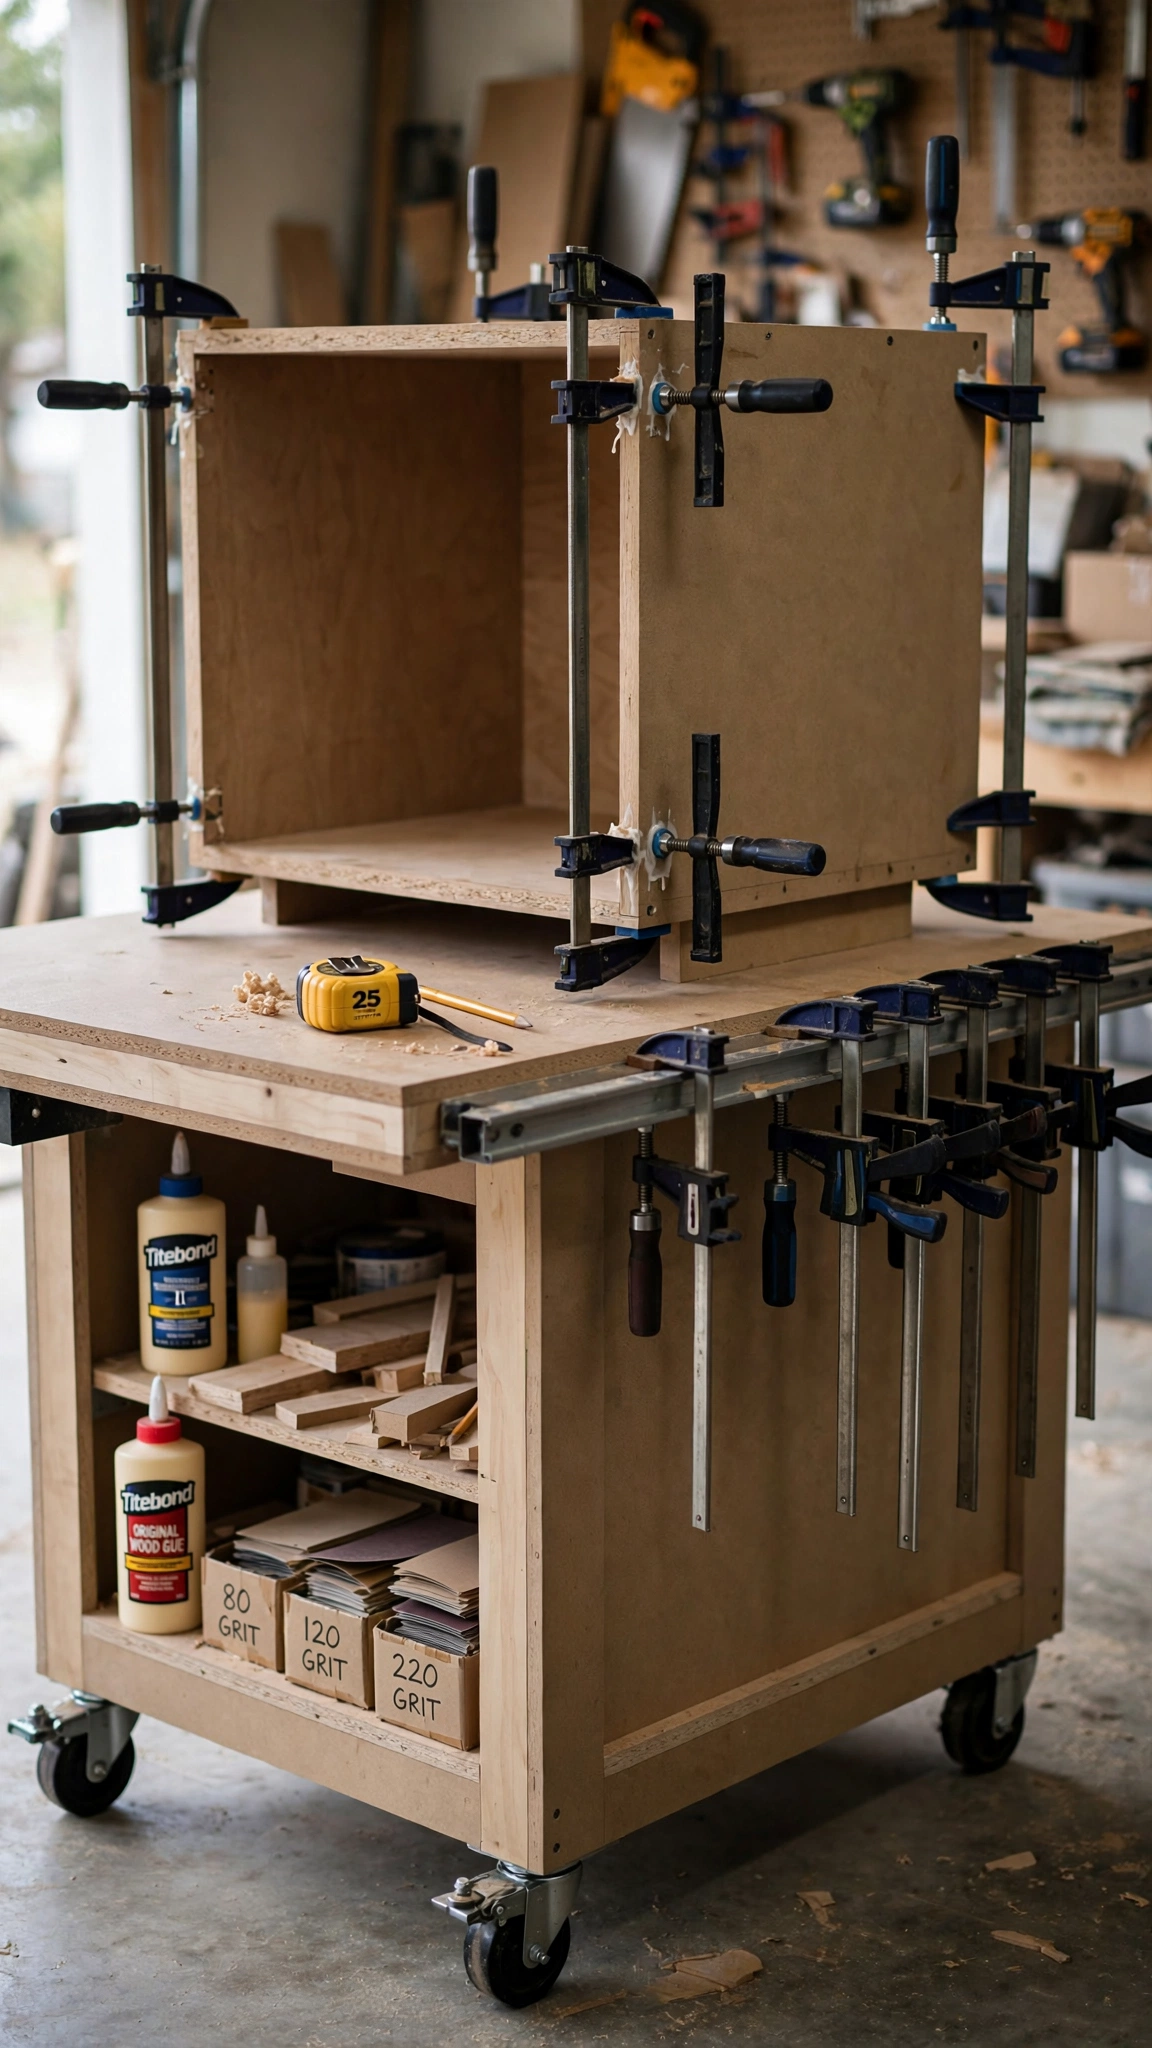
Big projects need a big flat surface, and trying to assemble furniture on your main bench is how benches become permanent clutter. A dedicated assembly island — even a simple torsion-box table — gives glue-ups and casework their own home.
Build it dead flat and the same height as your table saw so it doubles as an outfeed table. Locking casters let it shift for sheet goods, then park precisely back in place.
Store only assembly supplies underneath: glue, clamps, sandpaper, and shims. When the island is clear, the next project starts in minutes instead of after a cleanup session.
Pro tip: drill a grid of dog holes in the top for holdfasts and clamping — it triples the table’s usefulness. Layout inspiration in our garage workshop layout ideas.
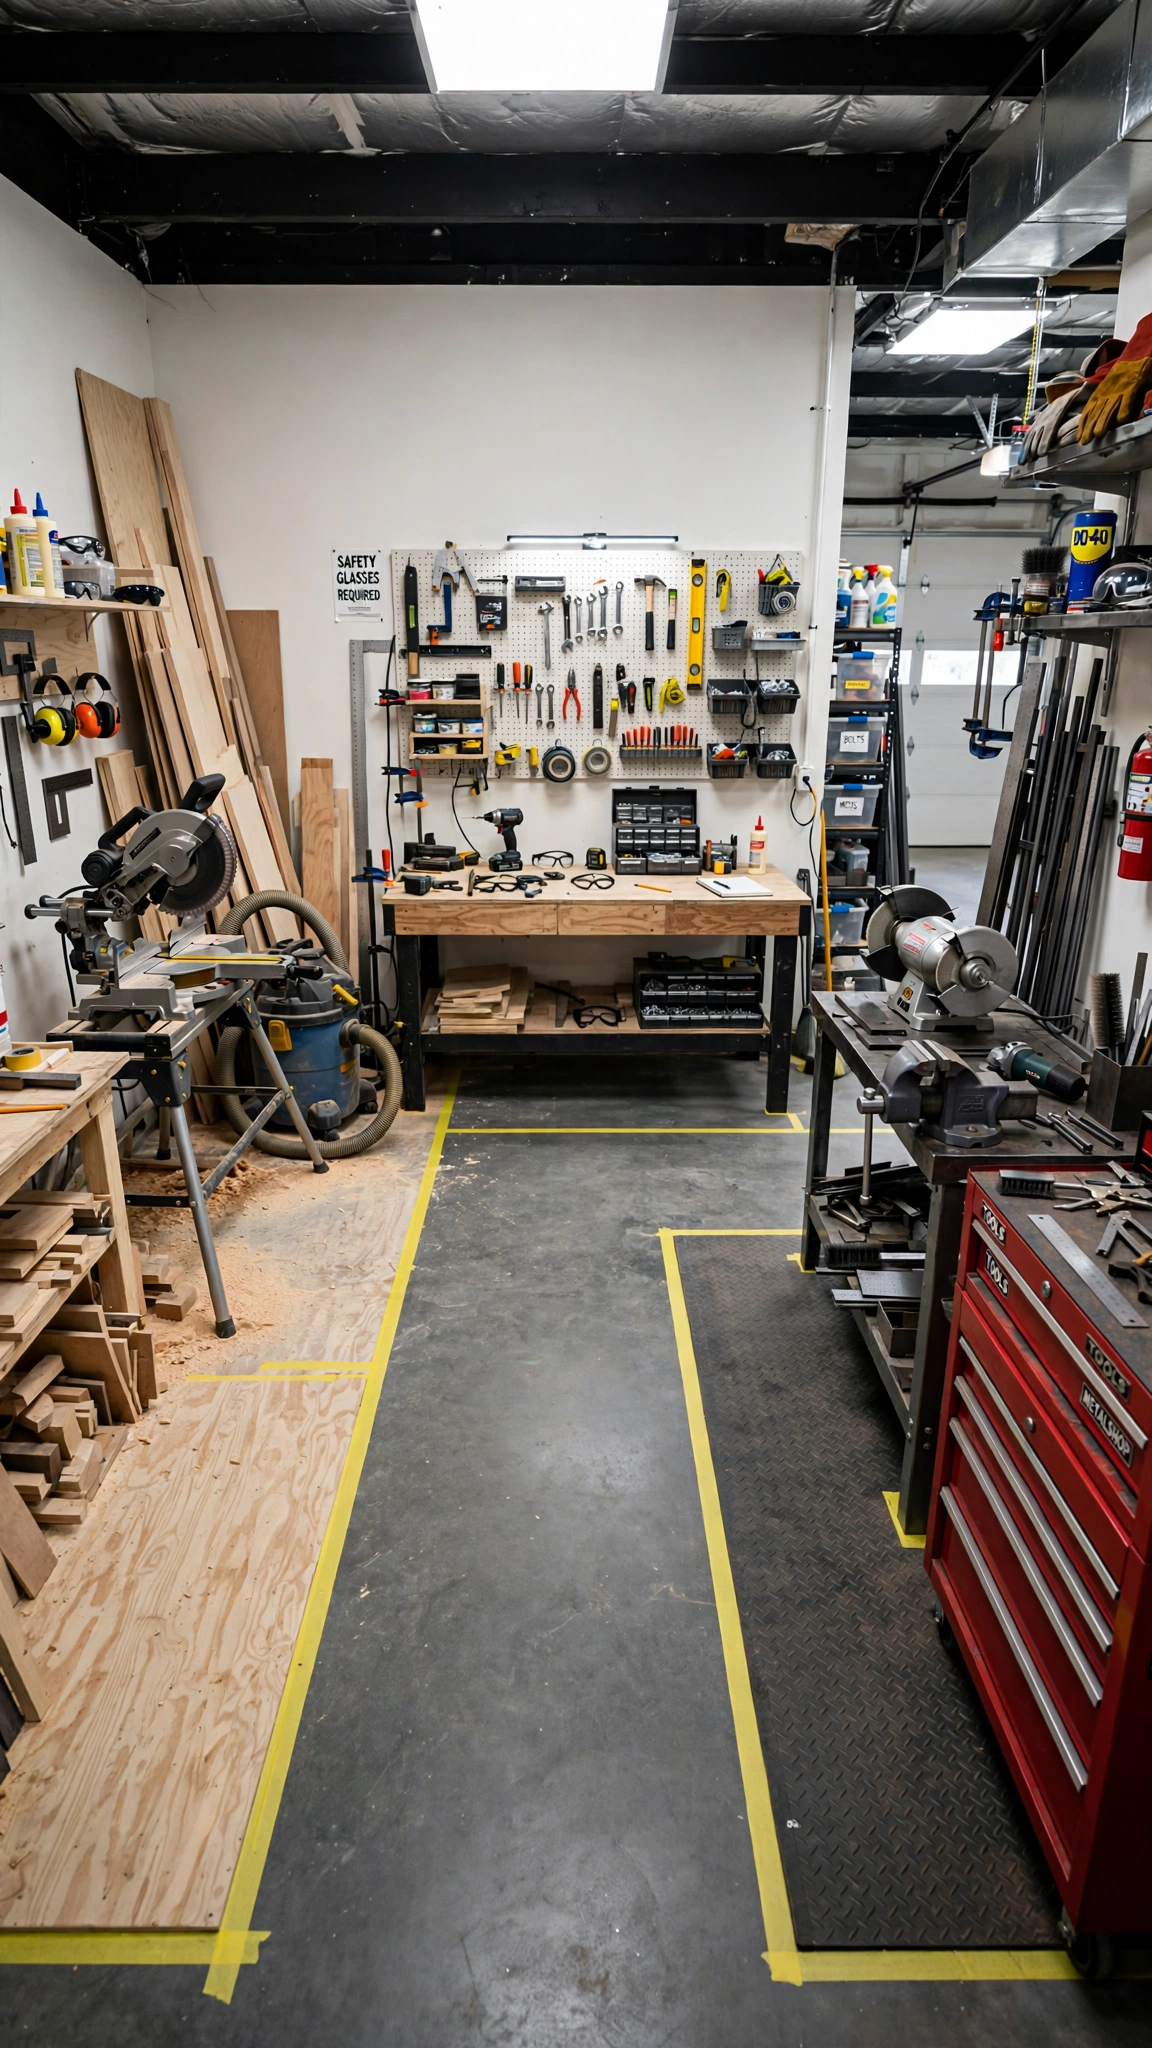
15. Zone Your Workshop by Task
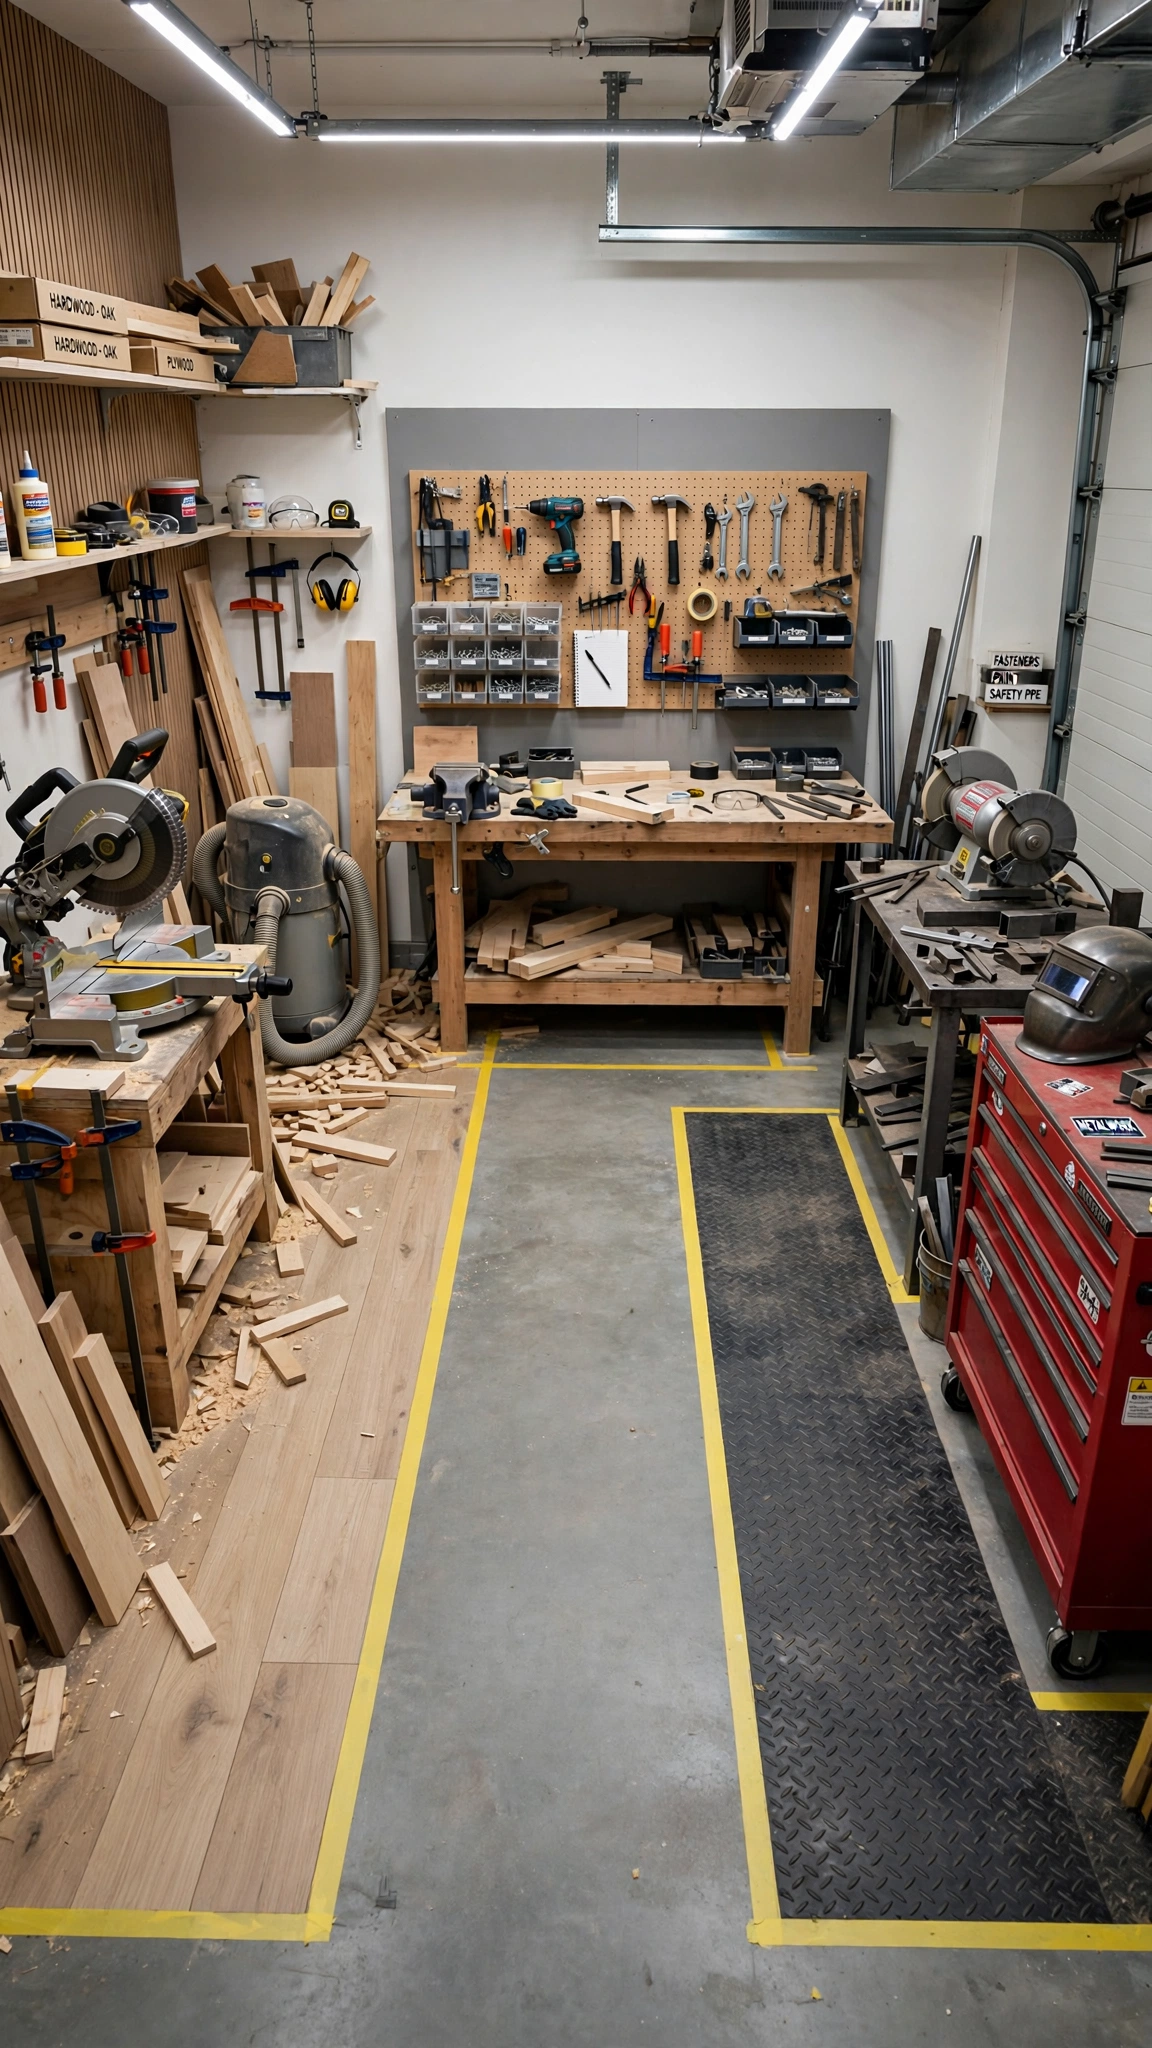
The most organized workshops are not just tidy — they are zoned. Divide your garage into task areas: cutting, assembly, finishing, and metalwork, each with its own tools, lighting, and dust control.
Zoning stops cross-contamination: sawdust stays at the saws, metal filings stay at the grinder, and your finishing area stays pristine. Projects flow from zone to zone like an assembly line.
Even simple floor tape lines marking each zone’s boundary change behavior — tools migrate back to their zone naturally when the zones are visually obvious.
Pro tip: put the messiest zone nearest the garage door for ventilation and easy sweep-out. See zone-based designs in our garage workshop ideas.
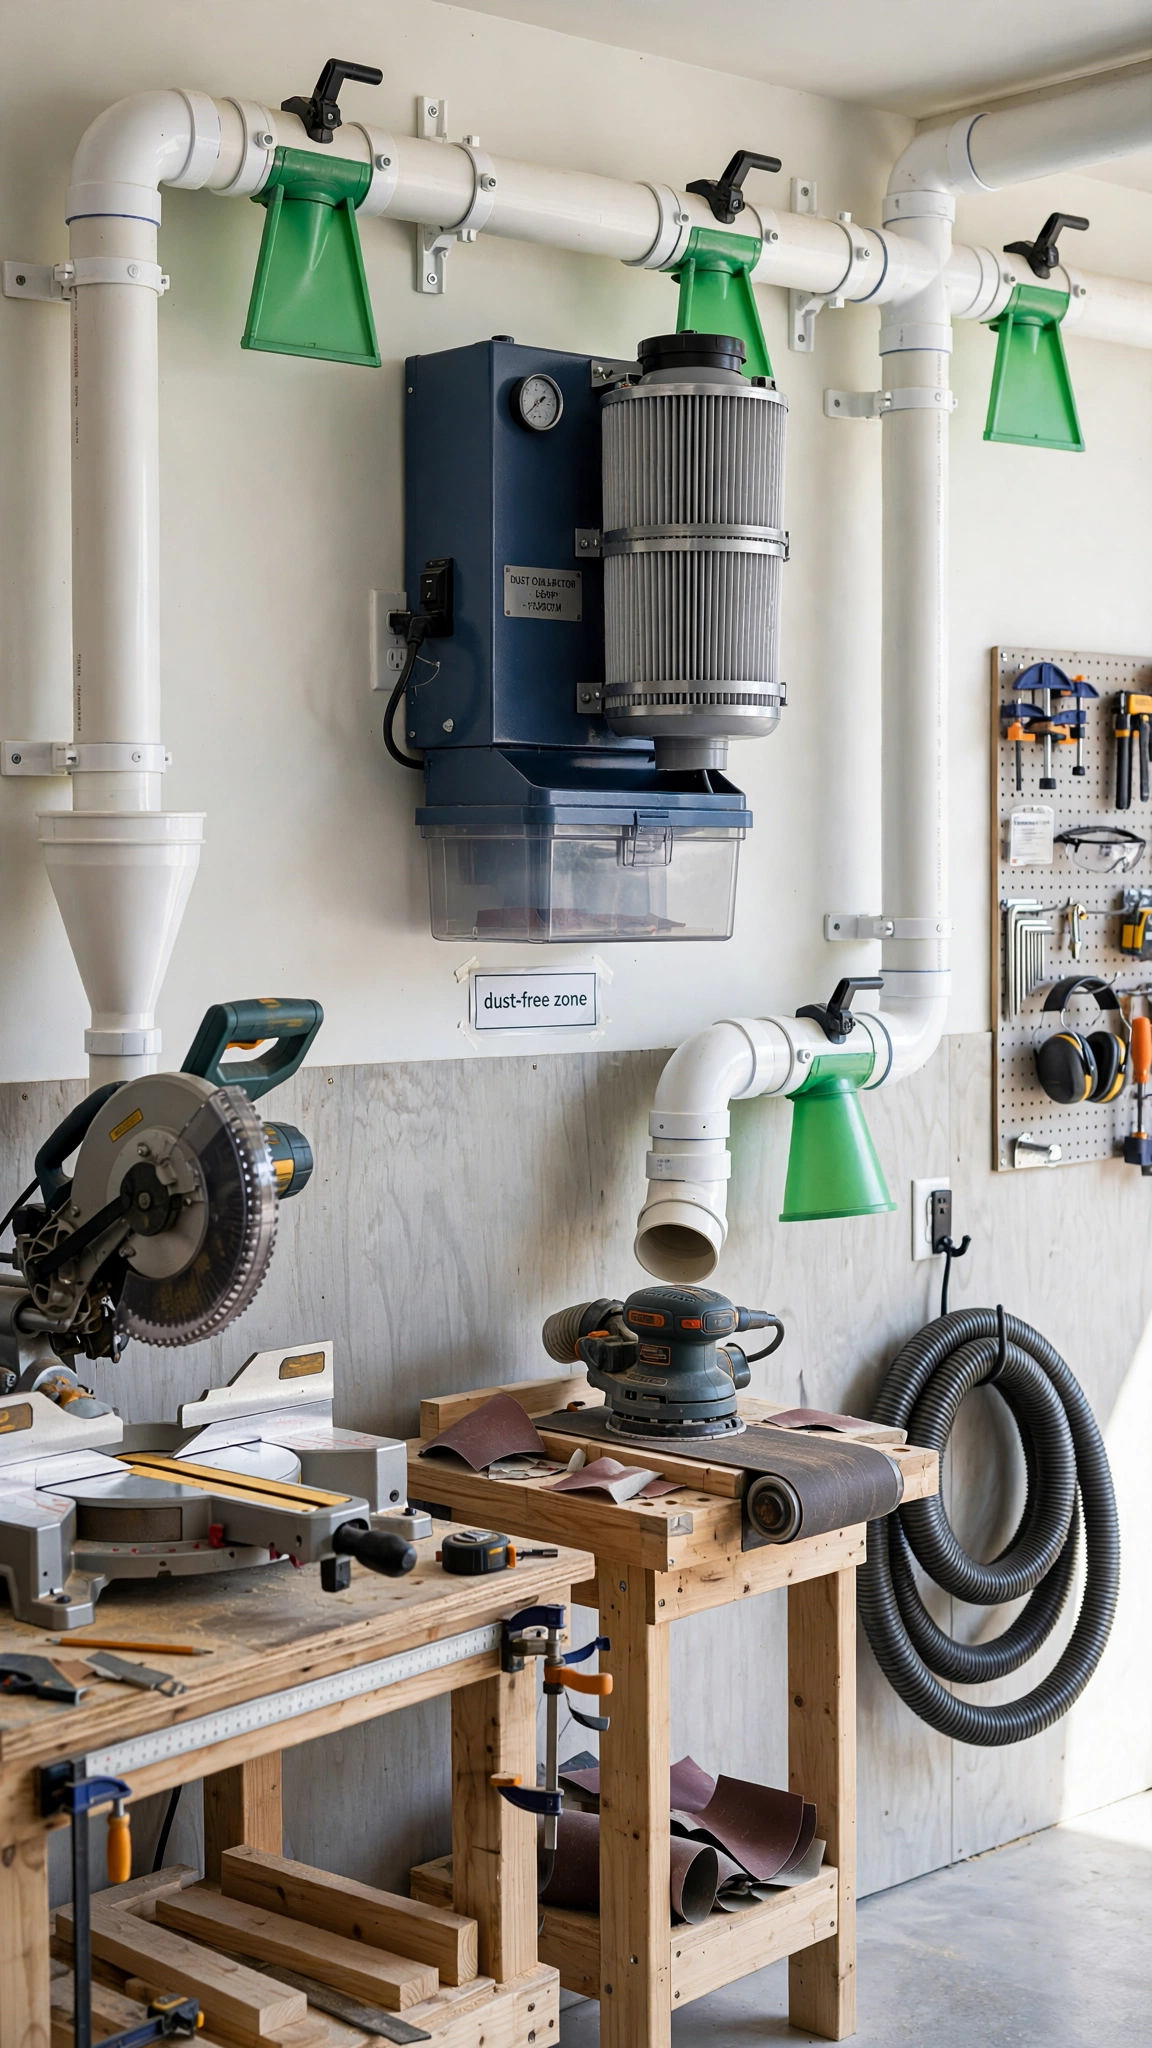
16. Install a Wall-Mounted Dust Collection Corner
Dust is the silent enemy of an organized workshop — it coats every surface, dulls tools, and makes the whole space feel grimy no matter how tidy it is. A wall-mounted dust collector with simple ducting to your dustiest tools changes everything.
Wall-mounting keeps the floor clear and the unit out of the workflow. Run rigid ducting to your miter saw, table saw, and sander with blast gates, so suction goes exactly where you need it.
The payoff is immediate: cleaner air, cleaner tools, and a workshop that stays looking organized between deep cleans. Your lungs and your finishes both benefit.
Pro tip: add a remote switch on your bench so the collector starts with one click. Healthier shop setups in our garage man cave ideas — yes, comfort matters in a workshop too.
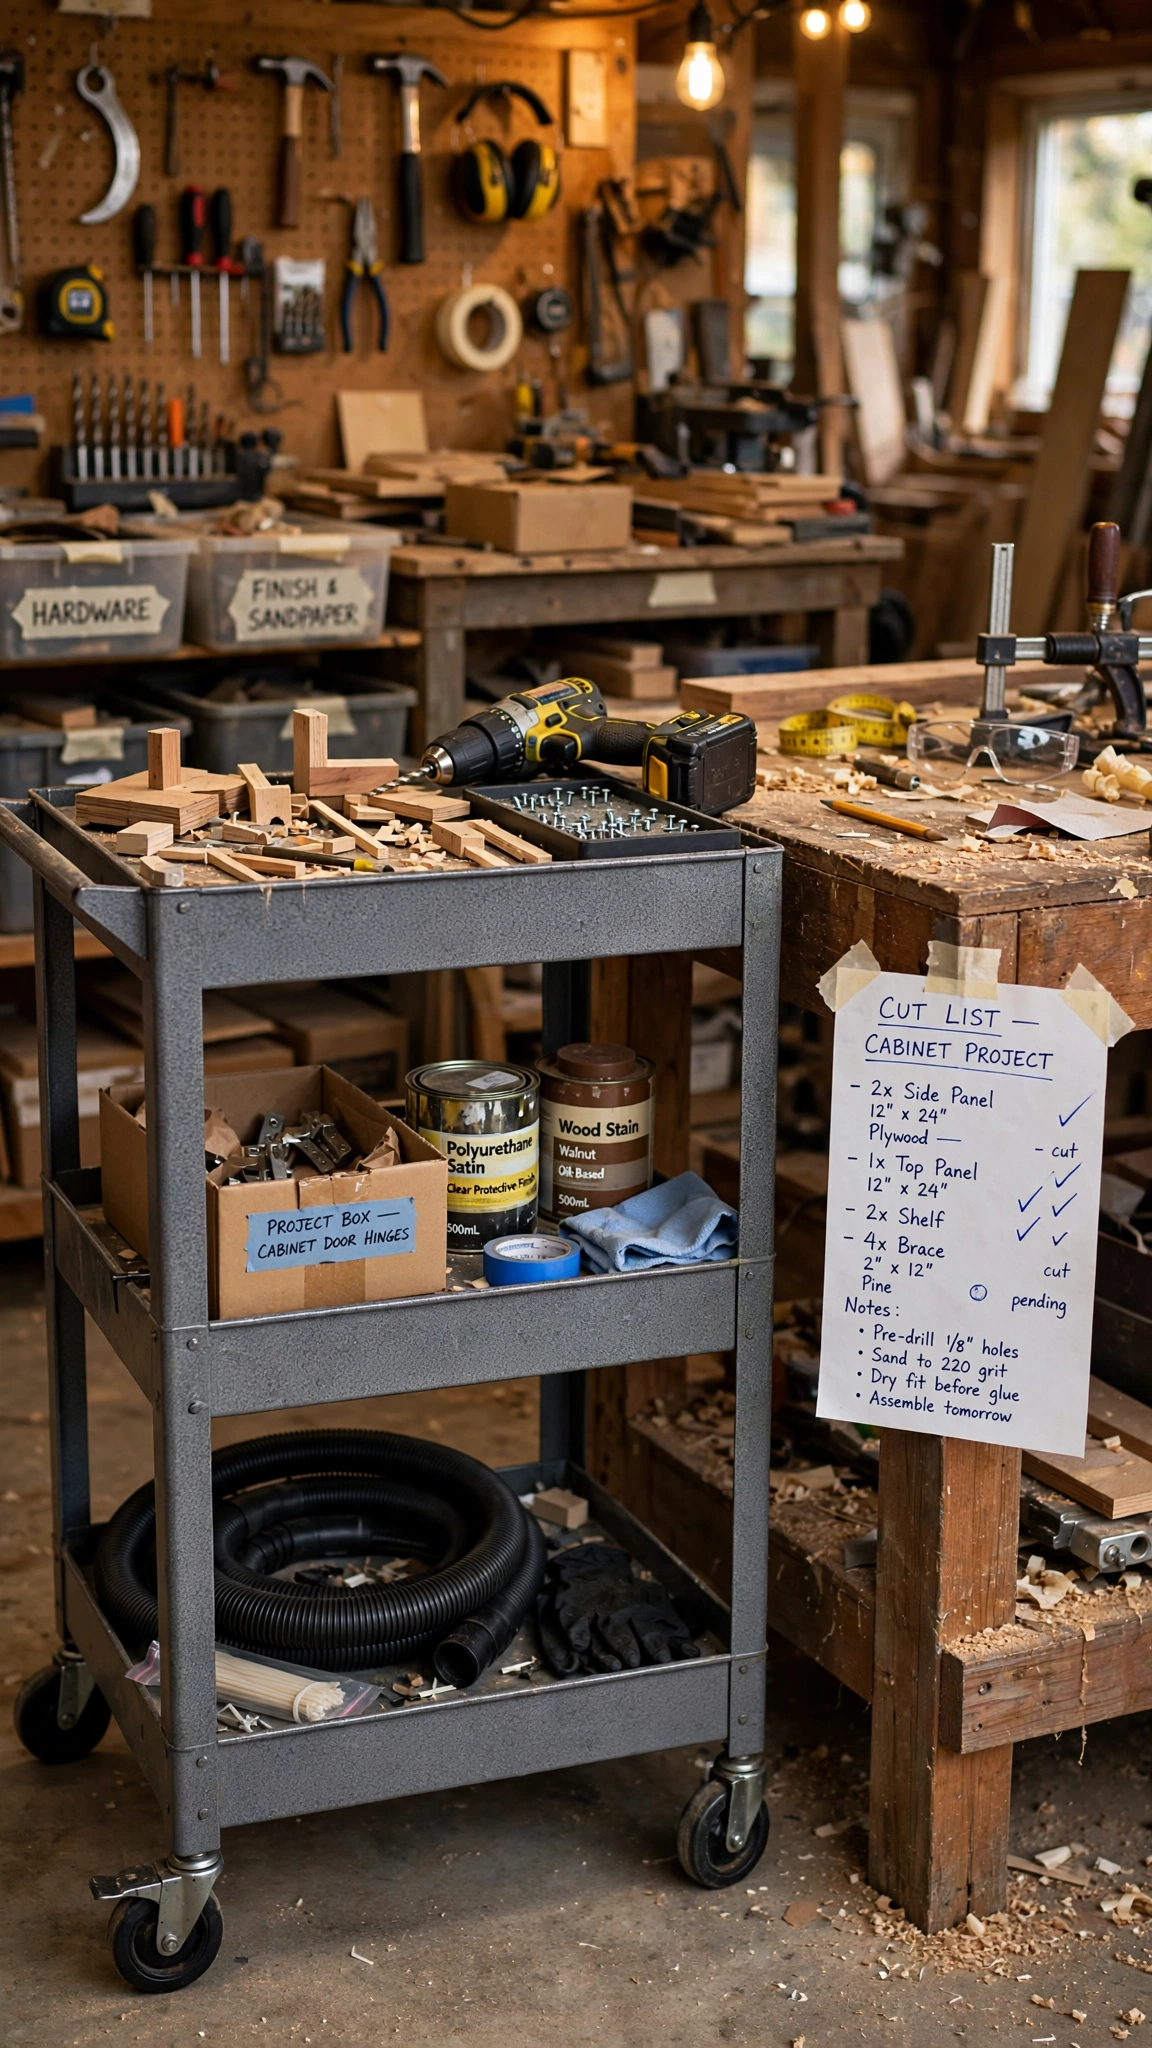
17. Use a Rolling Parts Cart
Every project has a traveling entourage — the parts, fasteners, and tools that belong to this build and no other. A rolling parts cart corrals that entourage so it never colonizes your bench.
Load the cart at the start of a project: cut parts on top, hardware in the middle, finishes below. When you pause for the night, the whole project rolls into a corner instead of sprawling across every surface.
Three-tier steel carts are cheap, indestructible, and fit through any gap. Dedicate one cart per active project and you will never mix up parts again.
Pro tip: tape the project’s cut list to the cart handle so measurements travel with the parts. More mobile storage in our garage laundry area ideas — the same cart trick organizes any garage zone.
18. Finish With Epoxy Floor and Zone Markings
The floor is the foundation of every organization system — literally. A glossy epoxy coating seals concrete against oil and dust, reflects light to brighten the whole shop, and makes sweeping effortless.
Add taped or painted zone markings and the floor becomes an organization tool itself: parking lines for the car, outlines for the tool chest’s home, a clear box around the assembly island. Everything has a painted address.
It is the finishing touch that makes all 17 ideas before it look intentional. A clean, marked floor turns a garage into a workshop you are proud to walk into.
Pro tip: etch the concrete before coating — adhesion is everything for a floor that lasts decades. Floor and finish upgrades in our garage gym design ideas show how dramatic a floor makeover can be.
Conclusion
A genius workshop is not about owning more tools — it is about every tool earning its place. Start with one zone this weekend, whether that is the pegboard wall or the fastener drawers, and let the momentum carry you through the rest. Your future projects will thank you.